Geese are some of the most eccentric and delightful birds to watch. These waterfowl are constantly causing shenanigans and generally acting out against anyone who crosses their path.
Despite their rowdy nature, they are also really beautiful looking birds, and that is why many people like to learn how to draw a goose in order to recreate them in artwork.
If you are one of these people, then you have come to the right guide!
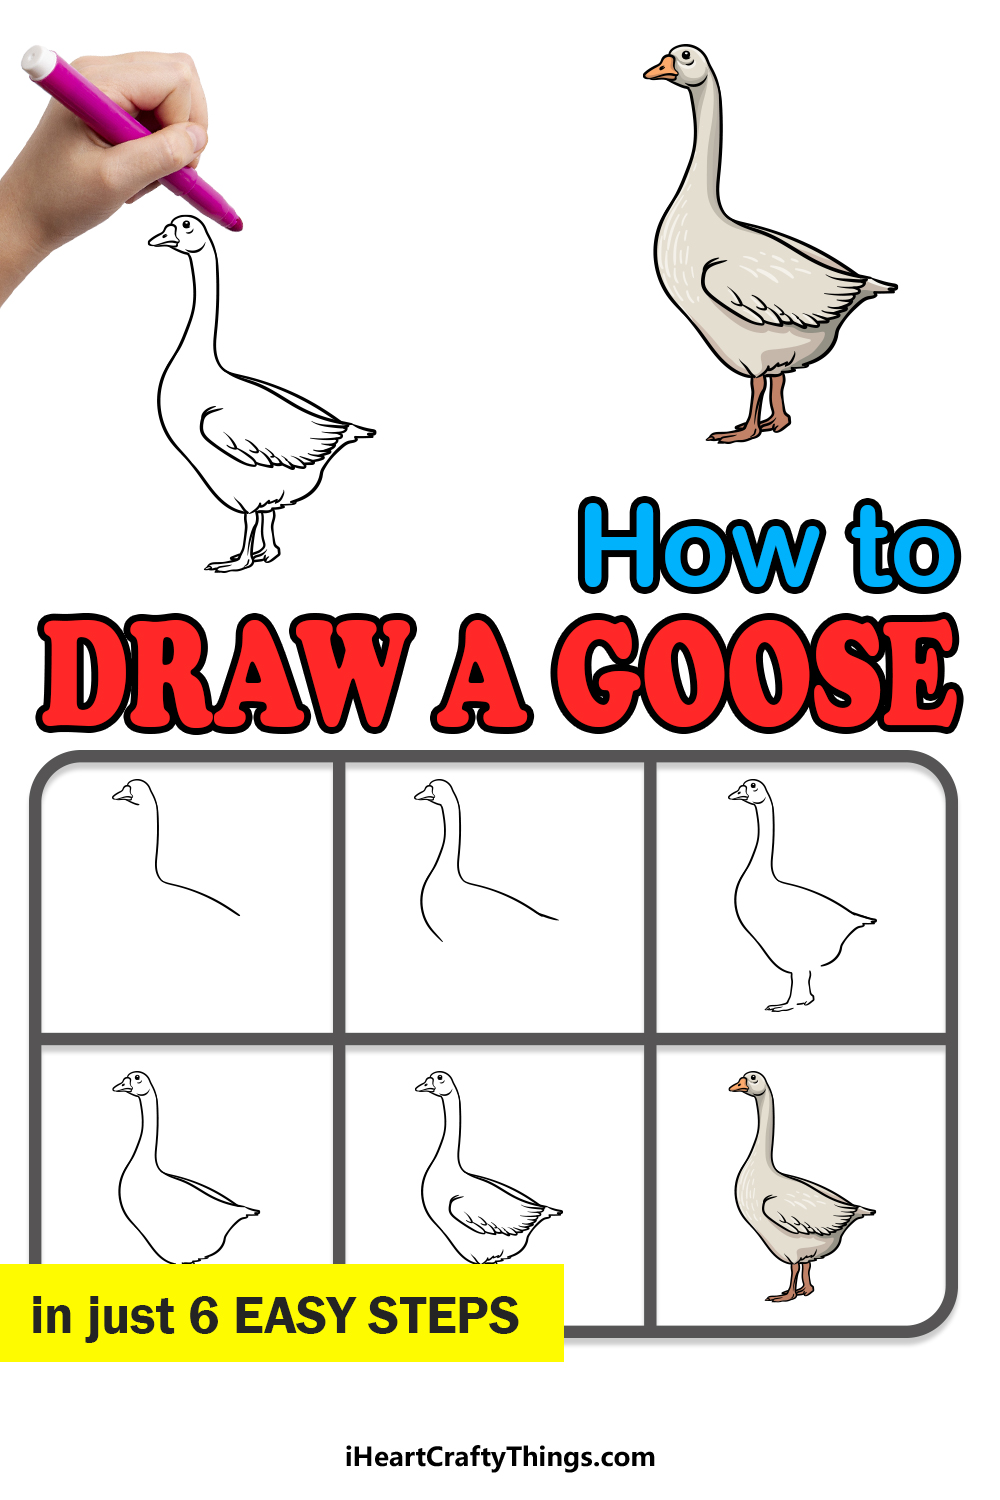
Our step-by-step guide on how to draw a goose in just 6 easy steps will show you how to recreate one of these tenacious birds.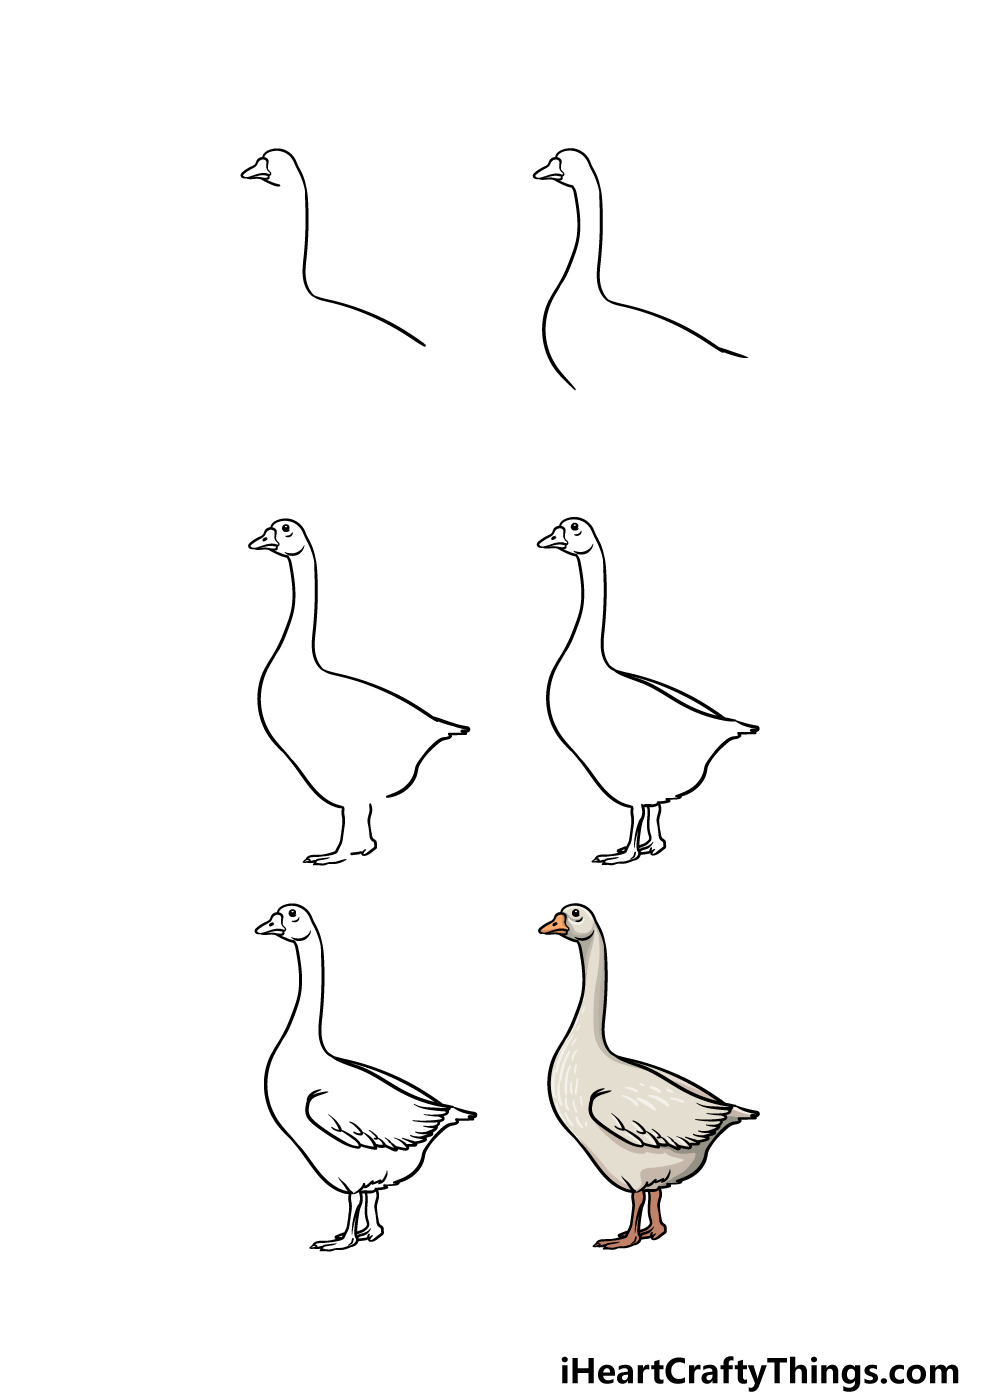
How to Draw A Goose – Let’s get Started!
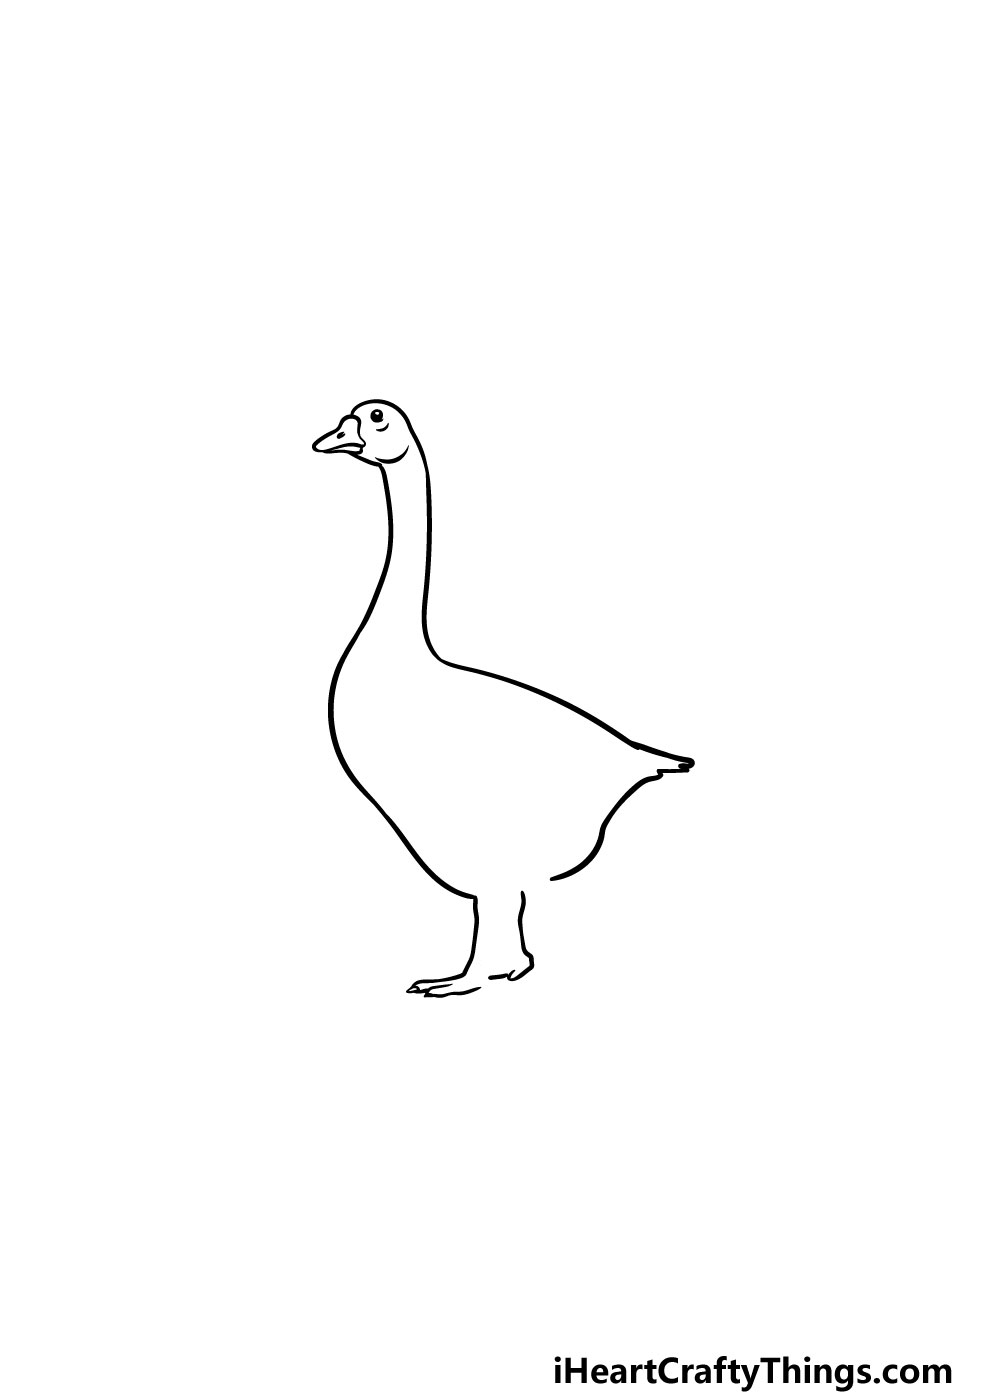
Step 1
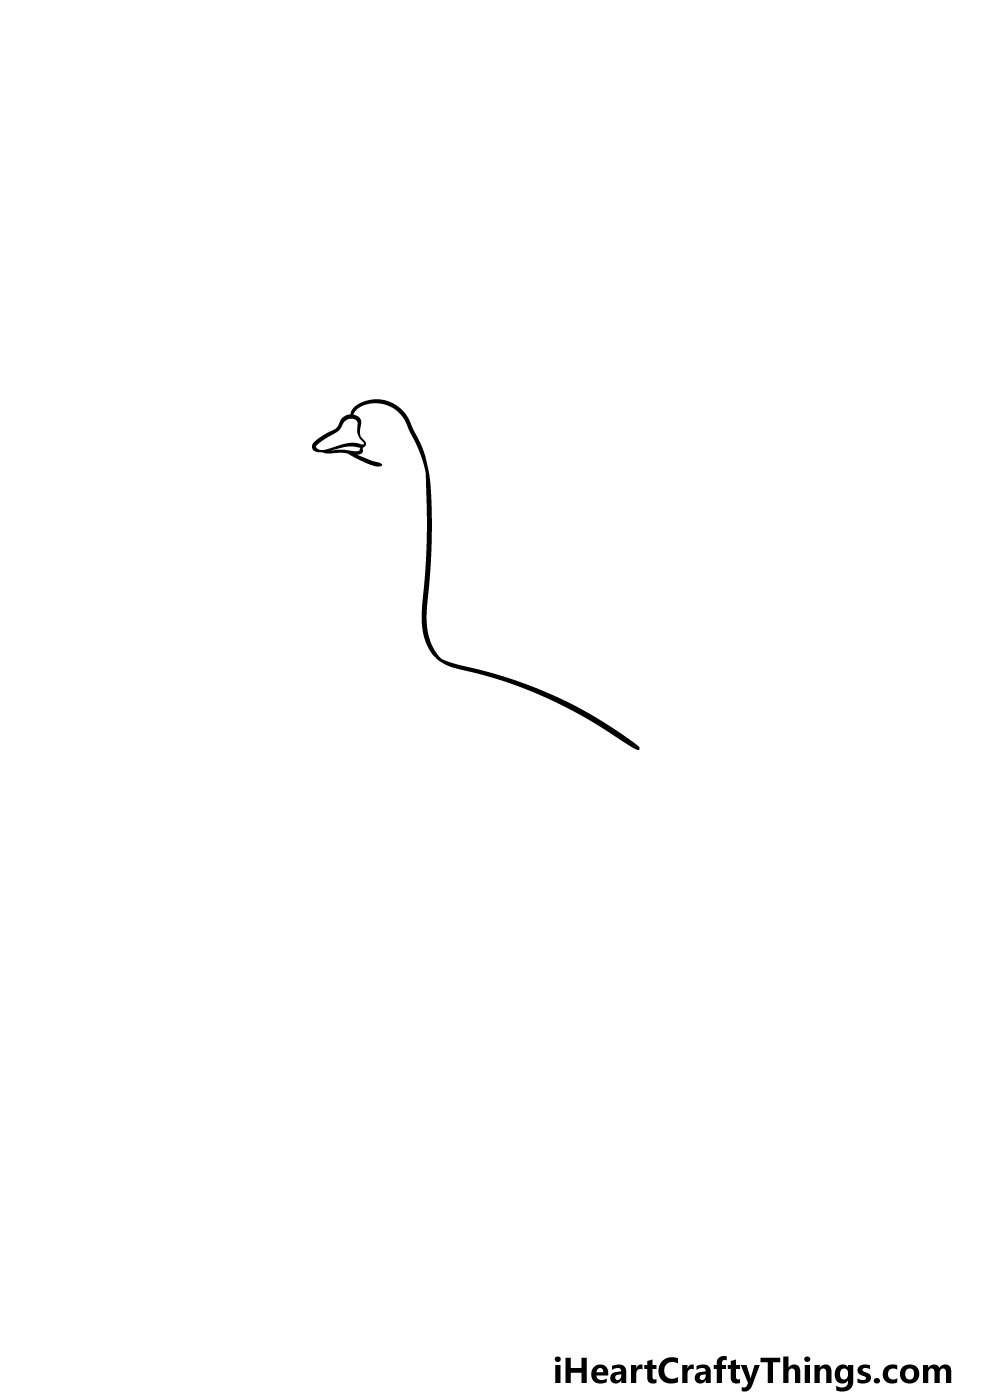
In this first step of our guide on how to draw a goose, we will start with the head and back of the goose. First, you can use some rounded lines to create the beak of the goose.
This will be separated into two separate parts, with the upper portion being larger than the lower one.
Then, you can connect another round line to the beak for the top of the head for the goose. That line will then extend down further to form the long neck and the start of the back for the goose.
Once you have replicated the lines as they appear in our reference image, you’re ready to move to step 2!
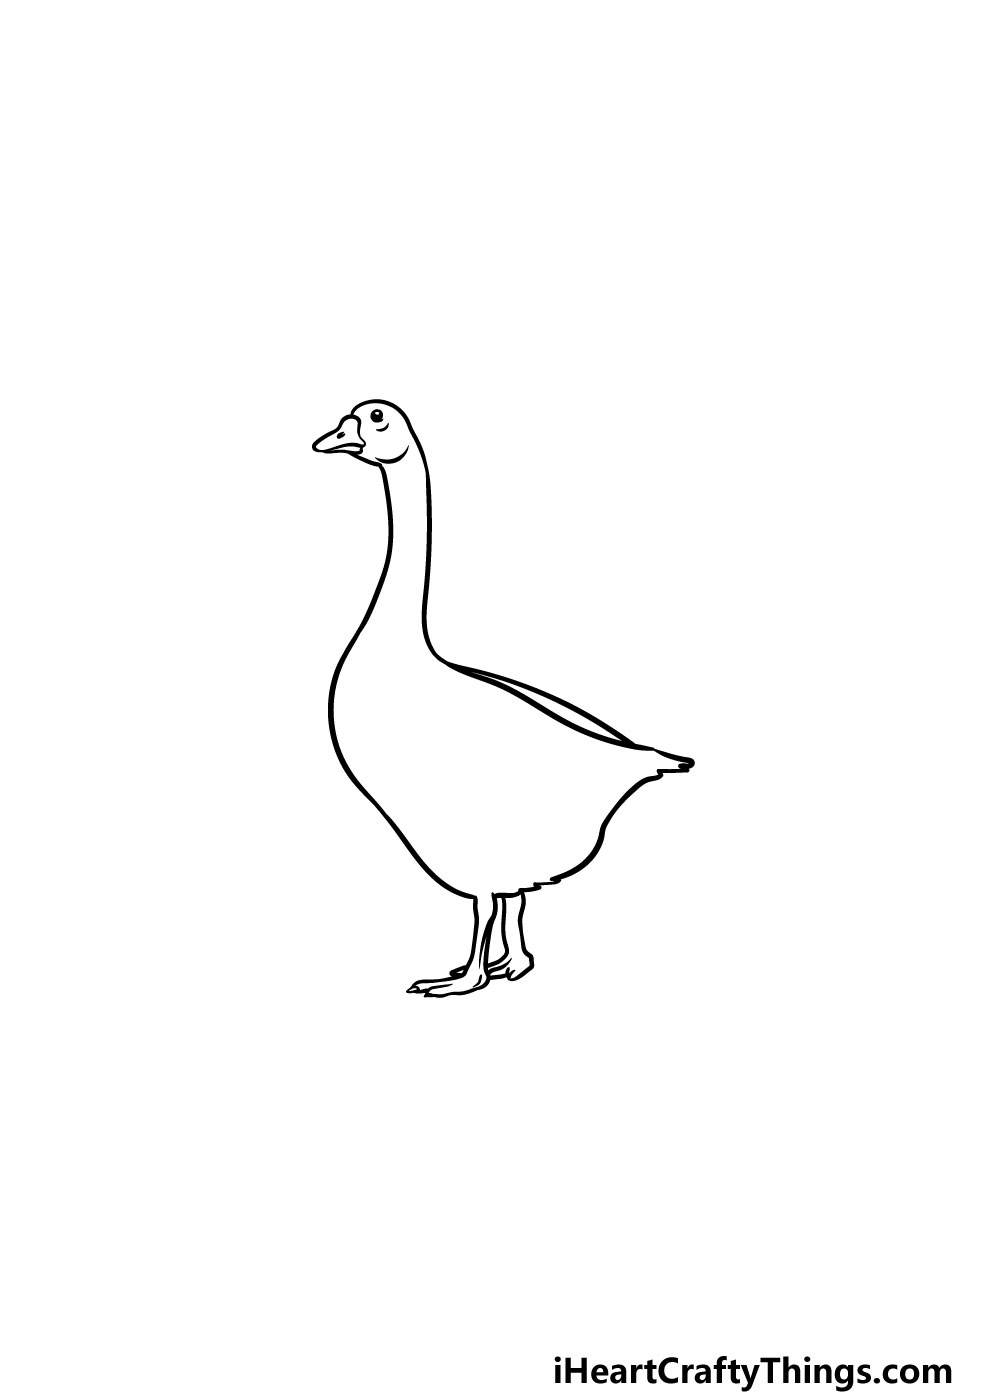
Step 2 – Next, finish the neck for the goose
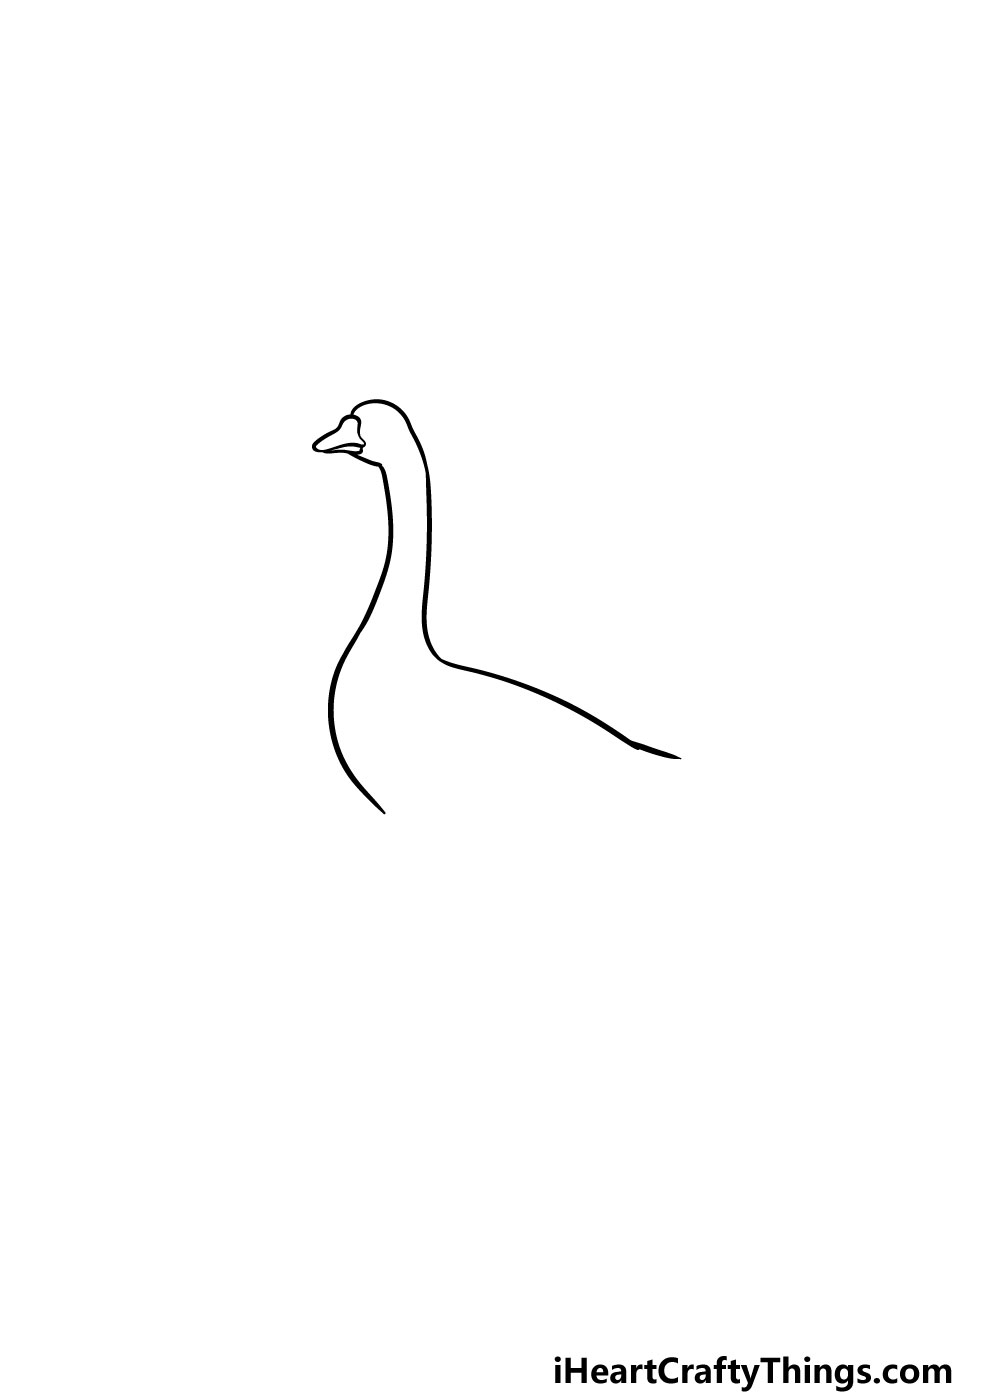
With the head finished, you can now start to finish off the neck of the goose. You can draw another curved line down from the beak for the bottom of the neck.
This line will run parallel to the other line for the neck that you drew.
Then, the bottom line of the neck will round out into a fat belly for the goose. That will do it for this step, and you can move on to the next step.
Step 3 – Now, draw some facial details along with more of the body
This third step of our guide on how to draw a goose will see you adding some facial details to the goose while also drawing some more of the body.
First, extend the line for the belly down and inward a but for the bottom of the goose. Then, this line will go sharply downward for the outline of the goose’s legs.
Once you have these legs drawn, you can then finish off the tail and finish off the line going down from the tail.
Finally for this step, we will be finishing off the face. For the eye, simply draw a small black circle with a line underneath it for the eye.
Then, draw another curved line at the bottom of the face where the neck starts for the cheek of the goose. You can then finish off the beak by adding another dot on it for the nostril of the goose.
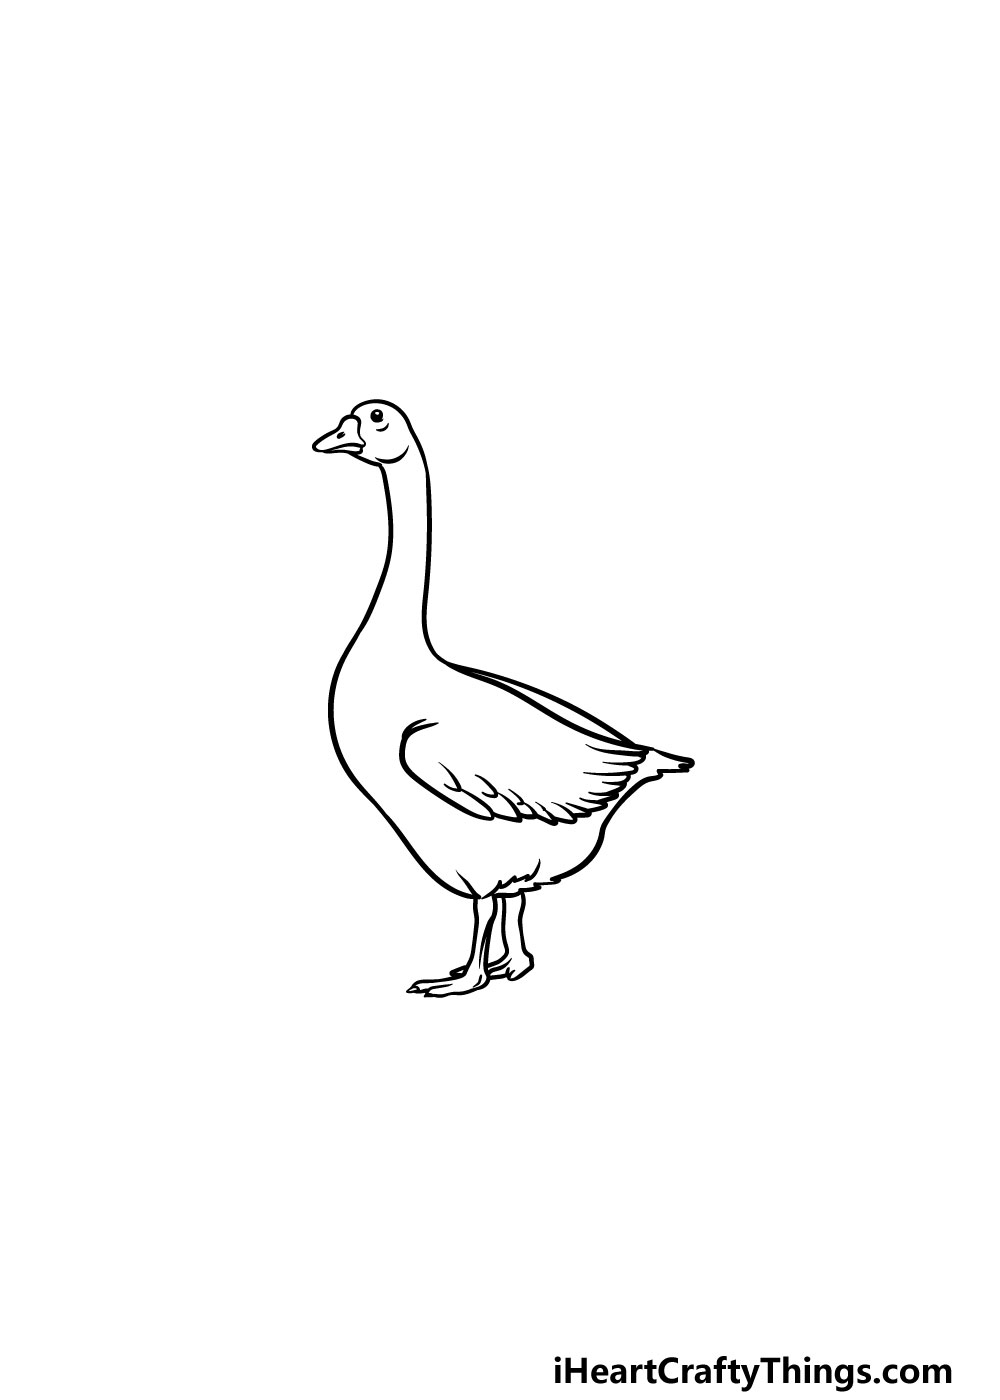
Step 4 – Next, finish off the legs of the goose
Your goose drawing is already looking great! In this fourth step, we will be tightening up some of the details for the goose. First, finish off the legs by adding the rest of the outlines for them.
You can then complete the outline where a gap was left near the legs and then draw the top of the wing that will go near the top of the goose’s body.
With these lines all drawn, we just have a few more details to add in the next step before you start to color in your incredible goose drawing!
Step 5 – Now, you can finish off the details of your goose drawing
In this fifth part of our guide on how to draw a goose, we will be focusing on finishing up the details before you start to color in the picture.
The main feature of this step will be to finish off the wing that you started earlier. To draw this, we will be using lots of sharp lines connecting to one another to make the feathers on the wing.
Then there are just a few more minor details to add, but then you’re just about done! Before you move on to the final step, you can also add some details of your own.
These could be minor like adding some more feathers or more drastic, like drawing a second goose for this one to hang out with.
These are just a few ideas, so what can you think of to finish off this picture?
Step 6 – Finish off your goose drawing with some color
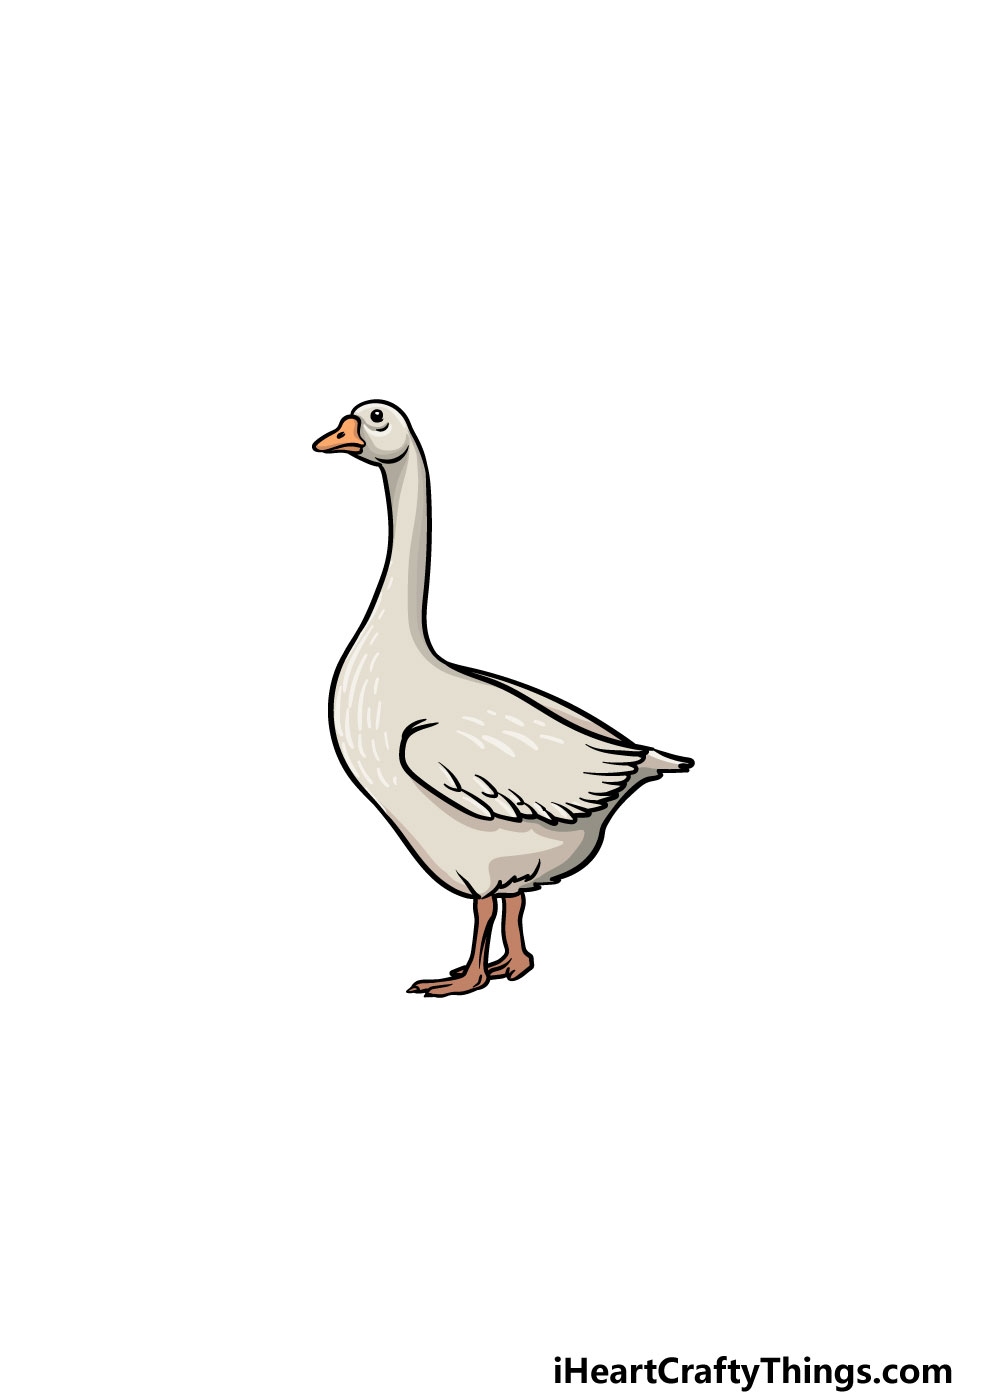
You have finished creating your goose drawing, and now you get to relax with some amazing colors to finish it off.
In our reference image, we used some light greys for the feathers of the goose with shades of orange for the legs and beak. These are what we chose, but you could use any colors that you want to finish it off!
Once you know which colors you would like for it, it’s simply a matter of choosing which art mediums you will use to bring the colors to life.
You could use watercolors or colored pencils for a lovely soft look to the picture. For more vibrancy, you could use some acrylic paints or colored pens.
These are just a few examples, so which favorite colors and mediums will you use?
5 Tips To Make Your Goose Drawing Even Better!
Have a great time making this goose sketch even greater with some fun tips!
If you ever see a goose in the wild, it will more than likely be joined by some goose friends. Now that you know how to draw a goose, you could easily add some more to this goose drawing!
Flocks of geese can have many members, so you could add as many geese to the artwork as you like. How many do you think you could fit on this page?
Of course, adding more geese is just one of the ways that you could populate this drawing of a goose. There are many other birds and animals you could add to the picture!
Ducks would be an obvious choice, but it could be any kind of bird you like. What are some birds or animals you could add to this picture?
When you have the hang of this goose sketch, you could draw it in some different poses! For instance, you could draw it about to take flight with its wings spread.
This is just one of the ways that you could easily change the nature of the drawing with a simple change. What other poses could you create?
The goose we created here was drawn in a fairly detailed style. This looks great, but you may prefer something simpler and more stylized.
If that’s the case, it could be fun to use the guide and create a new design. It could be cartoony or abstract and it would be interesting!
It all depends on your preference, so what style would you like to create?
Finally, once you have made your additions and changes you could also make it look even cooler with a background.
There are so many different ideas you could go with! It could be a tranquil lake or maybe have a beautiful sunset in the background. Of course, these are just a few ideas!
Geese can be found pretty much anywhere, so you’re spoiled for choice when it comes to a background for this goose drawing!
Your Goose Drawing is Complete!
With these final details added and your picture glowing with color, you have finished this guide on how to draw a goose.
There were some intricate details to add to this picture which could be tricky, so you should be very proud of completing this guide as well as you did!
Now that you have mastered the drawing, you can take it further with your own details and elements.
Whether you add details, draw some more geese or create a cool background, we know that you will end up with a wonderfully unique image!
You don’t have to stop here, either! We have plenty of awesome guides on our website for you to enjoy. We upload new guides often, so checking in often is the best way to never miss out.
When your goose drawing is finished and colored, we hope you will share it on our Facebook and Pinterest pages for us to admire!