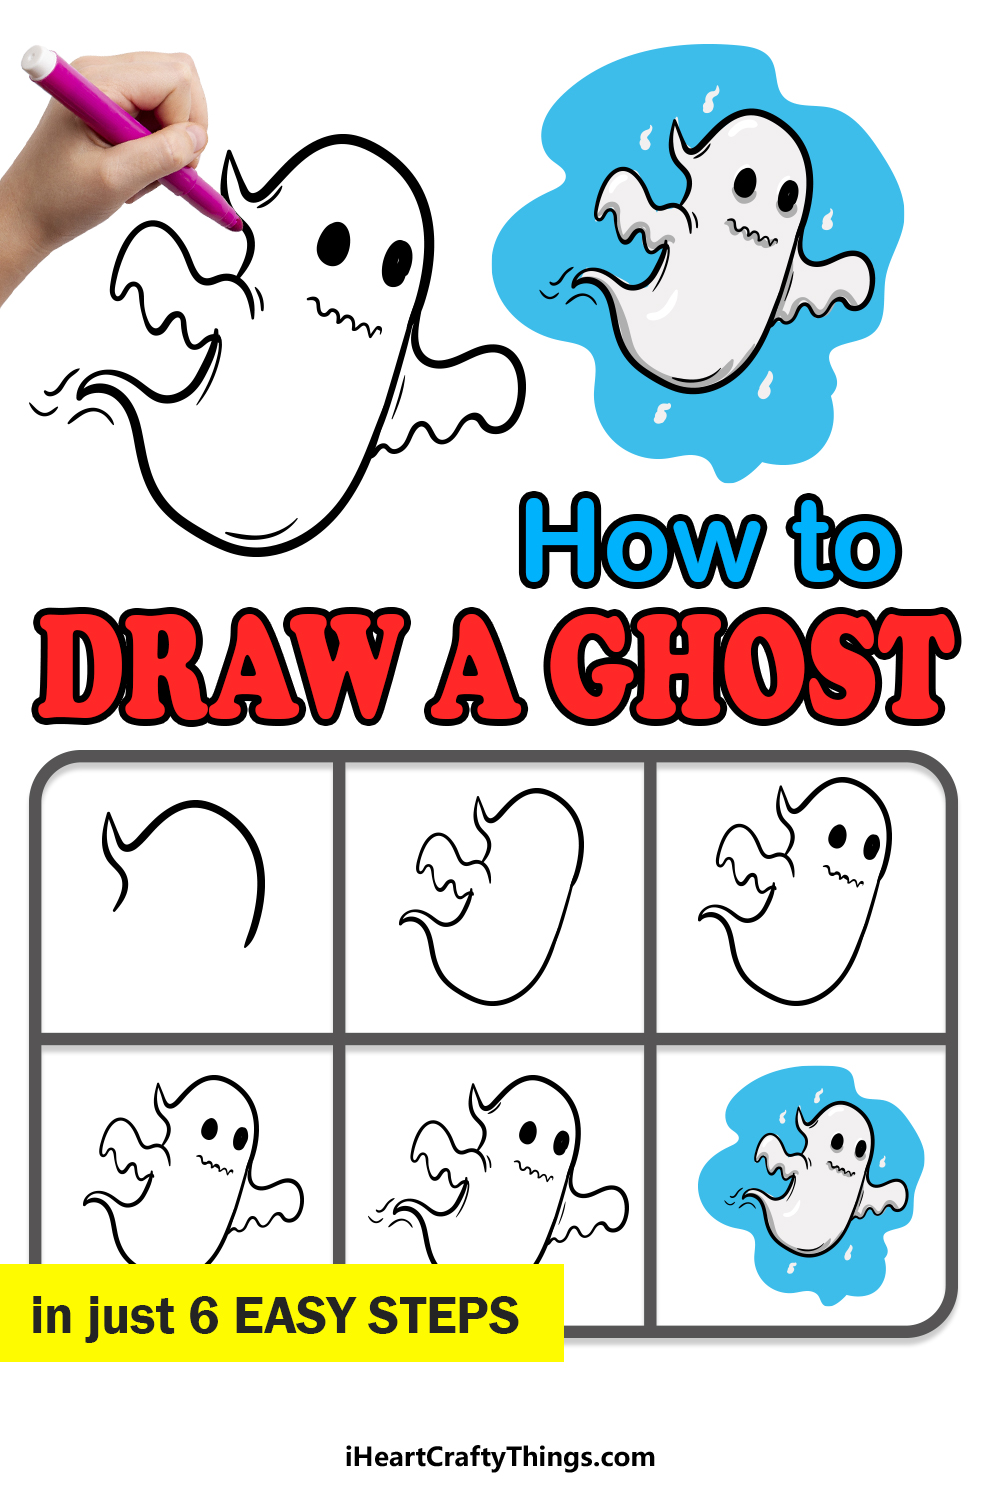
Ghosts are scary, but learning how to draw a ghost isn’t with this fun guide for kids! Anyone can have a great time with this tutorial and finish with a ghost design.
Most cultures have ghosts in some shape or form, and they are undeniably scary. We also have a fascination with them though, and that may be why you want to learn to draw one.
For this guide, I have a ghost drawing that is simple yet very indicative of a classic look for one. The guide will take you through the steps of building up this character until you’re left with a new scary pal!
You could place this ghost character into a graveyard, haunted house or similarly horrifying setting to really finish it off. It all begins with this guide, and it’s simple enough for any age or skill level to easily complete.
Don’t be scared, let’s take on this drawing together!
Watch This Guide For Tips On Making Your Ghost Drawing
How to Draw A Ghost – Let’s get Started!
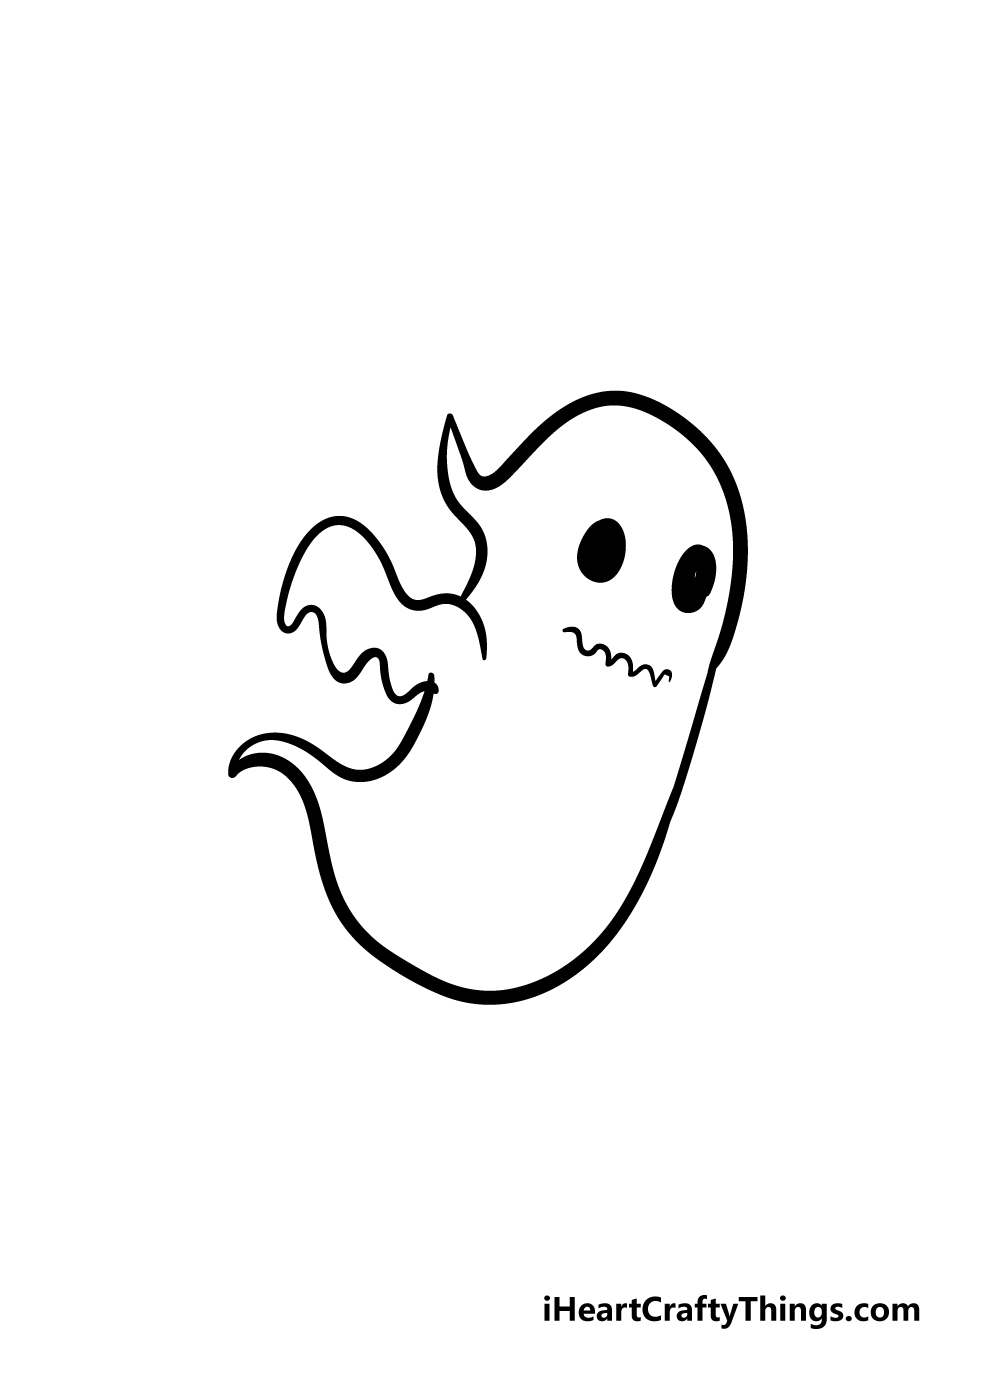
Step 1
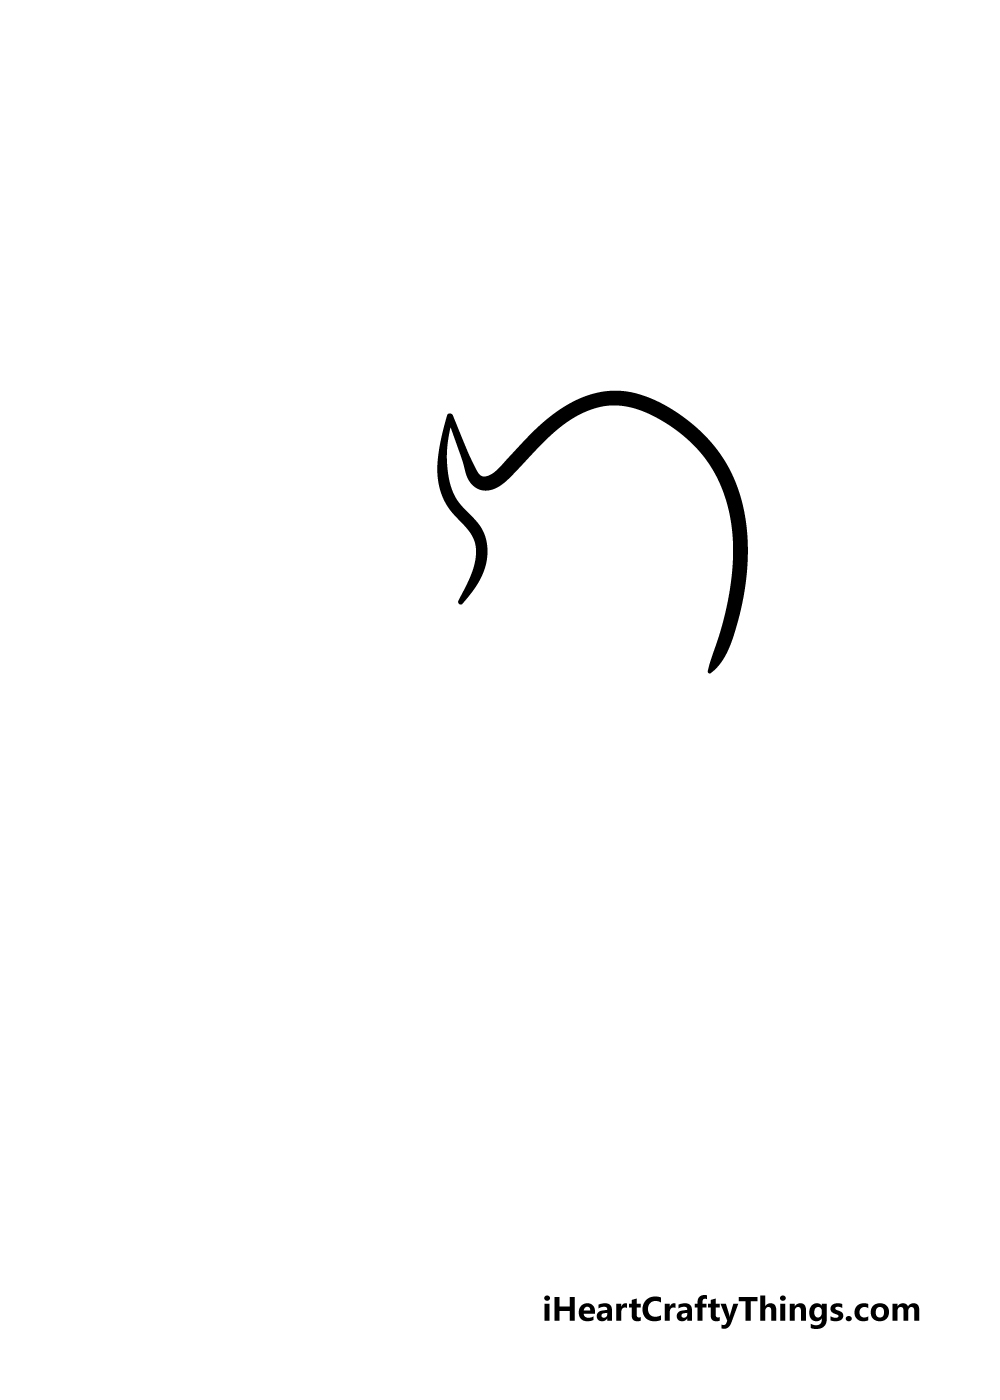
We will start with the head of the ghost in this first step of our guide on how to draw a ghost.
As you can see in the reference image, the head will be made from a rounded line that has a small curly tail section at the back.
You could also change up the shape to be thinner or even a bit fatter depending on how you would like your ghost to look.
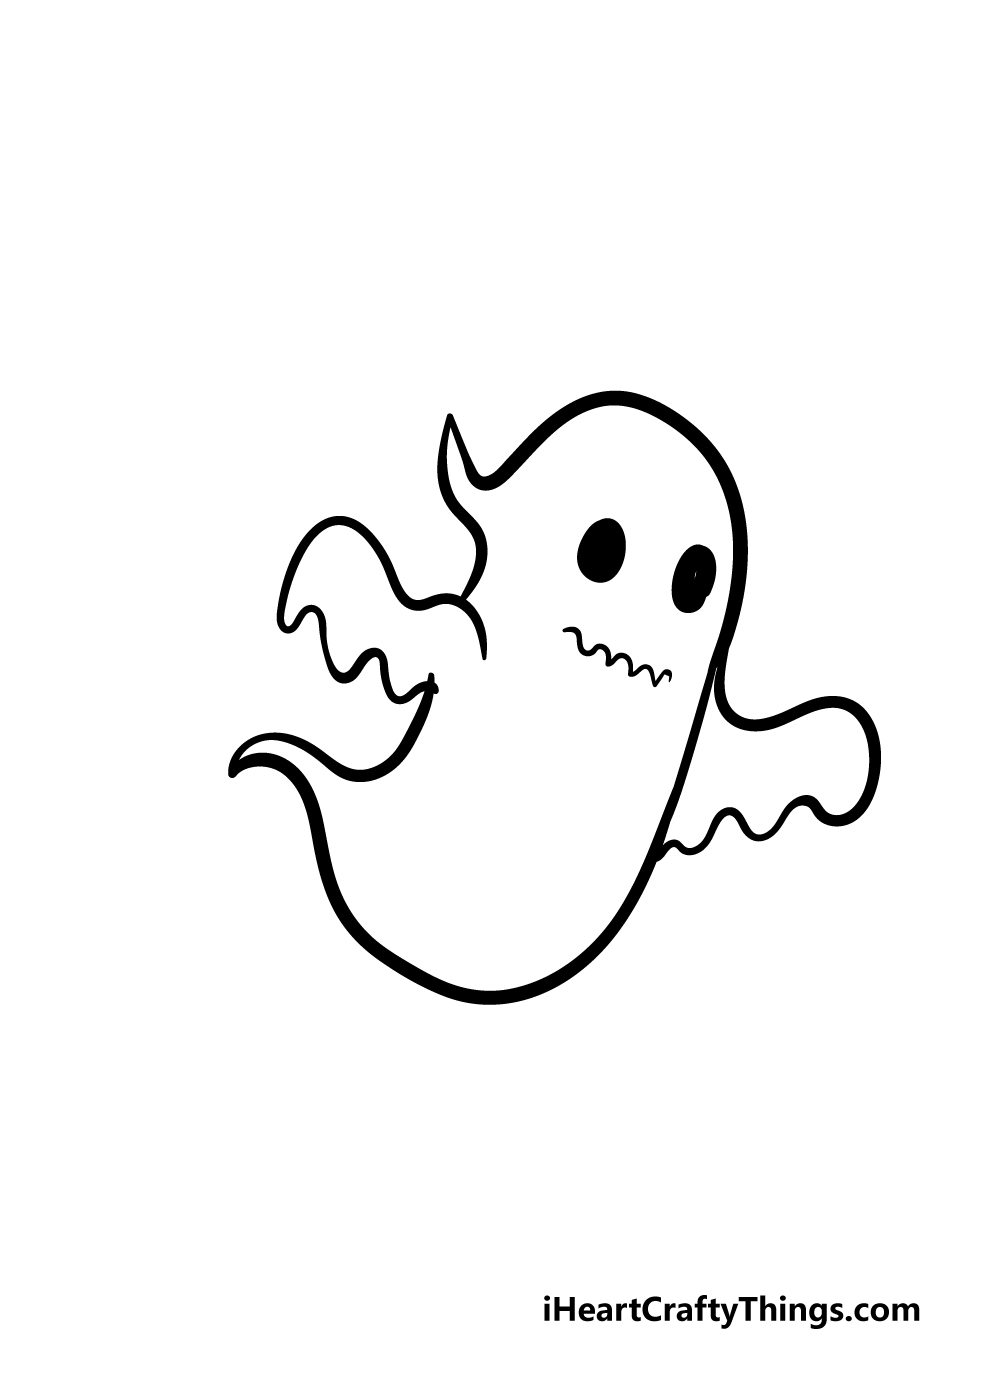
Step 2 – Draw a body and arm for your ghost in this step
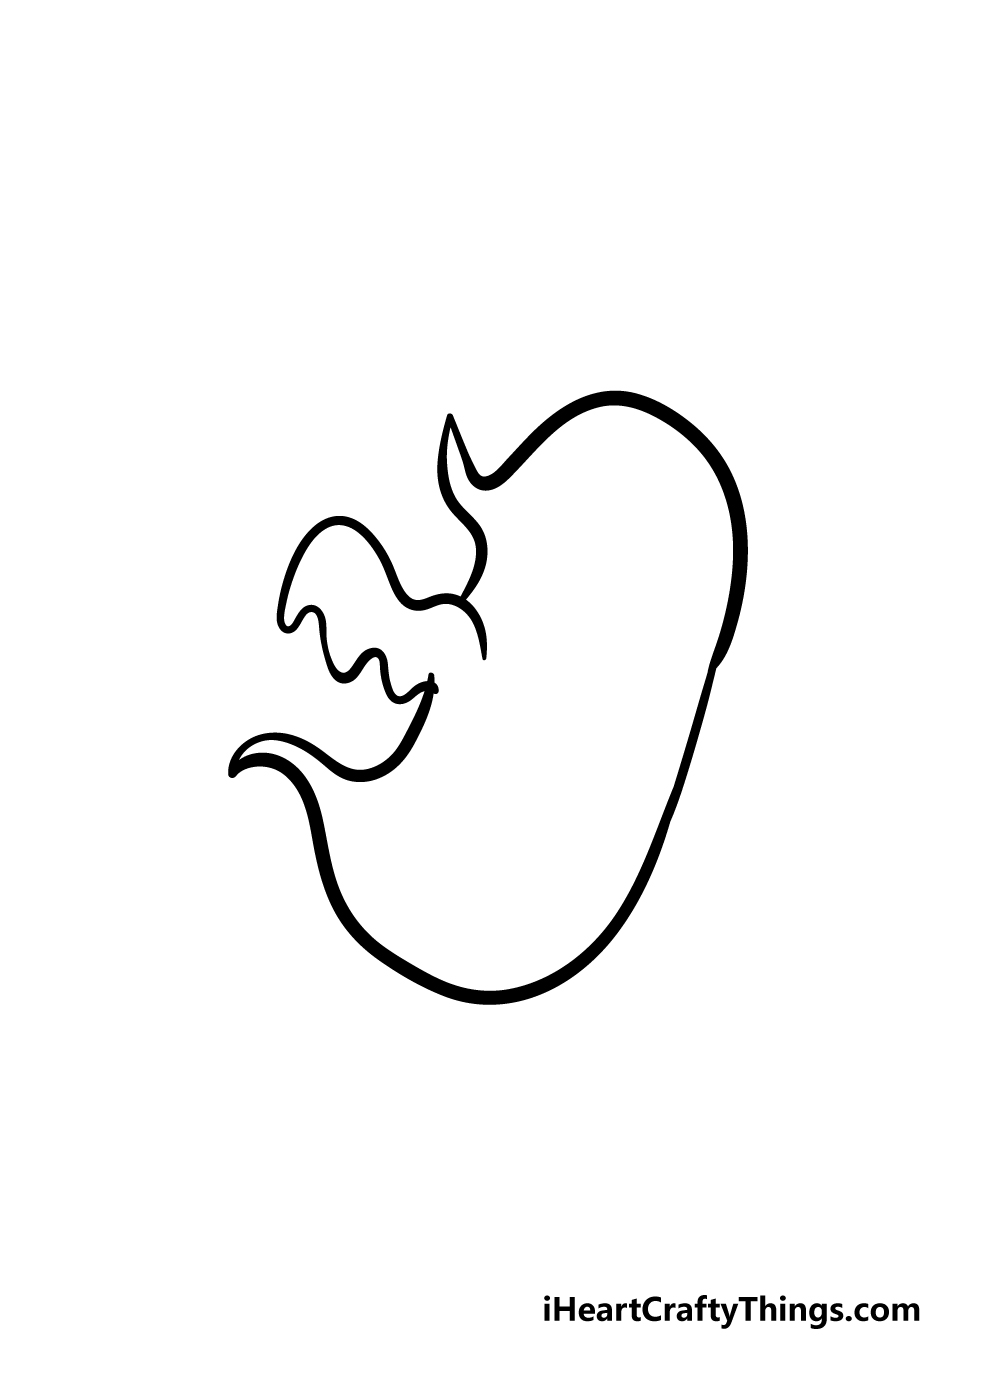
In this second step of our guide on how to draw a ghost, we will start drawing the body and first arm of the ghost.
The body is very curved and rounded, and will extend down from the front of the face and lower until it curves into another little tail at the back.
Before you draw the back of the ghost, you can draw in a wavy arm extending out to the side as it appears in the reference image.
Once the arm is drawn, you can finish drawing the back of your ghost.
Step 3 – Next, draw a face for your ghost
We shall be drawing a face for your ghost drawing in this next step. We will be showing you one way of doing this in our example, but this is a step where you can change things around a bit to suit your preference.
For example, you could change the eyes or add some eyebrows if you want to change up the facial expression.
You could make your ghost look angry, scared, happy or concerned just by using some simple lines!
You could also use a different shape for the mouth if you would like as well.
Whether you replicate the design in our reference image or use your own to make some new expressions, you’re ready for the next step!
Step 4 – Now, draw another arm for your ghost
You’ve already drawn one arm for this guide on how to draw a ghost, so this next step should be easy for you to do!
Simply draw in another arm on the other side of your ghost for this step. This is another part where you could change the position of the arm or add some fingers for an extra spooky look.
Step 5 – Draw some final details
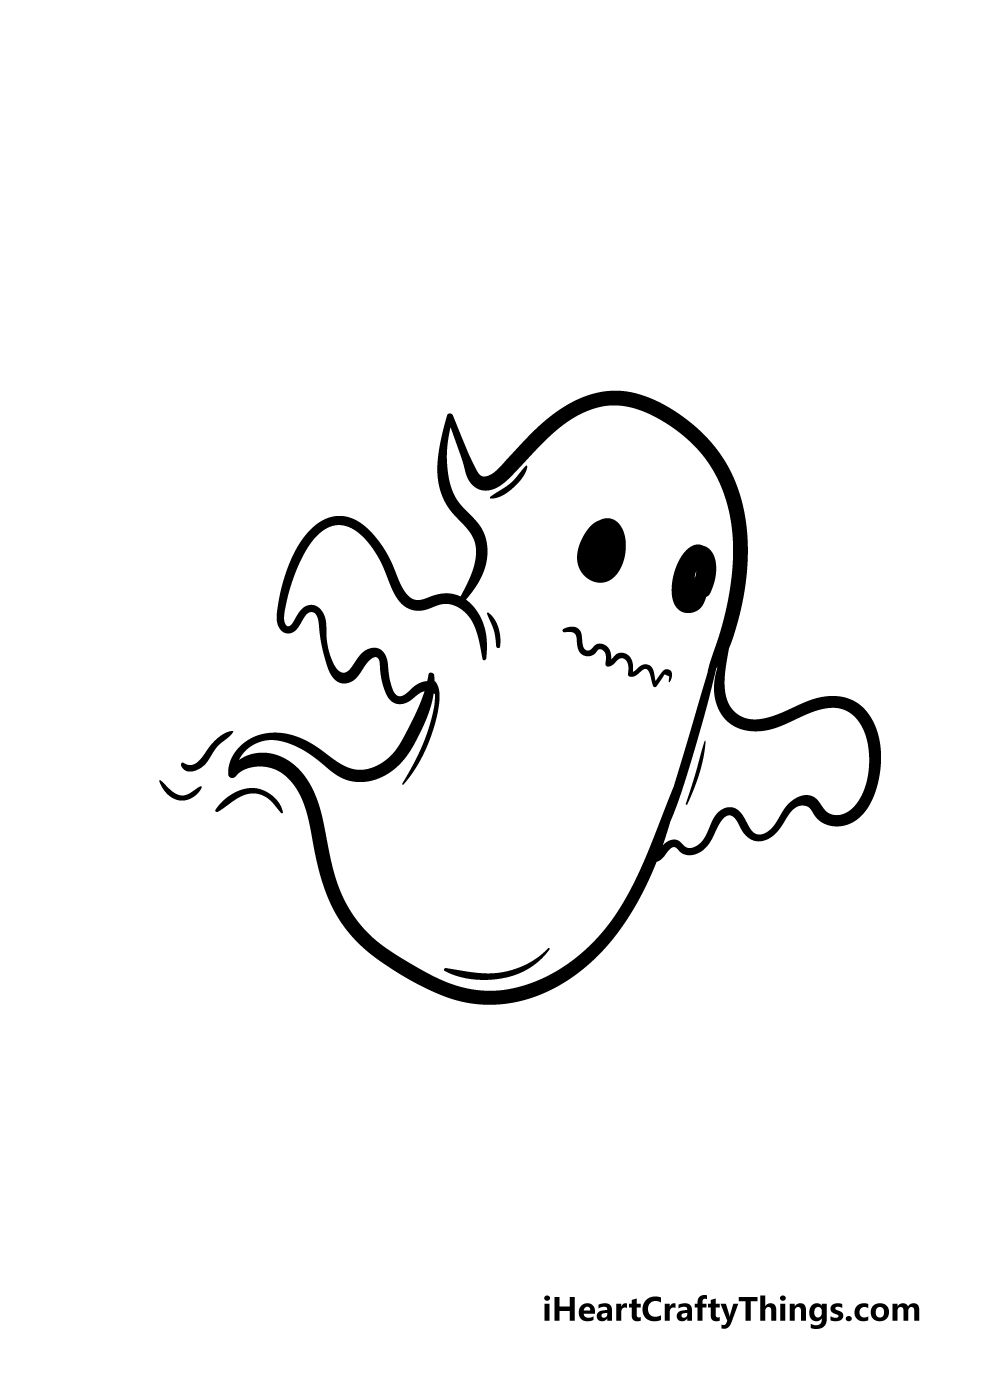
This step of your ghost drawing will give you some freedom to personalize your spooky drawing! In our reference image, we added some lines to the ghost to give it some extra details.
You could add a lot more as well if you would like, though. Some examples of details that you could add would be some props for your ghost drawing.
You could have it dragging a great big chain, or maybe have a gravestone that it is floating above!
What kinds of details or background do you think would suit your ghost?
Bonus: Add Some Other Spooky Creatures And Characters
When it comes to classic spooky monsters and creatures, ghosts are one of the first you will probably think of. There’s a reason why they’re so commonly used as Halloween decorations.
They can come in many shapes and sizes, but they can also be joined by other spooky characters.
If you love scary movies, Halloween or anything spooky, then you could add some other characters to this drawing of a ghost. We have a few ideas, but you could add any others you like!
For some classic examples, you could draw a cackling witch, a shambling zombie or maybe an ancient mummy. They could be drawn in a similar cartoony style to this ghost drawing, and that would make them easier to draw.
If you need some help with the designs, then you could look up some pictures of your favorite spooky characters and use them as inspiration. We listed some common ones, but you could also get more creative.
Using villains and monsters from famous horror movies would also be a fun way of adding to this spooky artwork! They could be from slasher movies or famous ghost movies.
If you don’t want it to be too spooky, then you could add more lighthearted ghost characters like Caspar the friendly ghost. He could be hanging out with this ghost character and they could get up to some adventures!
We mentioned drawing a background, and if you add one then you can theme the characters to suit your background. You could even add some unfortunate humans who are terrified by this spooky group you’re building up!
What are some scary creatures, characters or entities that would go well with this spectral ghost drawing you have created?
Step 6 – Finish off your ghost drawing with some color

Now that your ghost drawing is drawn along with extra details and a background, now you can have some fun coloring in your amazing drawing!
We have shown you just one way that you could color in your drawing with our example image, but you should feel free to let your creativity run wild for this step!
Using just your colors, you could create an atmosphere for your picture. If you keep the colors darker, perhaps with some blues or purples, you could create a spookier atmosphere for your image.
If you’ve drawn some props or a background for your ghost drawing, you can also have fun coloring in these elements that you added yourself.
Once you have an idea of which colors you would like to use, you can experiment with different art mediums as well.
I would personally use some watercolors for a more muted, cold look to this image that would suit the spooky subject matter.
That’s just one way of going about it, and there are many different mediums you could consider to give this picture any look you want!
Which colors and art mediums will you choose to finish off your awesome ghost?
Do this to take your ghost drawing to the next level
Make your spooky ghost drawing look even better with the help of these tips.
Hopefully, none of us working on this guide have ever seen a ghost in real life, so we don’t know what one would look like. That means that we can get really creative with the designs of this ghost!
If you wanted to make this drawing even more unique, you could create a new ghost design. This could be instead of the one we have here, but you could also surround this one with some ghost friends.
What do you think a real ghost may look like? You can show us in this ghost sketch!
You can also really take this drawing of a ghost to the next level by adding some effects around it. These could include some swirling mist or maybe some kind of dark energy.
If you add these kinds of effects, you will find that using colors and certain art mediums will be fun to play around with. This would be a great way to give this spooky ghost even more of a presence!
It’s always fun to add a background to a drawing, and this one opens up loads of possibilities. It could be in a graveyard, in a spooky mansion or maybe even in an ancient castle.
Or, it could simply be in the living room of some unfortunate person! There are so many places that you could place this ghost into, and all would be interesting.
Where do you think this ghost could be haunting?
We mentioned colors earlier, and you can really have fun with them as you finish off this ghost drawing. Ghosts are usually depicted as being translucent, which means they are a bit see-through.
If you wanted to depict this, you may want to use softer mediums like watercolor paints or colored pencils.
If you created a background setting, then you could color any objects behind the ghost in the lightest shades you can.
That would make it look like these objects are being seen through the ghost’s body.
Your Ghost Drawing is Complete!
You have reached the end of our guide on how to draw a ghost, and you can prove it with the amazing drawing you have in front of you!
We created this guide to be helpful to you in showing you how to draw a ghost, but we also tried to make it fun and easy for you.
We hope you had an amazingly spooky time working through this guide!
Now that you have drawn snd colored your ghost drawing, how will you further personalize it and make it your own?
We’ve given a few suggestions throughout this guide on how you could do this, and these suggestions have included drawing spooky props, changing some elements of the ghost’s design or drawing a beautiful background.
You could even draw some more ghosts alongside this one to make it a ghostly party!
There is plenty of room for you to show off your creativity with this image, and we can’t wait to see what you come up with.
We have even more drawing fun ins store for you now that you’ve finished this guide!
We bring out new step-by-step drawing tutorials like this one often, and they cover a wide selection of subject matters. Be sure to check out our site frequently to never miss out!
Once you have finished your spooky ghost drawing, we would love to see the finished product.
You can show us your scary ghost artwork by sharing it on our Facebook and Pinterest pages for us to enjoy!
Here Is A Ghost Drawing For Kids To Inspire You!
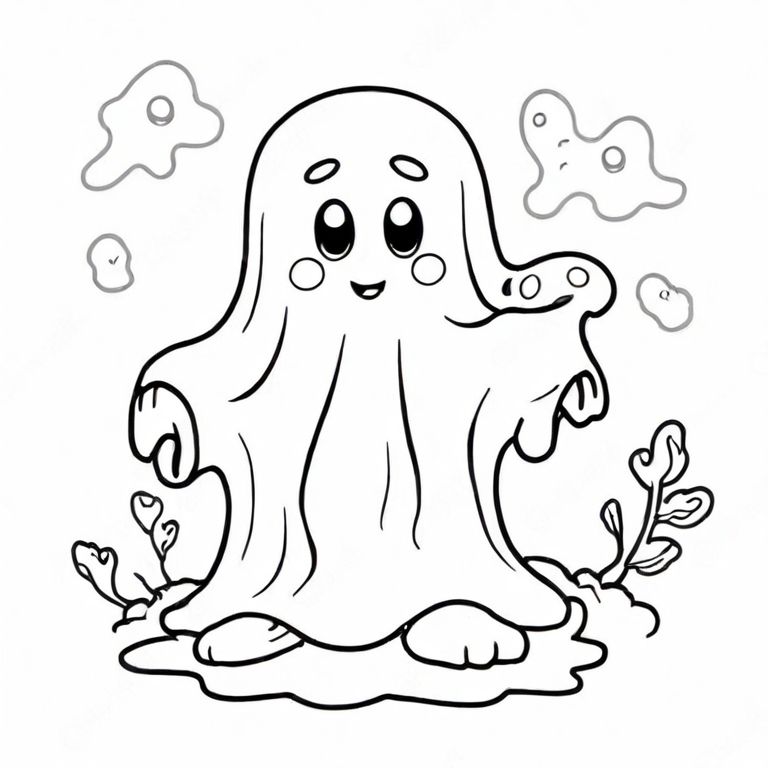
Let’s face it, ghosts can be pretty scary and spooky a lot of the time. This ghost drawing for kids by our artist Amanda is one that looks more friendly than anything.
This charming sketch by Amanda is meant to get your creativity flowing as you make your own image. The lines she used are simple and wavy, giving the ghost a really interesting look.
She also added some interesting elements to the background to give this picture a really spooky feeling. When you have mastered the drawing, you can also add some elements.
For instance, wouldn’t it be cool to have a haunted house setting in the background? This would be fairly easy to add, and it would make the picture even more awesome.
There are other settings to add, so what kind of background would you like?