The United States has a rich history of various presidents taking office. Some have ascended to legendary status, and few are as well known and recognized as the first president of the United States: George Washington.
He served as president from 1775 until 1783, and served for many years before and after this period as well.
To this day he is regarded as one of the greatest US presidents and even graces the $1 bill! Learning how to draw George Washington is a great way to honor this great man.
Drawing real people isn’t always easy, but when you know what to do, it can be made much easier.
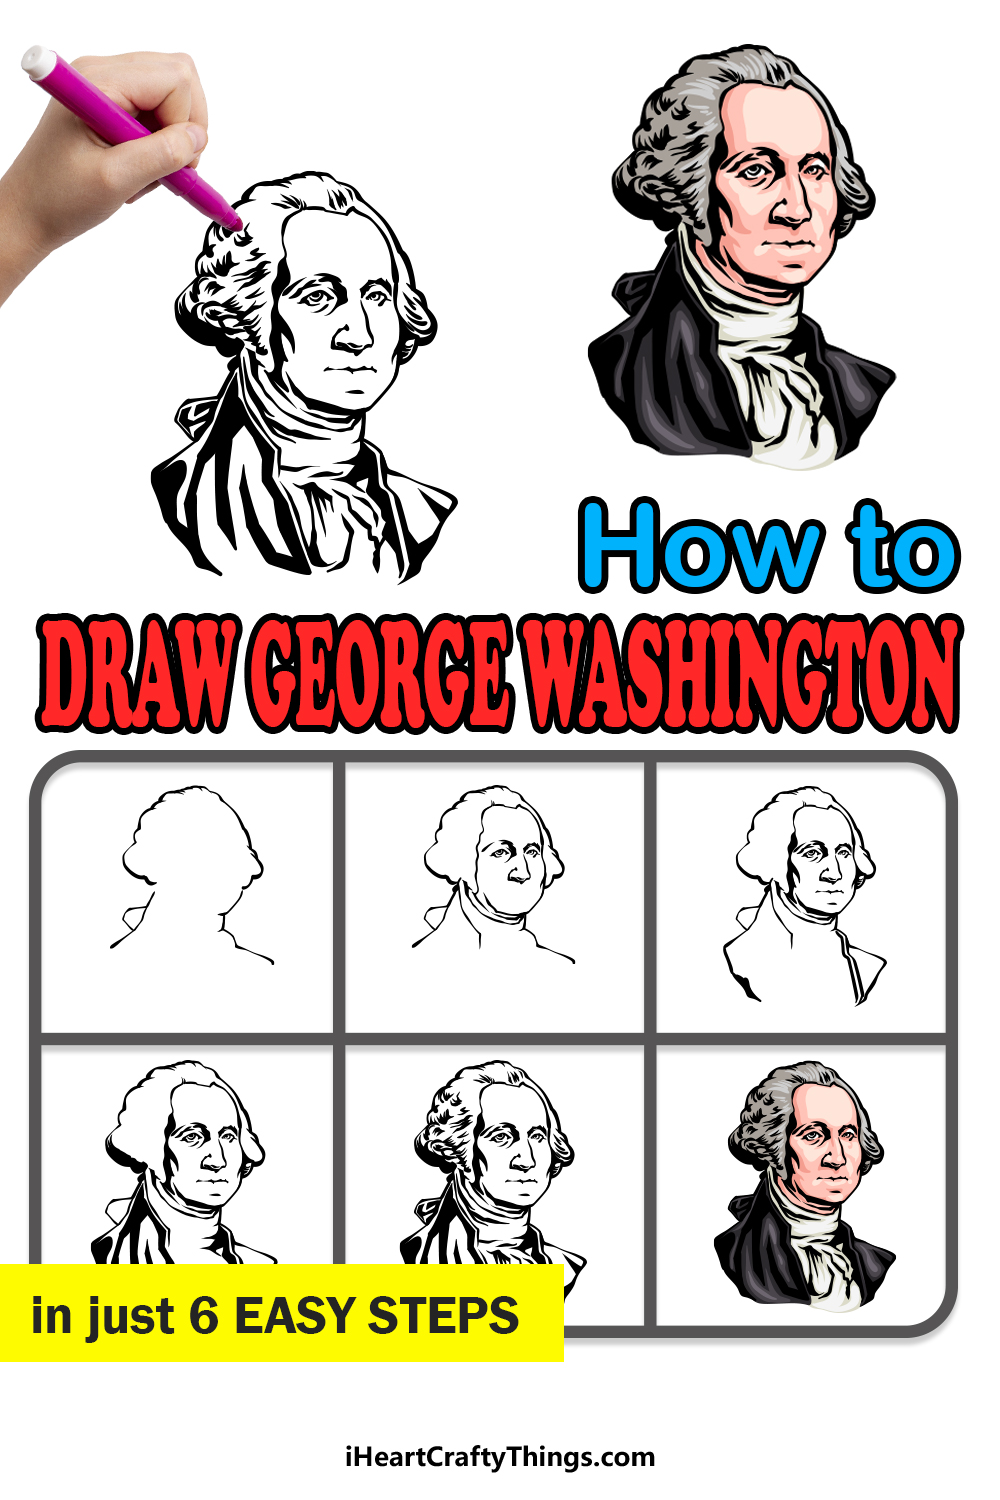
We hope that you enjoy our step-by-step guide on how to draw George Washington in just 6 easy steps!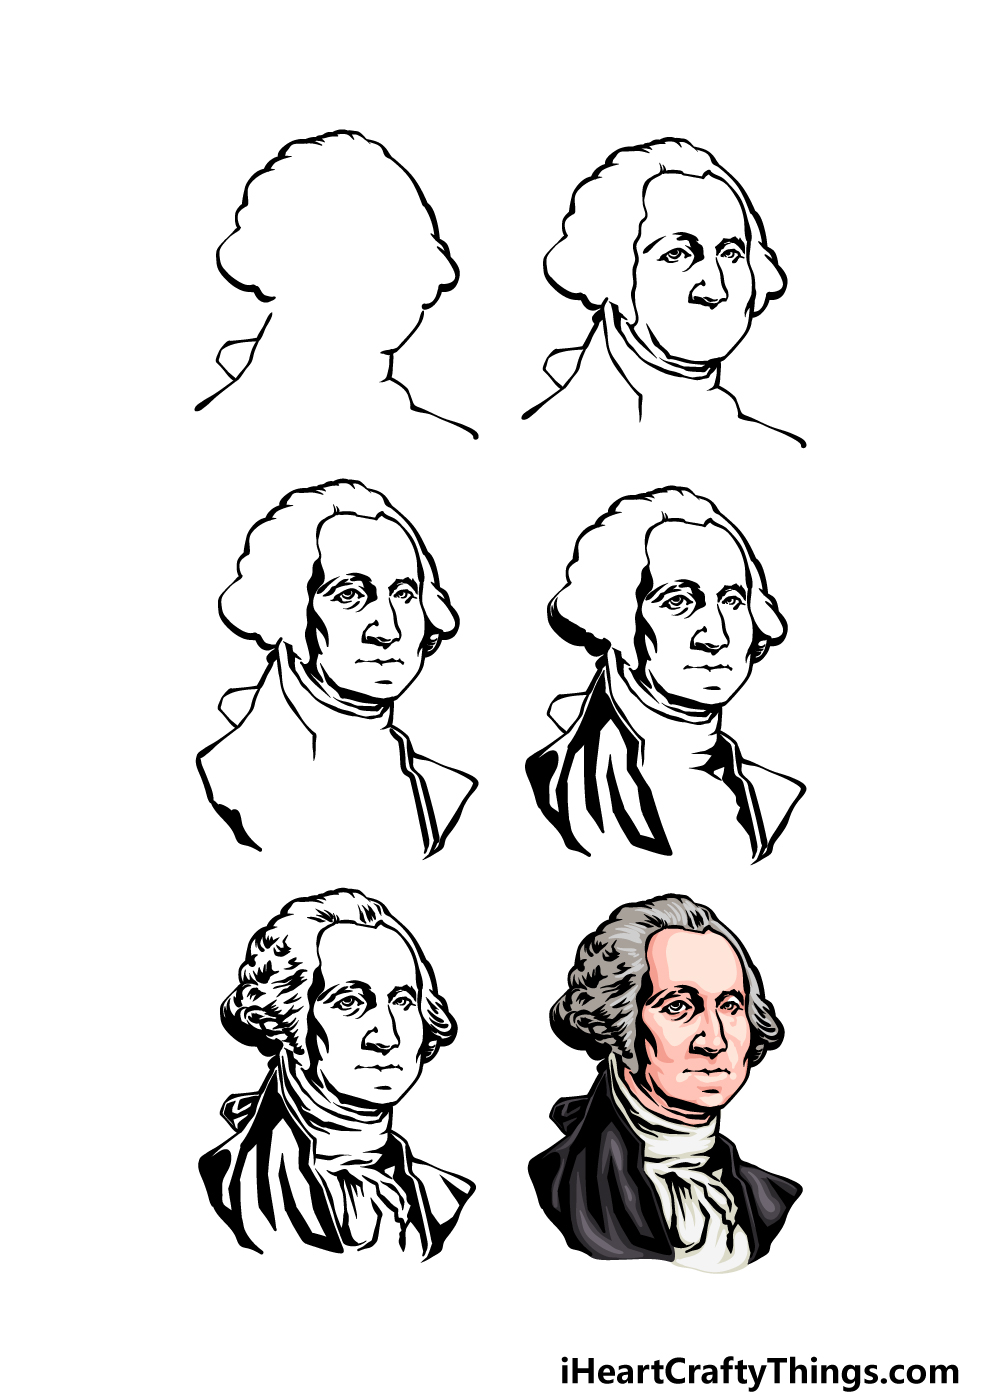
How to Draw George Washington – Let’s Get Started!
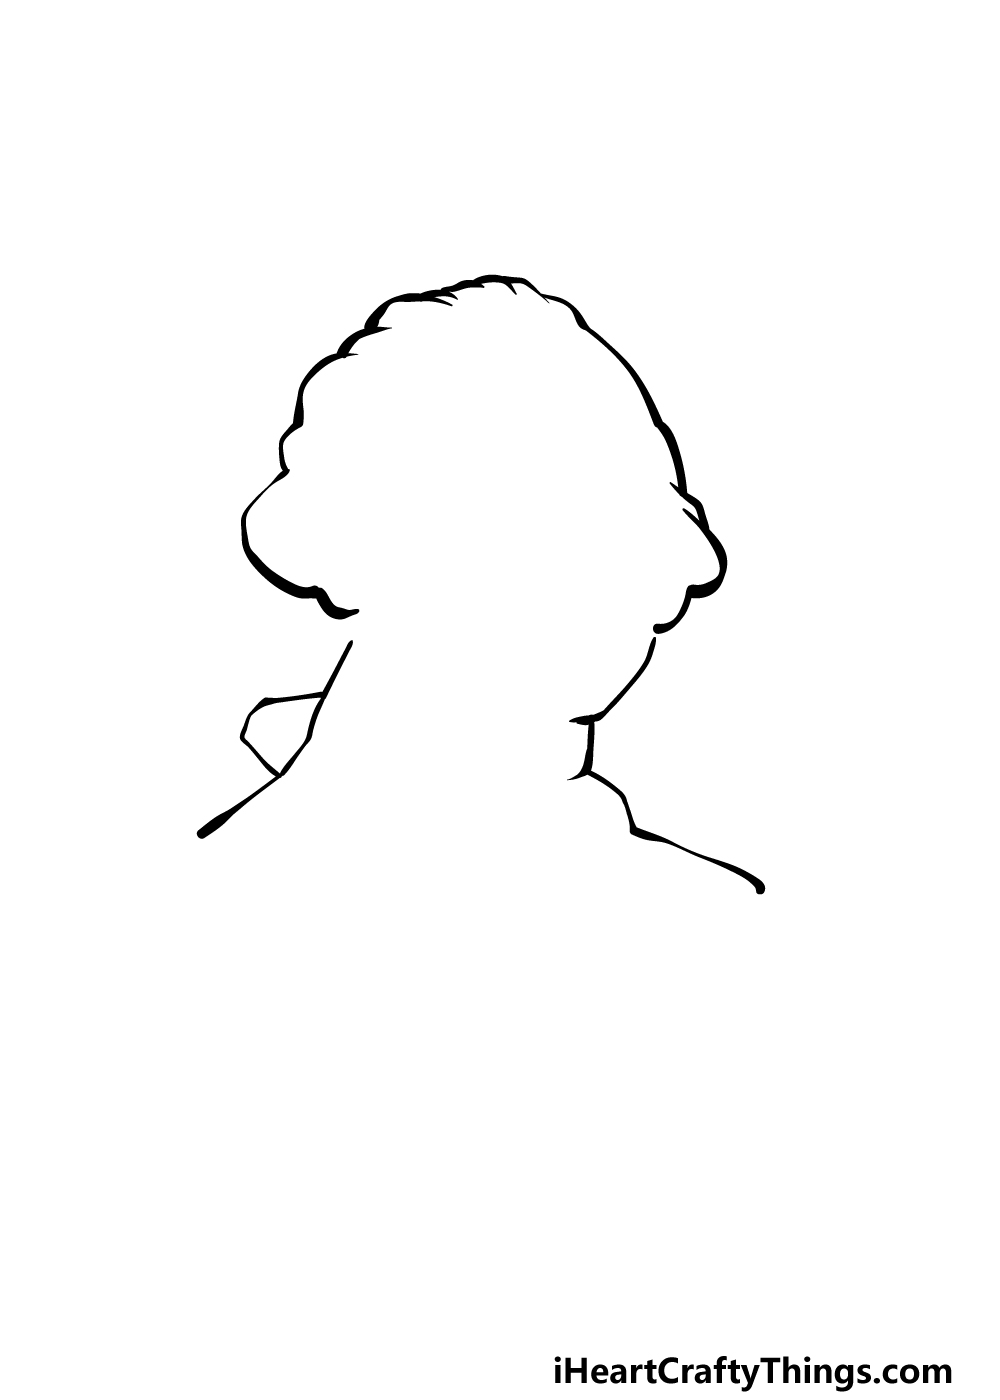
Step 1
As we mentioned in the introduction to this guide on how to draw George Washington, drawing real people can be a challenge to get right.
Luckily, George Washington has a visually distinct appearance, and that can make it a bit easier.
To get this started, we shall first draw the outline for his face. Using the reference image as a guide, you can use some curved lines to draw his hair outline on the left.
Then, we will use some more curved lines for his forehead and face outline. To finish off this outline for his head, we will then draw some straighter lines for his collar and shoulders.
Once this outline is done, we can start drawing some more details for his face in the next few steps.
Step 2 – Now, draw some facial details for him
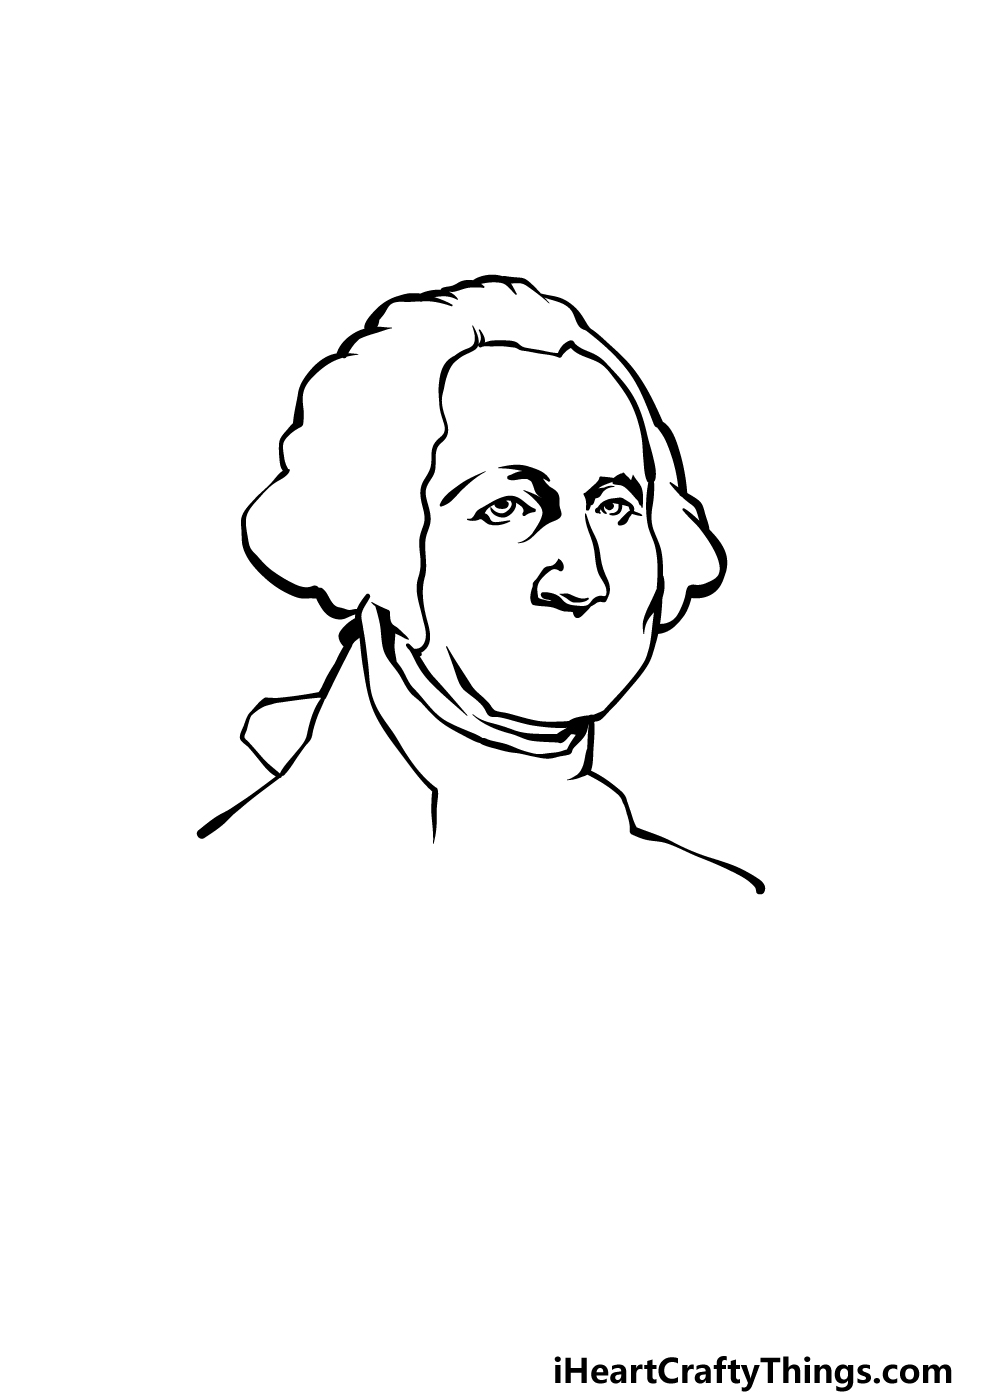
We will start drawing some of the facial features to your George Washington drawing in this next step.
First, we will use a curved, slightly bumpy line for his hairline extending up from the side of his collar and then up and around his face.
Then, we will be using another curved line for the top edge of his collar, and then add another line above that for his chin and jawline. The next aspect to add will be his eyes.
These can be the trickiest feature to draw, as eyes are a big part of how we identify faces, and this makes them important to get right when drawing real people.
Try your best to replicate the lines that we used to draw his eyes in our example, and also try to position them as they appear there as well.
Finally for this step, use some thick lines for the lines surrounding his eyes. You can finish off by drawing his nose before we move on.
Step 3 – Next, draw his mouth and other details
With the eyes and nose drawn, we can add some more facial features in this step of our guide on how to draw George Washington.
We will start this third step by drawing his mouth. This should be quite a simple aspect to draw, and it can be added with some thin, simple lines.
Once the mouth is drawn, we will add some shading detail to his face. This detail can be drawn with some black shapes on the sides of his face.
We will also be drawing some more lines for his shoulders before moving on.
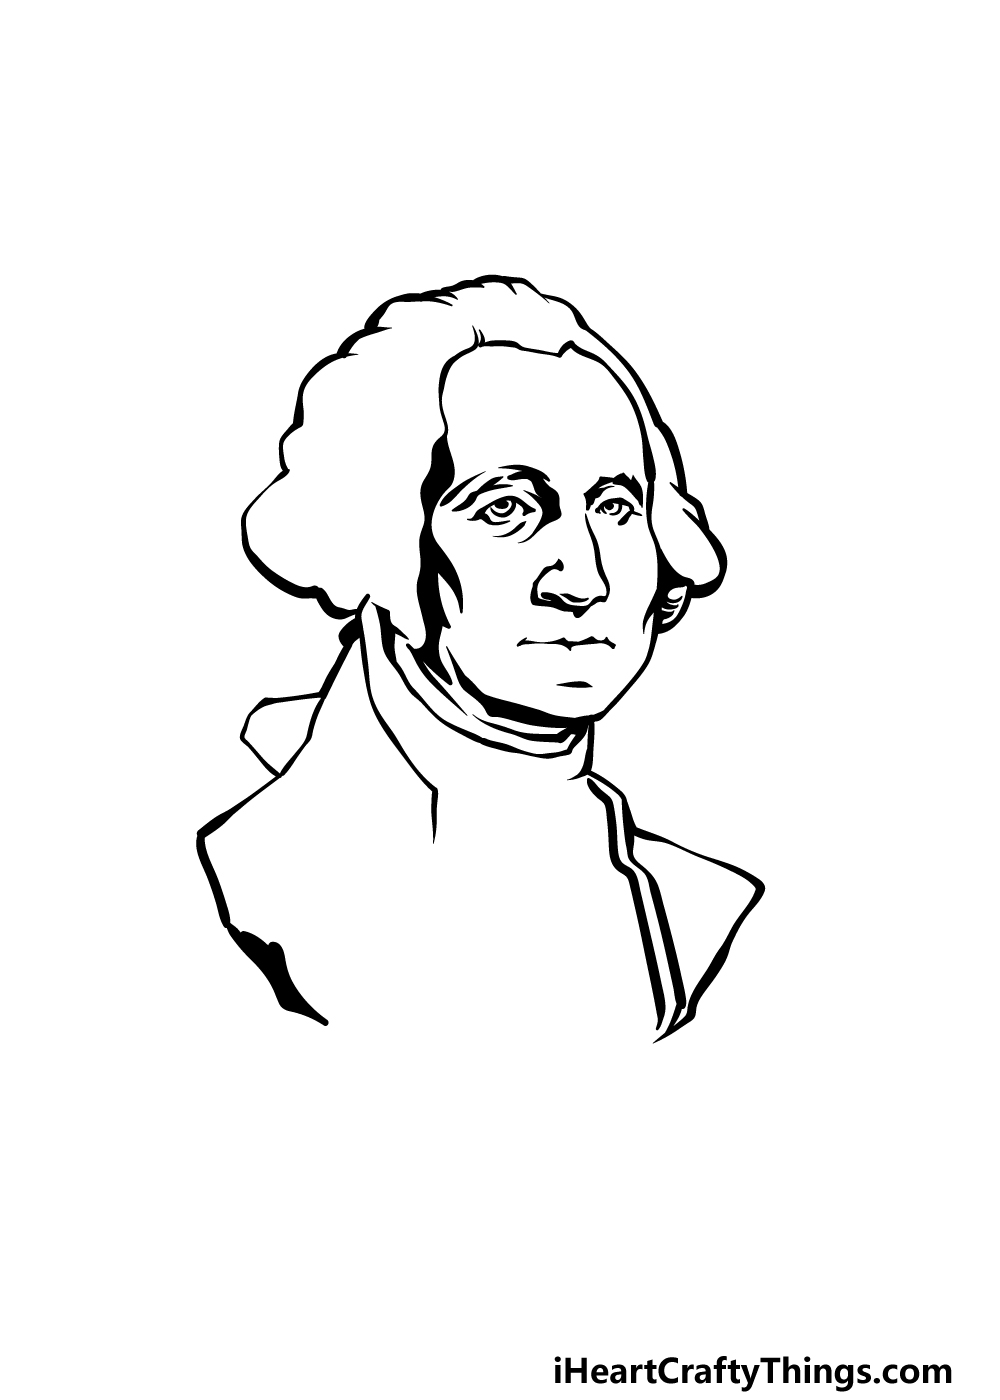
Step 4 – Add some more shading details in this step
This George Washington drawing is already starting to look like the man himself! For this and the next steps of this guide, we will be adding even more shading details to his hair and shoulders.
The first shading that we will add will go at the base of the back of his hair.
Then, we shall be adding some shading details to his shoulders and chest. Use some thick, curved line shapes on these areas, and try your best to replicate them as they look in our reference picture.
This will help to create the look of fabric creases for his clothing. Then in the next step, we shall work on the final details.
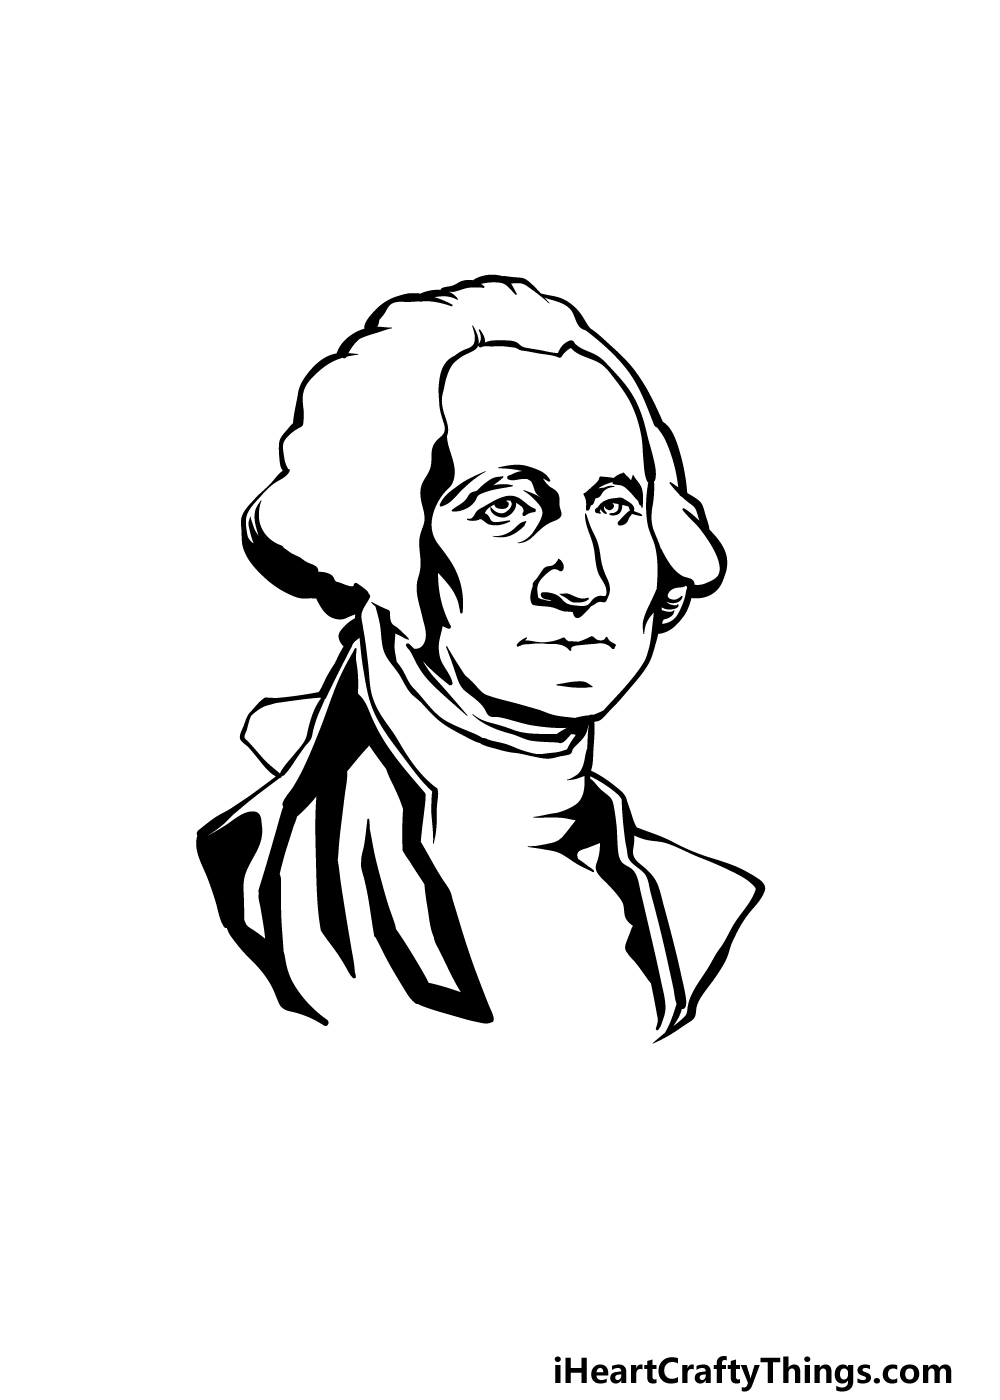
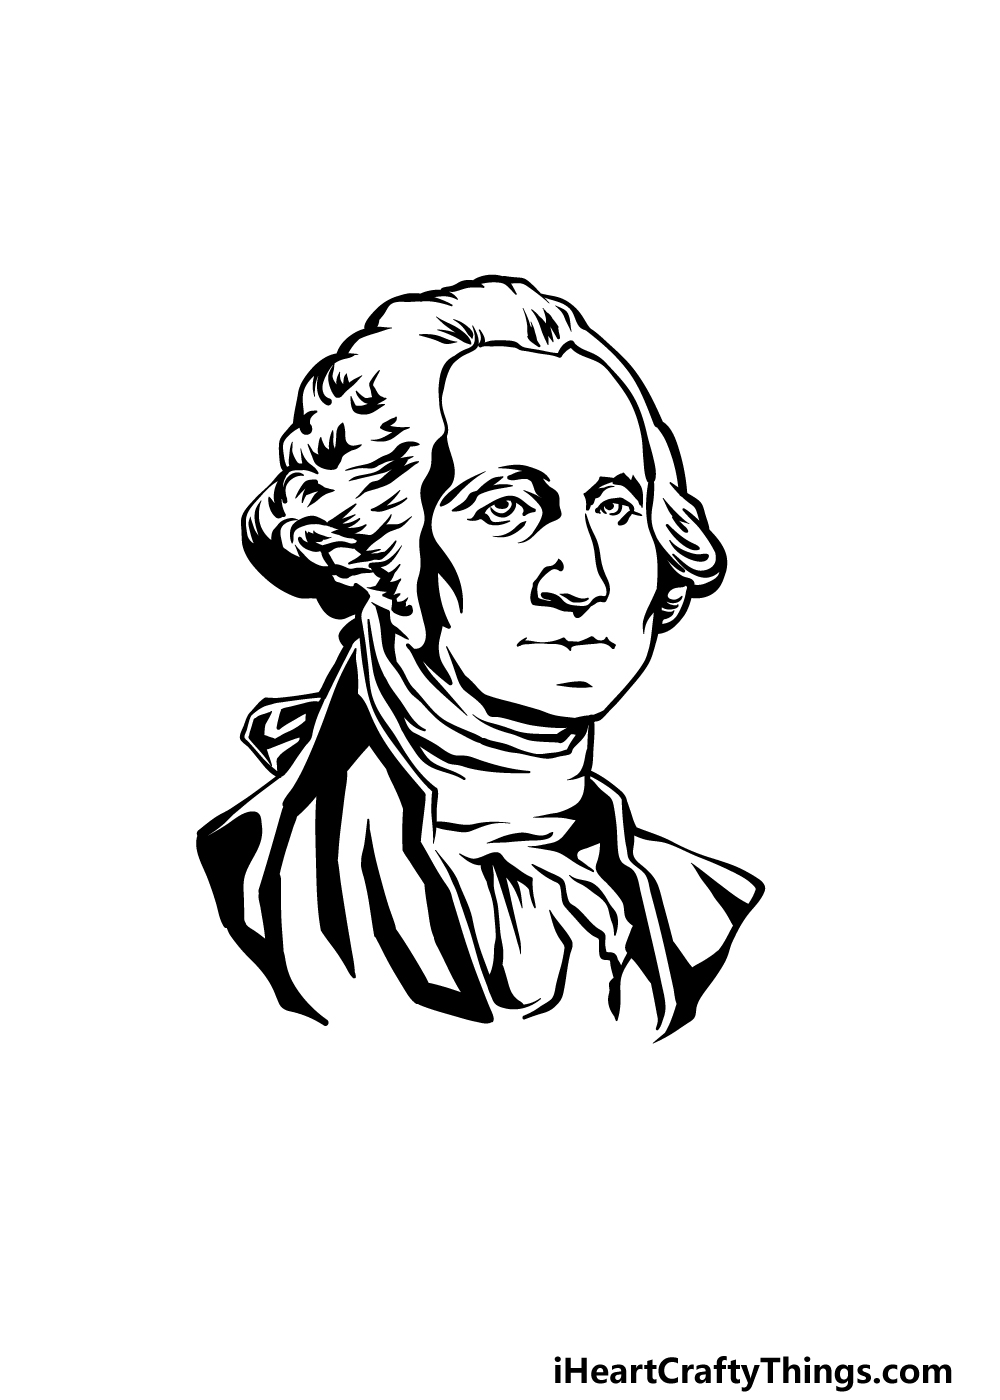
Step 5 – Add the final touches for your George Washington drawing
Before we add some color to this image, we have a few final touches to add in this step of our guide on how to draw George Washington.
First, we will be adding some texture detailing to his hair. To do this, you can draw some thick, curved lines near the sides and top of his hair to add some texture to them.
Finally, this picture will be finished off with some curved line details on his shirt to give it some more crease texture as well. Once these details are done, you’ll be ready for the final step!
Before you move on, you could also draw some extra details. One fun idea would be to draw a border of a dollar bill around him! What else can you think of to add to this image?
Step 6 – Finish off your George Washington drawing with some color
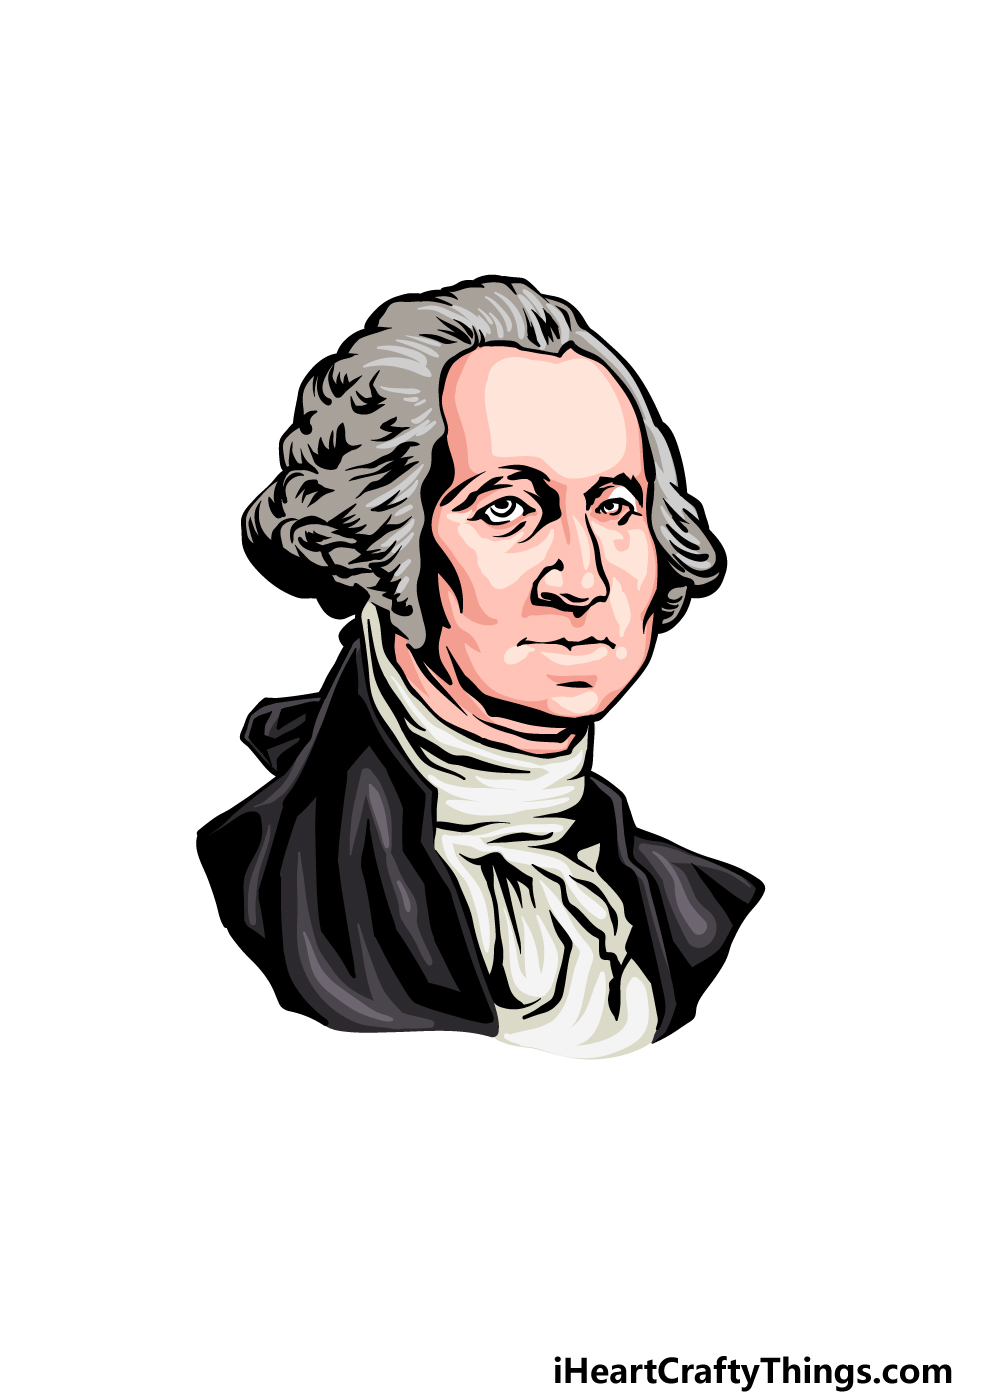
Now it’s time to finish off this George Washington drawing with some color!
We kept the colors a bit more muted and realistic for our example image, but you could use any colors that you like to finish it off.
If you went with our suggestion of making this look like a dollar bill, you could use shades of green to further make it look like that!
What colors and art mediums will you use for this image?
3 More tips to make your George Washington drawing easy!
Recreate this famous president with these tips for your George Washington sketch!
This drawing of George Washington really captures his look, but the style may be a bit challenging for some people to draw.
There are quite a few details even though it is done in a stylized way, so you could use a less detailed style. One way to do this would be to make the image look more cartoony.
If you look at some caricature art, you will see that artists can capture a real person’s look without a ton of details.
If you find that kind of style easier, then you should absolutely go for it when working on your version of George Washington!
If you work this version of George Washington into a larger design, you won’t need to get all of the details looking perfect.
For example, you could change this George Washington drawing to look like a one-dollar bill.
That way, you wouldn’t need to have as many details, and there would be other elements to draw.
The less focus you have on the face of George Washington, the less any inaccuracies will be noticeable.
You could also add other characters or a background setting so that he will be a bit smaller on the page. That would also allow you to use fewer details.
The best way to make your George Washington sketch easier would be by using additional reference material.
George Washington has been portrayed in many ways, so you would have many resources to use.
First, you could consult old paintings that were made of him. There are no photos of George Washington, but we still have a good idea of what he looked like thanks to these portraits.
Other artists have also made attempts to imagine what he could have looked like. If you went with our idea of making this image look like a one-dollar bill, then you could use one to help you.
These are a few resources you can use with this guide to make it much easier!
Your George Washington Drawing is Complete!
We hope that you had a great time drawing this great man in our guide on how to draw George Washington!
This guide was designed to show you how you can draw such a recognizable person while having it look like him and having it look accurate.
Hopefully we succeeded in this goal and that it was made fun and easy for you to work on!
Now it’s up to you to finish off with your own details, colors and medium choices. We look forward to seeing what you go for!
When you’re ready to take on your next drawing challenge, please check out our website for more amazing drawing guides.
We would also love to see how you portrayed this great president! Please do show us by sharing your George Washington drawing on our Facebook and Pinterest pages.