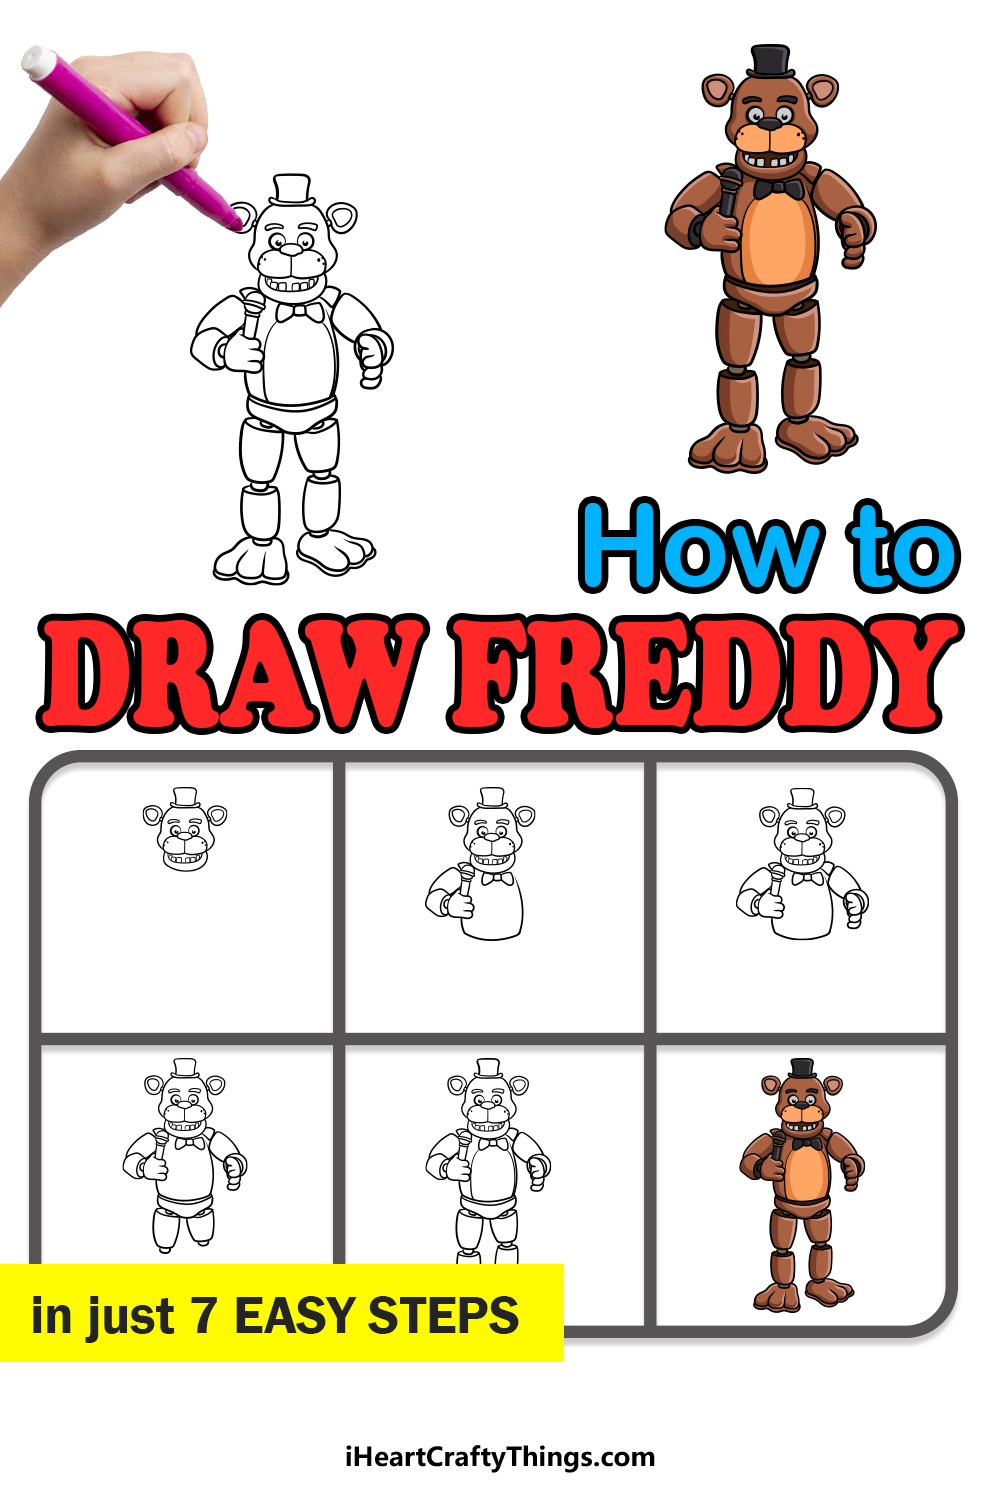
It won’t be scary to learn how to draw Freddy Fazbear with the help of this guide! Your drawing will be so much more fun and simple with this guide for kids.
Freddy Fazbear has emerged as a new and iconic horror villain. He is one of the main bad guys in the Five Nights At Freddy’s video games and appears in each one.
The games feature animatronics at an old pizza restaurant that comes alive to terrorize the player. Freddy has some appealing elements of how he looked in his heyday but also showcases signs of decay and corruption.
All of these elements are included in this guide, and I will show you everything you need to know about bringing this scary horror villain to life!
You could even add a background to show off your favorite location from the games.
Watch And See How To Create A Freddy Fazbear Drawing
How to Draw Freddy Fazbear – Let’s Get Started!
Step 1
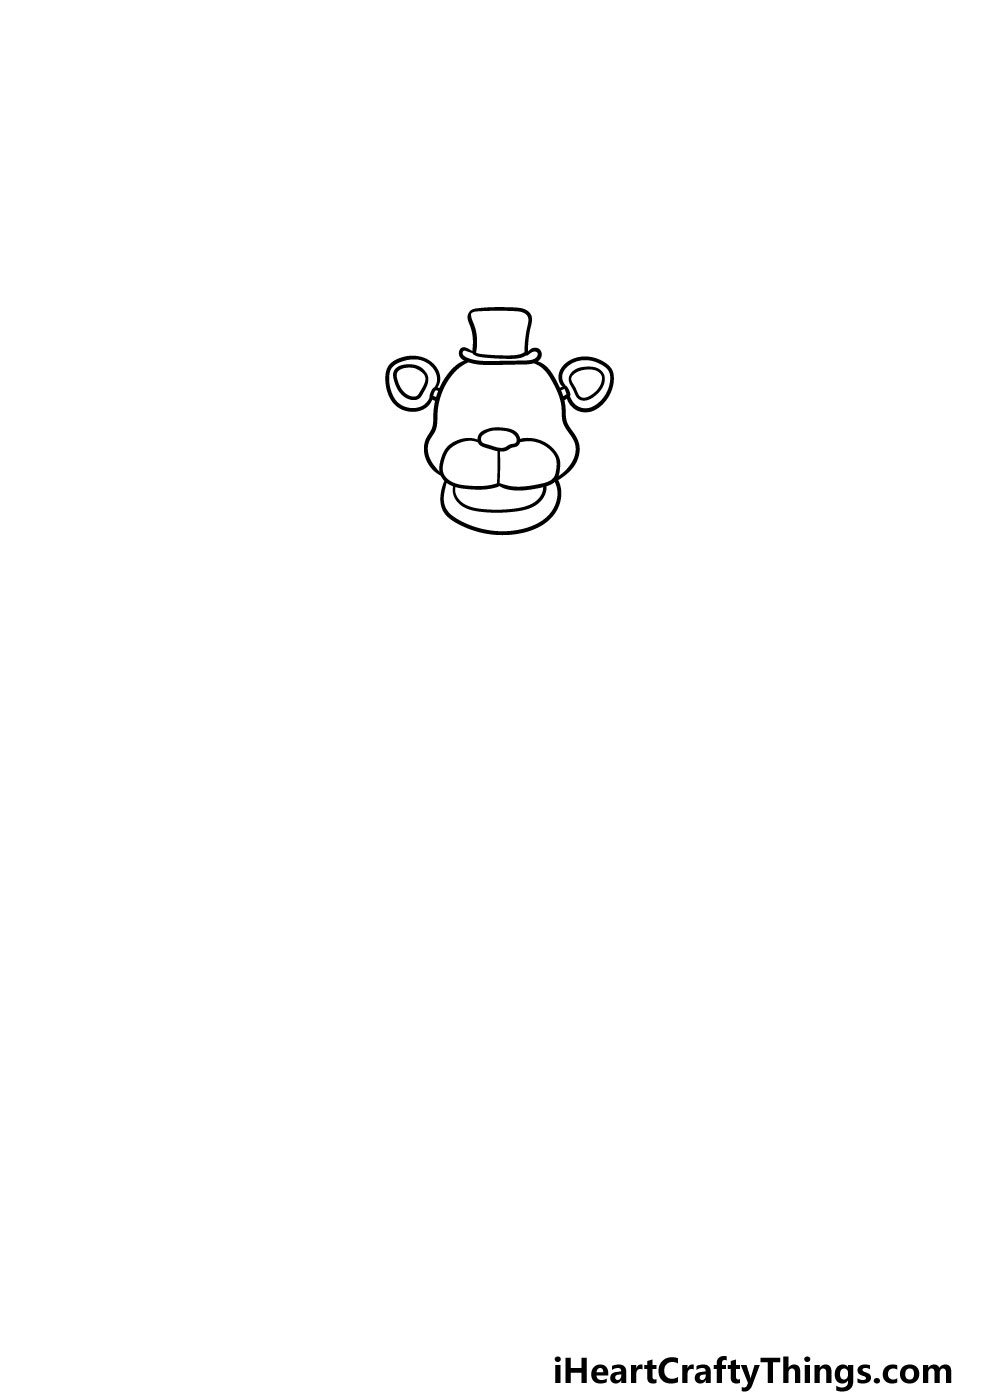
We will be starting with the head in this step of our guide on how to draw Freddy Fazbear. You can start by drawing his little hat that sits atop his head, and this can be drawn with some curved lines.
Then, his head will be quite round and misshapen and can be drawn with even more curved lines.
Then, he will have his nose which has his muzzle in three parts beneath it. Then, his ears will be drawn as two rounded shapes with little circles inside of them.
The ears will be connected to the head with little thin lines. That’s all there is to it for this step, and now we’re ready for step 2!
Step 2 – Draw some facial details in this part

With the head outline done, we can now draw some facial details in this part of your Freddy Fazbear drawing.
First, you can draw his eyes, which are made up of fairly small circles with dots inside of them. Then, you can draw his thick eyebrows with some curved rectangle shapes.
Then, you can finish off this step by adding some dots onto his cheeks and then drawing some jagged teeth in his mouth.
Step 3 – Next, you can start drawing his arm and body
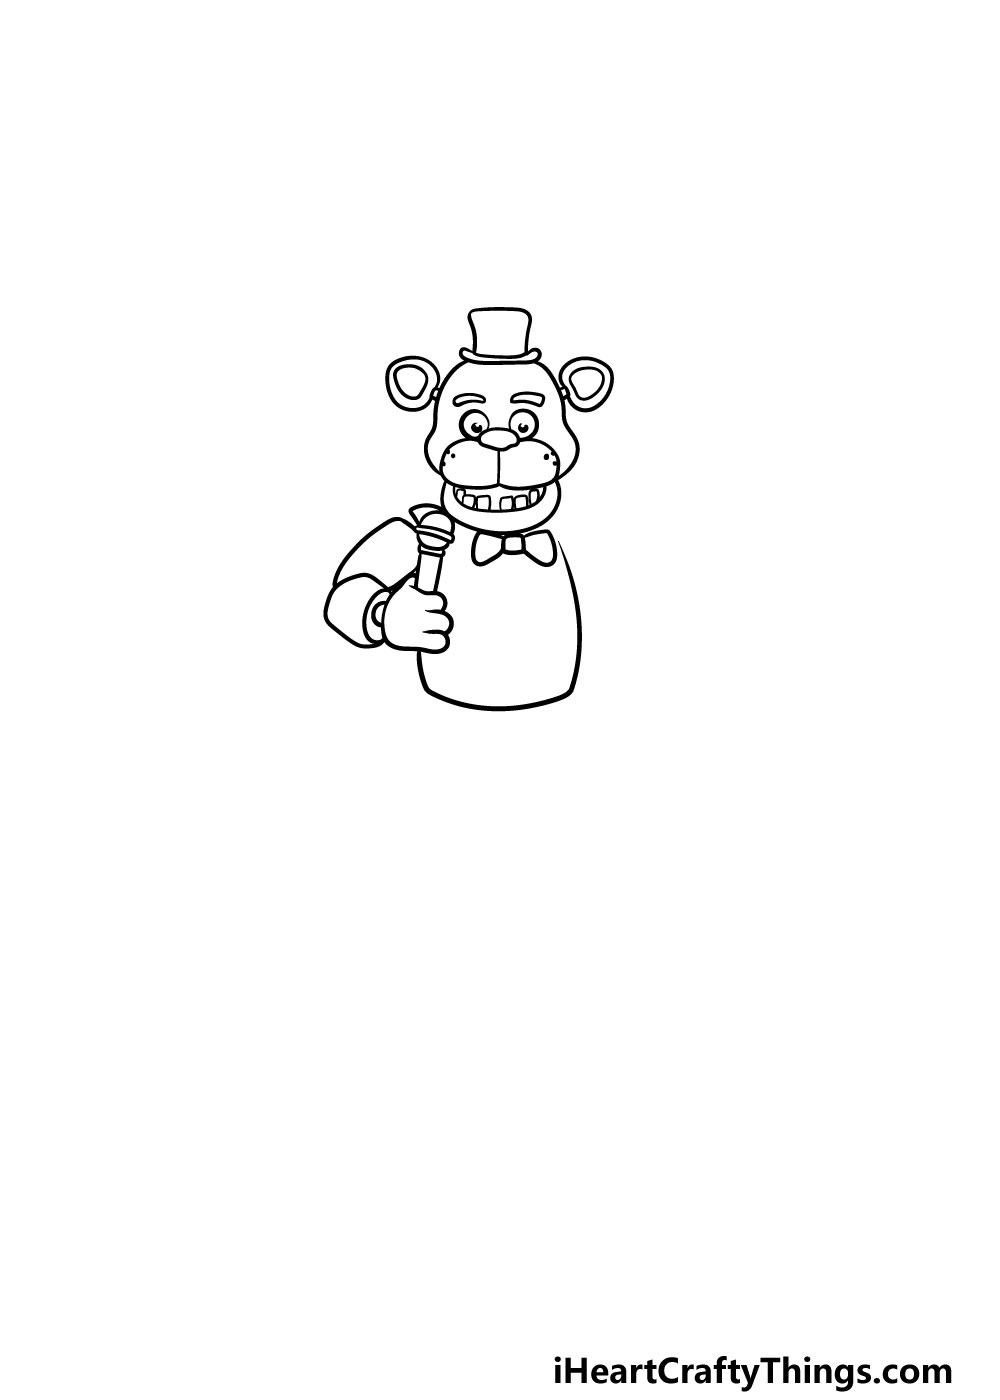
Now that the head is finished for now, we can start on his body in this step of our guide on how to draw Freddy Fazbear. First, you can draw a little bowtie under his head.
Then, his hand will be holding a microphone near his head, and that will of course be connected to his arm.
The arm will be made up of a few sections, and this will help to show off his robotic nature. Finally, his body will then be drawn as a large, rounded rectangular shape that his head and arm will be attached to.
We will continue drawing more of his body in the next few steps, so let’s proceed!
Step 4 – Draw his other arm

It’s time to draw the second arm for your Freddy Fazbear drawing in this step.
It will look quite similar in structure to the other arm that you drew, with the main difference being that he won’t be holding anything this time.
Step 5 – Now, you can draw the top half of his legs
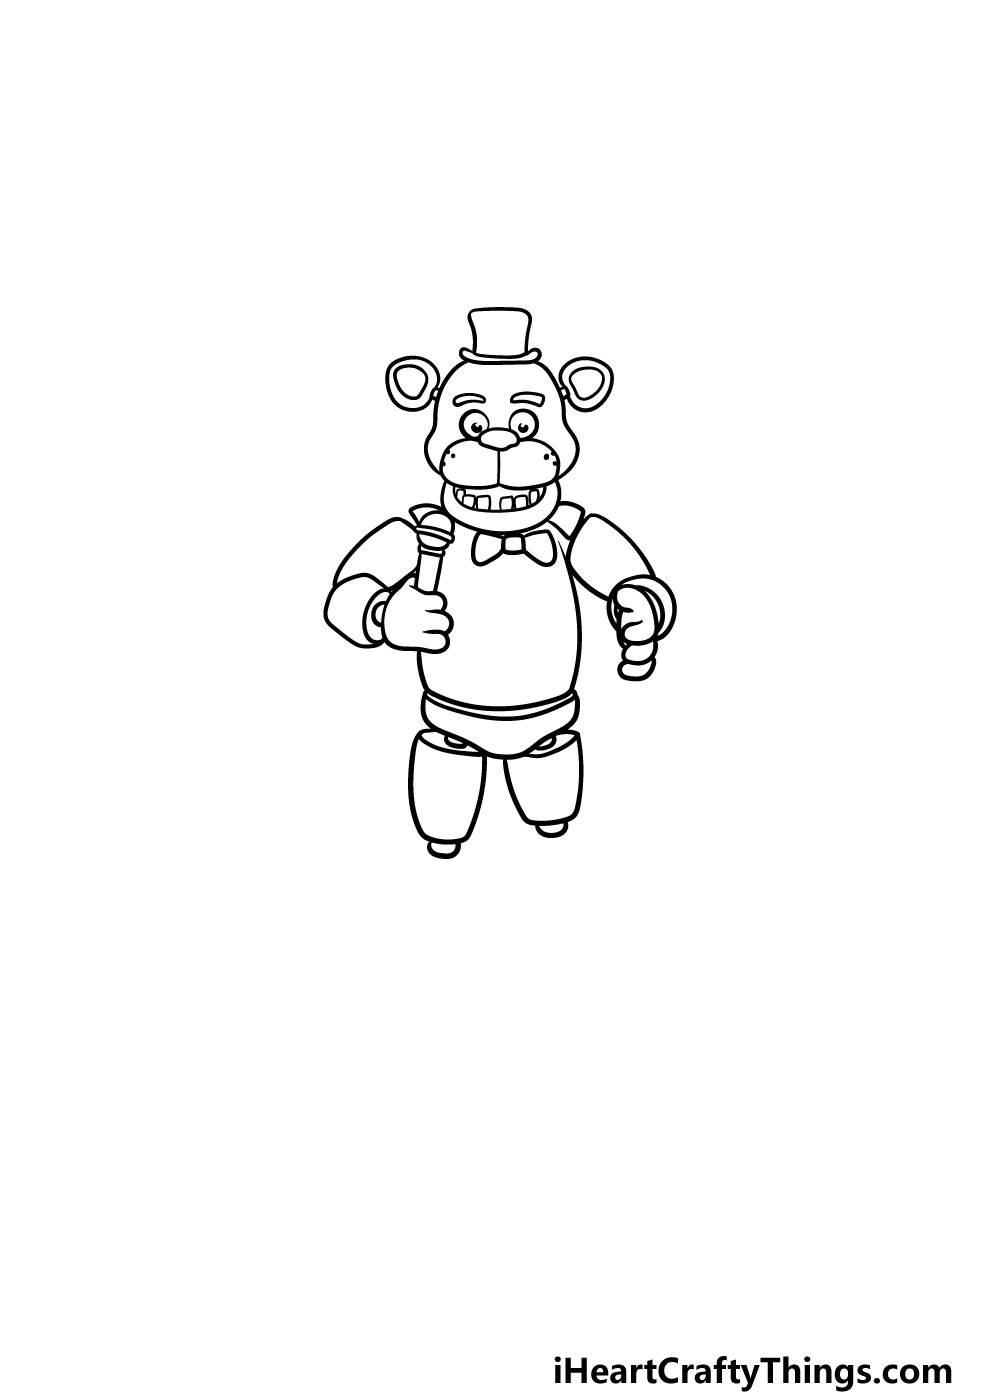
As we have mentioned, Freddy Fazbear is a robotic animatronic, and that is most apparent with his limbs. We’ve seen this in his arms already, and the same will be the case for his legs, which we will start in this step of our guide on how to draw Freddy Fazbear.
The first section will be his waist which will attach directly to his chest. There will then be some pegs attached to his waist drawn with short lines, and those will lead to his cylindrical thighs.
Finally, there will be some more small lines for more pegs at the base of these thighs.
These will be attaching to the bottom of the legs in the next step, so let’s move on to the final details!
Step 6 – Next, you can add the rest of his legs
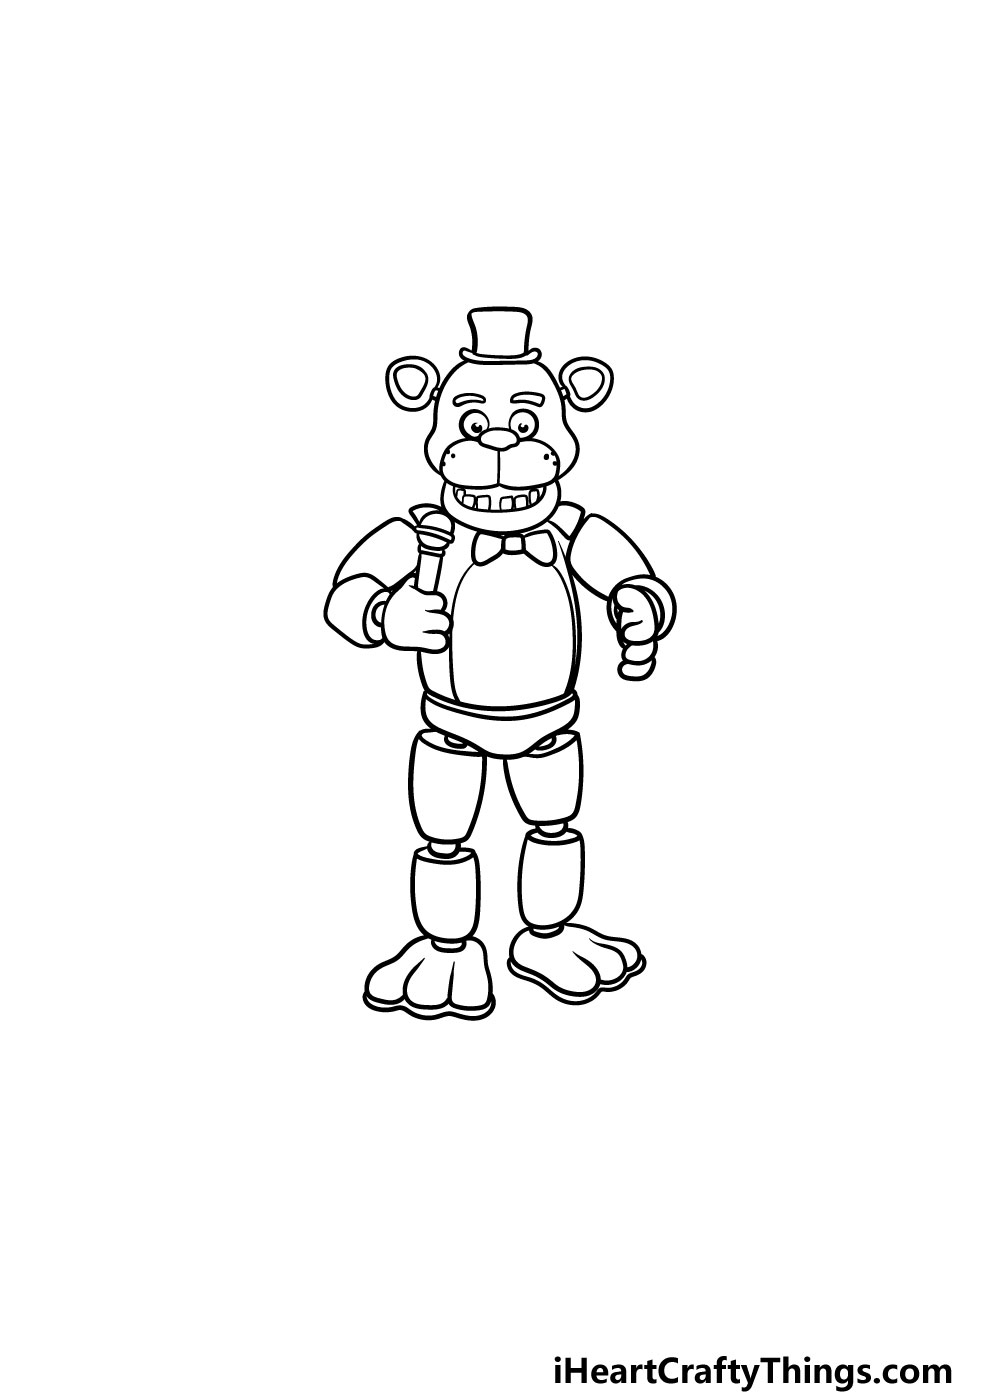
It will be time to bring some color to this Freddy Fazbear drawing soon, but first we have a few final details to add.
First, we will finish off his legs. You can start this by adding one more cylindrical section connecting to the pegs coming from his thighs.
Then, the legs will be finished off with his feet. His feet are very big with three toes each, and they each have a very thin base to them. Finally, we will finish off this step by drawing a circular shape inside of his belly.
That will conclude all of the details in this guide, but you can also add some final touches of your own! You could maybe draw a background to show your favorite location in the games or draw some of Freddy’s fellow animatronics. What will you draw to finish off this picture?
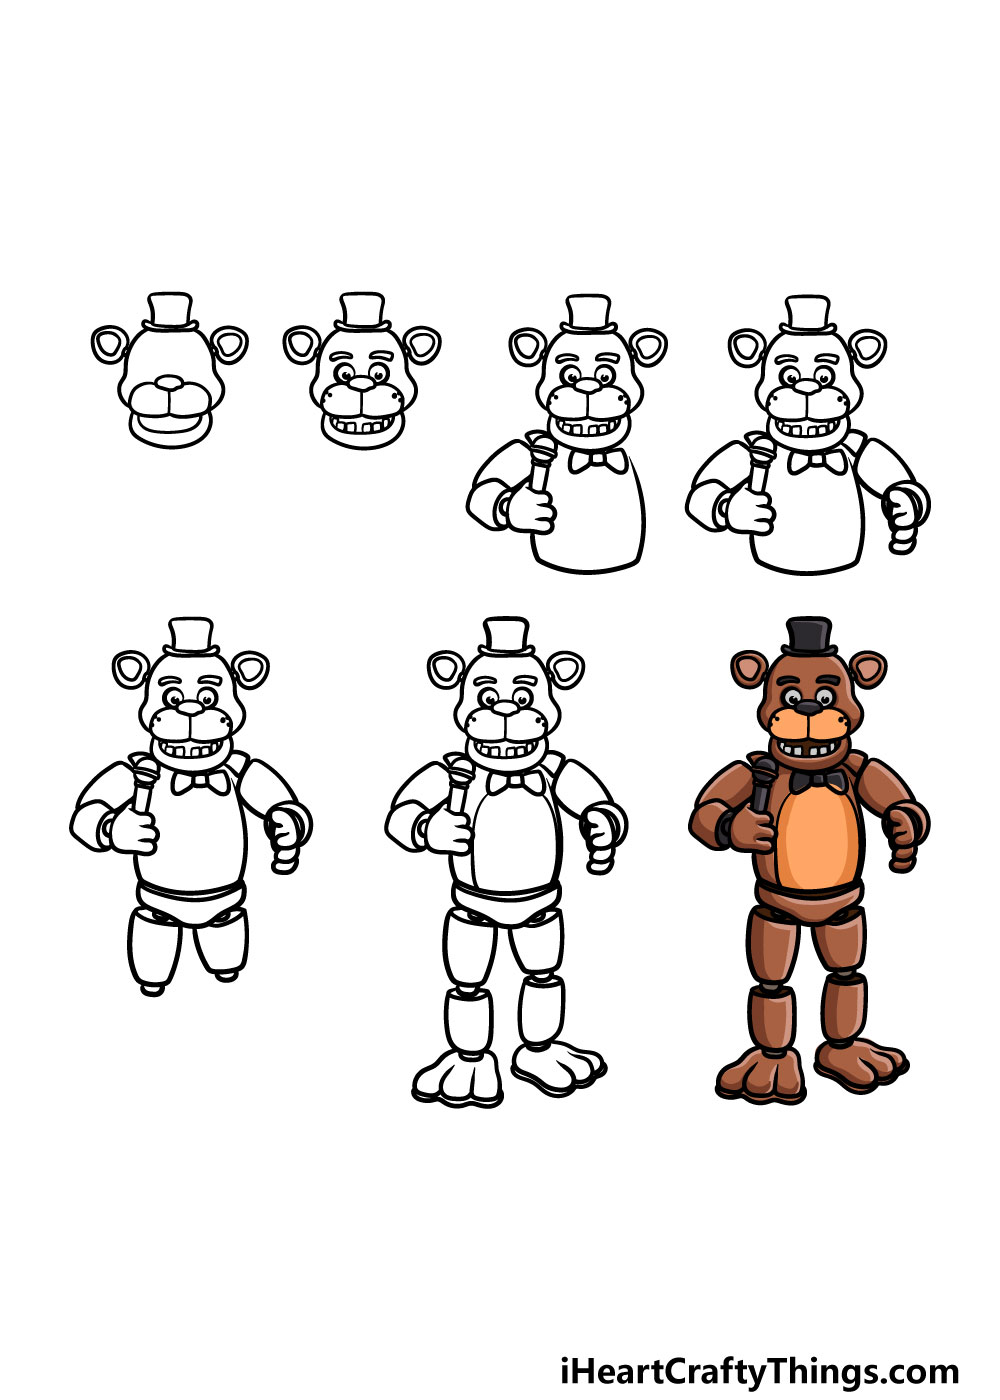
Step 7 – Finish off your Freddy Fazbear drawing with some color
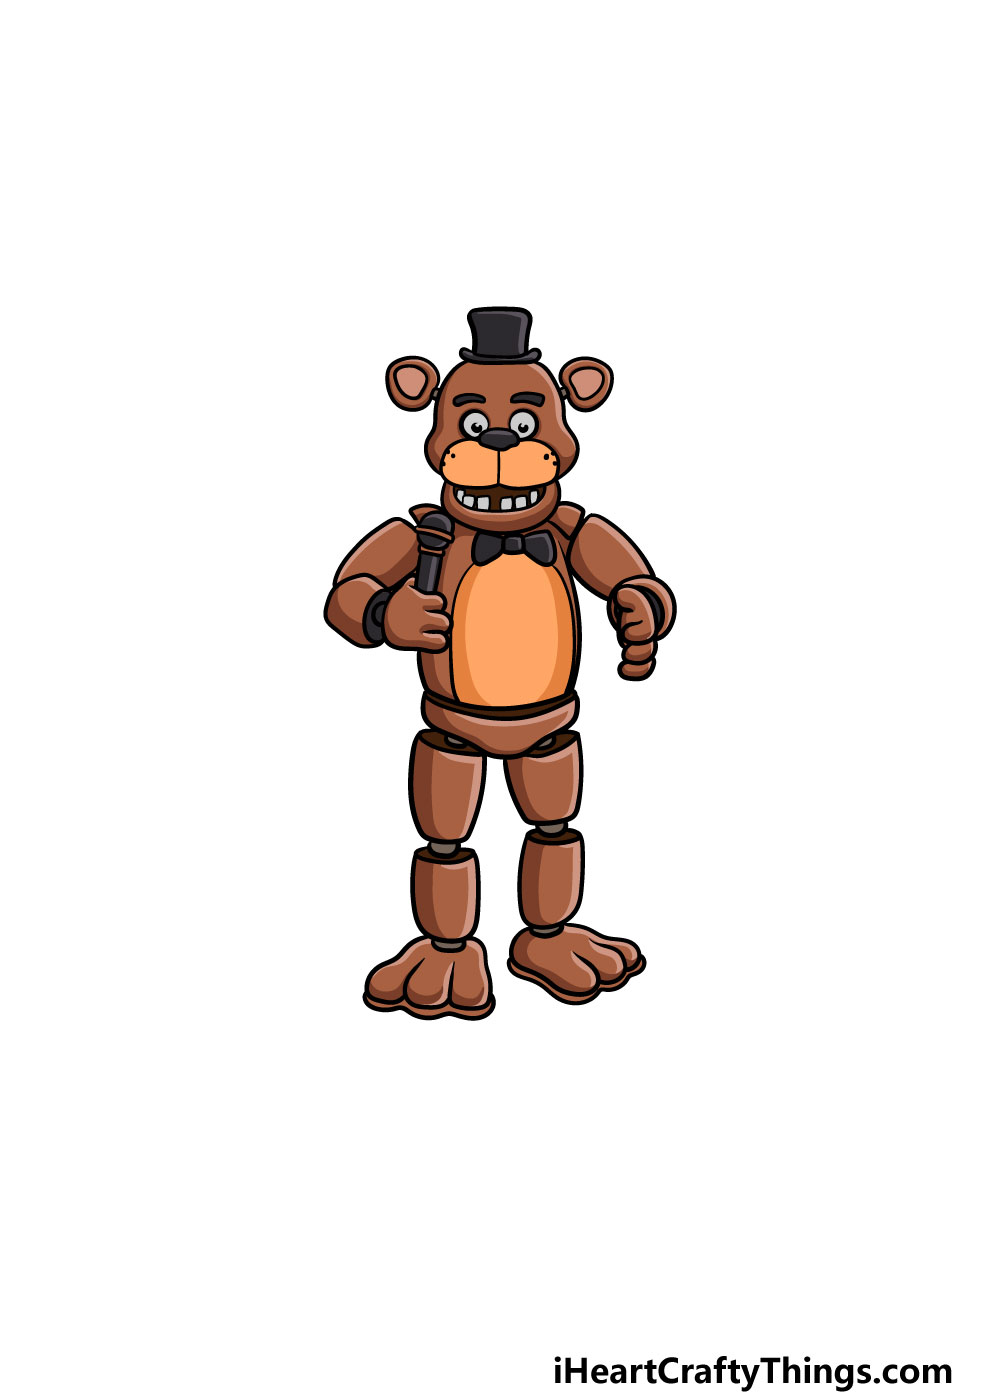
The seventh and final step of your Freddy Fazbear drawing is where you get to have fun adding some amazing color to your image!
In our reference picture, we showed you the colors that Freddy is shown to have in the video games. You can use this as a reference point to keep his colors accurate, but don’t be afraid to use some of your own color choices as well!
You could also have fun experimenting with different art tools and mediums to bring this picture to life.
You could make the colors dark and spooky or have them be nice and bright to show Freddy before he turned bad. What colors and art tools will you choose?
5 Tips To Make Your Freddy Fazbear Drawing Even Better!
Make your Freddy Fazbear sketch look even more terrifying with these 5 tips!
The character of Freddy Fazbear has various different appearances in the games. If you have a favorite look, you could adapt this drawing of Freddy Fazbear to match that look!
For example, you might prefer when he looks more skeletal and robotic, which would be a fun look to adapt. That’s one idea, but what other look or style could you use for this fearsome animatronic?
In the games, Freddy Fazbear is not the only robotic animal that will torment you. If you want to make your Freddy Fazbear drawing even more fearsome, you could add some more characters from the games.
There are so many iconic characters you could use, and you could pick any of your favorites to fill the page. What are some characters that you could use?
Another option would be to get really creative and design some new animatronic characters to add to the drawing!
This way, you could put your own personal spin on this series with some uniquely terrifying creatures.
You could base it on an animal that hasn’t been used in the series yet and then take it from there with your imagination.
Another way to make this drawing more complete would be to add some human characters. These could be people facing off against Freddy Fazbear and his pals.
For a personalized touch, you could use yourself, your friends or your family as inspiration for these characters. Who do you think could be facing Freddy Fazbear and his crew in this picture?
Finally, this Freddy Fazbear sketch would really be complete with a background to finish it off. Once again, you could use the games as inspiration.
If you have a favorite stage or setting from the games, you could try to replicate it here. Or, this could be another chance to get really creative and try out creating your very own new location.
What are some places you could use for the background?
Your Freddy Fazbear Drawing is Complete!
You have successfully completed this guide on how to draw Freddy Fazbear!
Unlike Freddy himself, we hope that this drawing wasn’t too scary to take on, and that by having it broken down into smaller steps you found it to be fun and easy!
Remember that you can also add to this image by using some of your own details and additions! We can’t wait to see what you decide to do.
We also have tons of cool guides on our website for you to try out! Be sure to visit us often to never miss out on our upcoming guides.
Once your Freddy Fazbear drawing is finished, please remember to share your artwork on our Facebook and Pinterest pages! We can’t wait to see your spooky Freddy Fazbear picture.