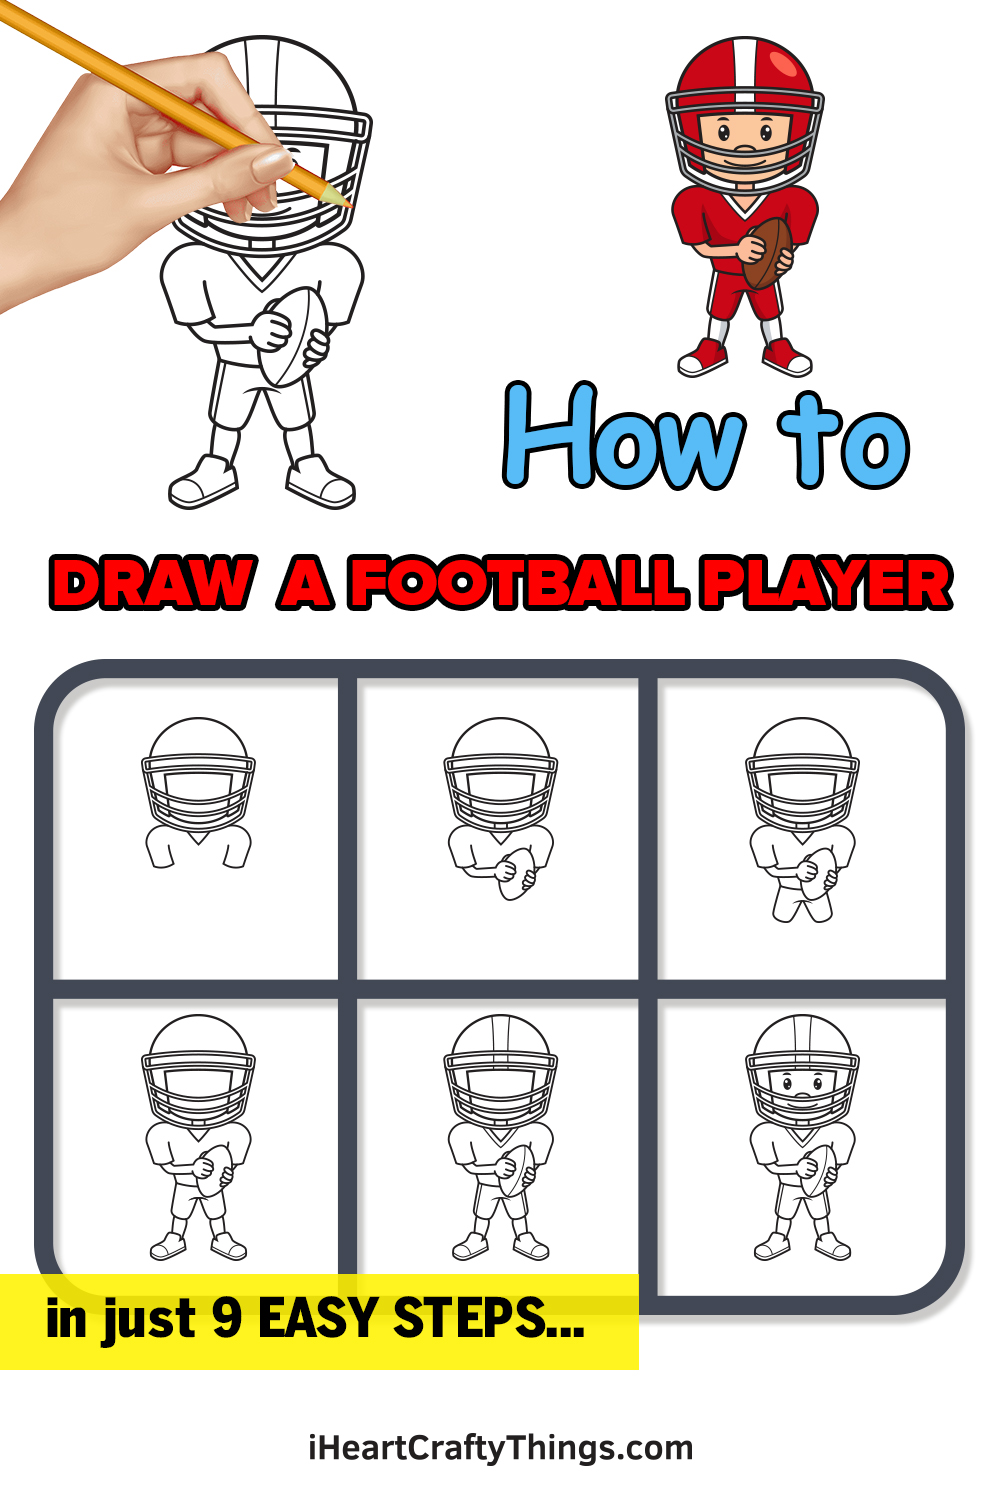
Becoming a football player is the ultimate dream for many young boys and adult males alike. If you’re one of them or you’re simply a fan of football, then this drawing tutorial is for you!
We have created a step-by-step process on how to draw a football player, summed up in 9 quick and easy steps.
Each instruction is paired with an illustration that serves as your visual guide as you follow the steps one by one.
What’s fun about this drawing tutorial is that you can customize the football player, including its appearance, uniform, and more. You can even make it look like you if you wish!
Have fun and use your artistic skills!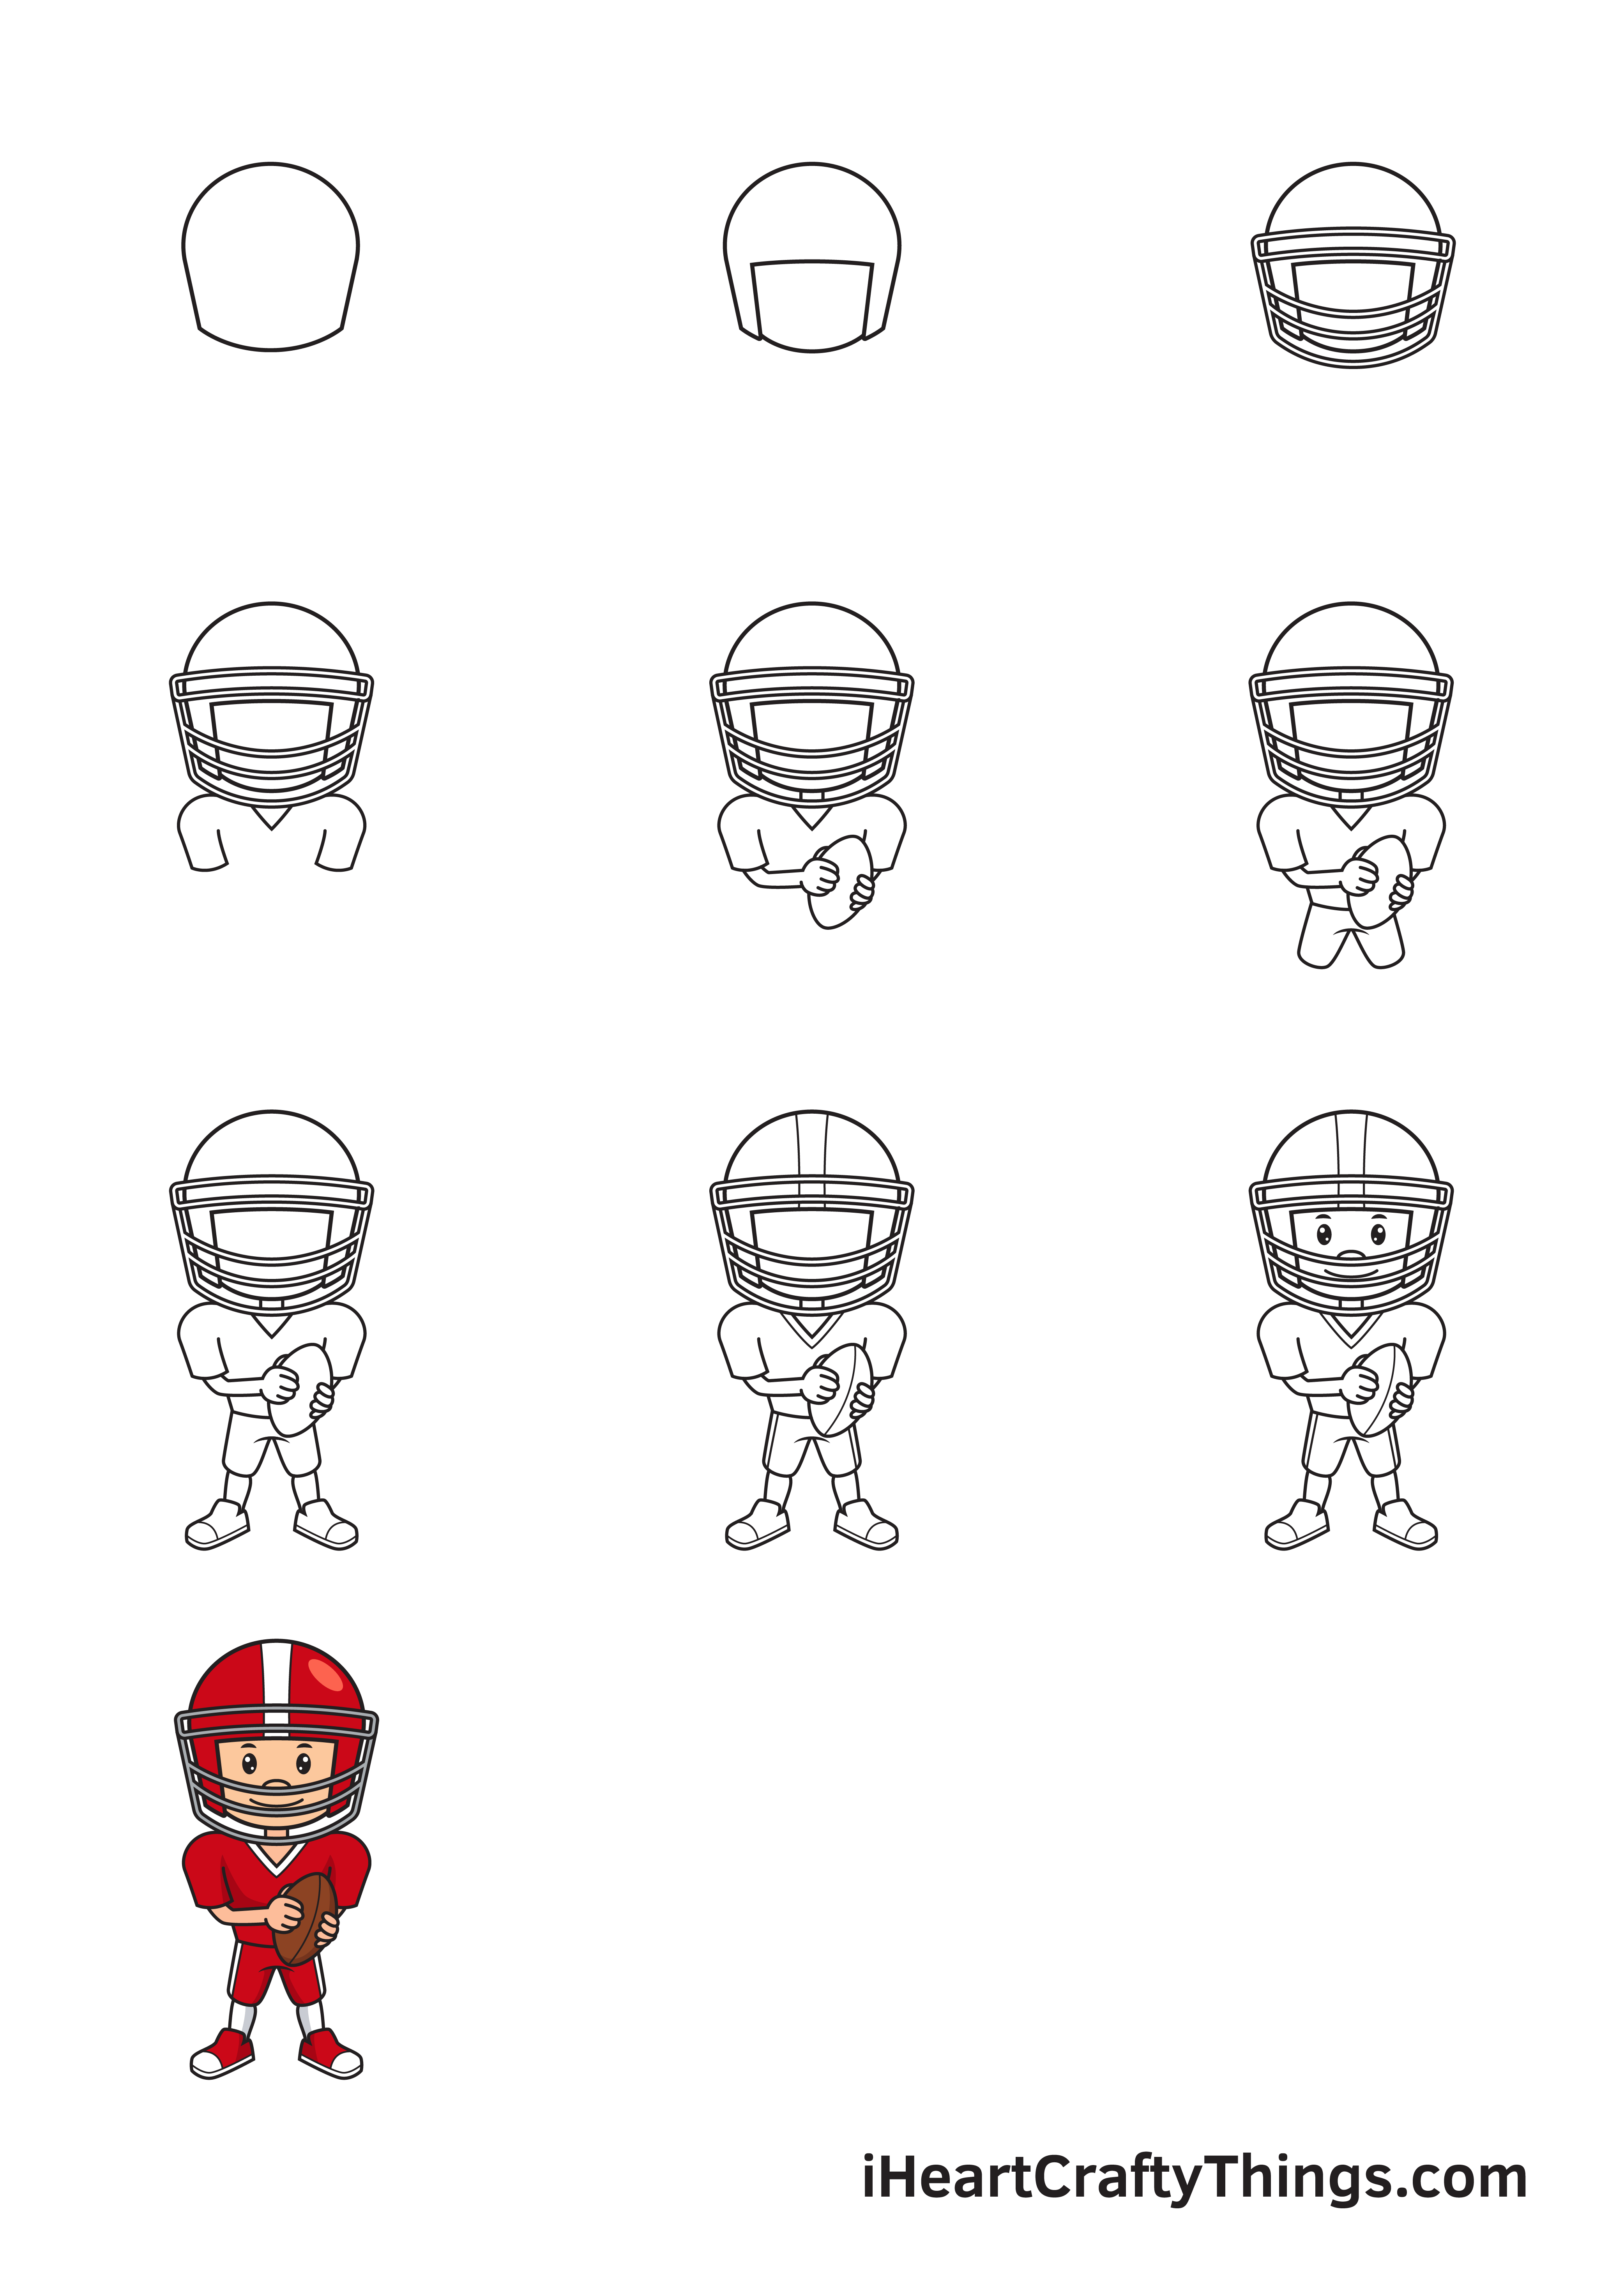
How to Draw a Football Player – Let’s get started!
Step 1

Start by drawing an outline of the football helmet on the upper portion of your paper. This ensures that there’s sufficient space for the entire body of the football player.
The shape of the helmet should be rounded at the top and flat at the bottom, as shown in the illustration above. This creates the shell of the football helmet.
Make sure that the outline of the helmet will be drawn in the correct spot by creating reference lines. Simply draw an intersecting horizontal and vertical line and use these lines as guidelines.
The vertical line above the horizontal line marks the spot where you should draw the football helmet.
Step 2 – Create an Outline of the Football Helmet

Draw an irregular square shape without a bottom line on the lower middle part of the outline of the helmet. This forms the opening of the helmet where the face of the football player is.
The opening of the helmet should encompass its bottom half.
Step 3 – Finalize the Structure of the Football Helmet
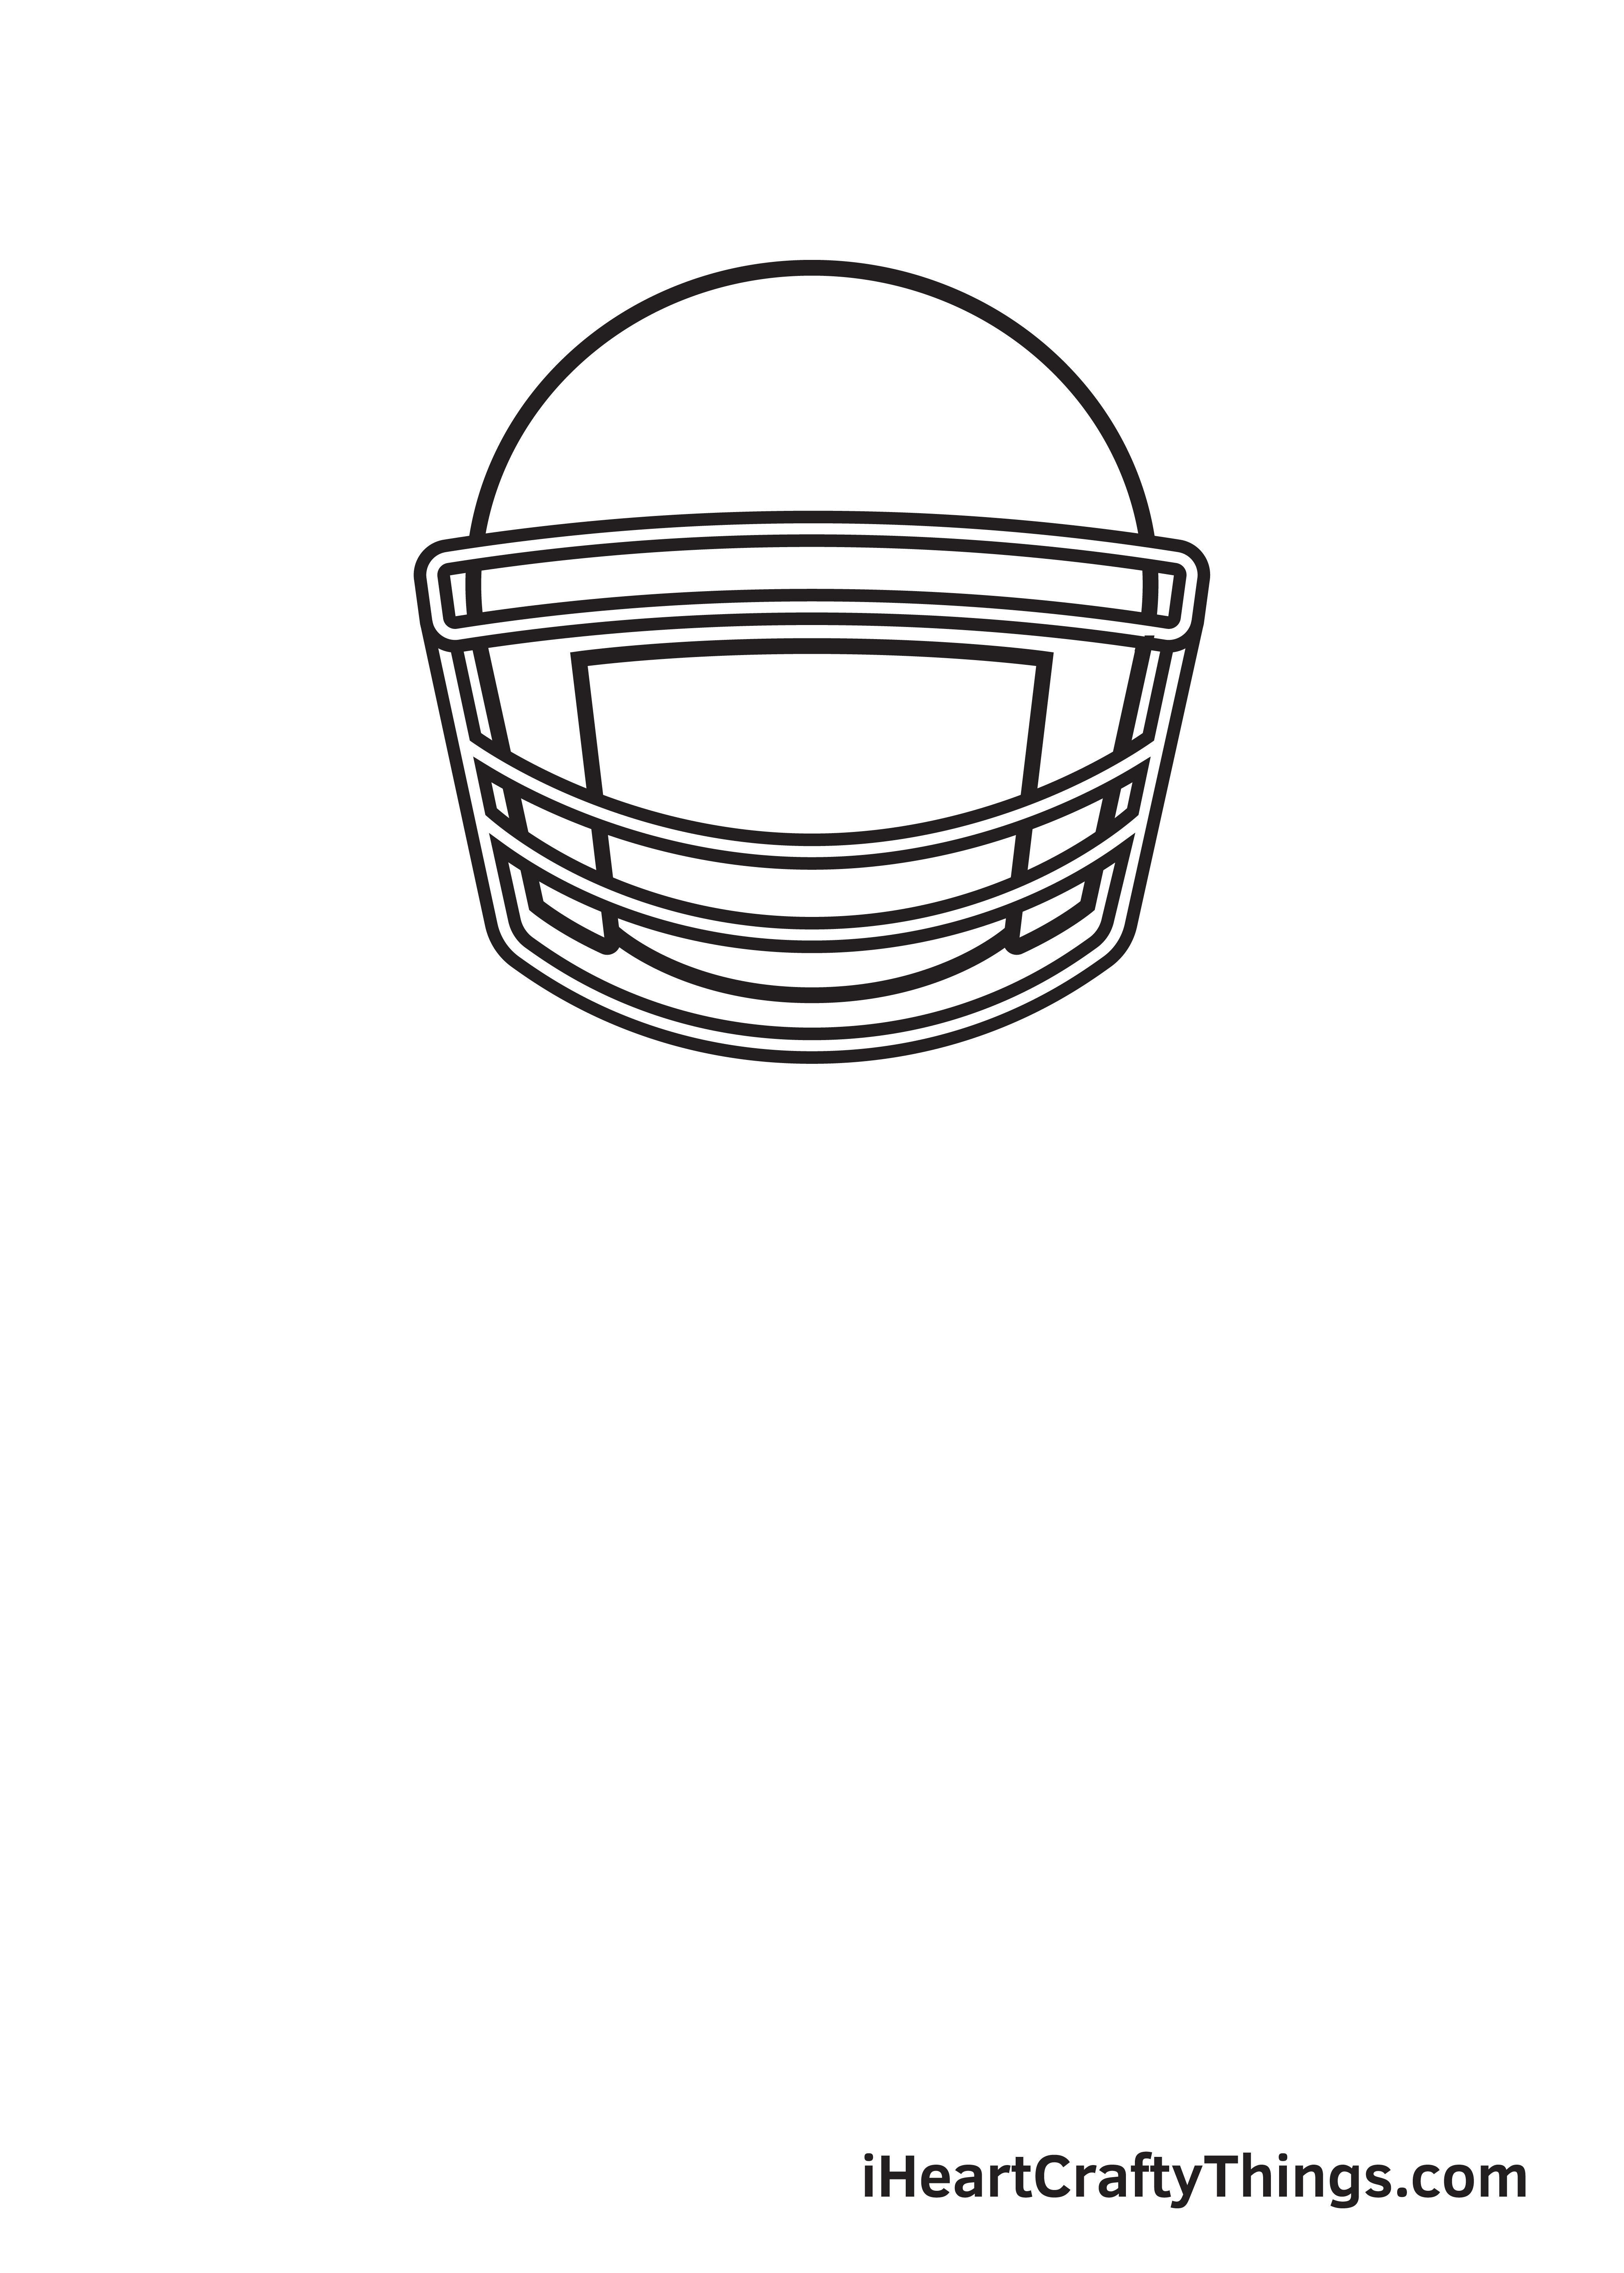
Draw connected thin line figures covering the opening of the helmet. This forms the face mask, which helps provide additional protection to the football player.
As you can see in the illustration above, the lines on the upper part of the face mask are slightly curved downwards while the ones at the bottom are curved upwards. Feel free to use the illustration as a guide!
Don’t forget to erase any parts of the outline that overlaps with the face mask. This helps keep your drawing neat and tidy, and most importantly, refined.
Step 4 – Next, Draw the Sleeves of the Football Jersey
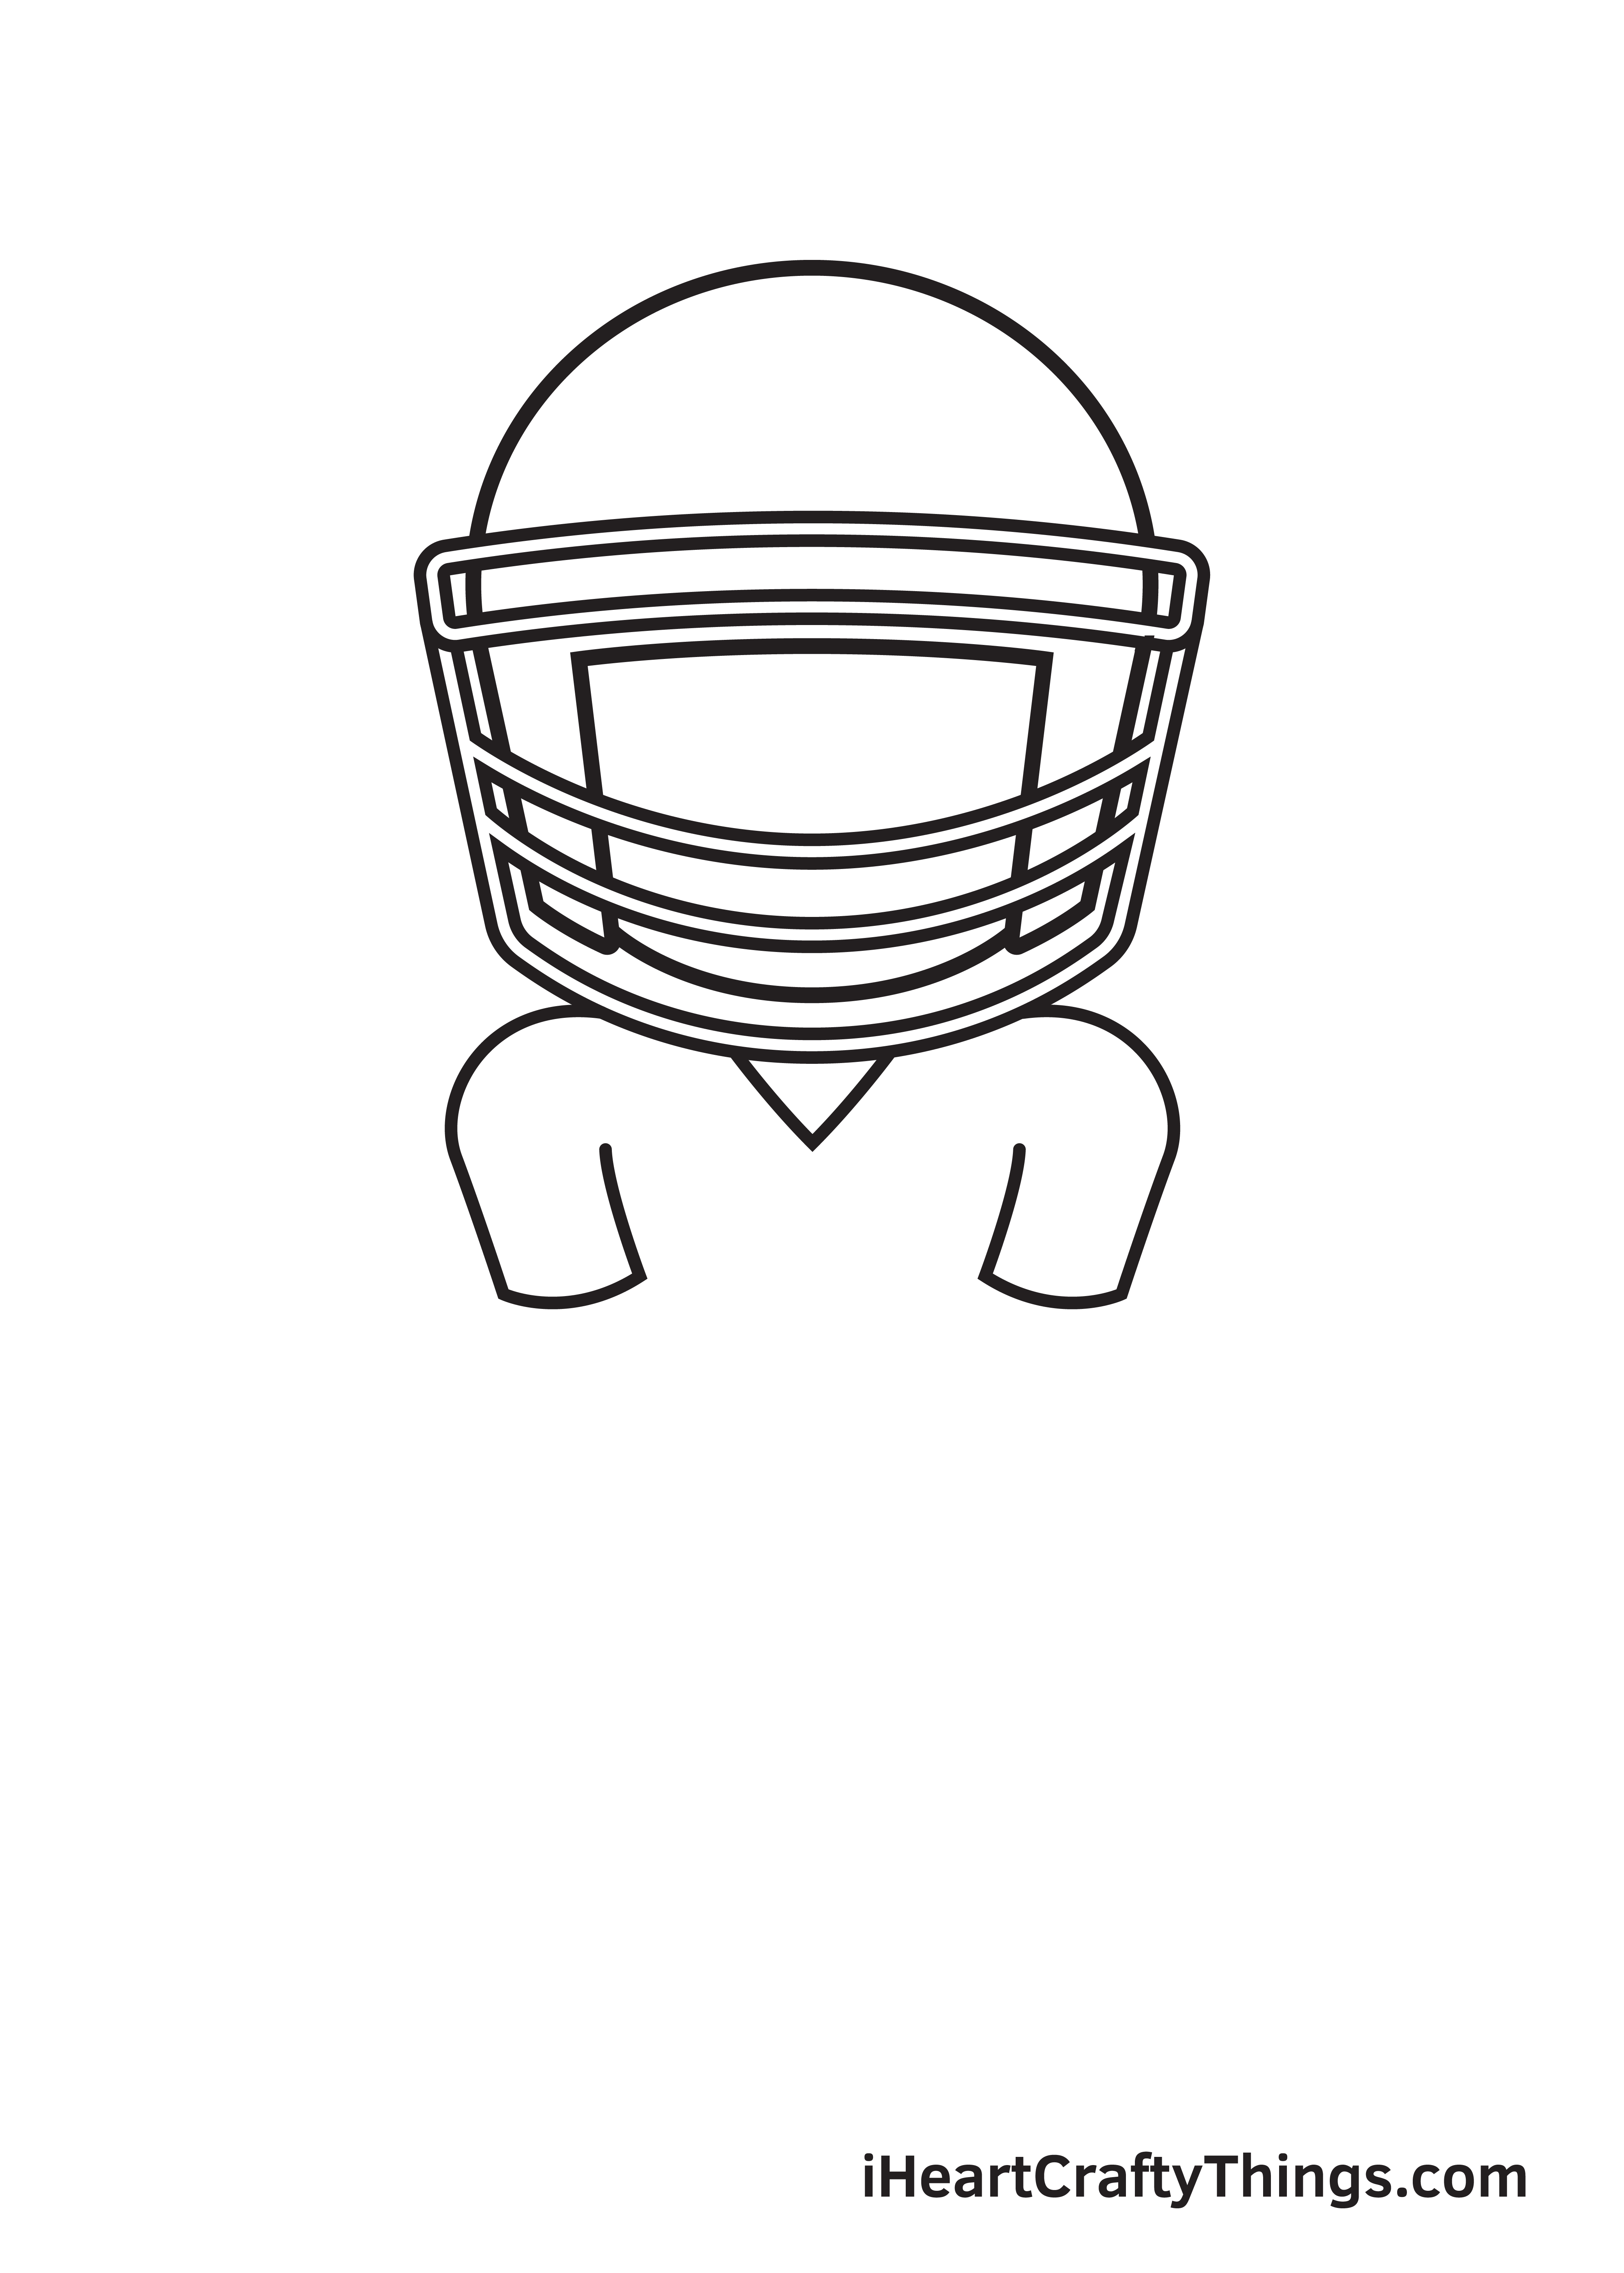
Continue by drawing a V-shaped line right underneath the middle of the football helmet. This forms the neckline of the jersey the football player is wearing.
Afterwards, draw a short sleeve on each side of the neckline. This forms the left and the right sleeves of the football jersey.
Step 5 – Draw the Player’s Hands Holding the Football
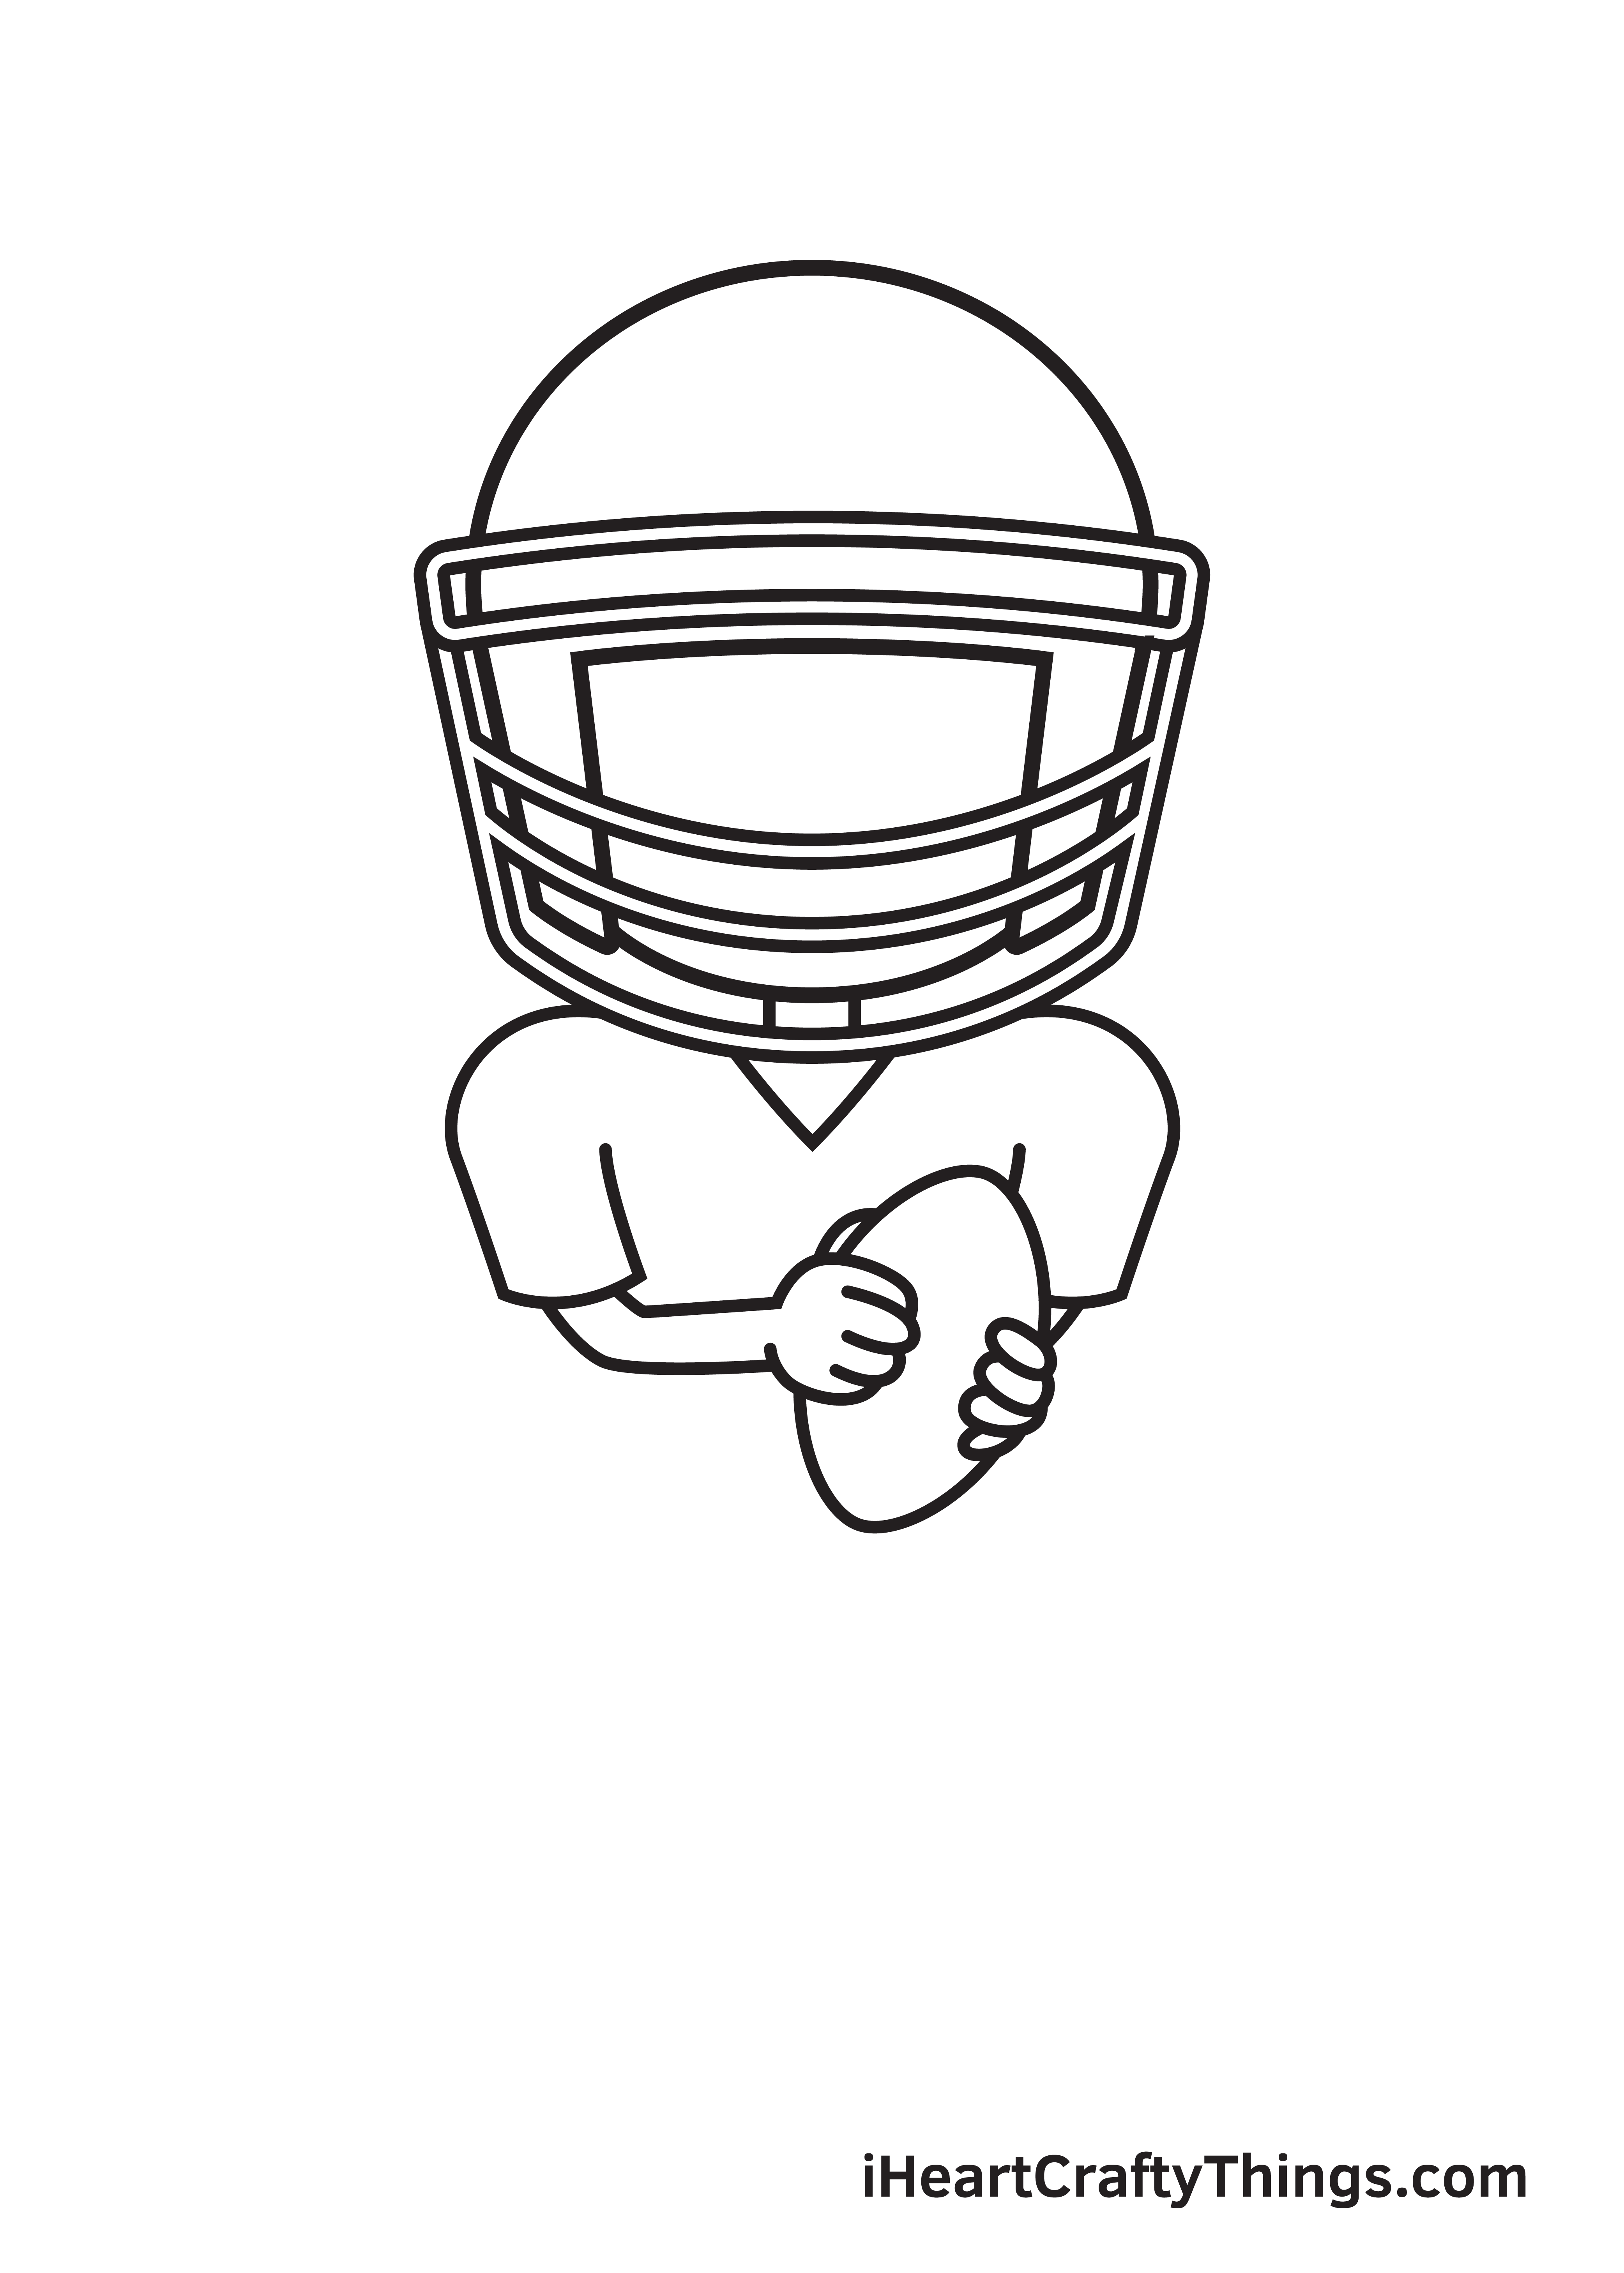
Draw an arm with a hand emerging from the right sleeve.
Then, draw an irregular oval shape with tapered ends to create the football. Make sure that the football is drawn beneath the hand. When drawn correctly, it should look like the hands are holding the football.
Don’t forget to draw four fingers on the left side of the ball to form the fingers of the left hand, thus completing the football player’s both arms and hands.
Step 6 – Then, Draw the Legs of the Football Player
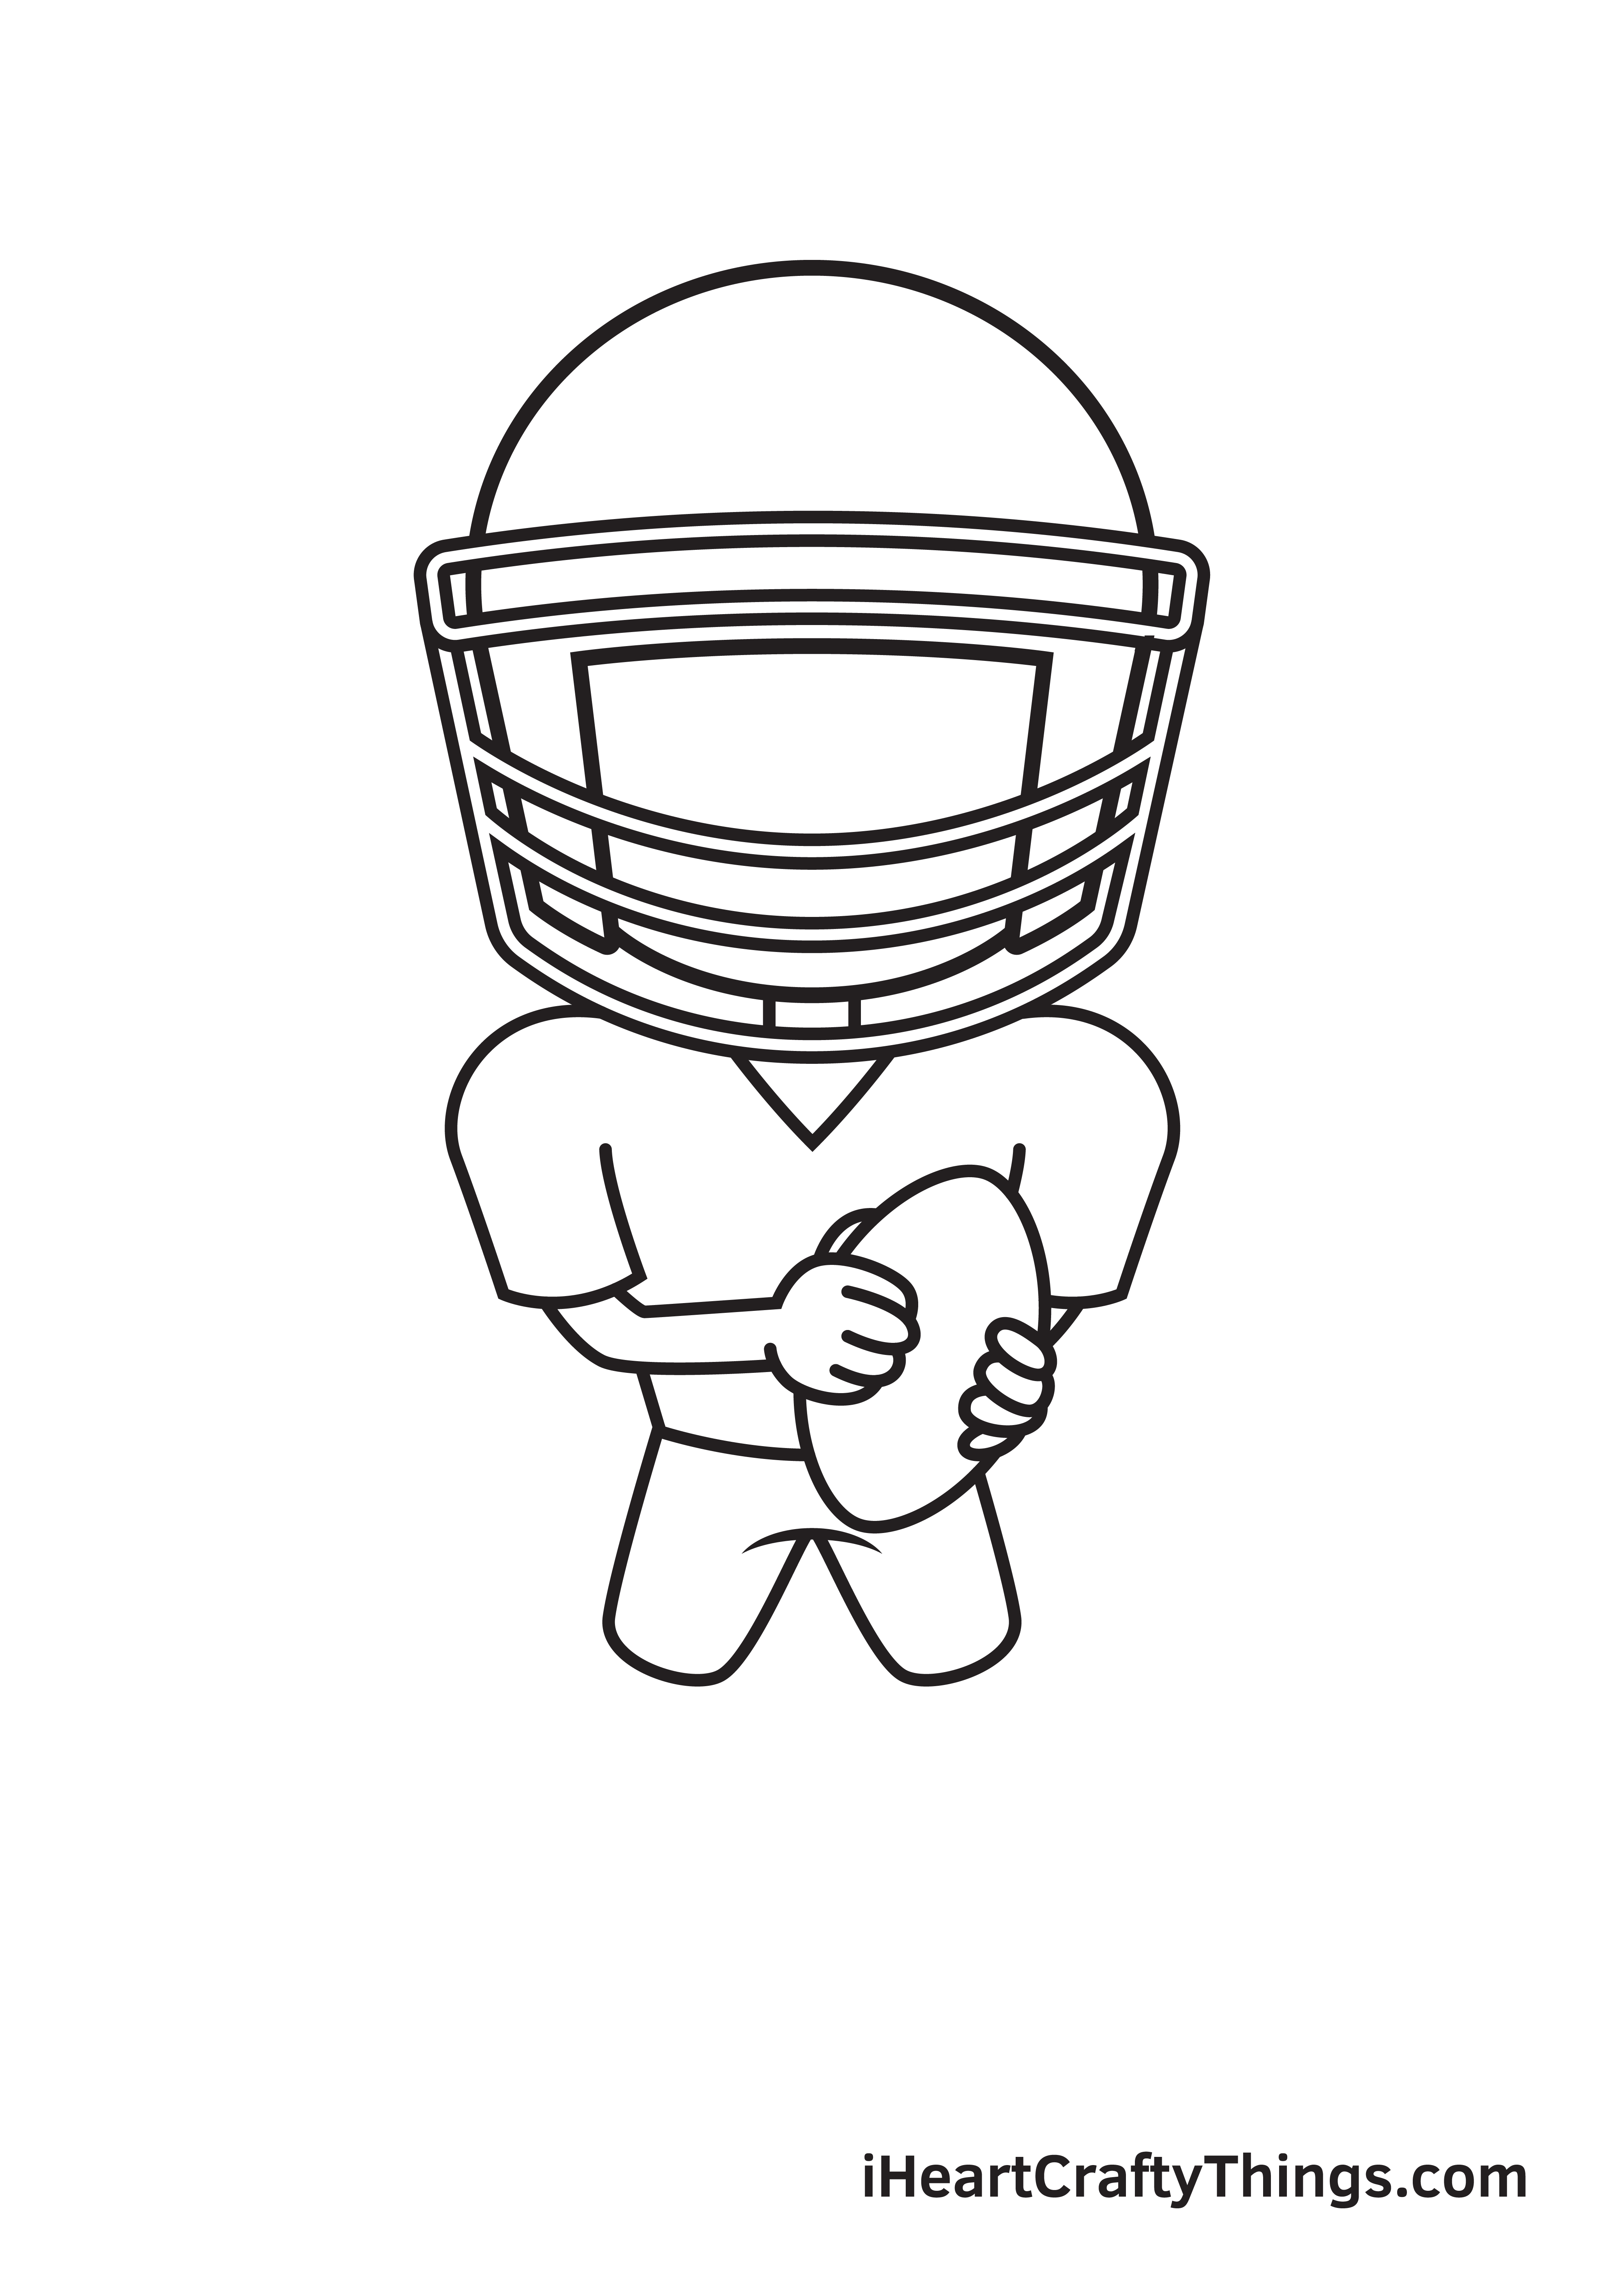
Complete the top of the jersey by drawing the hem of the shirt. Then, draw a pair of shorts below the shirt to complete the jersey uniform that the football player is wearing.
Make sure to add a short curved line to form the crotch of the shorts, making it appear more realistic!
Step 7 – Afterwards, Draw the Football Player’s Feet
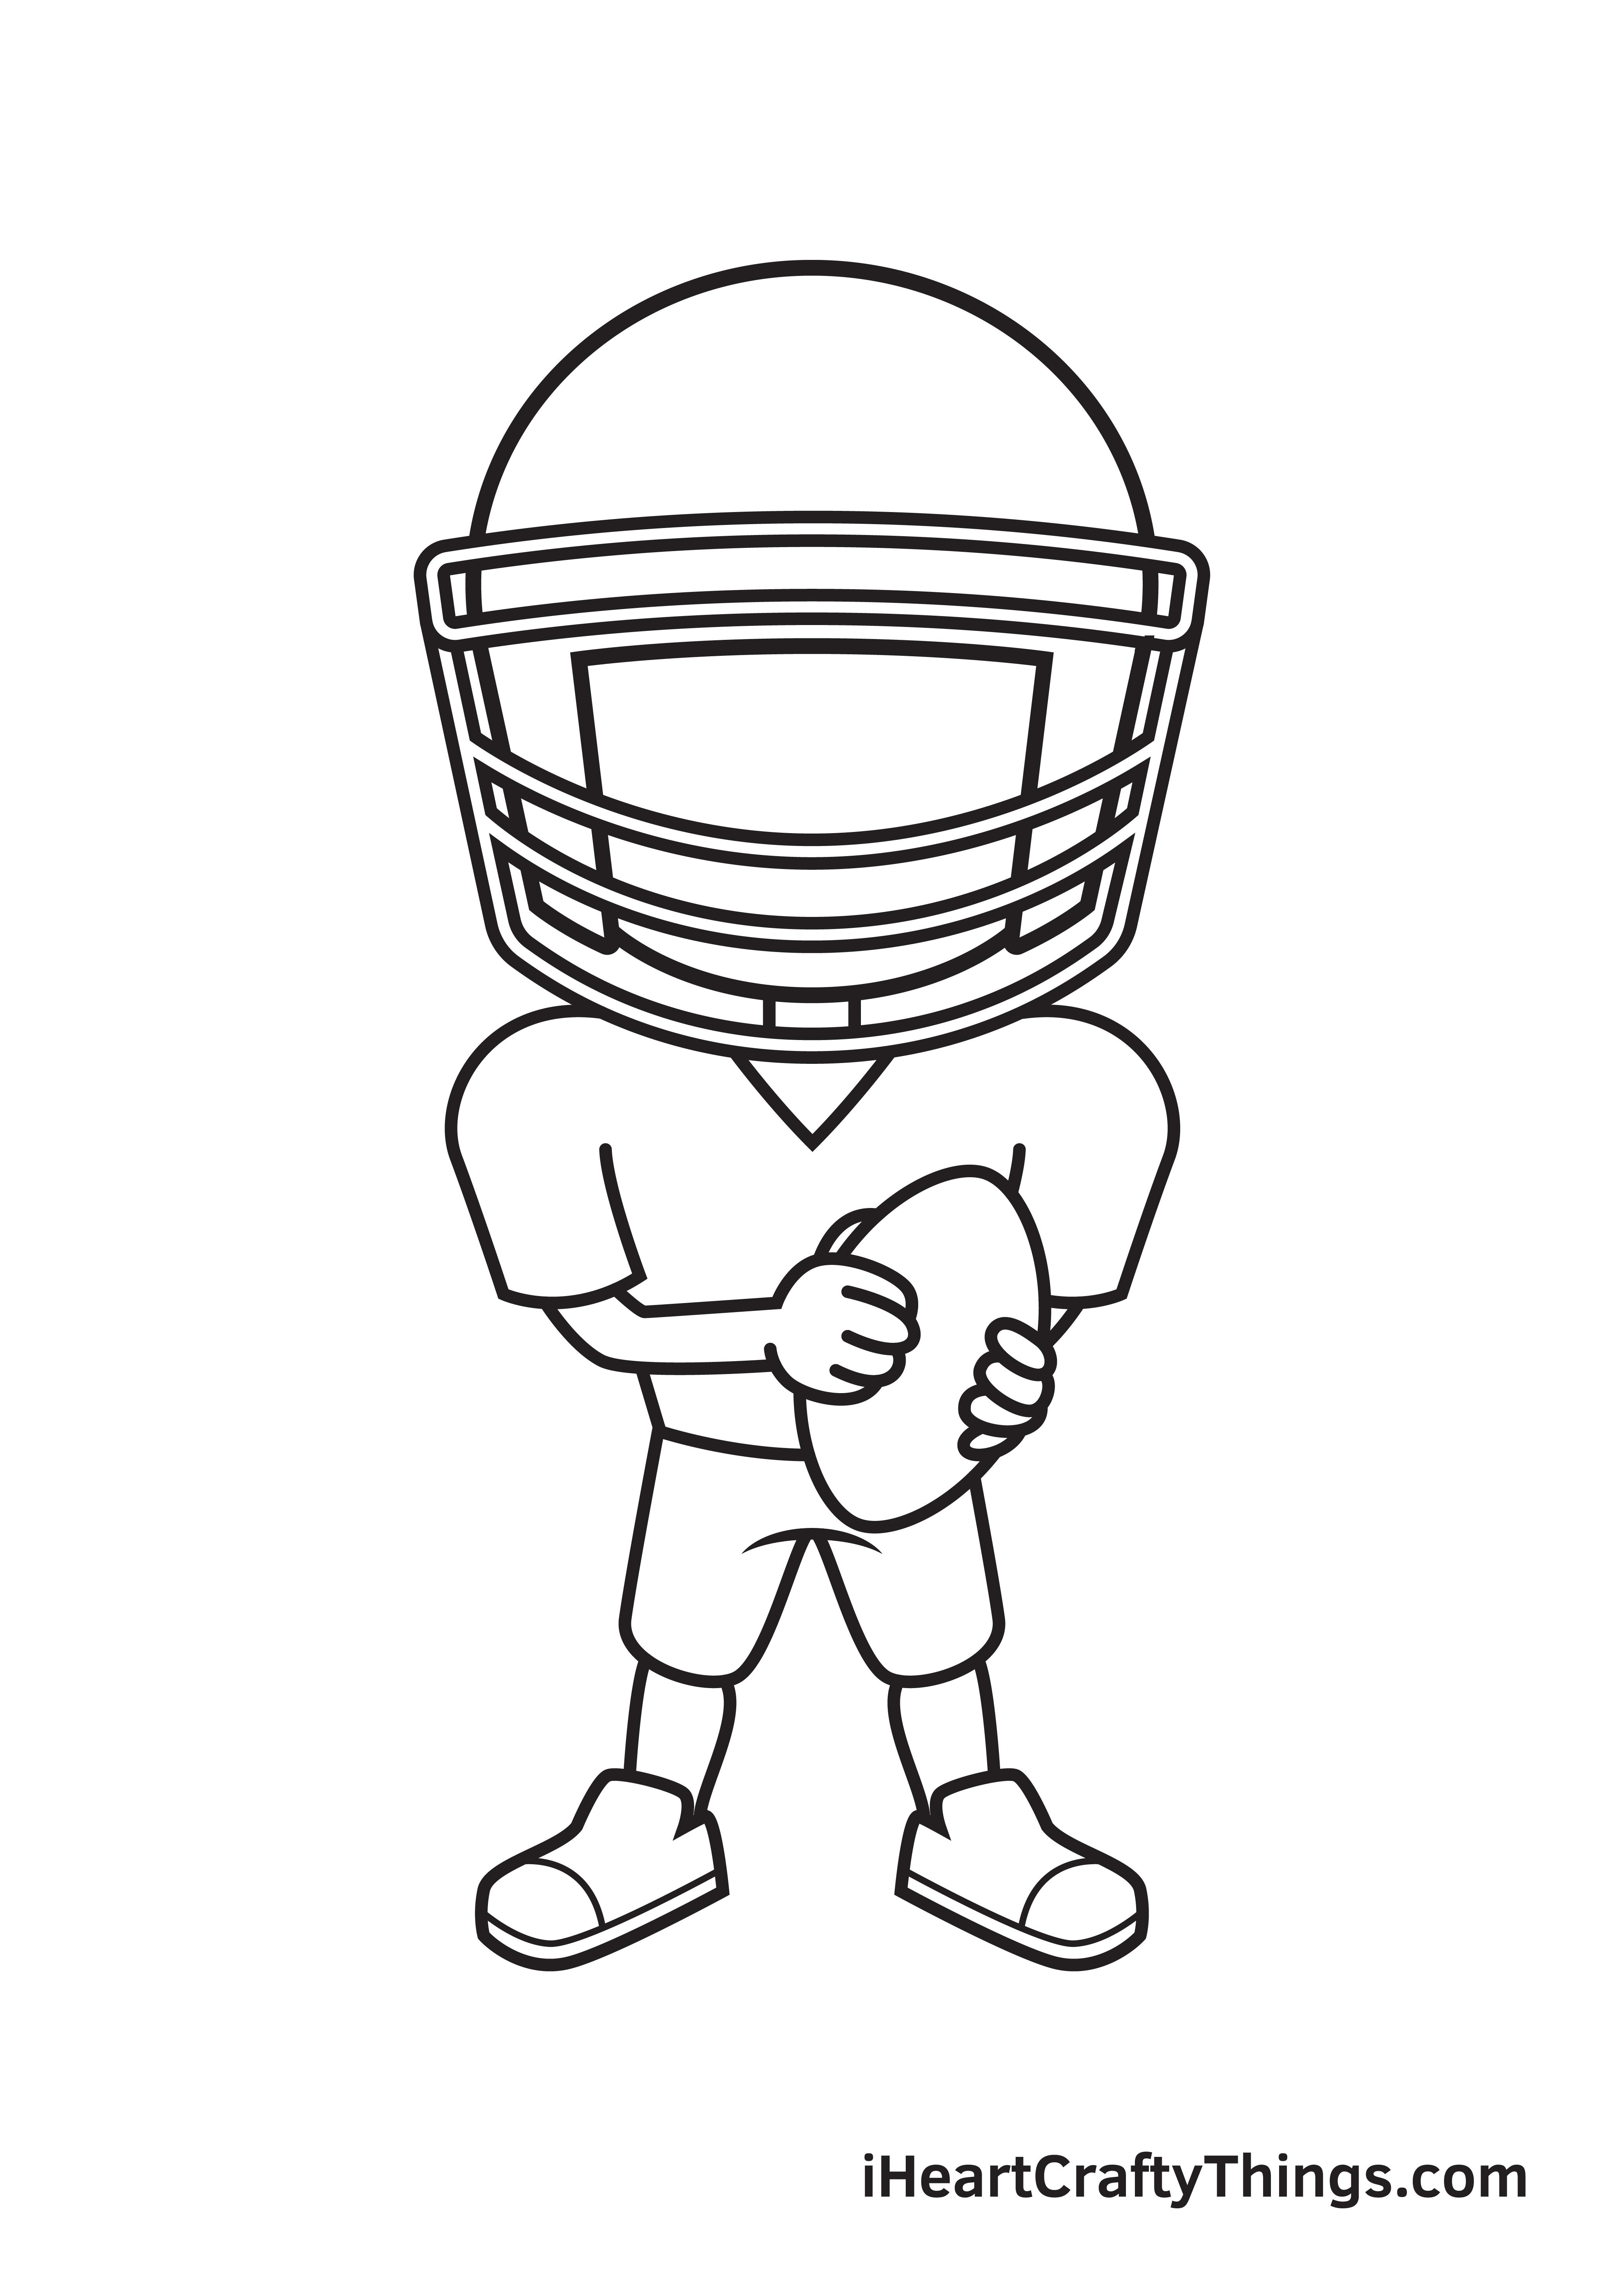
Proceed by drawing parallel lines right underneath the left leg opening of the jersey shorts. Then, draw a shoe facing towards the right side. Afterwards, add a line enclosing the toe cap and another one to form the sole.
Repeat the same step on the other leg opening of the shorts to create the right foot.
Step 8 – Now, Draw Patterns All Over the Clothing
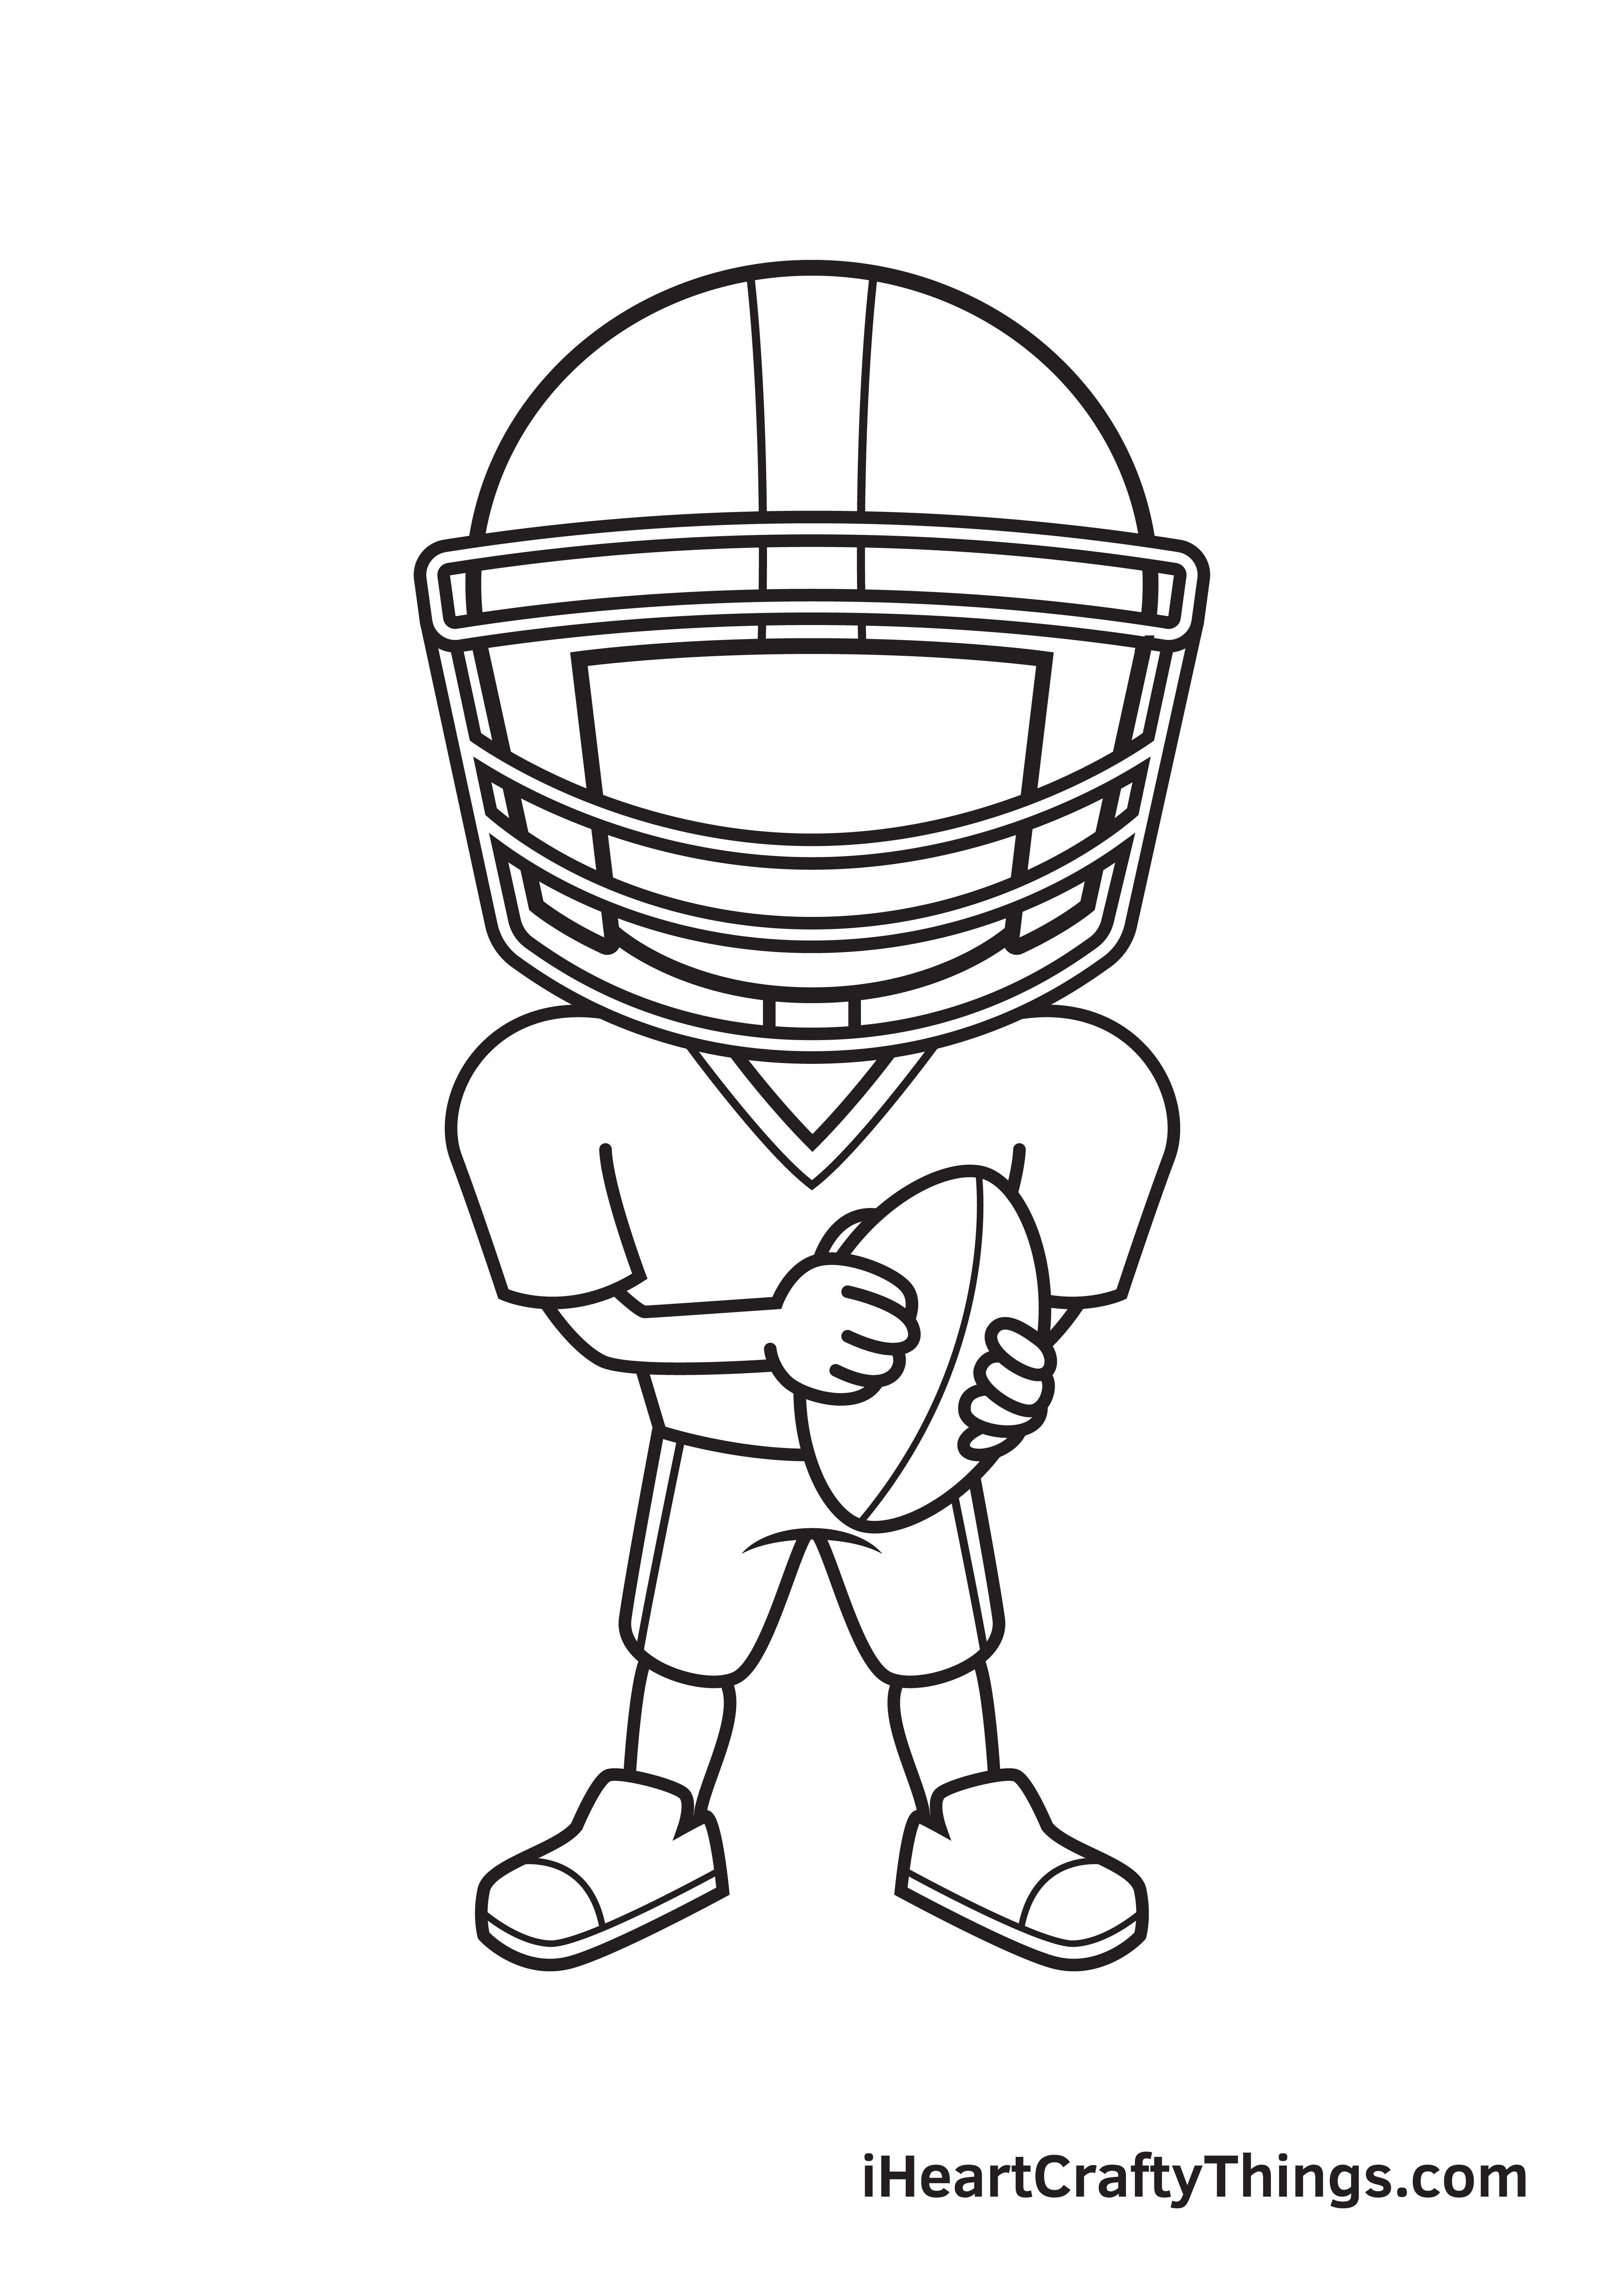
Football jerseys have distinct patterns on it, so that’s exactly what we’ll be drawing in this step.
Draw two parallel vertical lines down the length of the helmet until it reaches the opening. Then, draw another line parallel to the V-shaped neckline of the jersey shirt. Afterwards, draw a vertical line on both sides of the shorts.
Don’t forget to add a slightly curved vertical line from the top of the football down to the bottom.
Step 9 – Draw the Football Player’s Facial Features
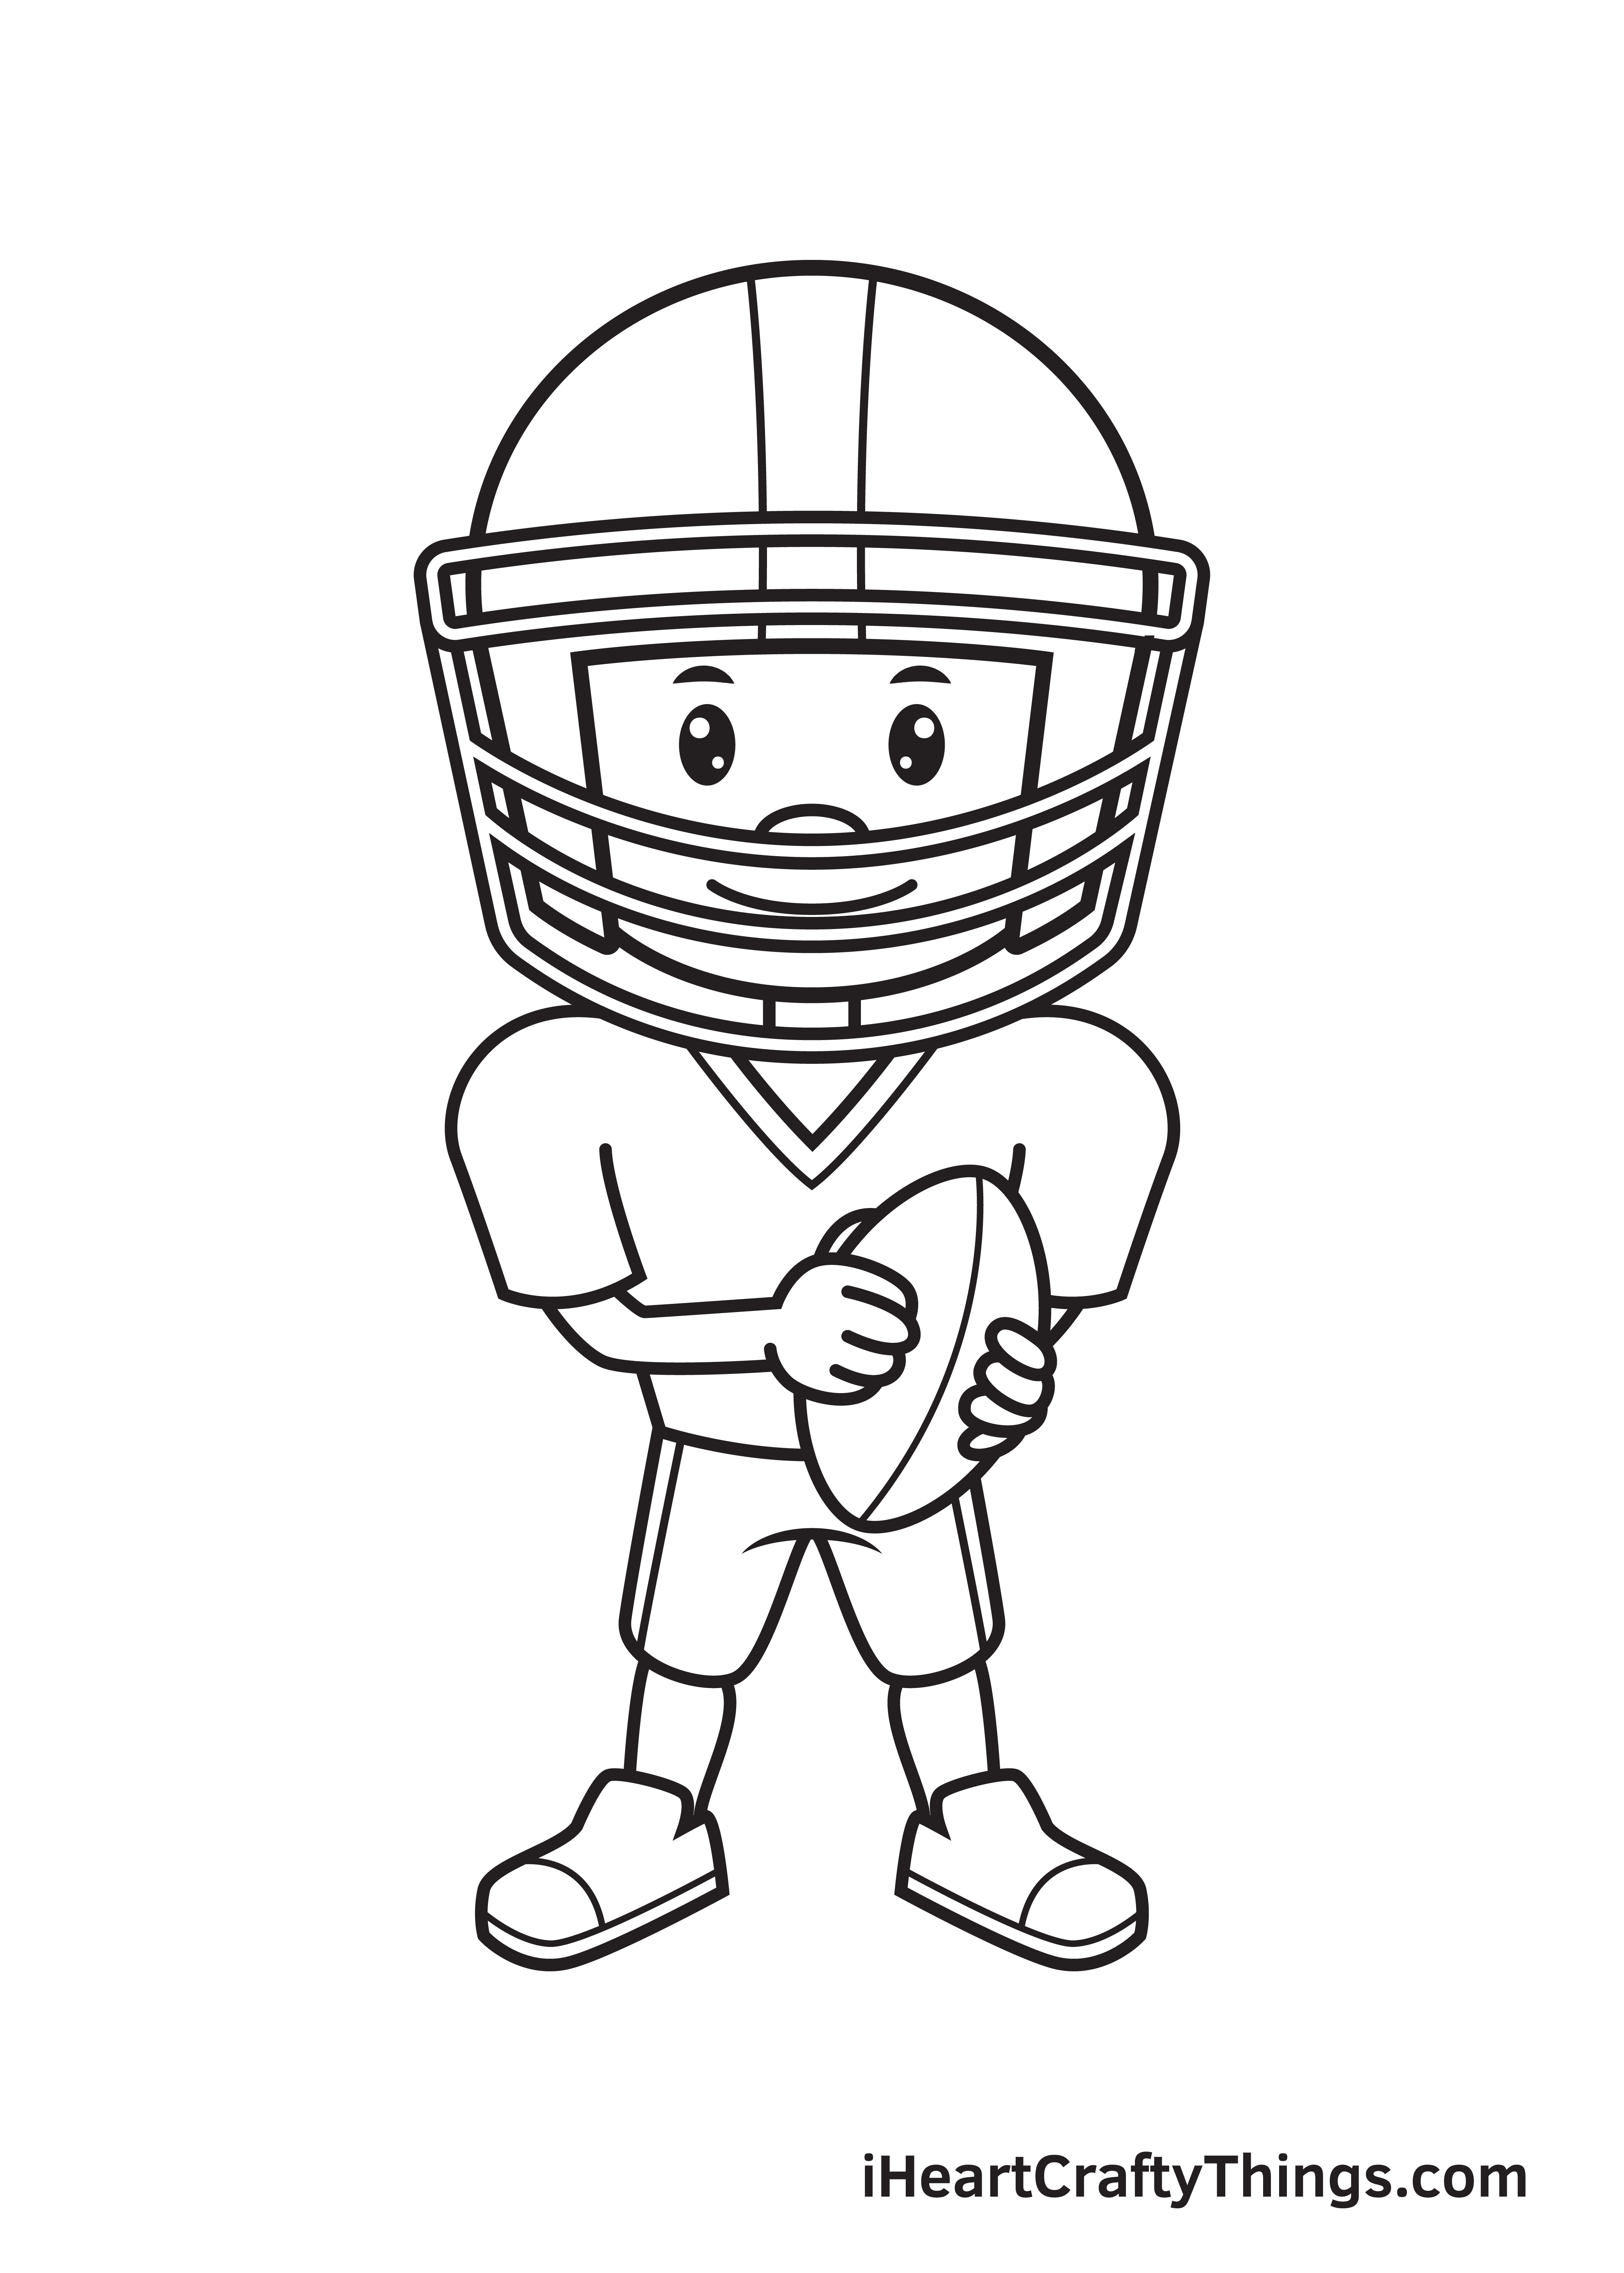
In this step, we’ll be drawing the features on the football player’s face.
Continue by drawing two thick curved lines to form the arched eyebrows. Then, draw a standing oval shape with two small circles inside right underneath each eyebrow.
For the nose, simply draw a sideways oval shape. Now, draw an upward curve to put a wide smile on the football player’s face, making him look extremely happy!
Since the face mask is covering some parts of the face, the nose and the mouth of the football player will only be partly visible.
Now that we’ve successfully drawn a football player, it’s finally time for the most exciting step, which is filling in the colors of your drawing!
The colors you will be using for the football player is entirely up to you! But here’s a tip you may find useful when coloring the football player’s skin: mix the colors white, red, yellow, and blue to create a customized skin tone color.
You may need to add more of any of these colors depending on the complexion you’re aiming for.
For the football player’s uniform, you can use the colors of your favorite football team or handpick a unique set of colors. Either way, we’re sure the colors will turn out aesthetically!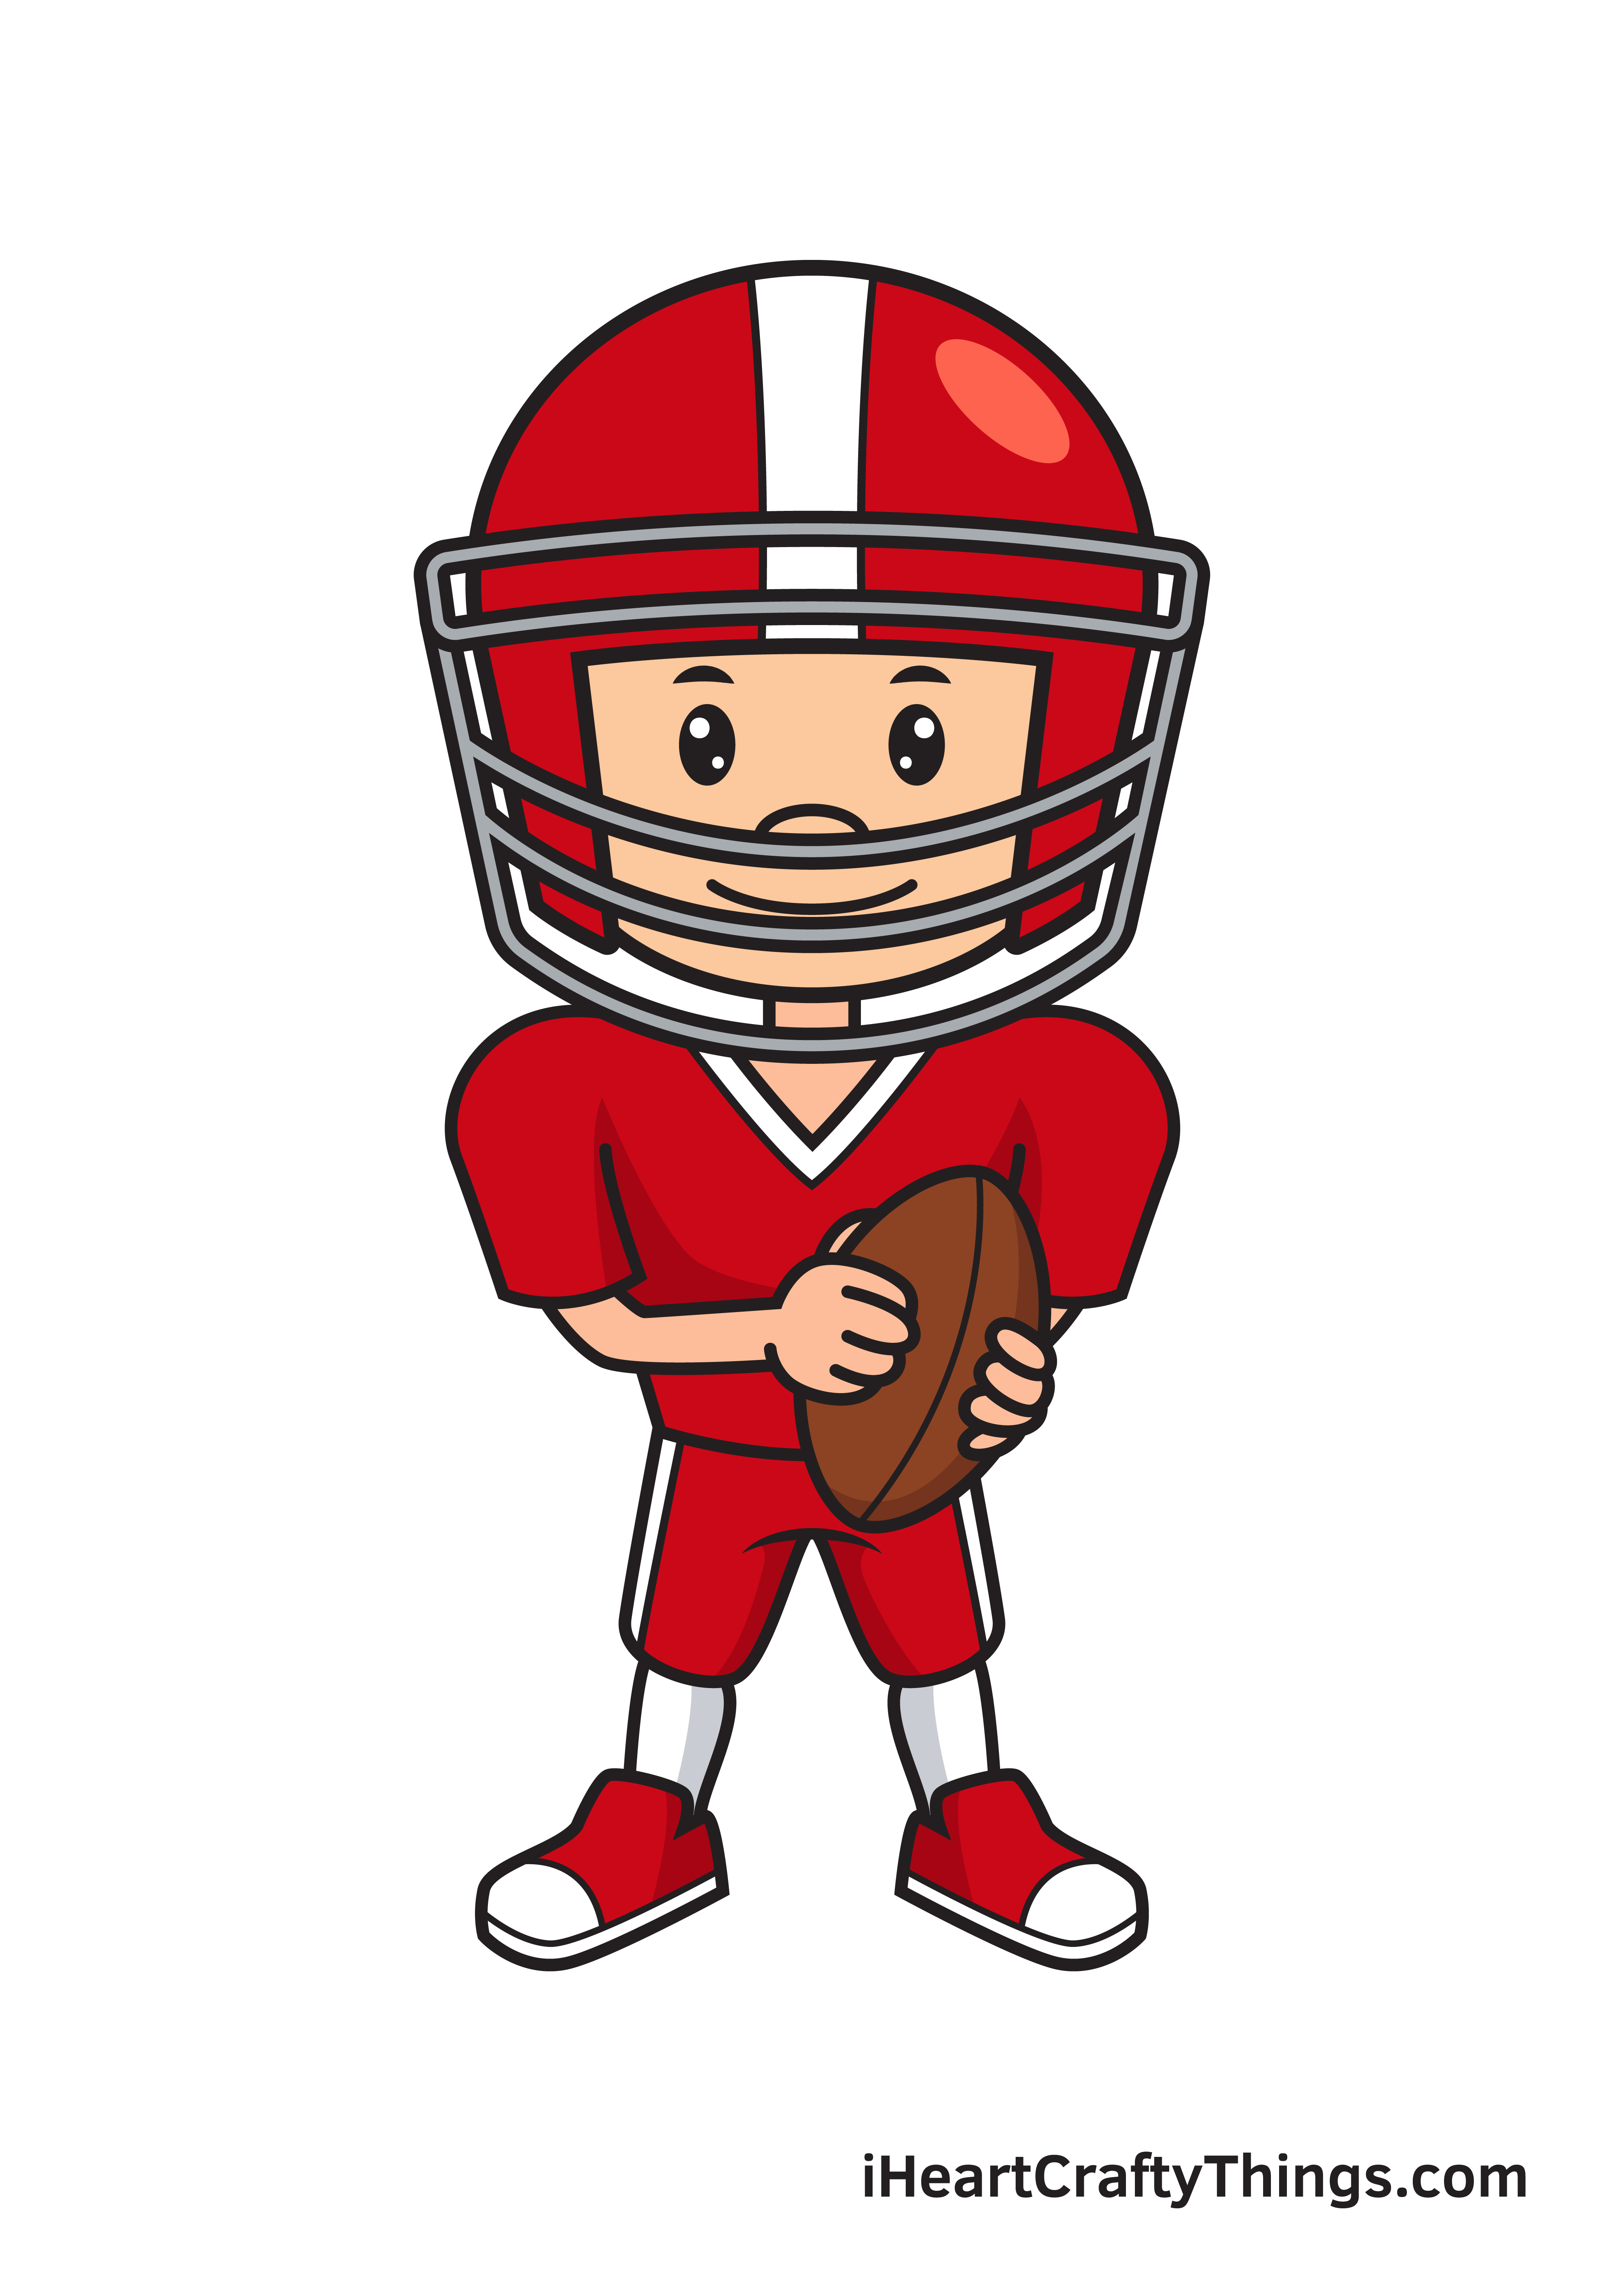
4 More Ways To Make Your Football Player Drawing Unique
Get your head in the game with these tips for your football player sketch.
We created a fun cartoon interpretation for this football player drawing we created together. One of the first ways you could make this picture more unique would be by changing the style of the drawing.
This could depend on the kinds of styles you feel most comfortable with! For instance, you might like a different kind of comic style or maybe a more realistic approach.
You could change the style of the drawing with just a few details, and even if they’re simple they can be effective!
No matter what style you pick for this drawing of a football player, you could also customize the character. Perhaps you want to give them a unique facial expression or face design.
You may even have a player from your favorite football team that you would like to create. It could also be fun to style this football player after yourself or someone you know personally!
These are just a few ways to customize the design, but what else can you think of?
Different football teams have different color schemes for their uniforms, and that brings us to another way you can change this football player sketch.
We went with a bright red color scheme here, but you could go with any team colors you may like. This would be great for replicating a specific existing team, but you could also make your own team design!
Lastly, it would really take this football player drawing to new levels if you were to add a background. The natural choice for this would be a football field, but it’s not the only one!
You could also draw a locker room or maybe a victory celebration for a few more ideas. Whatever you choose, you could create your own designs or base them on real-world locations you know of.
There are so many possibilities to choose from, so what will you choose for the background of this drawing?
Your Football Player Drawing is Complete!
Hopefully, you enjoyed this step-by-step football drawing tutorial.
If you had fun with this drawing tutorial, then you might be interested in drawing a helmet, a basketball hoop, and many more sports subjects.
Check out our catalog to explore sports related drawing tutorials like this!
Once you’re done drawing and coloring a football player, don’t forget to take a picture of your masterpiece! Share your artwork on various social media channels.
And while you’re at it, we hope you take the time to like our Facebook page too!
We’re excited to see the football player in your drawing!