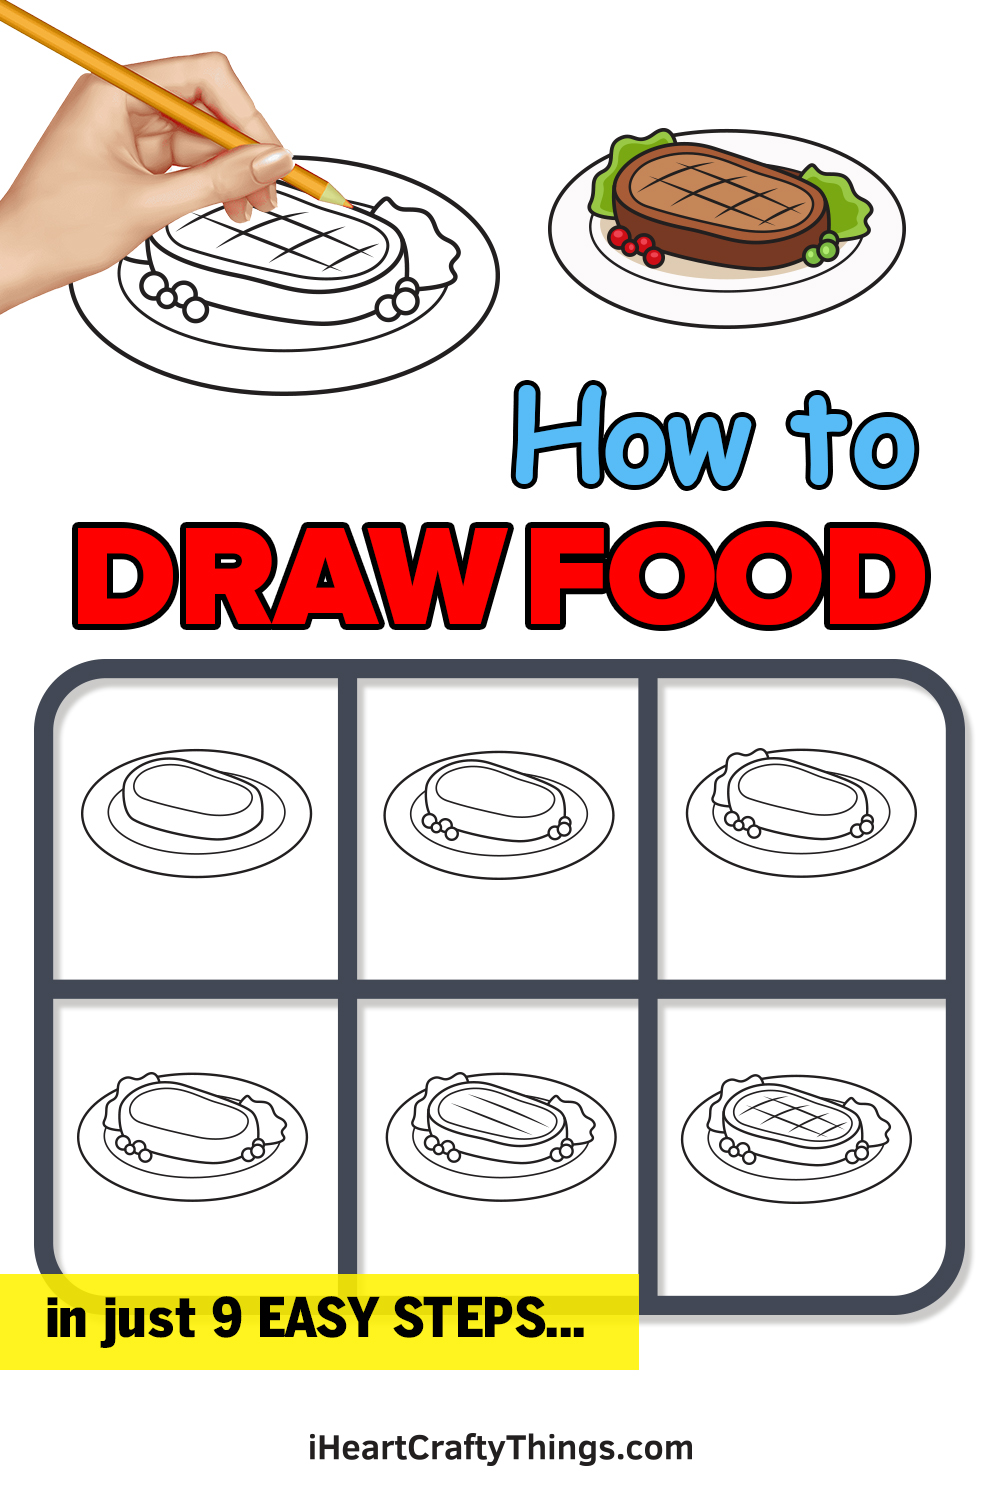
Do you want to know how you can learn how to draw food? Then you’re in the right place, as I’m about to show you how easy it can be!
Food is a part of our daily lives, and it comes in many different forms. Artists have been depicting food in still lives and other forms of art for centuries, and it continues to this day.
In this guide, I will be showing you how to draw my favorite food: steak! However, you can take the steps of this guide and apply it to any kind of food you want to draw.
It’s all about nailing the basics and learning how to construct your drawing based on shapes and lines. Then, you could create whole meals and even add things like utensils and eating locations.
It’s up to you now, so join me as we learn this drawing together.
Find Out How To Create A Food Drawing With This Guide
How to Draw a Food — Let’s get started!
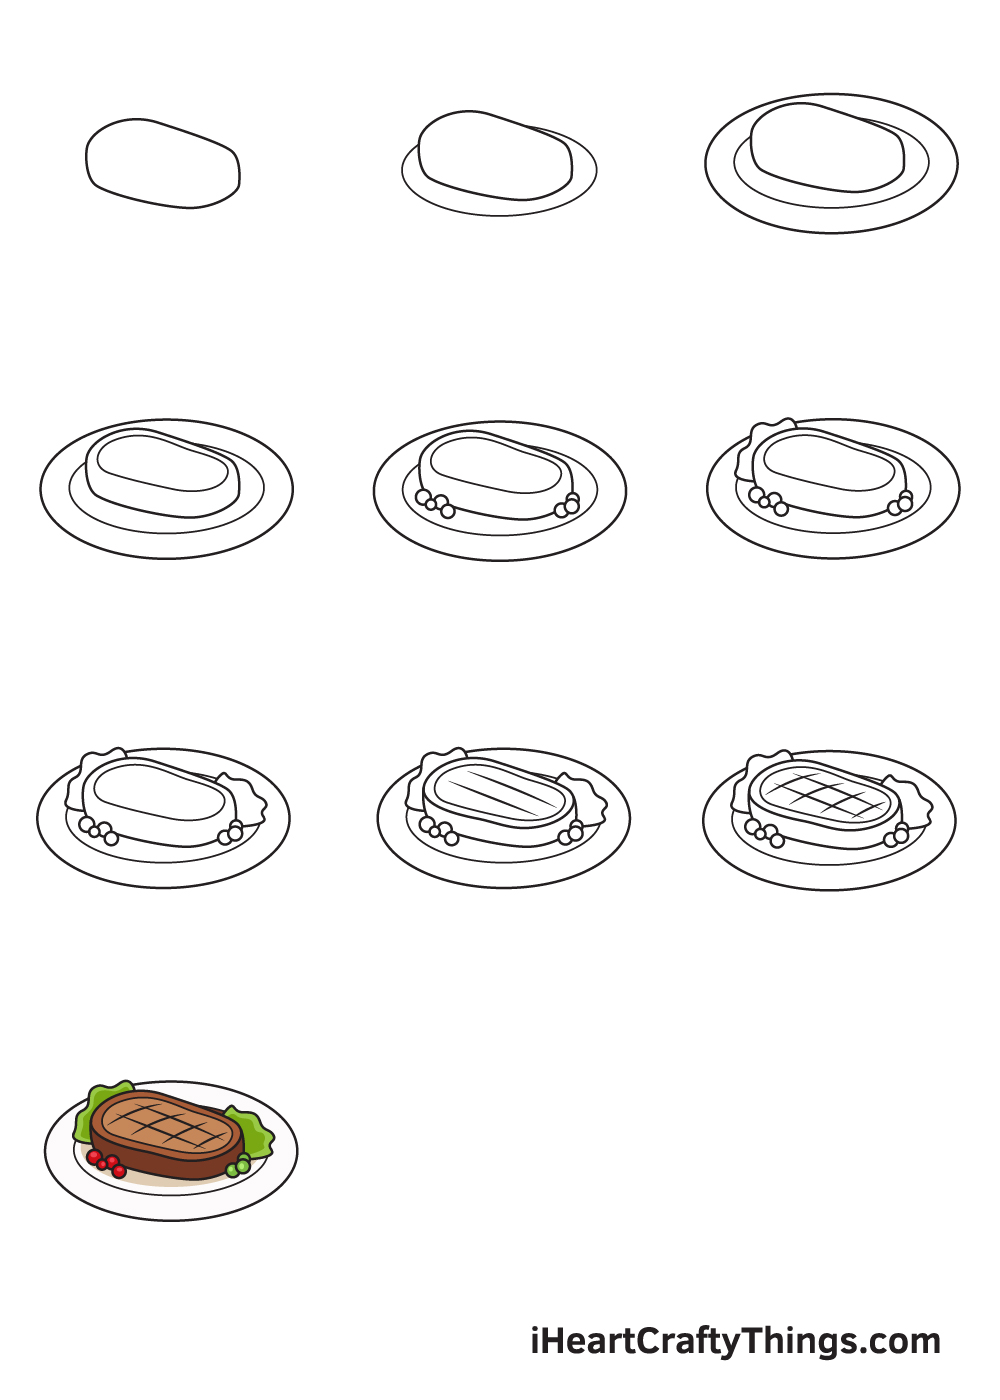
Step 1
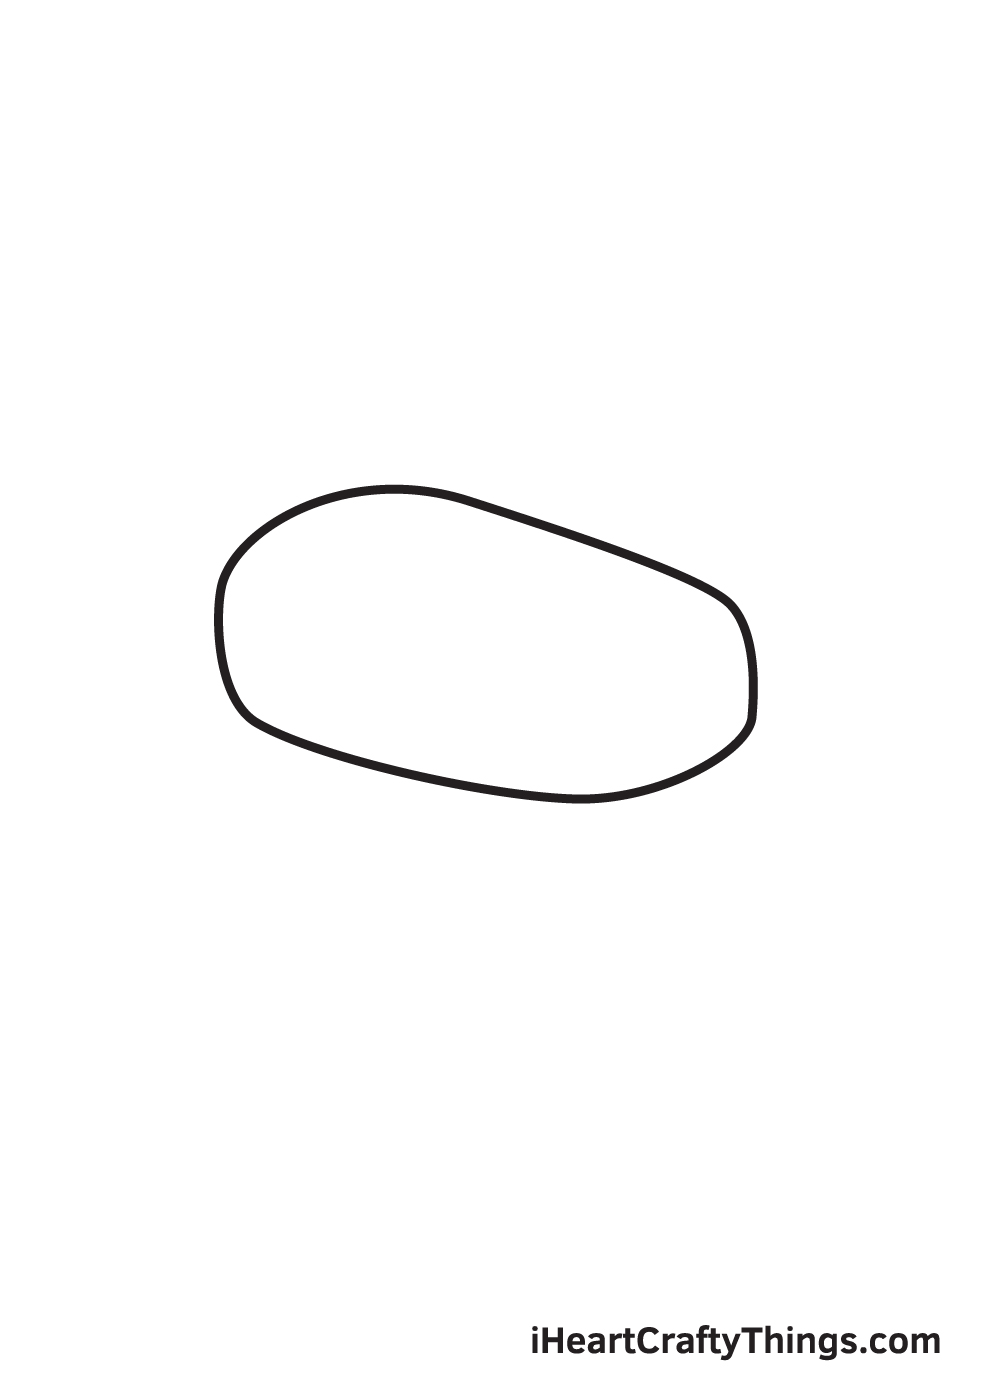
Draw an outline of the steak in the very middle of your paper. Make sure that you draw in the center to leave sufficient space for the plate and the side dish we will be drawing in the next steps.
To ensure that the outline will be positioned in the middle correctly, draw a horizontal and a vertical line across the paper to create reference lines.
The spot where the two lines meet is where you should draw the outline.
Step 2 — Draw the Outline of the Steak

Draw a tilted circle shape surrounding the steak. This will serve as the inner outline of a circle plate.
Keep in mind that a certain portion of the plate should not be visible as it is being covered by the steak. This trick will help make your food drawing appear more dimensional and realistic.
Step 3 — Place the Steak on a Plate
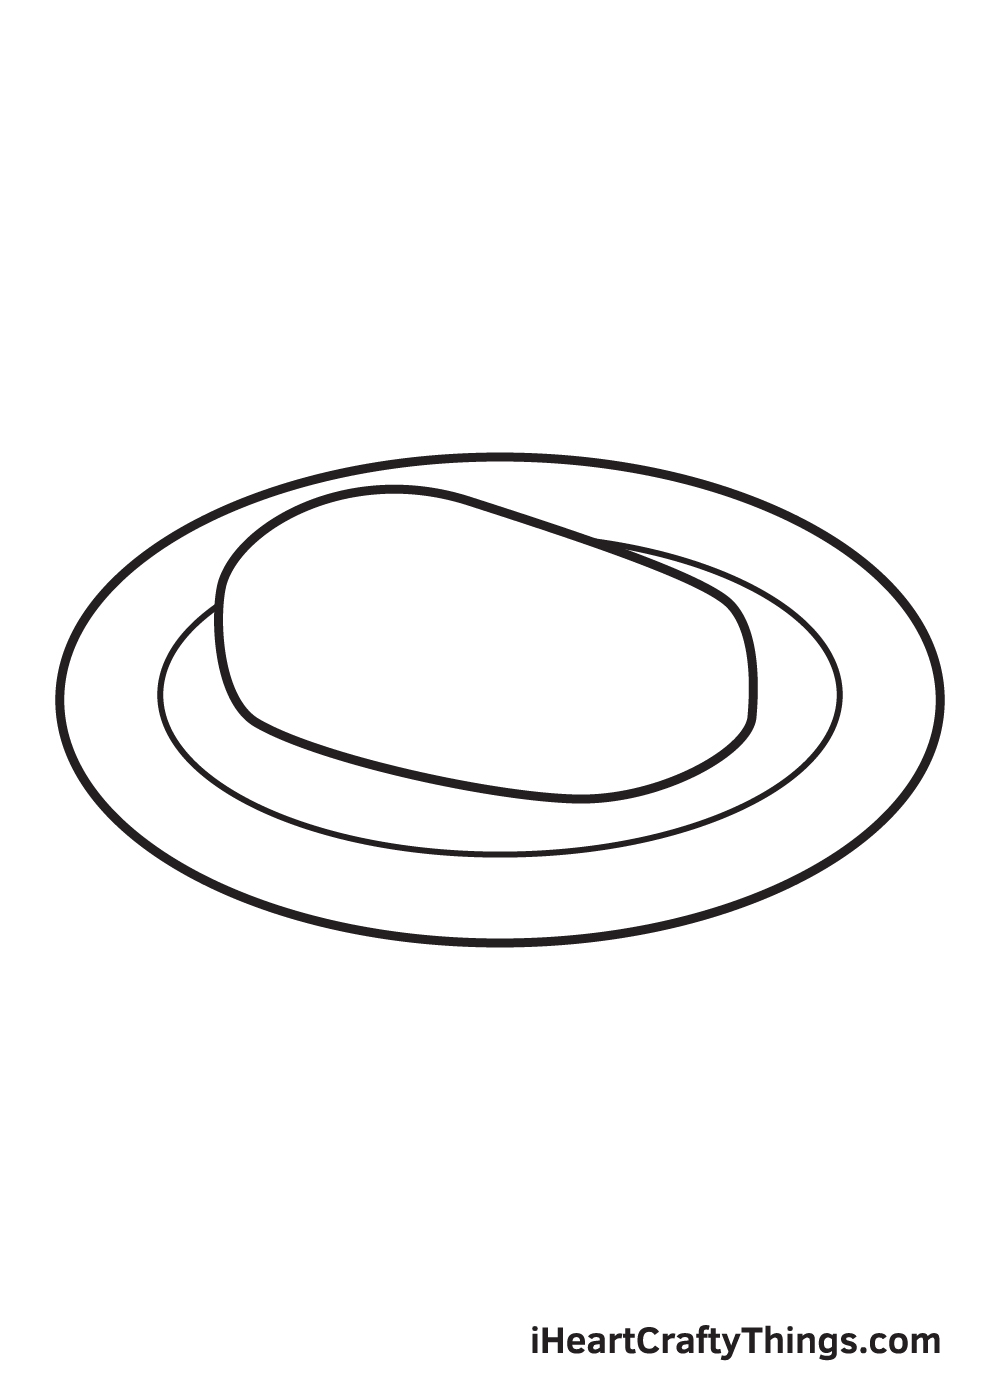
Draw another tilted circle shape outside the outline we have drawn in the previous step. This time, however, the outline will be completely visible. This will be the outer outline of the plate.
Remember, there should be a gap between the inner outline and the outer outline. This helps make the plate more noticeable.
Step 4 — Emphasize the Outline of the Steak
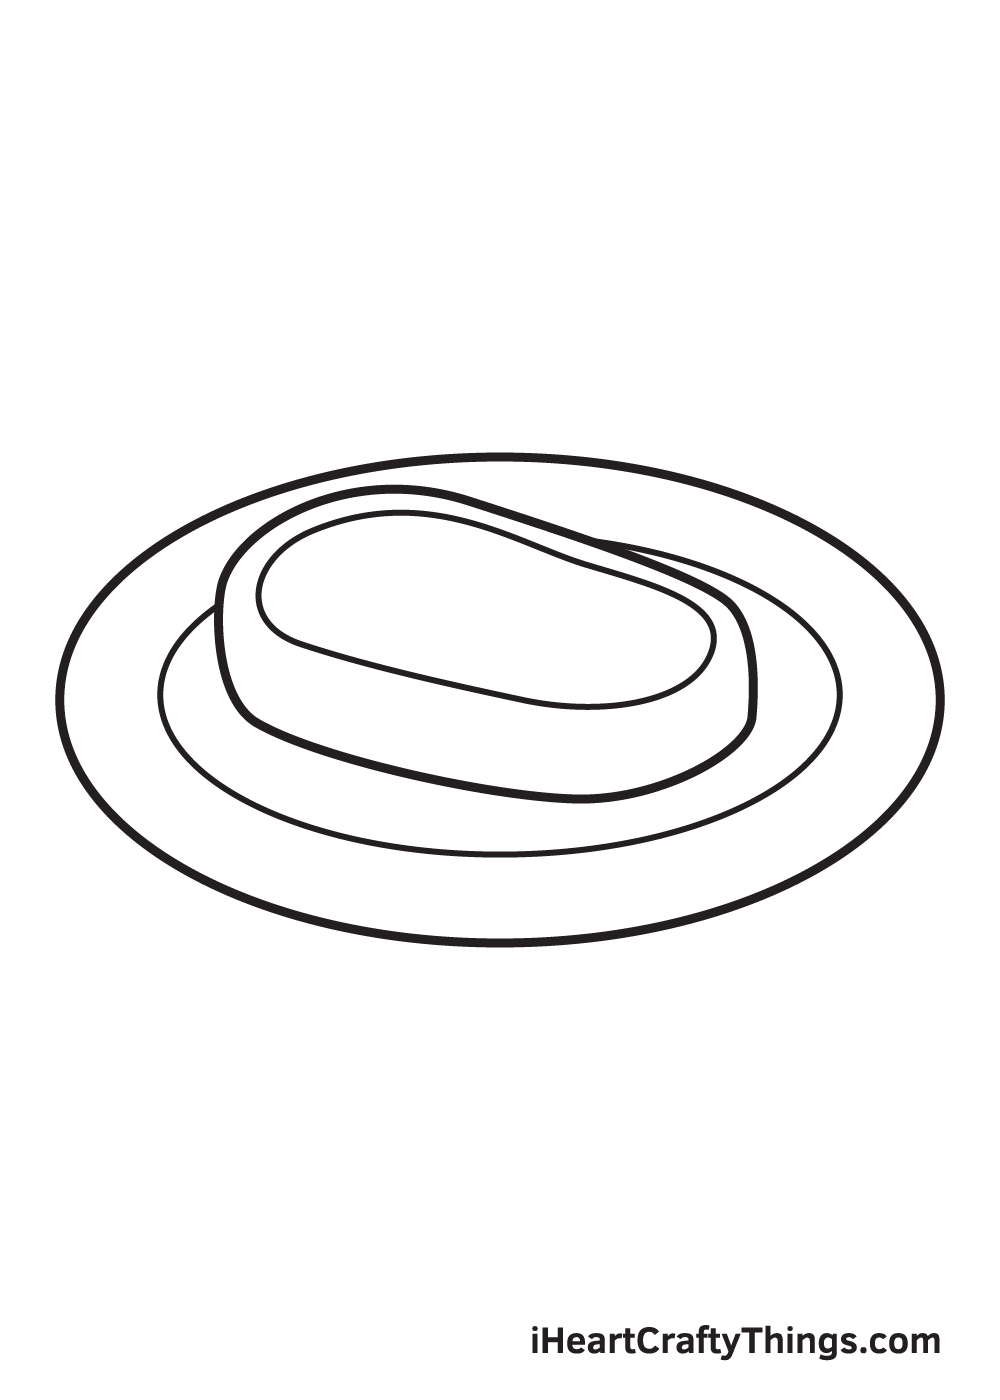
Inside the steak, draw an outline following the shape of the steak that we have drawn in the first step. This outlines the top part of the steak and creates a dimension.
Step 5 — Add Beans for the Side Dish
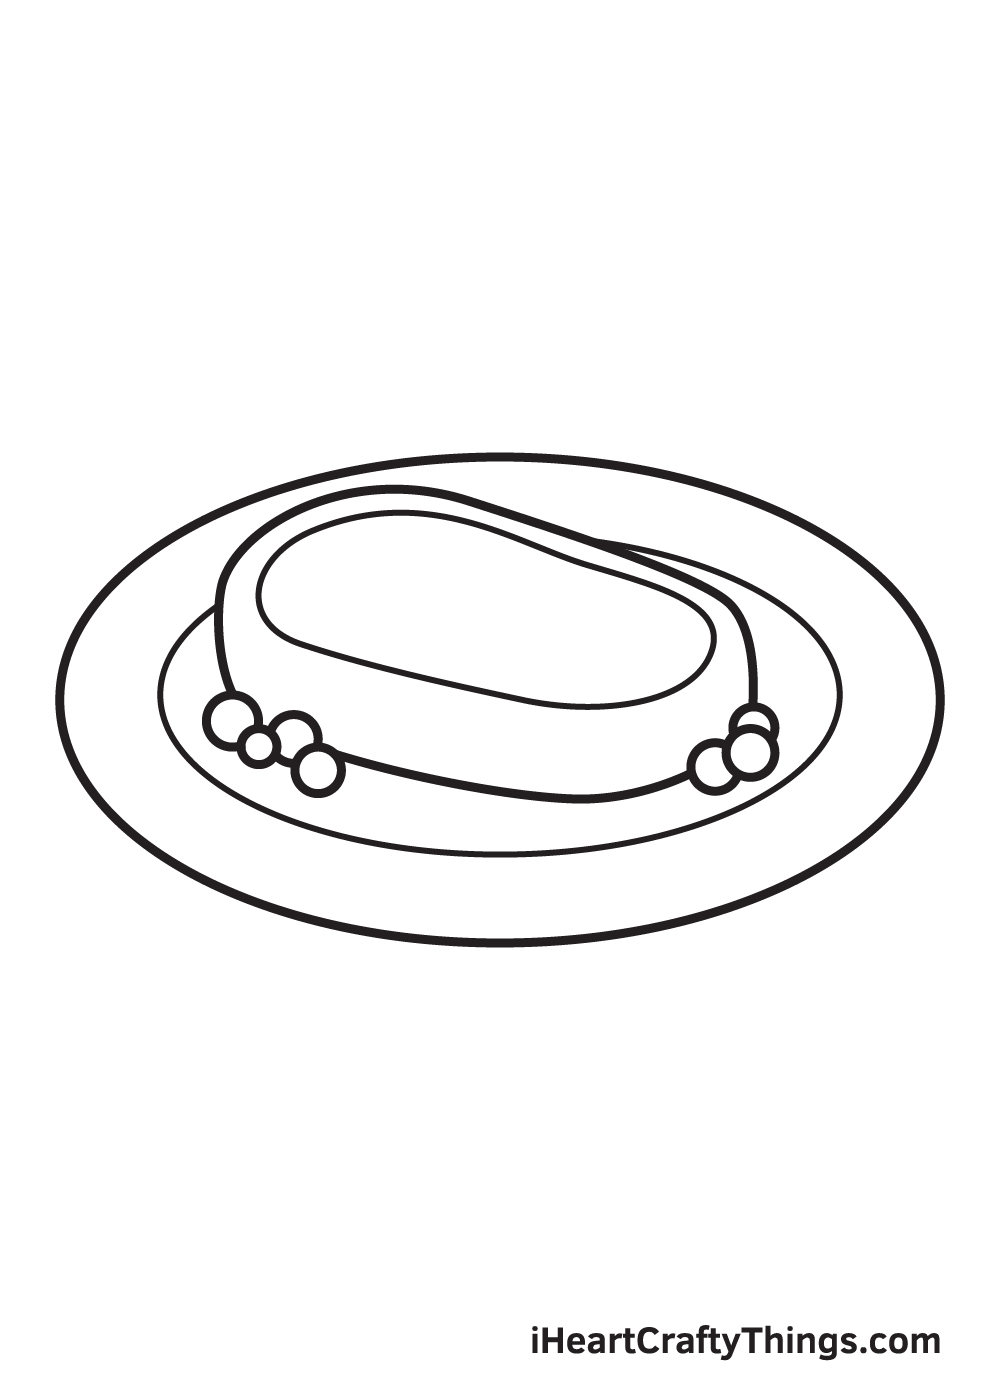
Draw small circle shapes in the plate surrounding the steak. This outlines the beans to create a side dish alongside the grilled steak.
As you can see in this illustration, there are four tiny circles on the left side of the steak and there are four on the opposite side. You can opt to draw exactly as how many is in this illustration or draw as many or as few as you want.
Step 6 — Add Green Leafy Vegetables
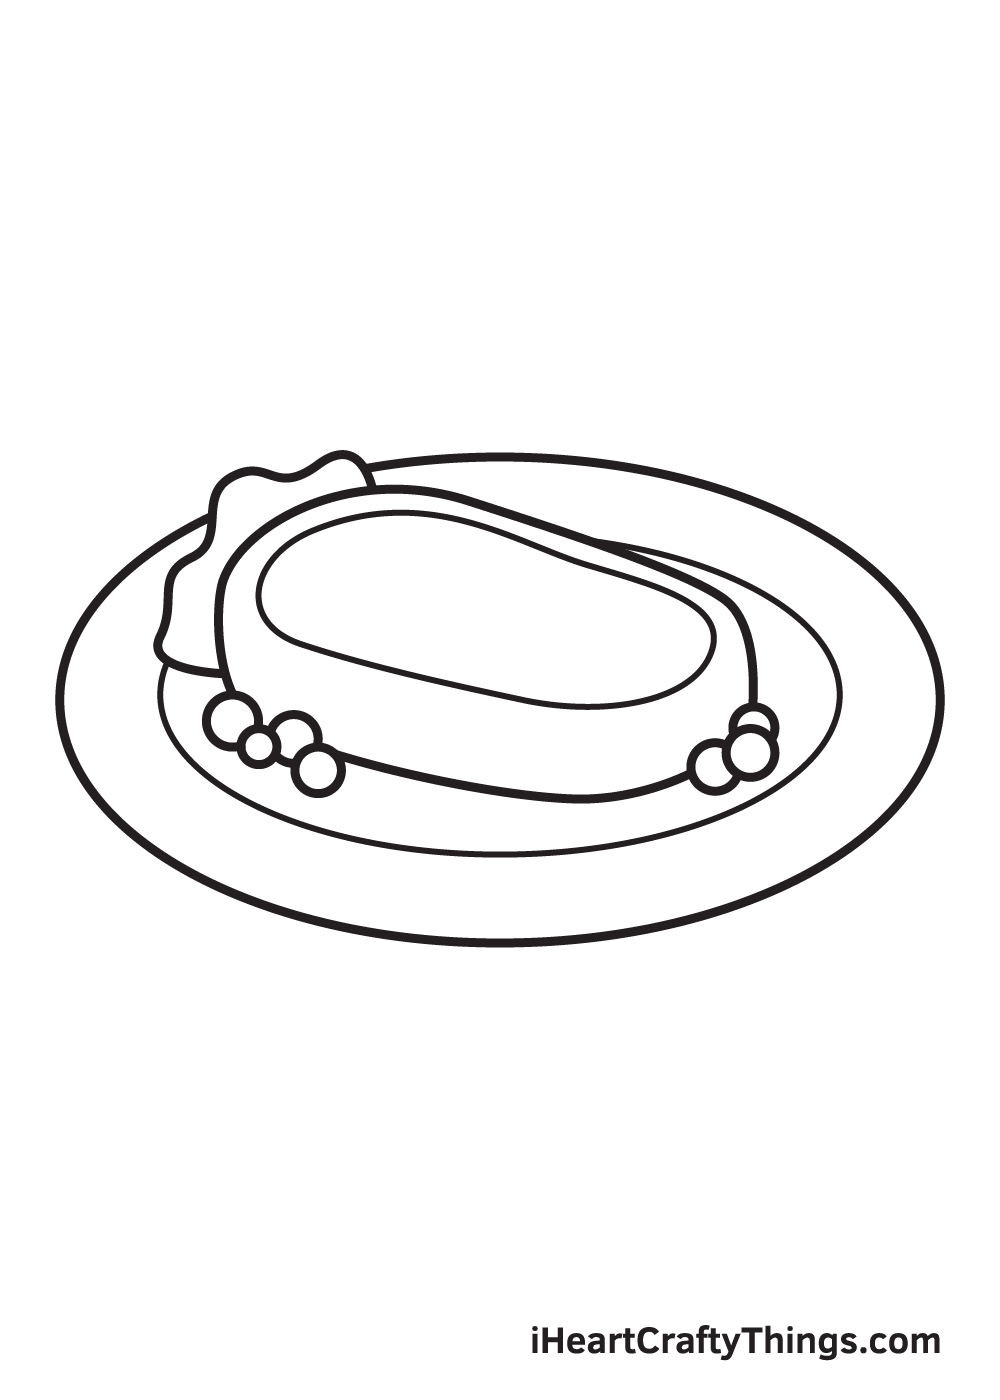
And of course, a plate of grilled steak wouldn’t be complete without some delicious green leafy vegetables like lettuce on the side.
Draw the leaf of the lettuce on the left side of the steak by drawing continuous, uneven curve lines all around the edge.
Step 7 — Add Another Greens as a Side Dish
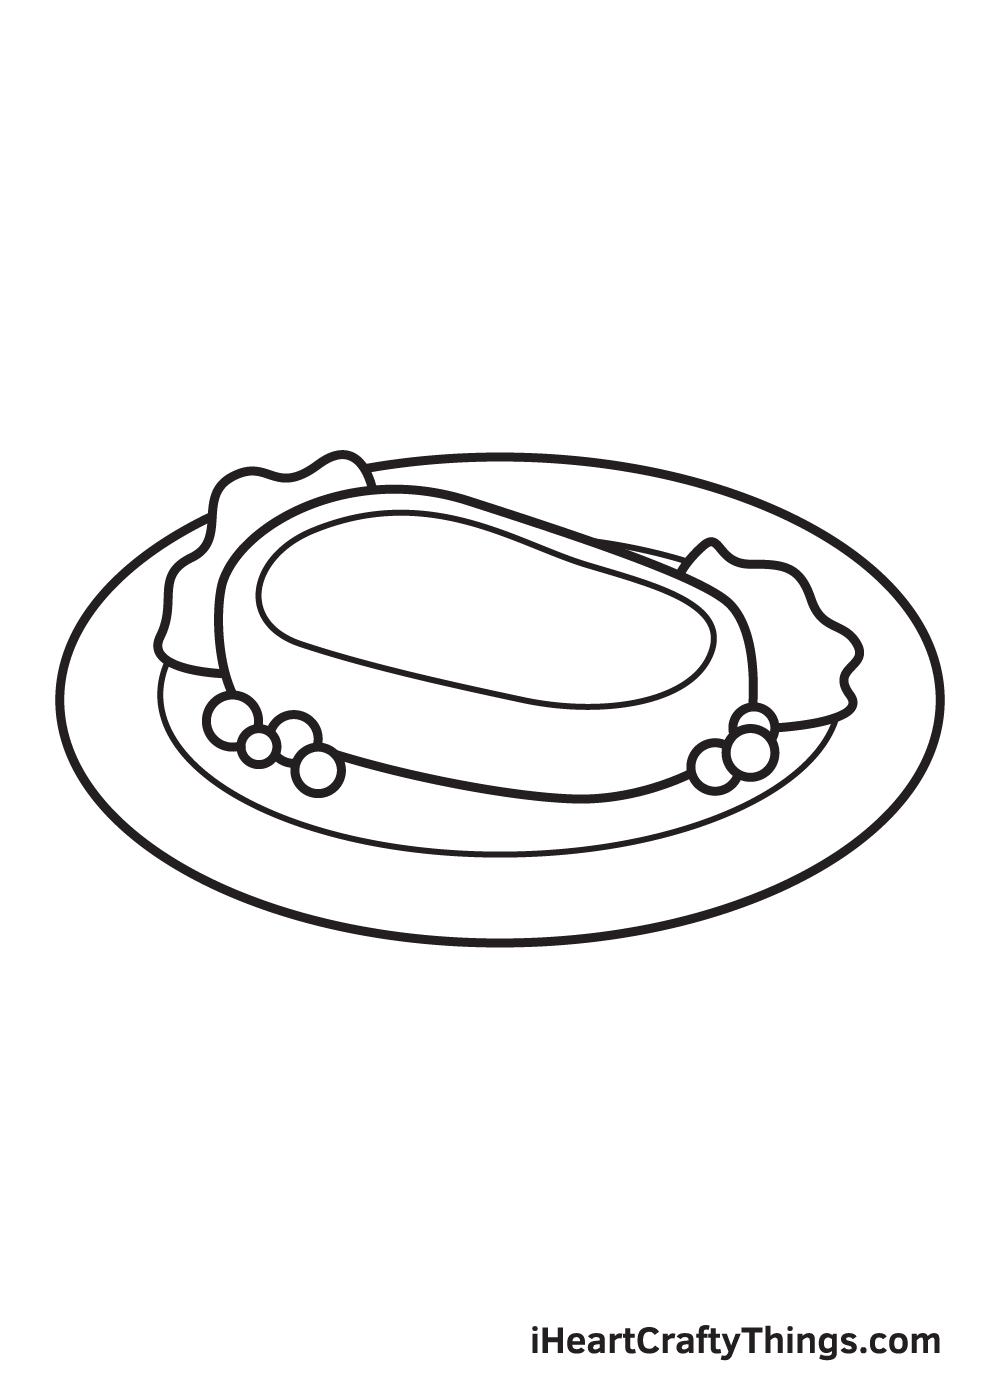
Repeat the previous step to draw another lettuce on the right side of the steak, creating an abundant dish.
Remember, only the edges of the lettuce must be visible and not the whole leaf. It should look like the greens are underneath the stake, thus only the edges are visible.
Step 8 — Put Details on the Steak
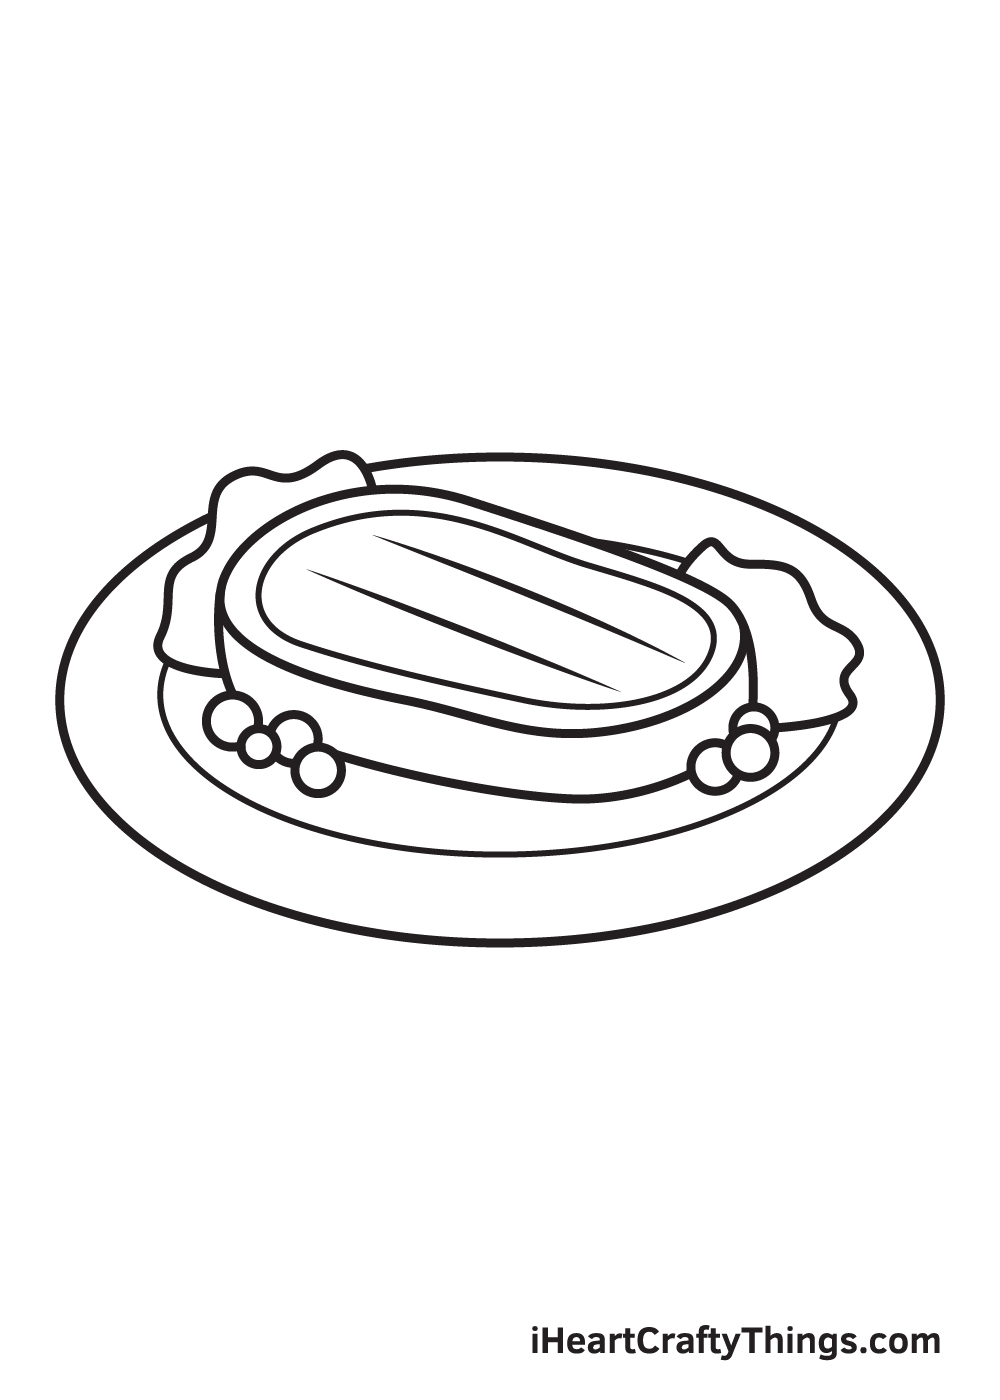
Draw two long diagonal lines on the top surface of the steak. Keep the lines in the middle portion of the steak and they should not be touching the edges of the steak.
Step 9 — Add Grill Marks on the Steak
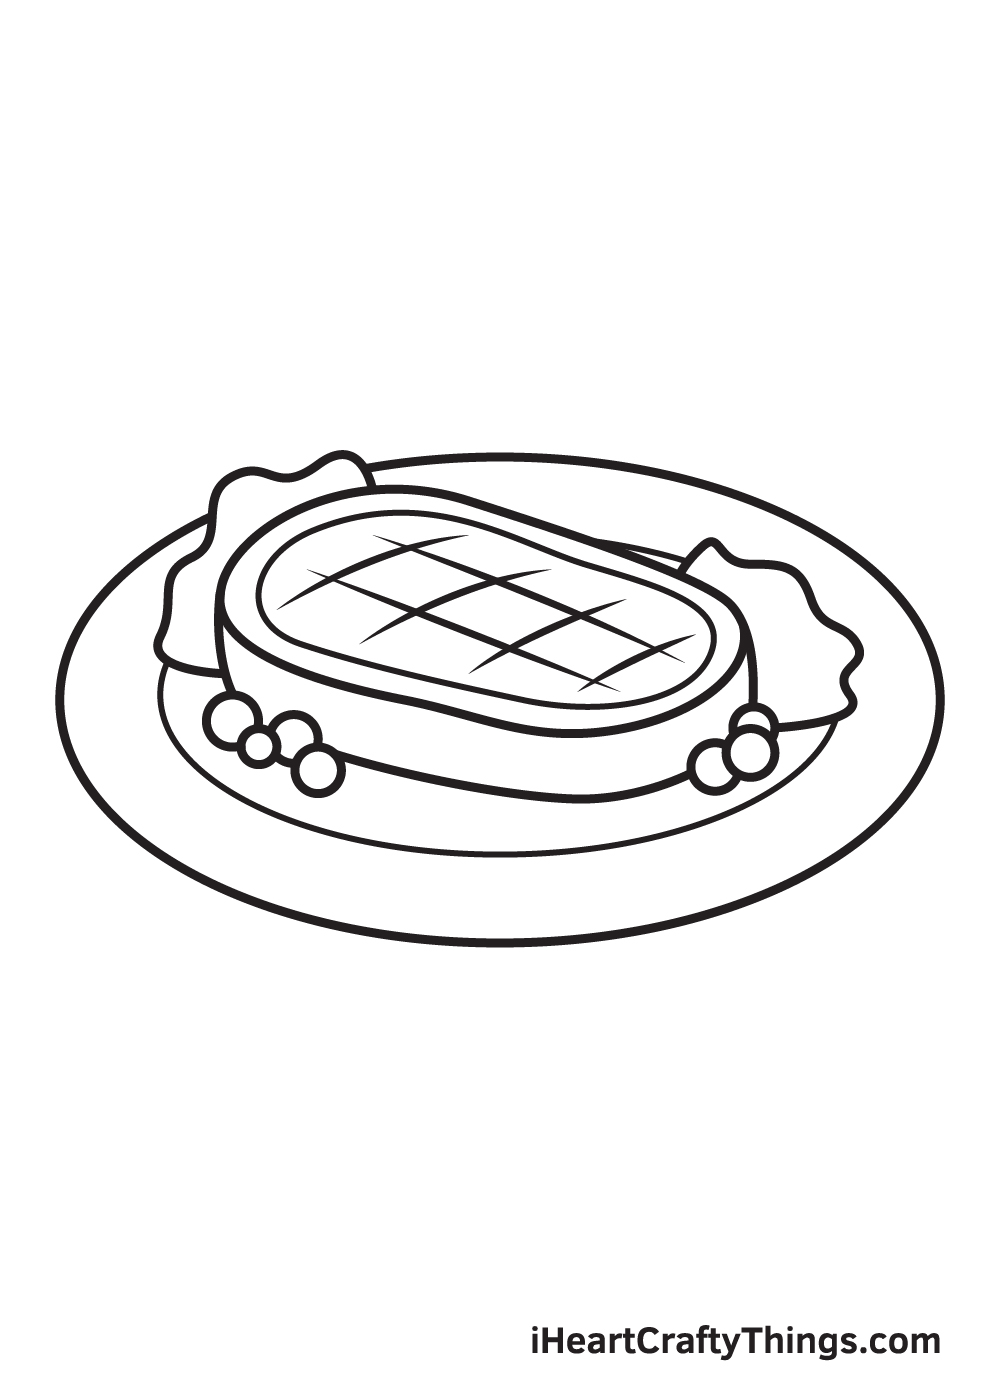
Draw another four diagonal lines overlapping the previous two lines. This time, however, the line should be drawn in the opposite direction, creating a criss-cross pattern.
When drawn correctly, the lines should look like grill marks, making the steak look more delicious and freshly-grilled.
Here, you can see the food is nearly finished! The only thing it’s missing is a dash of multiple colors to complete your artwork!
Finally, here is the most exciting part—filling in the colors for your awesome drawing! This is the part where you can show off your artistic skills and your ability to mix and match various colors.
The color of a grilled steak varies from burnt brown to pinkish red, depending on how well it is cooked. You have the option to color your drawing exactly like the illustration shown or customize the colors to your liking. Either way, we’re sure your drawing looks awesome!
Feel free to color your food drawing however you like and watch as the steak ultimately comes to life! And while you’re at it, why not try experimenting with different coloring materials such as watercolor and brush pens as well?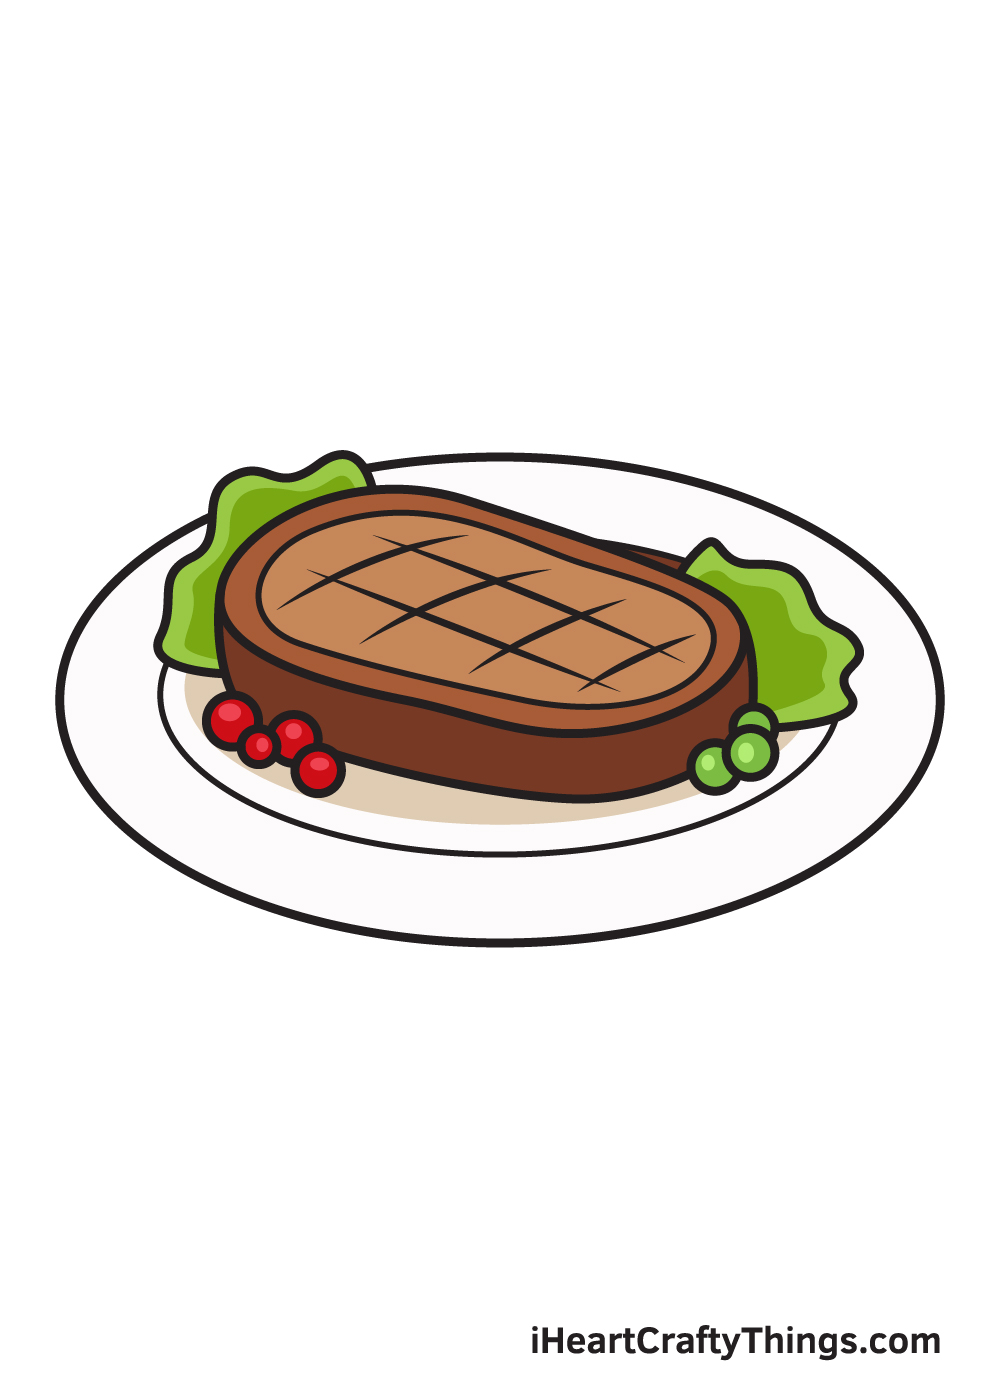
5 Tips To Make Your Food Drawing Even Better!
Make your food drawing even more delectable with these handy tips!
Anyone who loves steak will tell you that it is best paired with other foods and beverages! That’s why for this food sketch we think it would be great to add some sides for this meal.
If you enjoy steak, adding more details will be a great way to show off what you would have with this meal. These could be masked potatoes, fries or maybe even a nice milkshake for a few ideas!
In the same way that some people like to enjoy steak with other food and beverages, many like to add toppings as well.
This would be another great way for you to add some detail to this food drawing! For example, you could draw some sauce or maybe some garnish sitting on top of the steak.
What would you add to this steak to make it look even tastier?
Next, we would suggest creating a background setting for this picture. You could show this steak sitting on a plate on a table, and you would be able to add elements such as cutlery.
There are so many fun details you could add to such a scene! Another fun idea would be to draw yourself about to dig into this meal. What kind of scene would you like to create?
We showed you how to draw a great portrayal of steak, but don’t be afraid to change things up! For instance, if you like a specific kind of steak, you could change the shape of this one to match it.
Or, you could draw the steak to make it look like someone has already started eating it.
Lastly, you can really go to town with the colors and art mediums you choose for this drawing of food.
By changing up the tones of the colors, you could even make this steak look like it’s cooked to the level you prefer. There are also loads of fun and creative art tools and mediums you can use to make the colors pop!
Your Food Drawing is Complete!
We hope you enjoy this step-by-step tutorial on how to draw food. With this guide, you can surely draw and color food along with its complex features and elaborate details in no time.
And the most fun part is, you can customize its physical attributes and play with various colors as much as you like!
We are always updating our “How to Draw” catalog, so make sure to keep checking back on our website to take advantage of newly uploaded tutorials.
All you need is a pen and paper and you’re all set to start drawing! We are excited to see what you will draw next. We’re sure it will be just as amazing as this one!
Once you’ve finished your masterpiece, we’re certain you must be feeling very proud of yourself—as you should be!
Completing this food drawing is definitely fulfilling—and appetizing! Make sure to show off your work of art and share it on our Facebook page and on Pinterest. We’re sure it looks amazing! We can’t wait to see your colorful food drawing!