


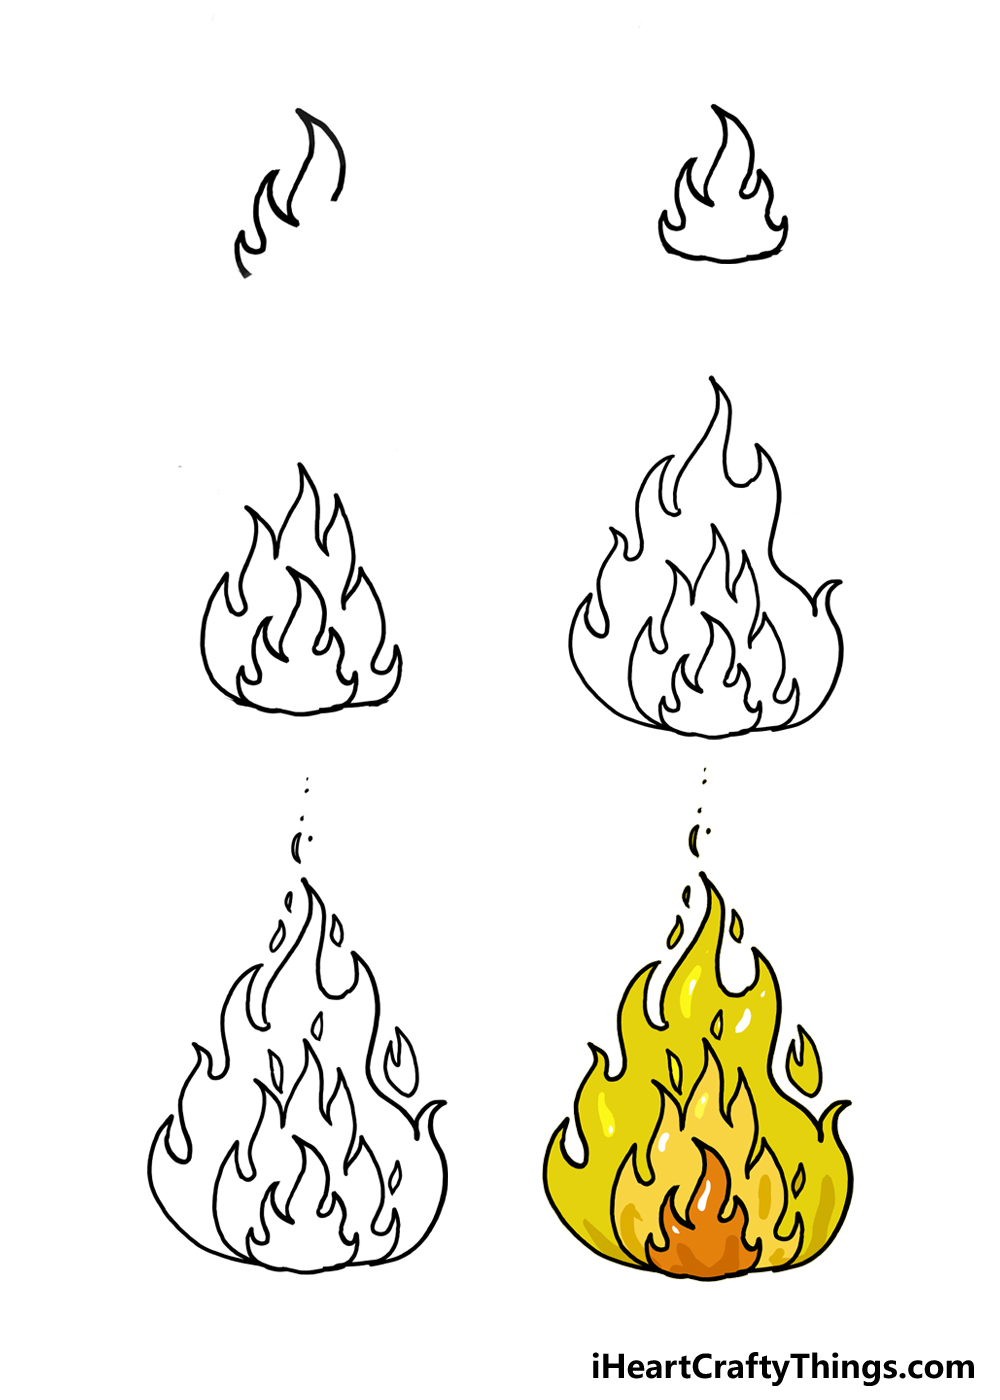
If you want to learn how to draw flames, then this is the guide for you! This fun and easy tutorial for kids will show you everything you need to know about depicting flames in your art.
Fire has been with humanity since we first walked the earth, and it holds endless fascination for us. It’s depicted in many forms of art as both a destructive and cleansing force, but drawing it can be surprisingly tricky!
That’s because it can take on pretty much any shape or size, and it has to be drawn very specifically in order to be convincing.
That’s where this guide comes in, as I will take you through every step you need to know in order to create convincing flames. Then, you can add your own elements, ideas and variations as well.
It’s easy when you follow the steps, so allow me to show you how it’s done!
See Out How To Make Your Flames Drawing By Watching This
How to Draw Flames – Let’s Get Started!
Step 1
The thing with drawing fire is that it is essentially formless. That means there is no single way to draw flames, as it can take on so many shapes.
This can make it harder, but it also frees things up. While there is no one universal shape or form for flames, we have a few ways of depicting it that are recognizable.
In this guide, we will be making the flames look a bit more cartoony in order to make it easier to depict. You could take what you learn here and make it more realistic if that is a style you prefer.
When drawing your own flames, you could use softer lines, draw the outlines with color or forego outlines entirely, creating the shapes of the flames with colors alone.
It’s up to you, but we will be using solid black outlines to illustrate what we’re talking about easier. When drawing fire, we will use lots of pointy lines and shapes that will make it look like a real fire.
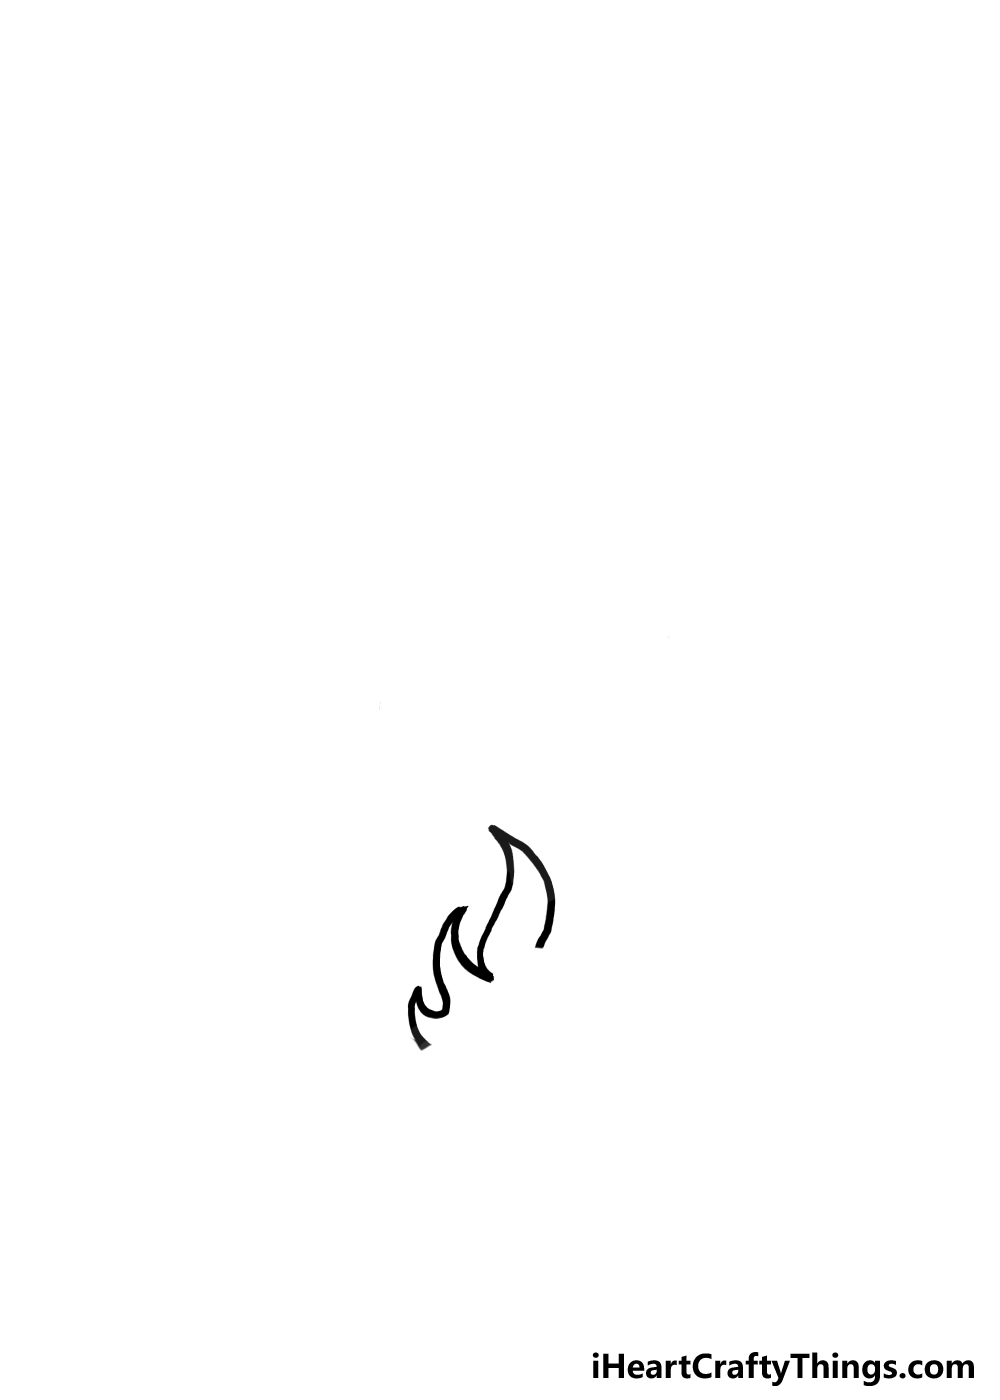
We will start with a small portion of the flames now. We will be drawing these flames using some curvy lines that end in pointy tips.
Some will be small and some large, but it doesn’t really matter. We will generally aim to make the flames at the center a bit taller, but you can play around with it a bit.
Step 2: Draw the rest of this small section of flames
As you will see in the reference image, the way we are creating this flames drawing is by building it up in layers.
Once again, you can take this approach and adapt it to your style, but this will show you how to create a recognizable portrayal.
You will notice that we are drawing a flame shape for the center of the larger picture, and those other layers will come in later steps.
In the previous step, we drew the left-hand side of this inner flame shape.
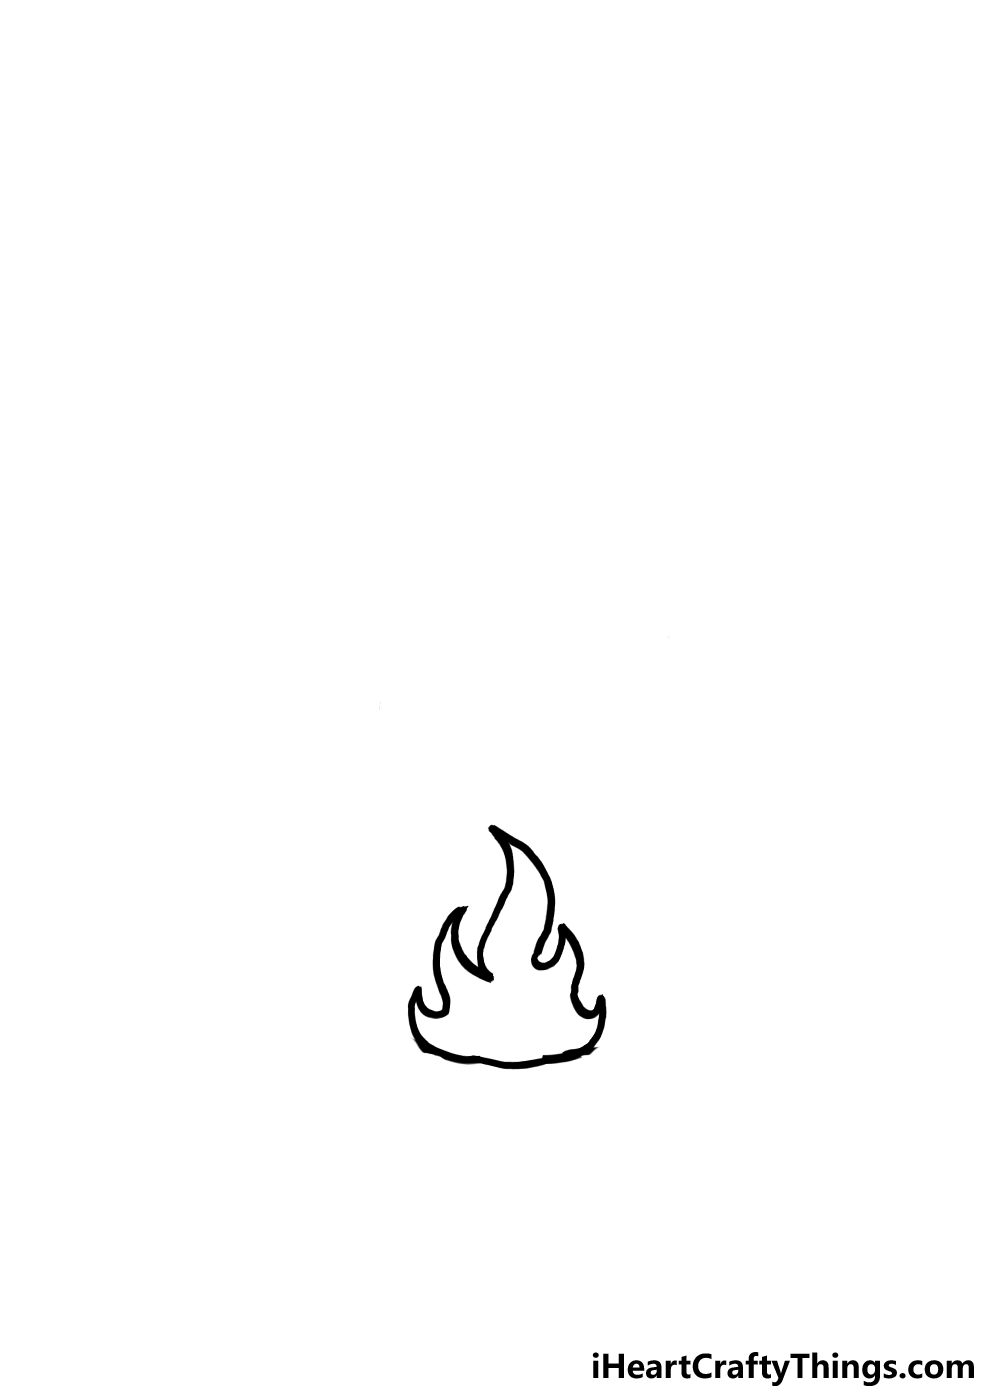
Now, we will finish off the shape by drawing the right-hand side. Your instinct may be to make the flames look symmetrical, but you don’t need to do that.
In fact, we would encourage you to not make it totally symmetrical. Fire is chaotic by its very nature, so it would be unlikely that any sections of the flames would match each other if this were real.
We will be drawing pointy shapes that match the left side, but they won’t be the same size exactly. They’re more or less the same in our example, but you can play around with it.
You could even add a few more licks of flames for a more unique image. Then, we can move on to step 3.
Step 3: Add the next layer of the flames
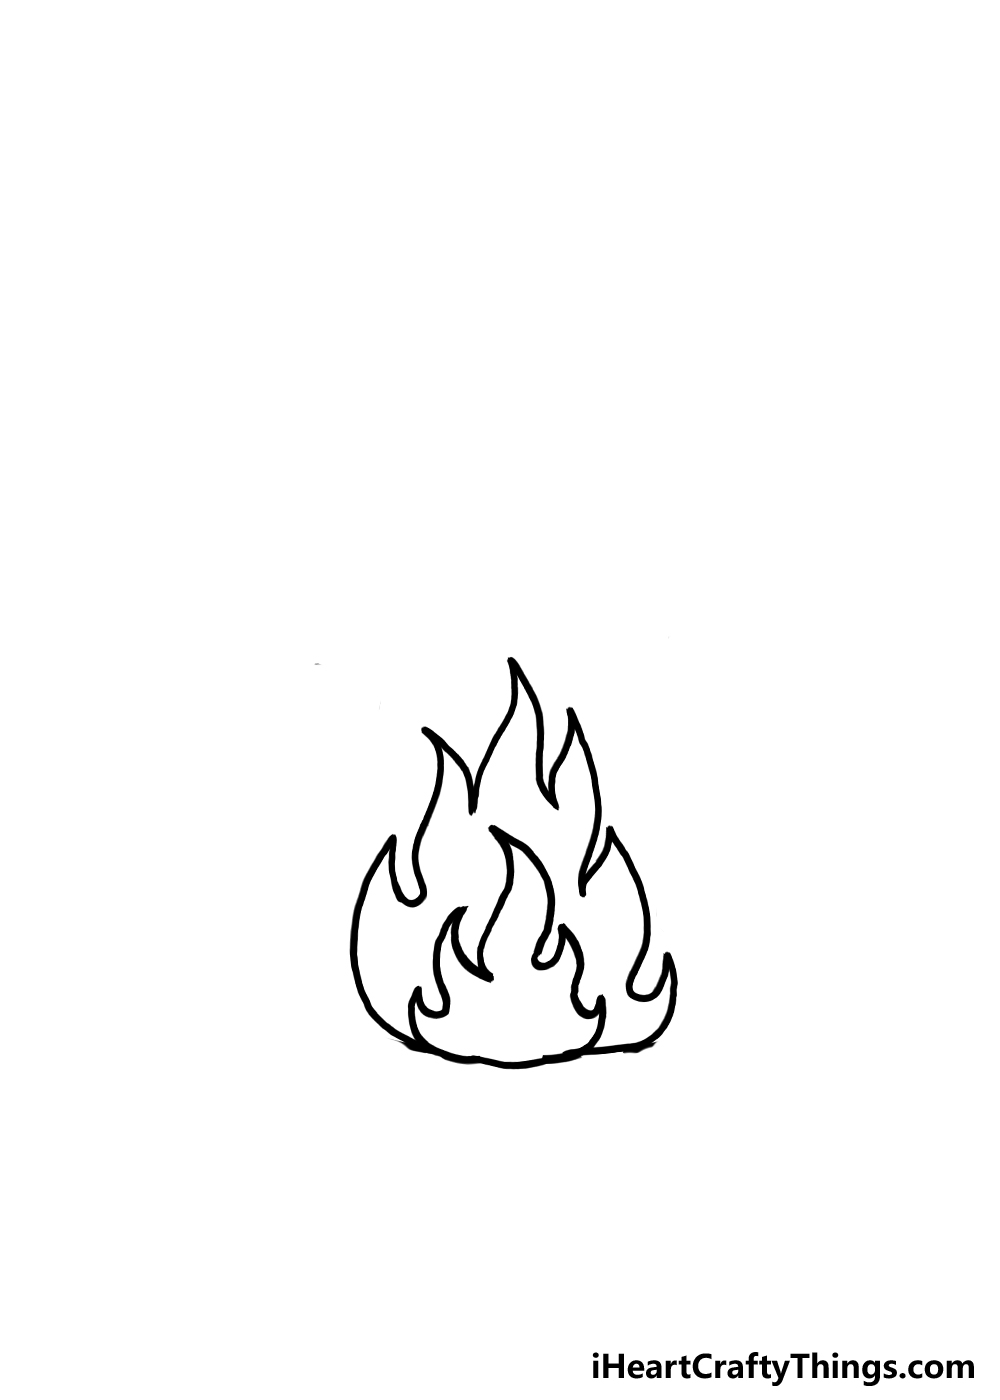
Now that we have the central core of these flames, we can start adding more layers. For now, we will just add one layer of flames that are surrounding the core we drew in the previous steps.
You have seen how you can draw each layer in those two steps, so now you know how you can continue adding them.
When adding this new layer of flames, you can essentially repeat what you did in those first two steps.
This second layer will have its base at the same place as the first central shape, but it will extend out a bit further. Otherwise, we will draw it the same way we did before.
That means using curved, wavy lines to create the licks of flames, each of which ends in a pointy tip. As you can see in the reference image, we once again didn’t make it perfectly symmetrical.
In fact, this second layer is even less symmetrical than the central shape. You’ll notice there are two pointy tips on the left, whereas there are three on the right.
These converge on a central pointy tip in the middle in order to create the layer you see. You also don’t need to make it match ours exactly, and you can change the shapes if you want to.
If you do change it, just make sure to include some wavy lines and pointy tips and you will have something that looks like a traditional depiction of flames.
When you’re happy with how it looks so far, we can add the final layer in step 4 before drawing some final details.
Step 4: Now draw the final layer of the flames
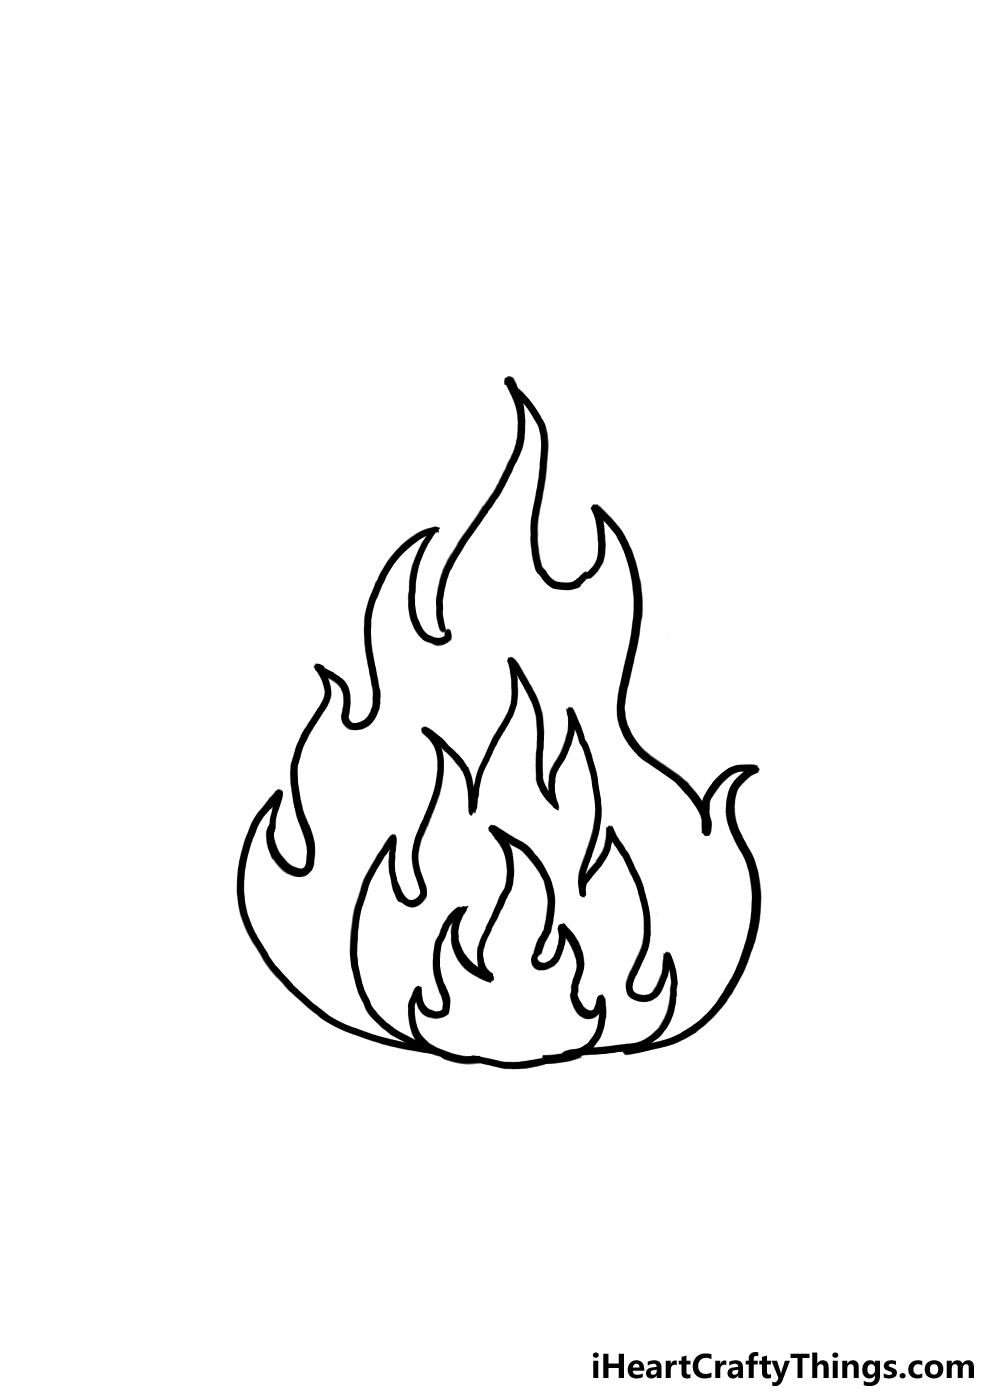
Now we will be drawing the final, largest layer of flames yet. For the previous two layers, you will see that they weren’t that far from one another.
We will make the distance between the layer we just drew and the one we are about to draw a bit larger. This will give the fire some size to work with when we add more details soon.
Other than this larger size, we will again be following the same steps as before. You know the drill by now!
We will be using lots of those curvy lines with pointy tips once more. And, we will also not be too concerned with making things symmetrical.
Basically, it’s what you’ve been doing so far just on a slightly larger scale. Once you have drawn this larger outline, you’re ready for the final details in the next step of the guide!
Before we head to that step, be sure to add all of the layers you want. We kept it limited for this example, but you could add as many layers as you like now that you know how to draw flames so well.
There could be a new layer at the center or maybe between the second and third layers to fill that gap. Or, you could draw some more layers around the outer ones!
It’s up to you, and the more layers you add the more lively these flames will look in the final image.
Then, we can add some of those final details.
Step 5: Draw the final details for your flames drawing
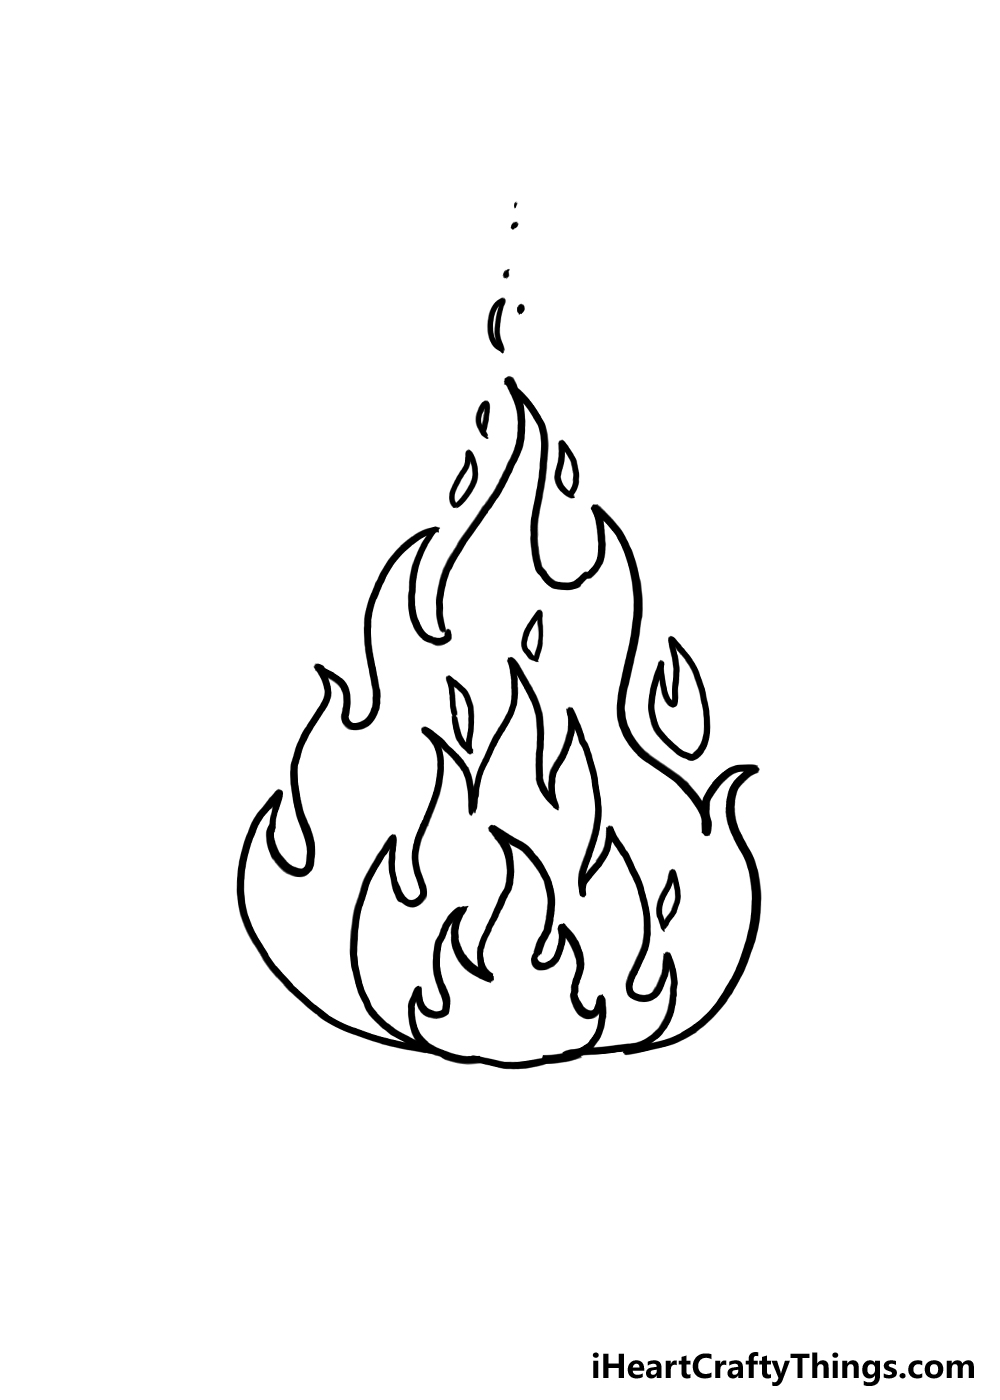
Color will be one of the most important aspects of this drawing, but we have a few more details to add before we get to that! If you look at a real fire, you will see that it is not a solid shape.
Instead, the fire will be flickering and licking out, causing sparks and other movements. A fire is never still, but this drawing has to be completely still.
For that reason, we will have to do our best to create the illusion of this movement in the drawing. To do this, we will draw some small little flame shapes around the flames we have drawn so far.
This can be done with some small, pointy shapes around the outlines of the flames. You could also add some small lines and other shapes to mimic sparks.
Once you have added these details, you can then add any extra details you like! One simple idea would be to draw a pile of wood beneath the fire.
Then you could take it a step further and add some people sitting around the fire roasting marshmallows.
This is just one idea, but it shows that you can create a more complex setting around this simple drawing.
You could also be more creative and maybe turn these flames into a cartoon character or incorporate it into a more complex scene. We’ve given you a few ideas, but how else could you add to it?
Step 6: Now, finish off with some color these flames
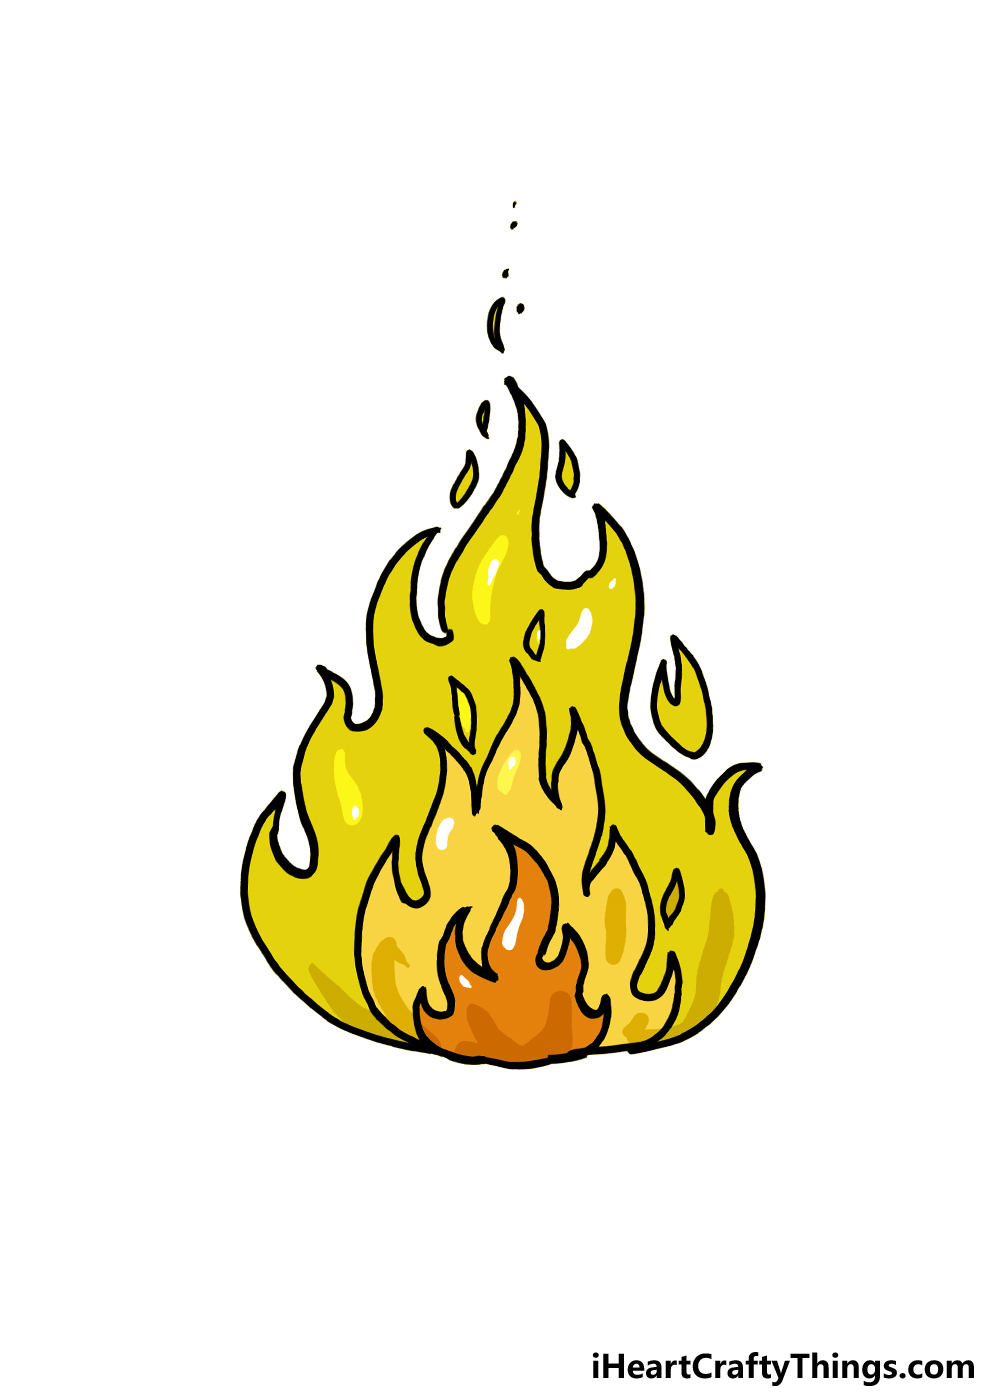
As we mentioned in the previous step, color will be very important for this drawing of flames. That’s because fire is always very bright, and using color is the best way to show this.
Fire can take on many different colors depending on a few different circumstances, but we most commonly associate it with warm colors like red, yellow and orange.
In our reference image, you will see that we went for various shades of oranges and yellows to make the fire look hot on the page.
If you like how this looks, then you could create a similar look for your own drawing.
Don’t be afraid to incorporate your own colors into the mix, however! As we mentioned, red is a great addition to the drawing as well.
You could even add some blue at the center, or stick to different shades of the colors we have included already. We’ve mentioned a few times that fire is essentially formless.
There are art mediums that could help you to depict this softness of form, and you would generally want to use the softest mediums you can.
Some excellent candidates would be watercolor paints or colored pencils. These can create some soft and subtle colors, and that would be perfect.
Of course, you may want the colors to be bright and bold instead. In that case, you could use some colored pens, markers or maybe acrylic paints.
There are so many different mediums, colors and combinations of each that you could go for! Let your creativity flow and don’t be afraid to try out some new mediums, colors or combinations.
Your Flames Drawing is Complete!
Fire is something we humans have been accustomed to for thousands of years, and yet we still don’t know all of the answers to the mysteries surrounding fire.
Despite that, we hope that the mystery of how to draw flames was a fun one for you to solve with us! As you have seen, it can be made so much easier when you break it down into layers.
This would be true for any drawing, as you can always break it down into smaller elements no matter how complex it may be. Completing this guide is just the beginning of the fun, though!
Now that you have mastered this design, you can take it even further with your own ideas and elements.
We gave you a few starting points, but now you can take over and show off what you can do.
Whenever you spend time creating art, it’s always gratifying to show off what you accomplished. We have the perfect way for you to do that! You can show off your art on our Pinterest and Facebook pages.
That way, we can see what an amazing job you did on this picture, and we can’t wait to see it!
