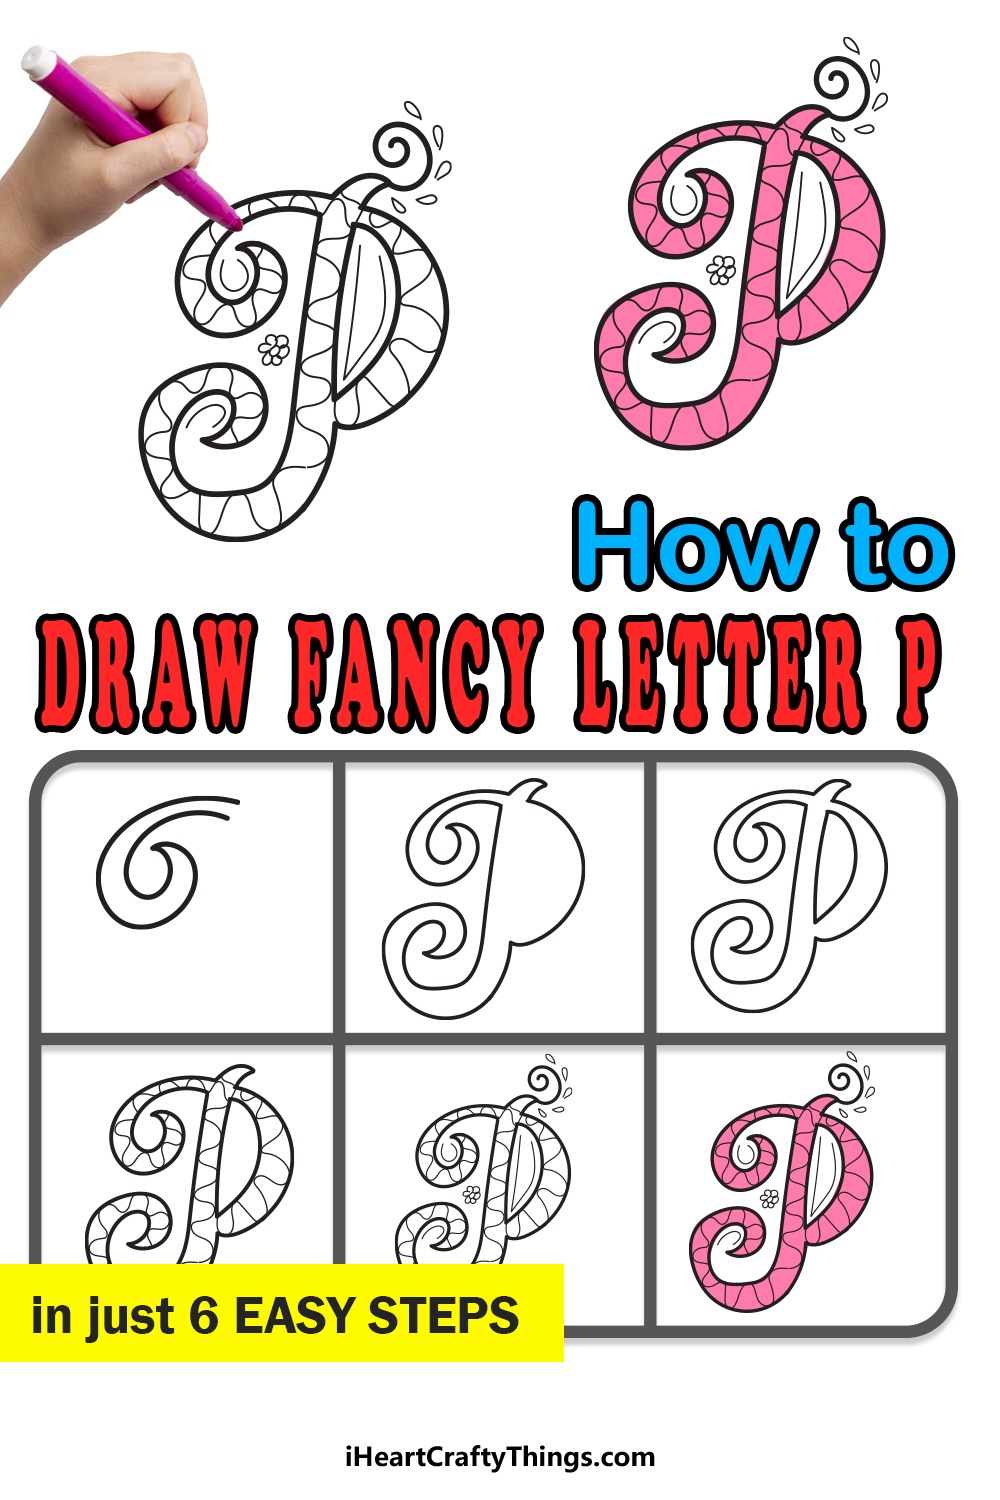
The letter P is the sixteenth letter of our alphabet, and it’s not quite as common in the English dictionary as some other letters.
Despite this, it’s still a letter we see show up in our sentences fairly often, and it is used in many names as well. If we’re going to write this letter, we will do it right!
Creating a fancy letter P is the goal of this guide, and we will take you through everything you need to know in order to do it.
Not only will we show you how to draw this awesome design, but we will also show you some ways that you can decorate and color it.
We will then finish off with some final ideas that you can use to create a wonderful theme for your picture. Without any further delay, we will now begin with the first step of the guide.
Let’s Get Started
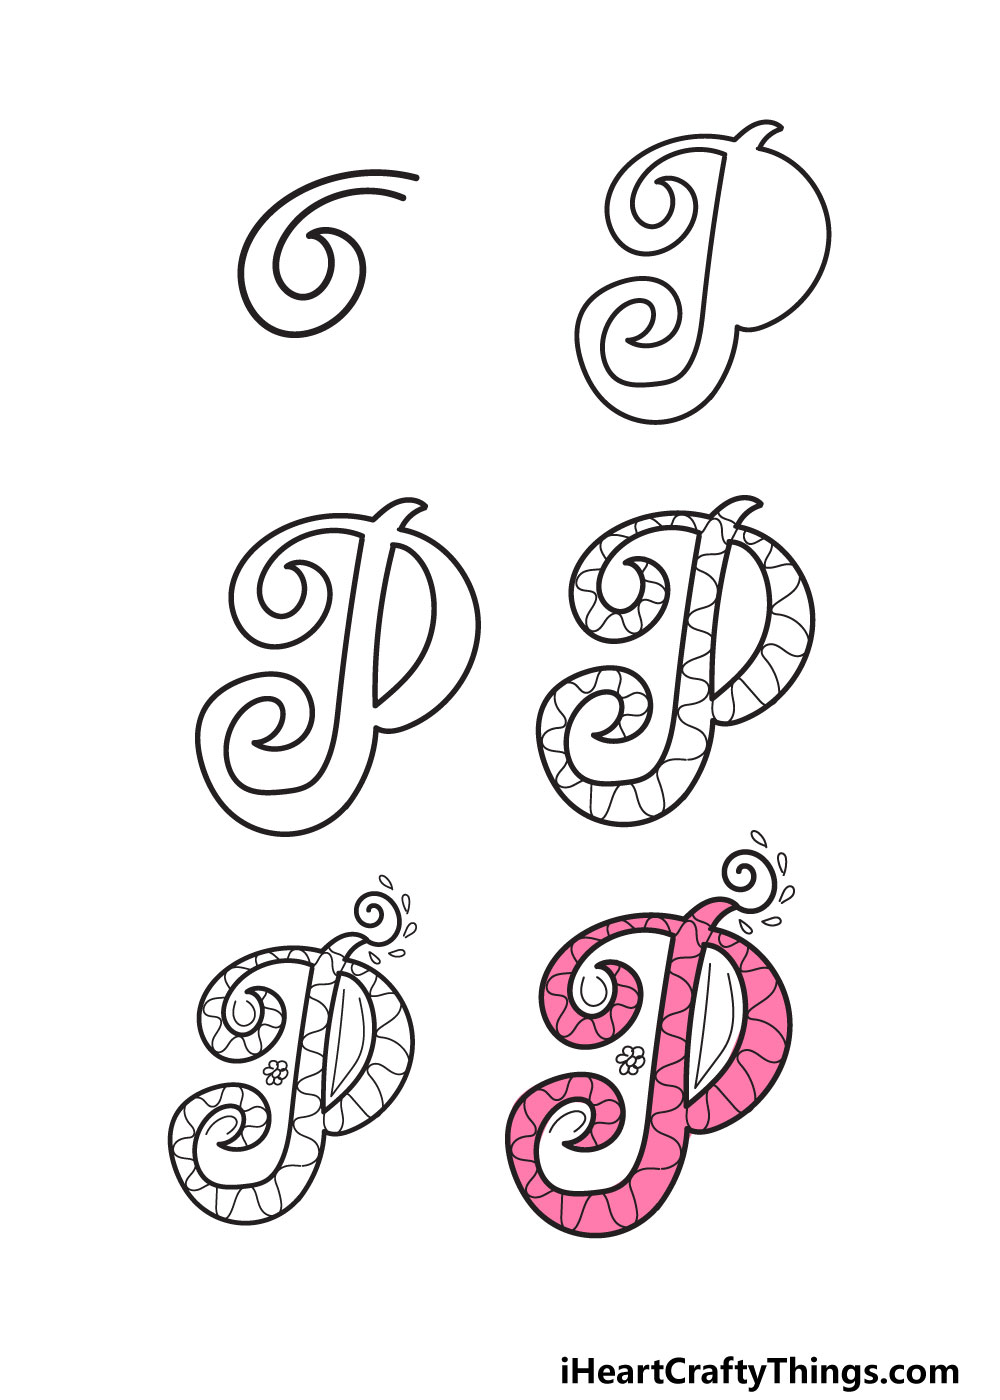
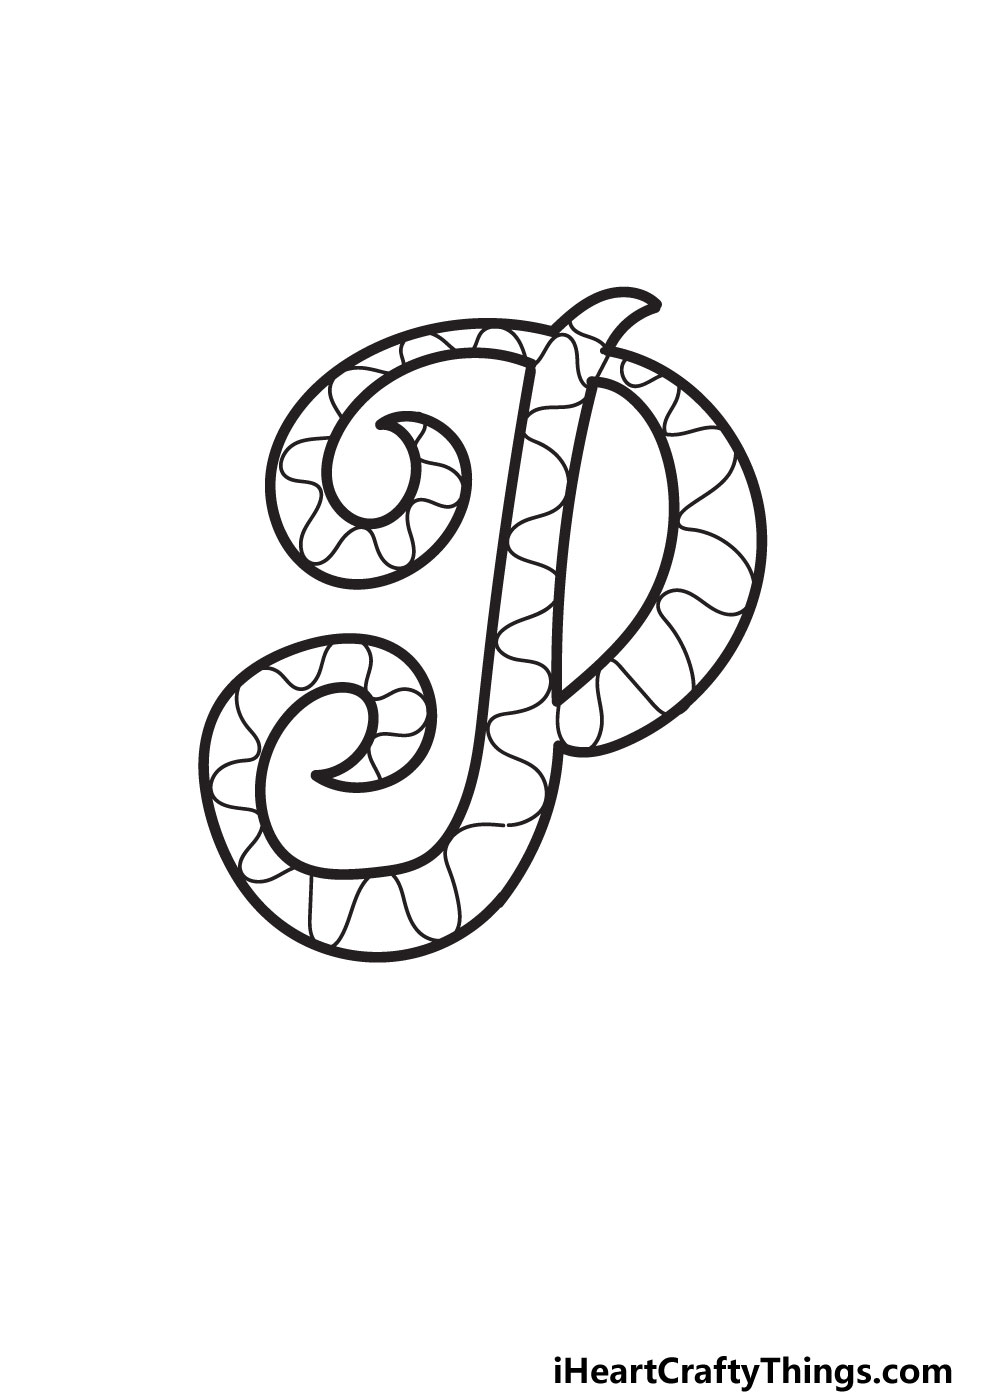
STEP 1:
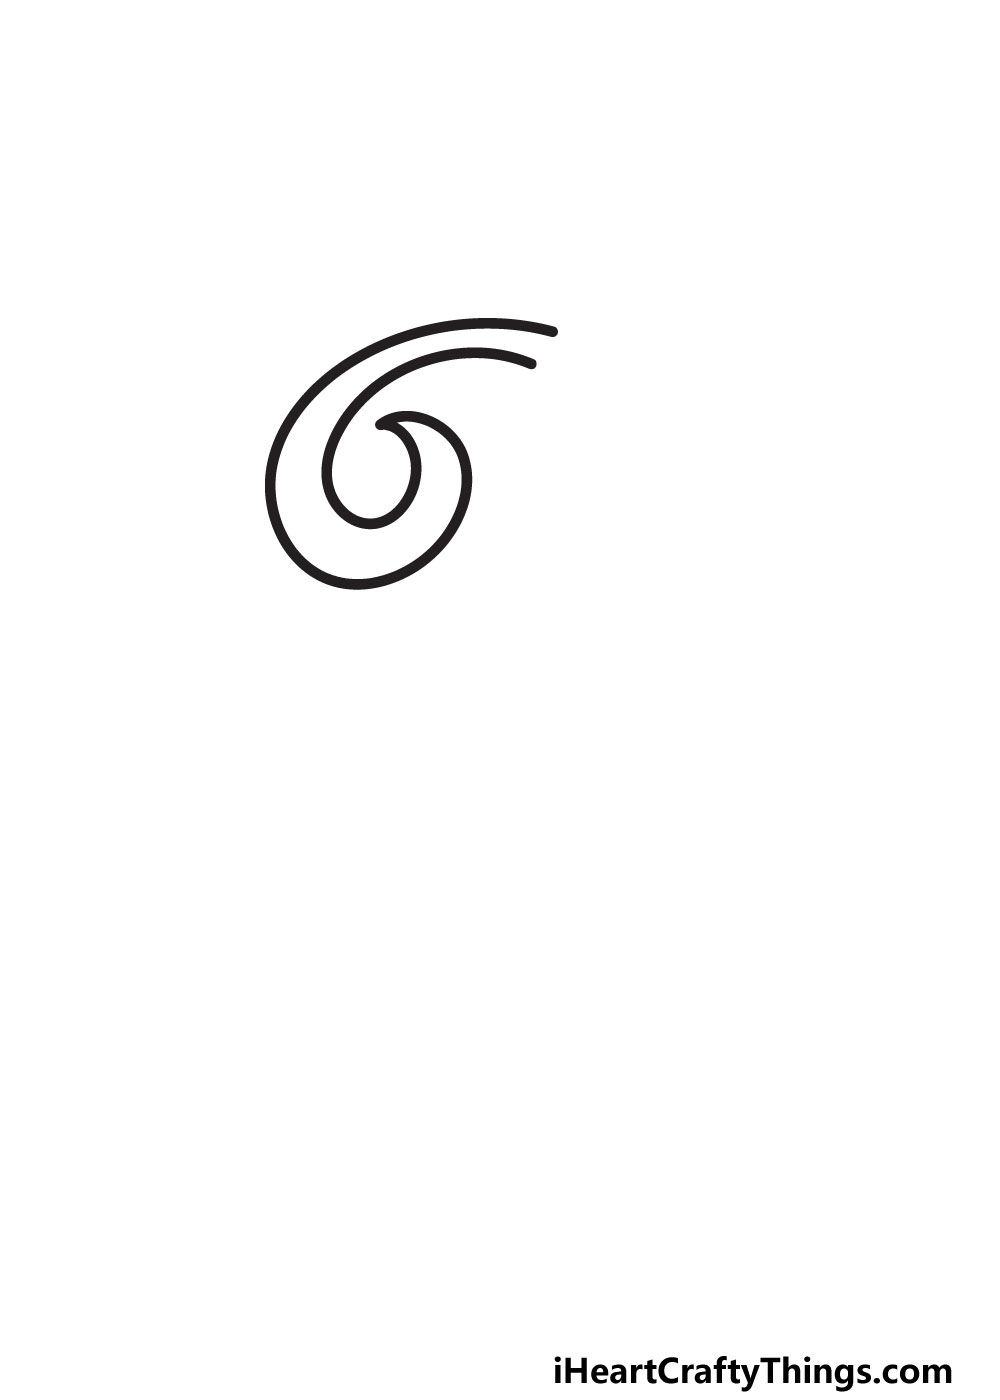
In this first step of the guide, we will be drawing not the letter itself, but a spiral flourish attached to it. This flourish will be attached to the upper left side of the letter.
Before you draw it, you can make this drawing easier as a whole by creating a rough sketch with a pencil. Using your pencil, draw out a big letter P in any way you find comfortable.
Even if it’s not going to be shaped like the final drawing, it will help you to keep the shape and size of the letter consistent.
You don’t have to do that step, but it will make things a bit simpler! However you decide to do it, we can now draw that flourish.
It will be shaped a bit like a big number 6 that has a small gap where it will attach to the letter. The point at the center of the spiral also has a pointy tip.
You can either draw this spiral as one continuous line, or you could separate it into two lines if you prefer.
Once the flourish is drawn, we can move on to the second step, where we will finish off the outline.
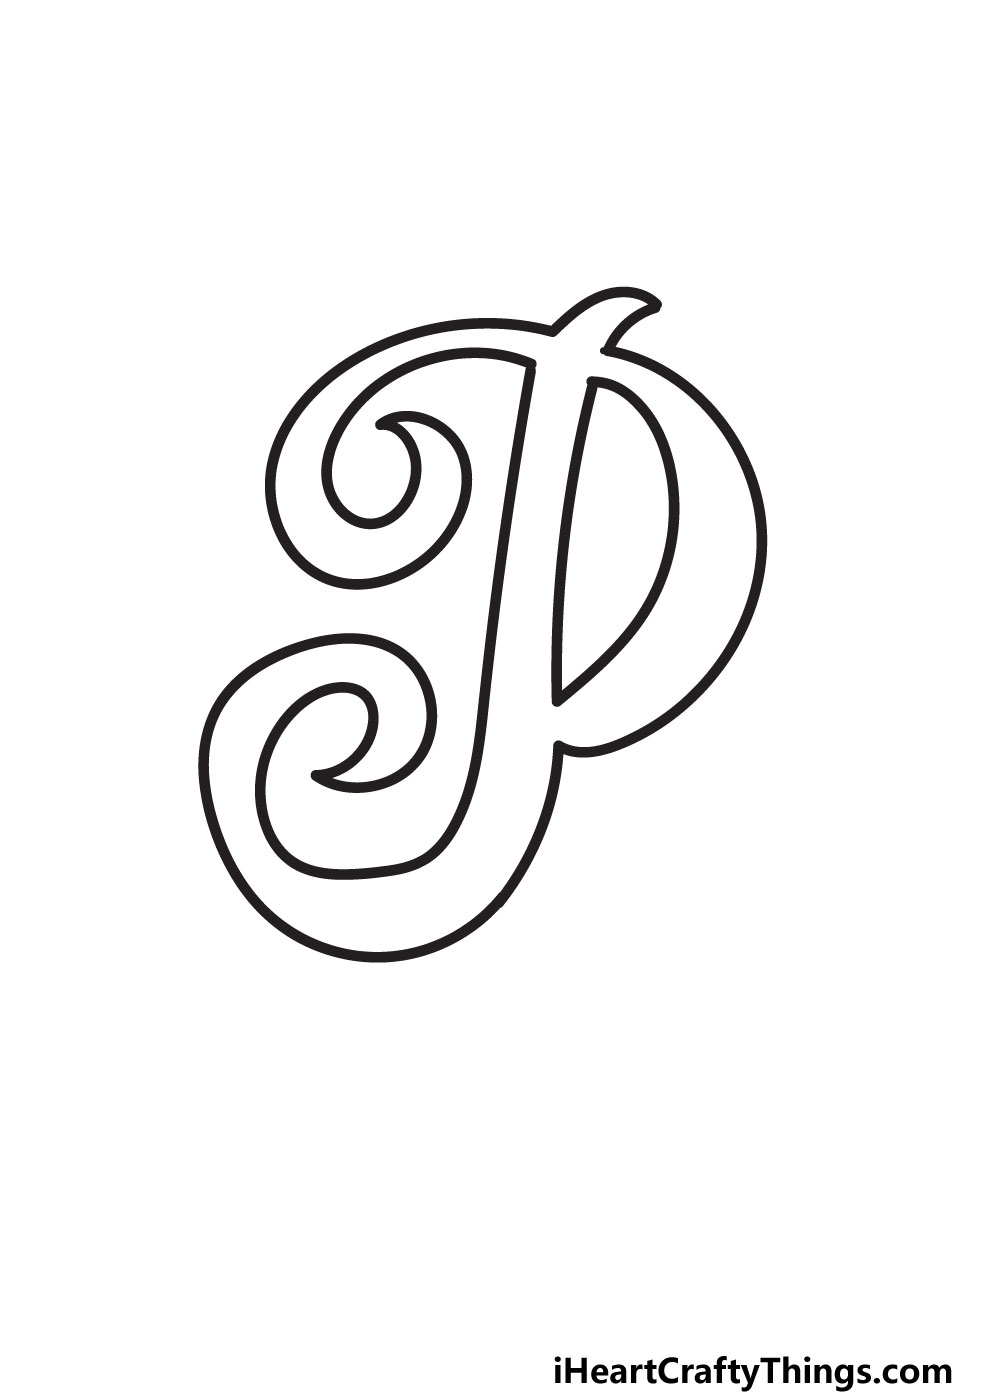
STEP 2:

In this second step of our guide, we will be adding a lot to the design. You had a good warm up in the first step, so we’re ready to add a lot more in this one.
First, we will begin with a small pointy but at the top of the letter, connected to the spiral shape from earlier. Next, extend a curved vertical line down from the base of this shape.
Now, we will be adding another spiral flourish to the design. It will be shaped rather similarly to the first one, but it will face the opposite direction.
This second spiral will also be a little larger than the first one, and you can play around with how large and spiraled it ends up being.
Both of these spirals can then be connected with a single vertical line to complete the outline. Once you have that, you can then erase the pencil lines you may have used in the first step.
When the outline looks right to you, we can add the inner section of the letter in step 3.
STEP 3:
The previous step was quite challenging, as there was a lot to draw. This third part of your fancy letter P should prove to be a lot easier, however.
If you look at a regular letter P, there is a hole at the center of it that is usually quite rounded. In this design, it will have a rather unique shape instead.
The hole at the center of this design will be shaped a bit like an elongated letter D. Once again, you could draw it in a single line, or you may find it easier to separate it into two lines.
The shape of this element looks really fancy and elegant, but you could play around with it a bit if you like. You might like it to be more rounded, or you could add some spiral elements to this part as well.
It’s up to you, and you can use your imagination to add little details that fit your specific preferences and taste. With this part drawn, we can move on to some other interior details.
STEP 4:
You have the outline of the shape of this letter done, and there are so many possibilities open to you now! There are so many ways to decorate this interior section, and we show you just one of them.
For our version of this design, we filled the shape of the letter with lots of curved, wavy lines. Just this simple set of line details helps to make it even more intricate.
As we mentioned, it’s just one of the many ways that you can decorate this design, however! You could create a similar design with straighter lines, for example.
Another idea would be to add lots of smaller lines and shapes to make it look really extravagant. Of course, keeping it simple is also an option.
You might prefer to keep the interior of the letter clear so that you can fill it with color.
This is something we will cover in more detail when we look at colors in step 6, but we have a few more details to add in the next step.
STEP 5:
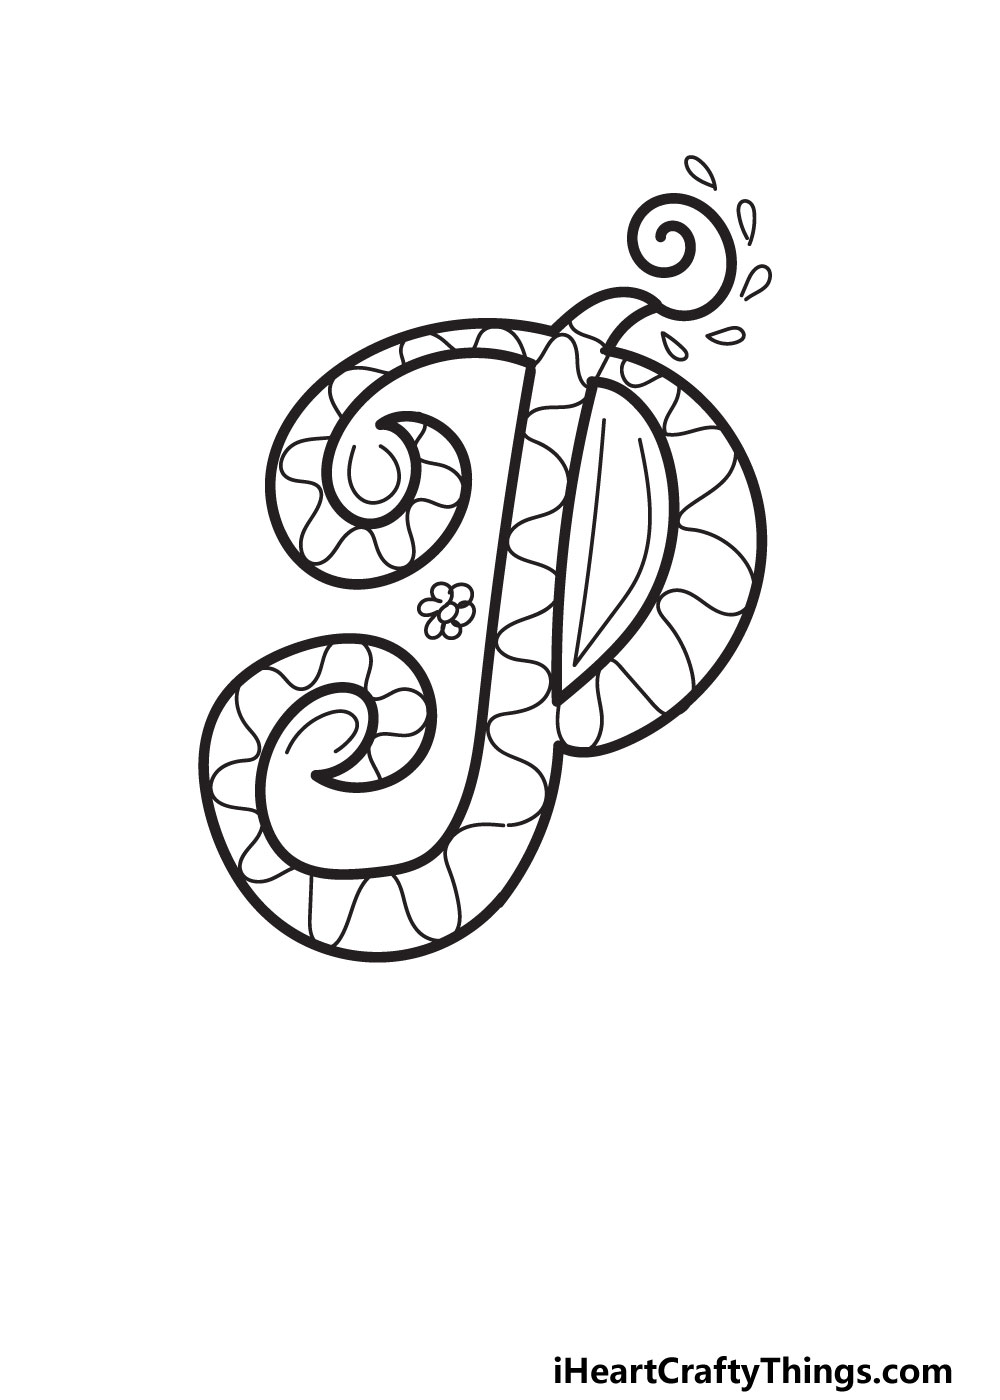
The previous step was all about adding some interior details, and this one will be focused on adding some exterior ones.
As with the previous one, this step is one that you can play around with to suit your particular tastes. For now, let’s stick to our design.
We began these exterior details with a spiraled line poking off the top of the letter. Then, we surrounded it with some small teardrop shapes.
Next, we added a little flower on the left-hand edge of the letter for a nice floral touch. Finally, we added some line details on the inner edges of the letter to make it look more vibrant.
You could take or leave any of these elements and add more of them if you like! Or, you could remove some and make them more subdued.
Of course, you can also bring your own ideas to it and add some exterior designs of your own choosing. How will you add some extra detail to the design?
STEP 6:
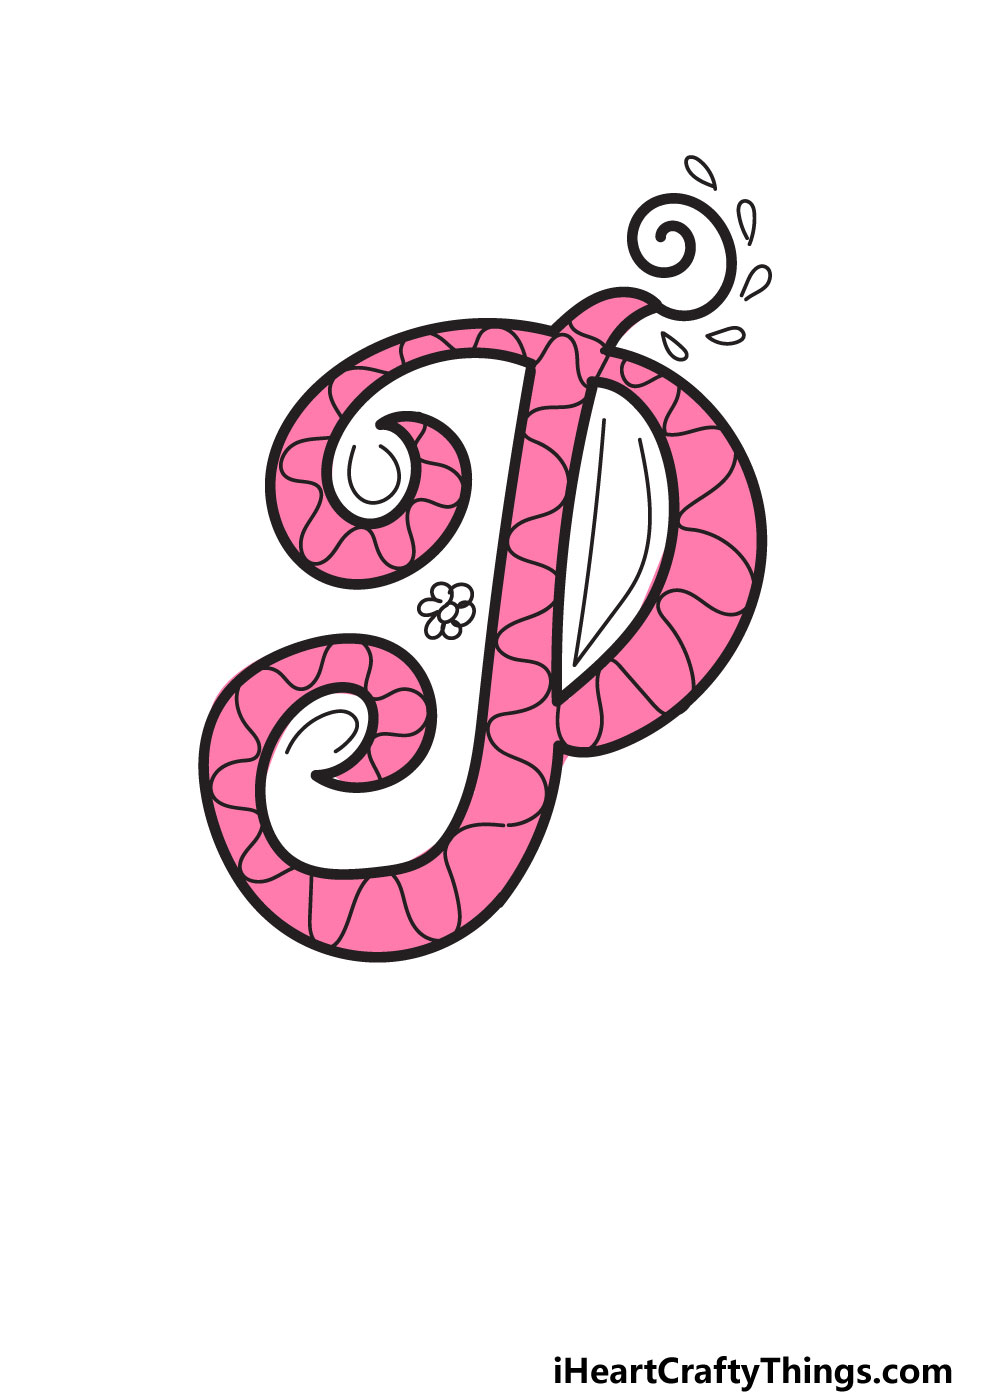
Now we’re ready for some coloring fun! You can use any colors you like for this step, but we think you will be able to see why we chose the color we did!
We went with a pretty pink color, which fits as the word pink starts with the letter we just drew. While this color looks great, you can use any others you like.
It could be different shades of pink, another color that starts with P like purple or anything else you like! It’s completely up to you, and you should use any of your favorite colors.
Choosing the colors is just the beginning, however. You can also have some fun with the art tools and mediums that you decide to use.
Mixing paints with crafts like glitter and then adding some finer details with colored pens can be an example of a good combination.
With so many colors to choose from, you may want to have a spare piece of paper that you can practice different colors, mediums and techniques on.
You can also color the background if you need even more color in your design! When you’re done with your colors, we have a few more fun ideas for you to try.
My Final Tips To Make Your Fancy Letter P Drawing Even Better!
You’ve done a great job on this design, but there are still a few more ways that you can make it even better! We have a few suggestions to get your imagination going.
Earlier, we mentioned how we chose the color pink for the design, and we can come back to that for a theme to this drawing if you love that color.
You could do this by writing out the rest of the word ‘pink’ in a similar style to the letter P that we created in this guide.
Then, you could use different shades and types of the color pink in the design to further make this a pink extravaganza.
If you can think of other words that start with P, then you could write that word out in this style as well. This would also work for names, and you could make a whole theme for it!
Have you got some ideas for some words that you could write out in this fancy style?