The letter H, the eighth letter of the alphabet, is a relatively simple letter to write. It is made up of three straight lines when drawn as a capital letter, and there are no tricky angles.
While it’s a fairly simple letter, it is a great letter to make all fancy with extra details. You can make a fairly complex design out of this letter, and you will see that if you look at the final pictures in this guide.
It may seem like it would be difficult to turn this into a fancy letter H, but we will be showing you how you can make it easier!
There are 6 steps in the guide that will break it down for you. After you have finished the design, we will also go over some fun ways you can customize and add to it.
Let’s kick off with the first step and see how it’s done!

Let’s Get Started
STEP 1:
In this guide, we will focus on the capital letter version of the letter H. Even though it has a simple design normally, we will add some fun flourishes to make it look fancier.
To prepare for the drawing, you can take a pencil and do a very rough version of the letter. This will help make sure you maintain the right shape and will also help you plan out the size.
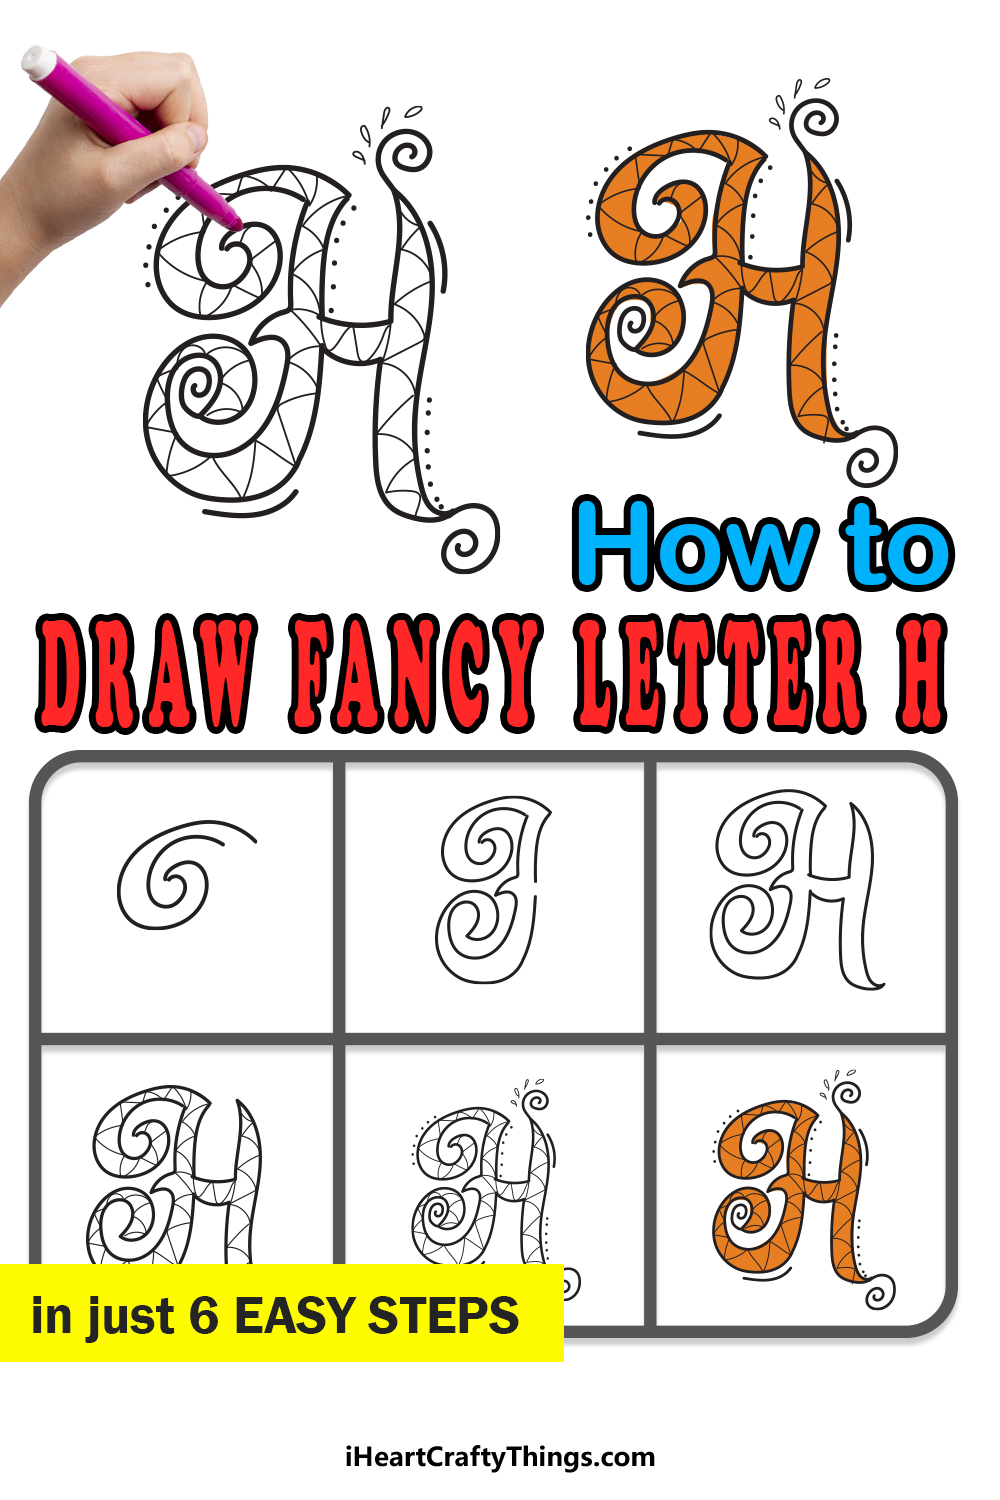
As part of the design, we will be incorporating various spiral shapes all throughout the design. We will start this first step with one of these spirals.
It will go on the upper left side of the letter, as you will see later on in the guide. You can create this spiral shape with two separate lines that curl around each other and meet at a pointy tip.
This spiral shape can be more difficult than you may think, so you should follow the reference image slowly as you draw. Also, remember that it will attach to the ‘pillar’ on the left of the letter.
When the spiral is drawn, we can proceed to step 2!
STEP 2:
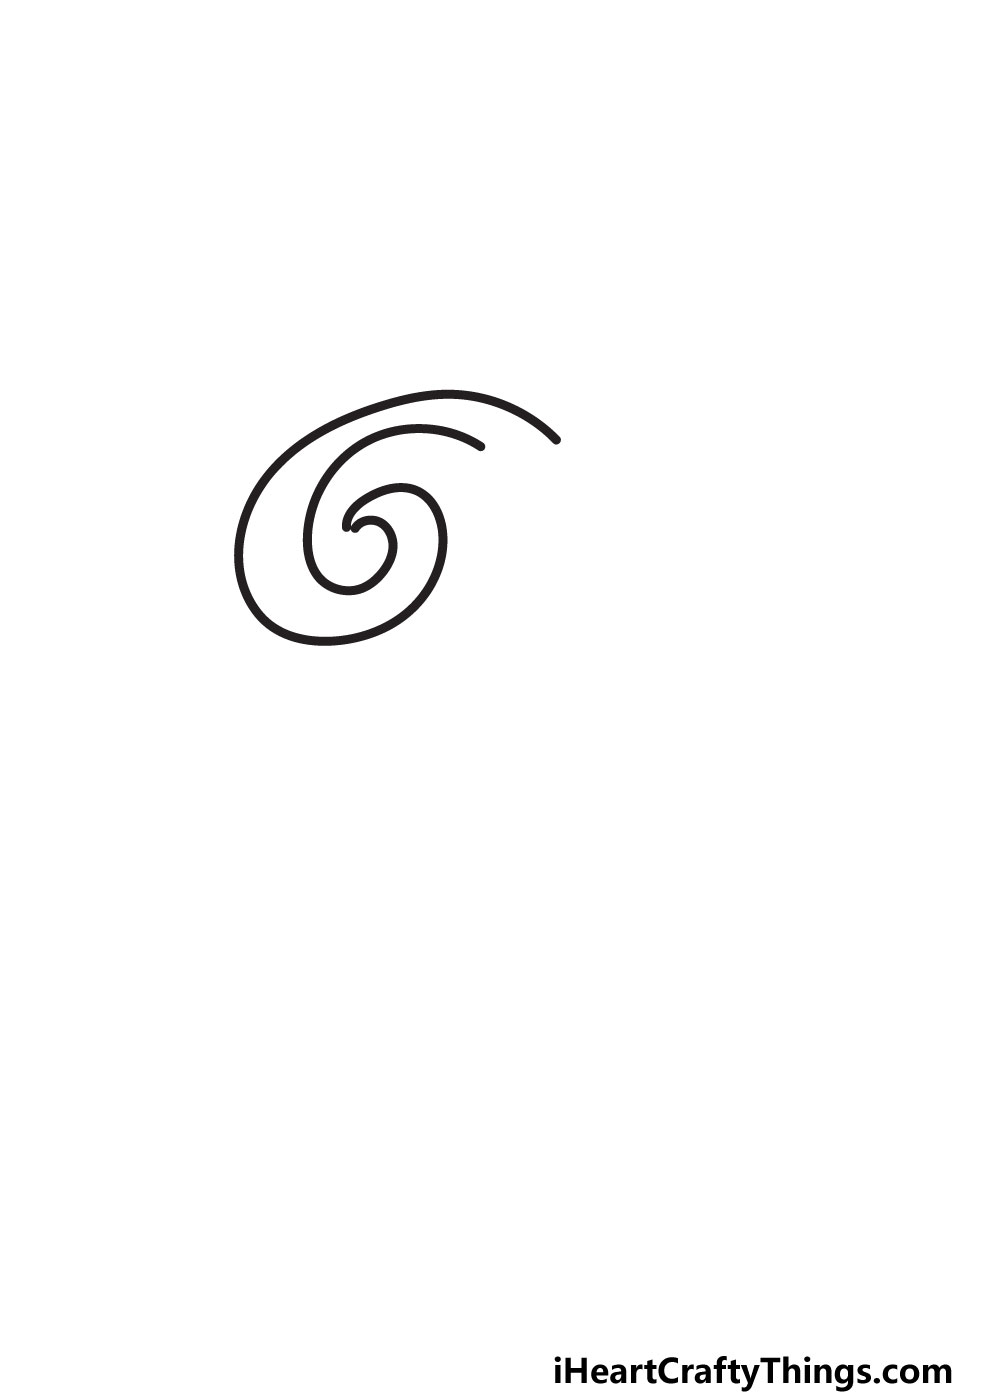
Next, we will be drawing the lower left-hand side of the letter. This will include another spiral similar to the one from step 1, but we won’t add that quite yet.
For now, draw two vertical lines with a slight curve to them coming down from the start of the first spiral. Keep drawing until halfway down the letter.
At this point, we will be adding a small sharp shape on the left side, and then there will be a small gap on the right side.
To finish off this step, we will draw the left ‘leg’ of the letter. This will extend from below the little sharp shape and the gap you left a moment ago.
The leg will then gradually curl up into a spiral that mirrors the upper one as shown in the reference image. That will do it for the left side, and we will finish off the right side in the next step.
STEP 3:

The right-hand side of your fancy letter H will be a bit simpler than the one on the left. This is because we won’t be drawing any spirals, which were probably the trickiest part of the previous step.
First, we will draw two horizontal lines from the gap we left earlier. These horizontal lines will have a very slight bend to them.
Then, we will draw the pillar and leg of the right-hand side. They will have a much simpler design.
Each one is made up of slightly curved vertical straight lines. They will each end in a pointy tip.
The one on the upper end will point to the left and the lower one will point to the right. Once these are drawn, your outline is complete!
If you drew out the letter H with your pencil, you can go ahead and erase those lines now. Be careful when you’re erasing the pencil lines, as there are a few ways you can mess up your drawing.
You can either accidentally erase the lines you wanted for the image, or you could smudge the pen ink.
When you’re happy with how the outline looks, we can start adding some interior details in the next step.
STEP 4:
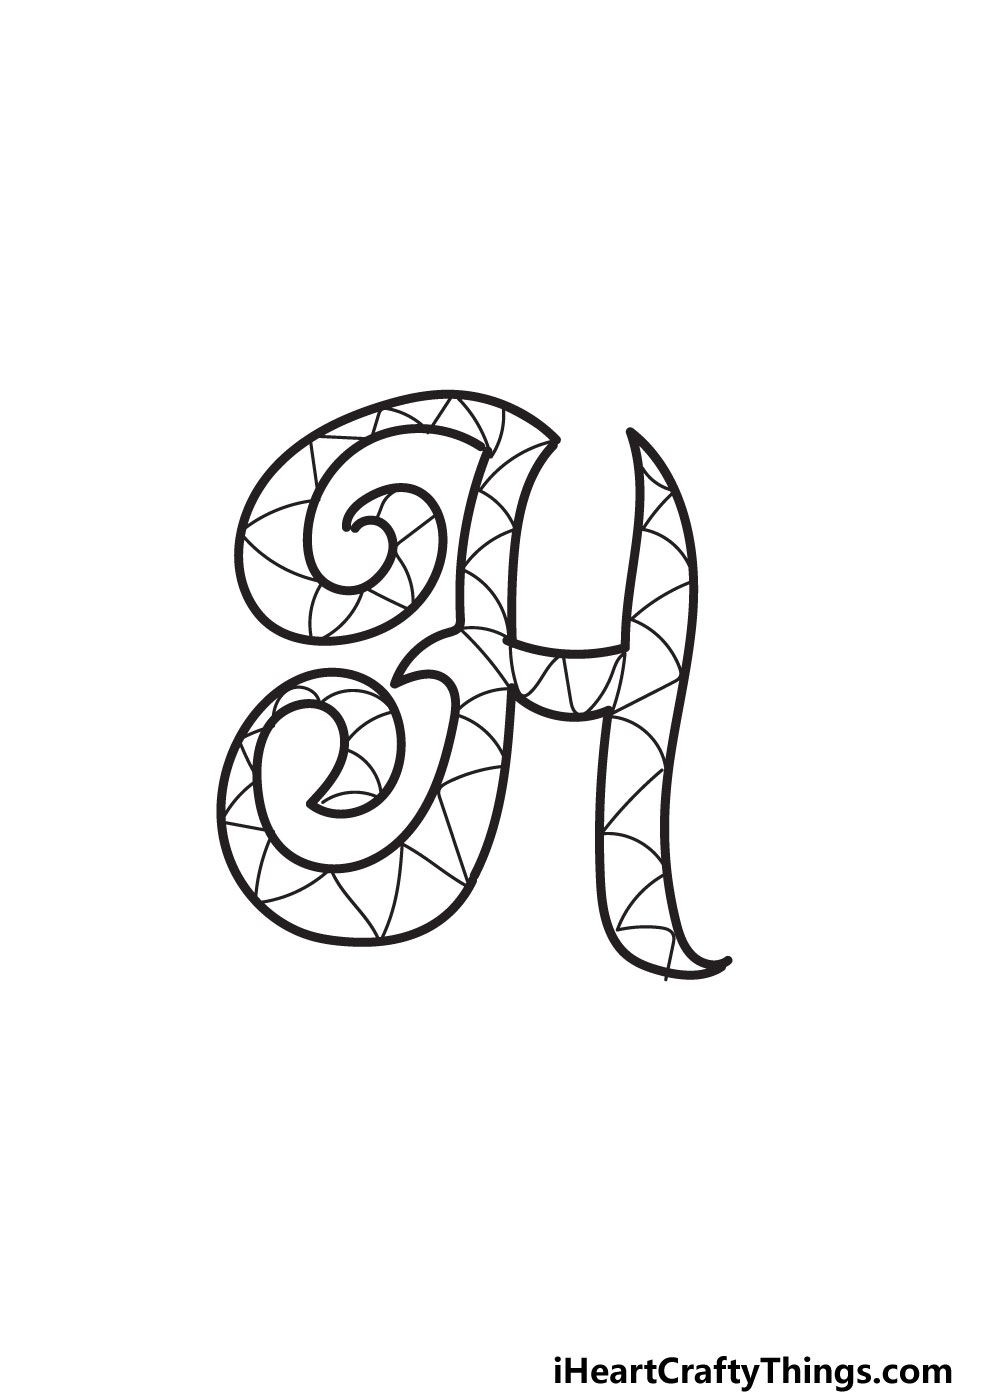
The next two steps will be all about adding some fun details in and around the design. In our reference image, you will see how we chose to decorate the interior of the letter.
We created a zigzag pattern all throughout the interior of the letter using mostly straight lines. This makes the letter look even more intricate, and it will be great for adding colors later.
While you could definitely go for a similar design with your own drawing, we also encourage you to create a unique design if you choose!
It could be a variation of the pattern we did, or you may prefer to fill the letter with shapes or texture details. There are no wrong ways to decorate your letter!
However you decide to decorate the interior of the letter, we can then add some details around the letter in the next step.
STEP 5:
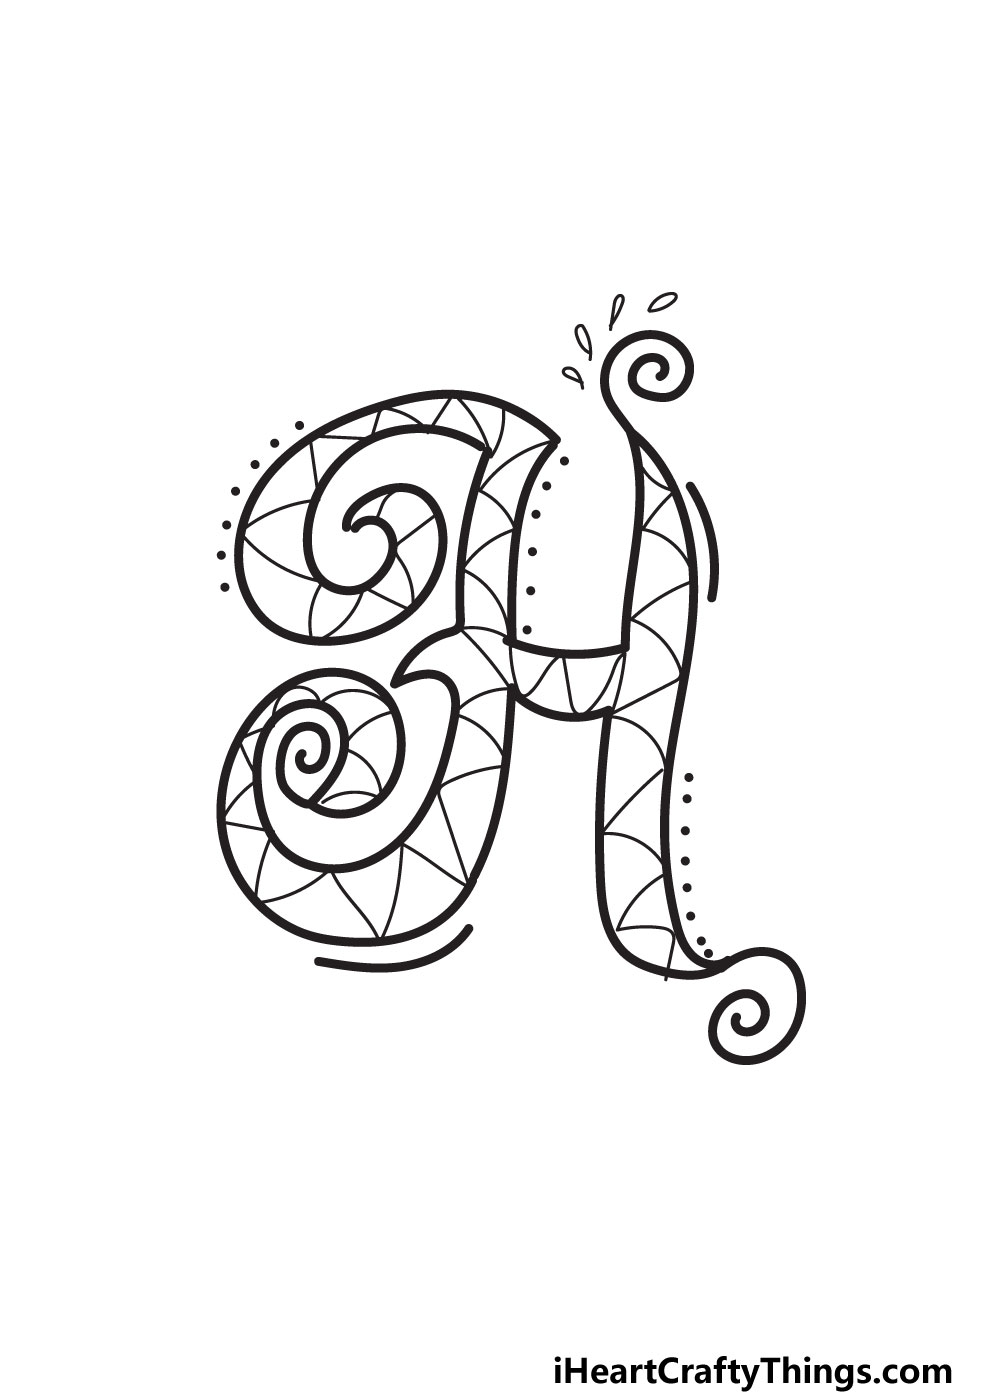
We have a few more fancy details to add before we start coloring in this artwork! The previous step was all about interior details, and in this step we will focus on details surrounding the letter.
These details are a great starting point that you can build on with your own ideas and variations. First, we added some spiraling lines poking off some of the ends of the letter.
These spirals make it look fancier on their own, but we’re not done yet! We also drew some curved lines along some edges of the letter.
Then, we added rows of small dots along the outline as well. Finally, we drew some little leaves along the spiral on the upper right-hand side of the letter.
Now that you’ve seen how these details look, you can decide which ones you would like to keep for your design and move them around as you like.
Don’t be shy about adding some ideas of your own as well! You can also fill the background with various details to create a themed background.
That’s something to think about, but we will focus on the colors in the next step. Don’t worry, however, as we will return to that thought when we discuss some themes and ideas to try after step 6!
STEP 6:
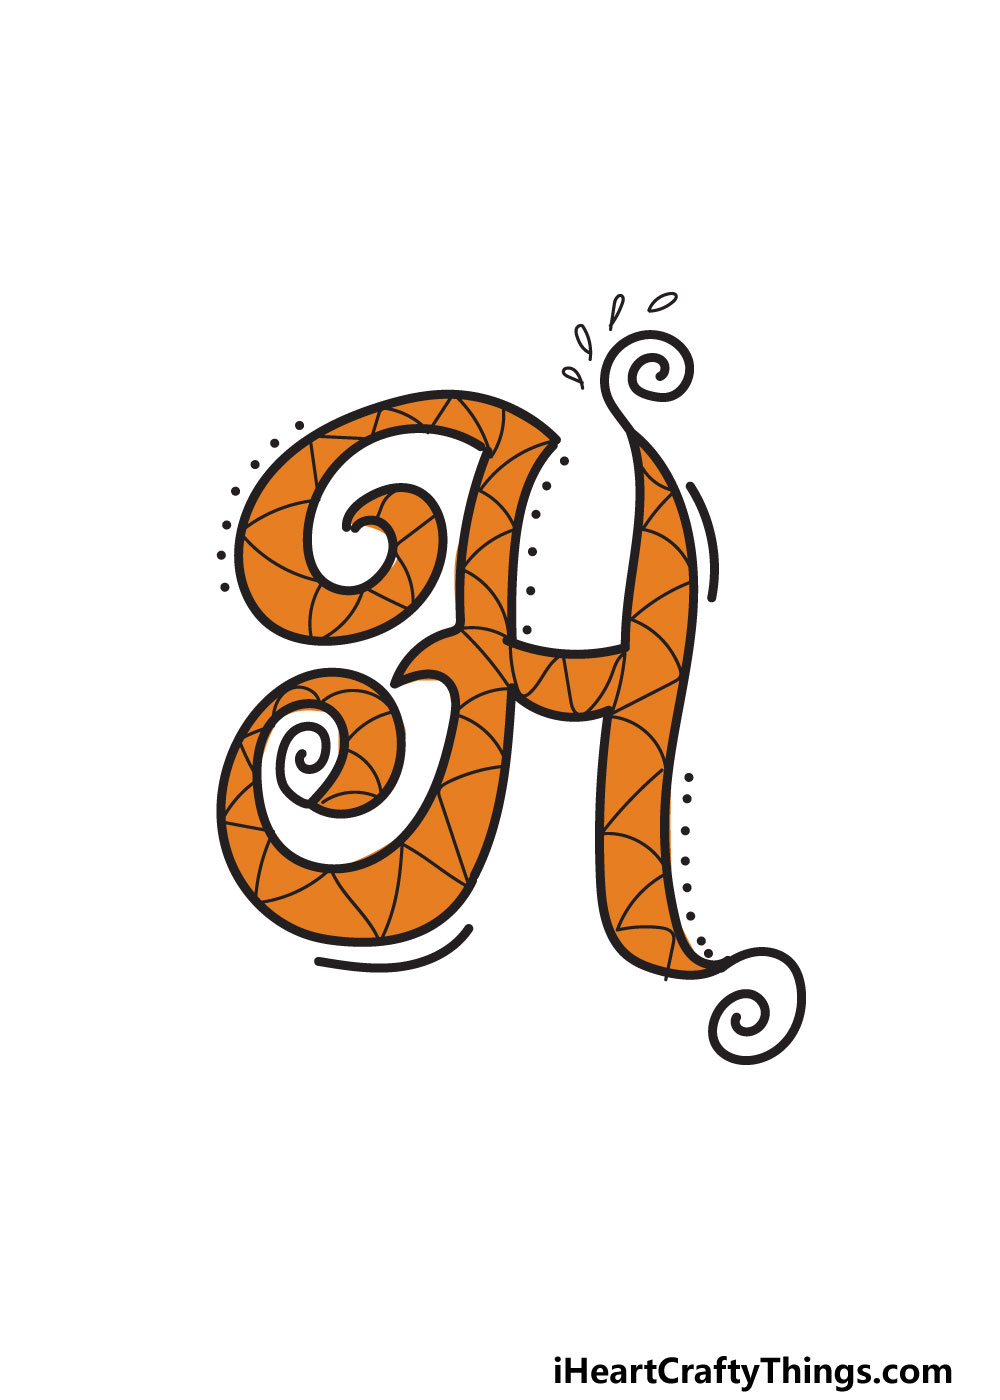
Coloring is always a fun activity, as there are so many colors, art mediums and techniques to try. We had to pick one for our example of this fancy letter H.
We chose to go with a bright orange color to give the letter a striking, warm look. It’s a great color for the letter, but it’s far from the only one you could use for the design.
You could go for something completely different, or you could incorporate different colors with this orange. The pattern we used for the letter would also allow you to add lots of different colors.
Also remember that when it comes to coloring in, the colors you choose are only a part of the equation. You can also play around with fun art mediums and crafts to achieve your colors.
Don’t forget the background as well! You could fill it with solid colors or create more patterns and details there as well.
It’s up to you, so have fun coloring and see what you can come up with! Before we finish off, we will go over a few ideas to get your imagination going.
My Final Tips To Make Your Fancy Letter H Drawing Even Better!
Now that you have finished all the steps of the guide, you are left with one fancy-looking letter H! There are so many ways to keep having fun with the drawing, though.
It could be fun to create a theme for the picture, for instance. You could start with words that begin with the letter H.
There are few things fancier than a Shakespeare play, so you could write out the word Hamlet and draw a scene from the play around the letter.
Or, you can think of someone’s name that starts with H and draw out the name in this style. It could be you or someone you know!
You could even pick a celebrity like Harrison Ford and draw some details from some of his most iconic roles.
These are just a few ideas, but they show you how you can think outside the box and incorporate all sorts of fun ideas.
How will you finish off this drawing?