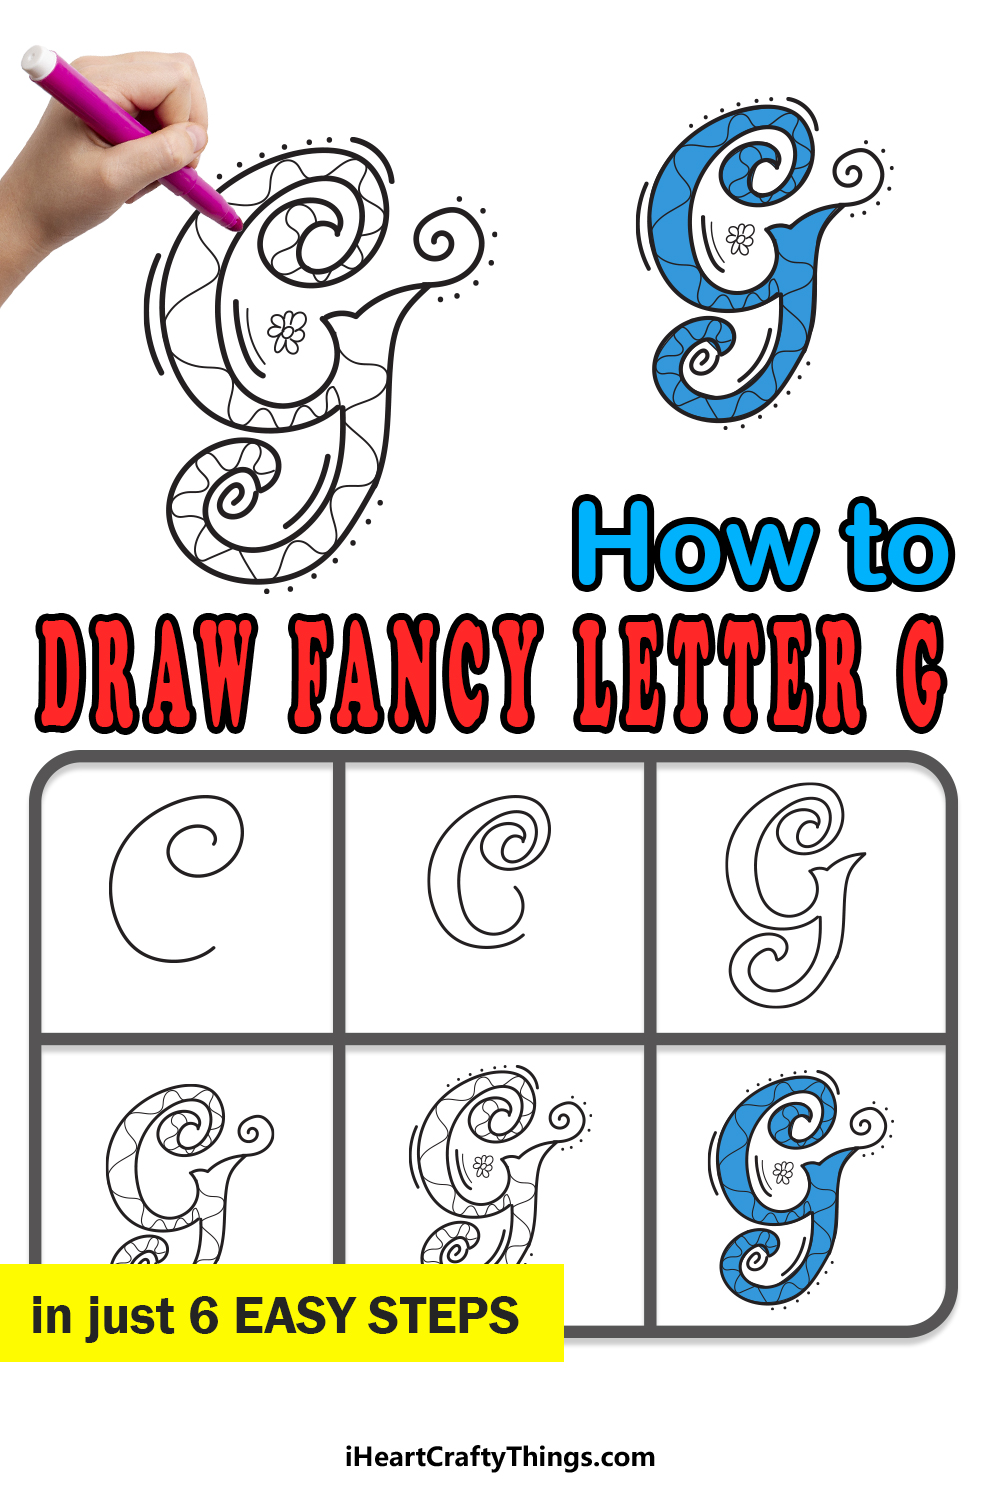
Even when written in a normal font, the letter G is one of the fanciest-looking letters in the alphabet. It has a really unique design to it, and this can make it difficult to learn to write.
It also means that it’s a letter that can look really cool when made into a fancy design, but it could be a challenge. If you would like to learn how to draw a fancy letter G, you’re in the right place!
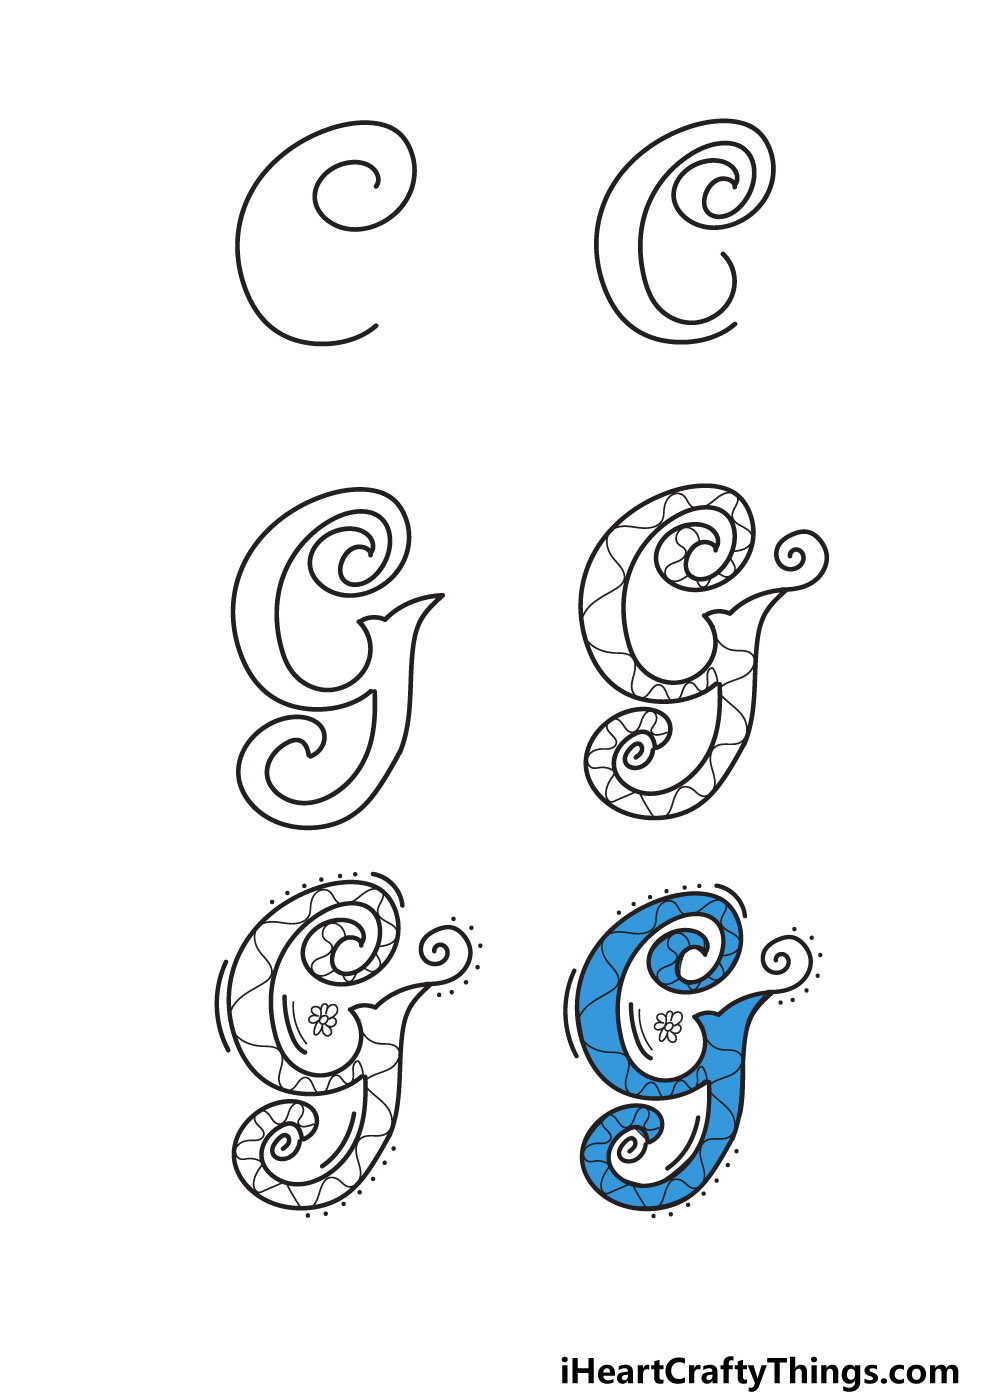
In this guide, we have six steps showing you how to draw this unique letter in a really beautiful style. We will also show you how you can decorate it and bring color to your artwork.
You will also have a chance to bring your own ideas and touches to the drawing, so there is plenty to cover! With that, let’s get to the first step of the guide.
Let’s Get Started
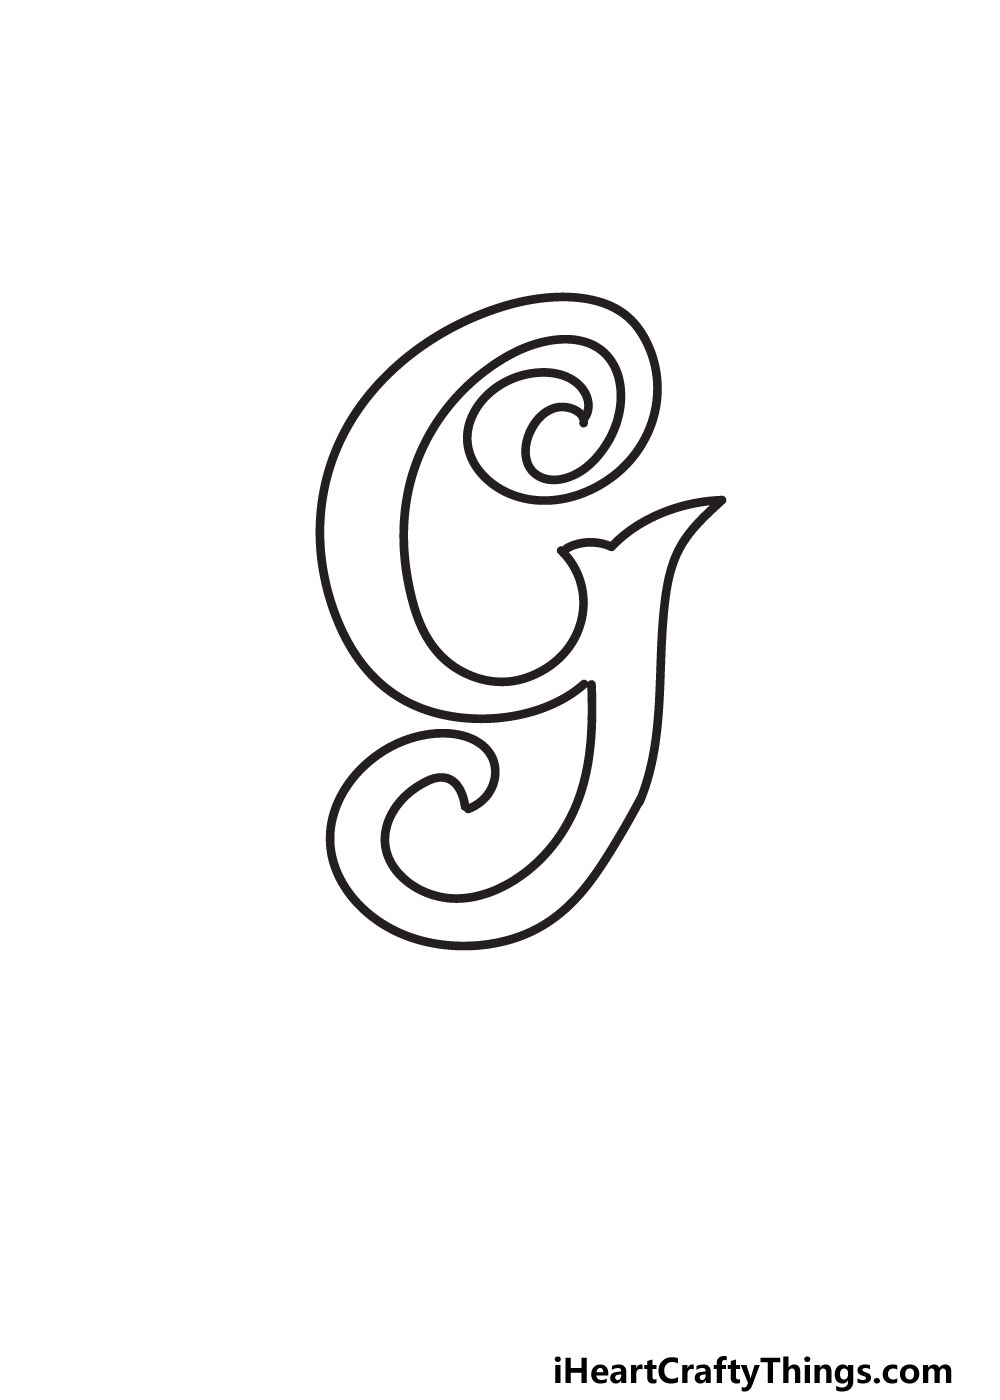
STEP 1:
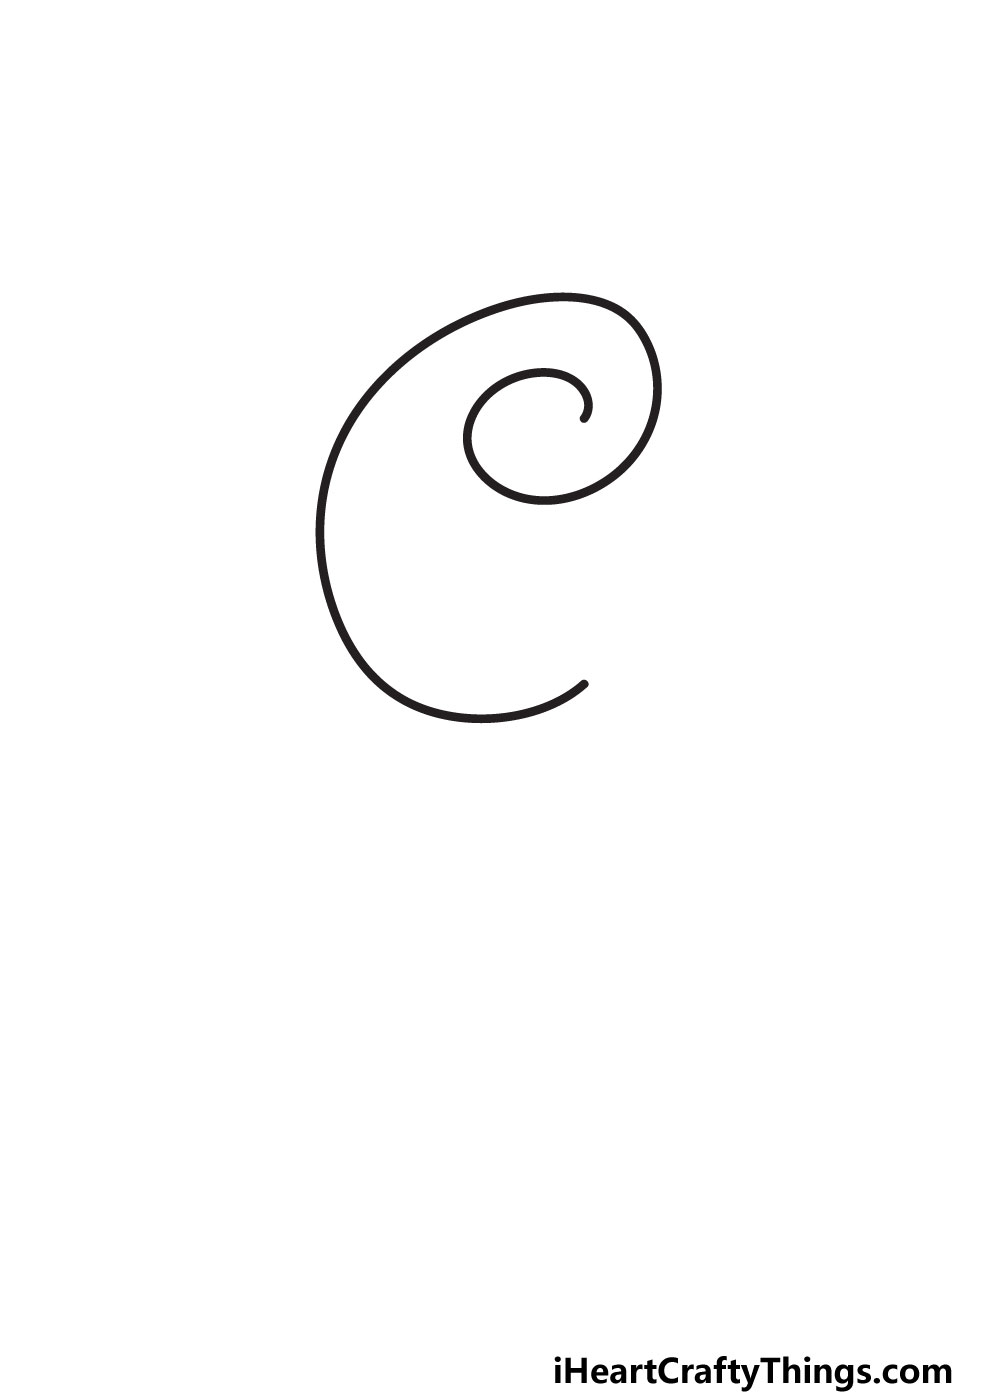
Whenever we’re converting a letter into a fancy style, we always like to draw out a regular version of the letter with a pencil first.
We will even do this for simpler letters like O, but it’s especially useful for trickier ones like G. To do this, you’ll ideally want to use a lighter pencil.
You can then write out G in the same style you would write it normally. It doesn’t need to be perfect or super neat, as it’s there to guide you.
Then, you can use a darker pencil or a pen to draw the actual fancy letter over it. Now, we can do the first step, and it may be harder than it looks.
The letter will be separated into two sections, and this first line will form the top half. We recommend following the reference image closely as you draw.
The line we’re drawing is a twisty spiral shape that starts off wide at the base, and gets a bit tighter the further up we get.
It may not look like much now, but you’ll see how it all comes together soon enough. Now, we can add to this section in the next step of the guide.
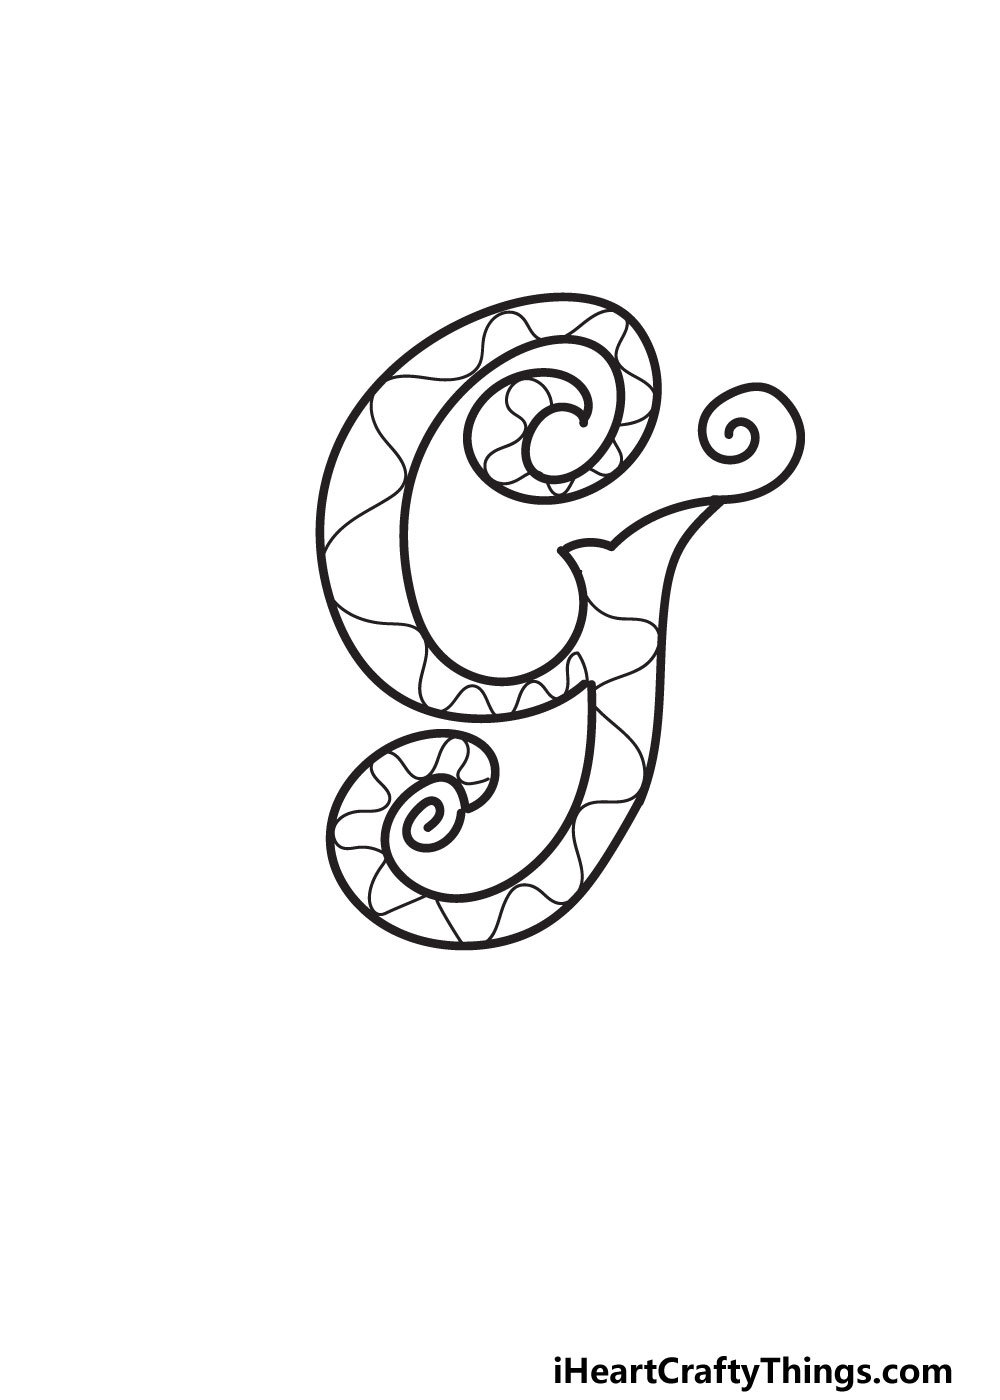
STEP 2:
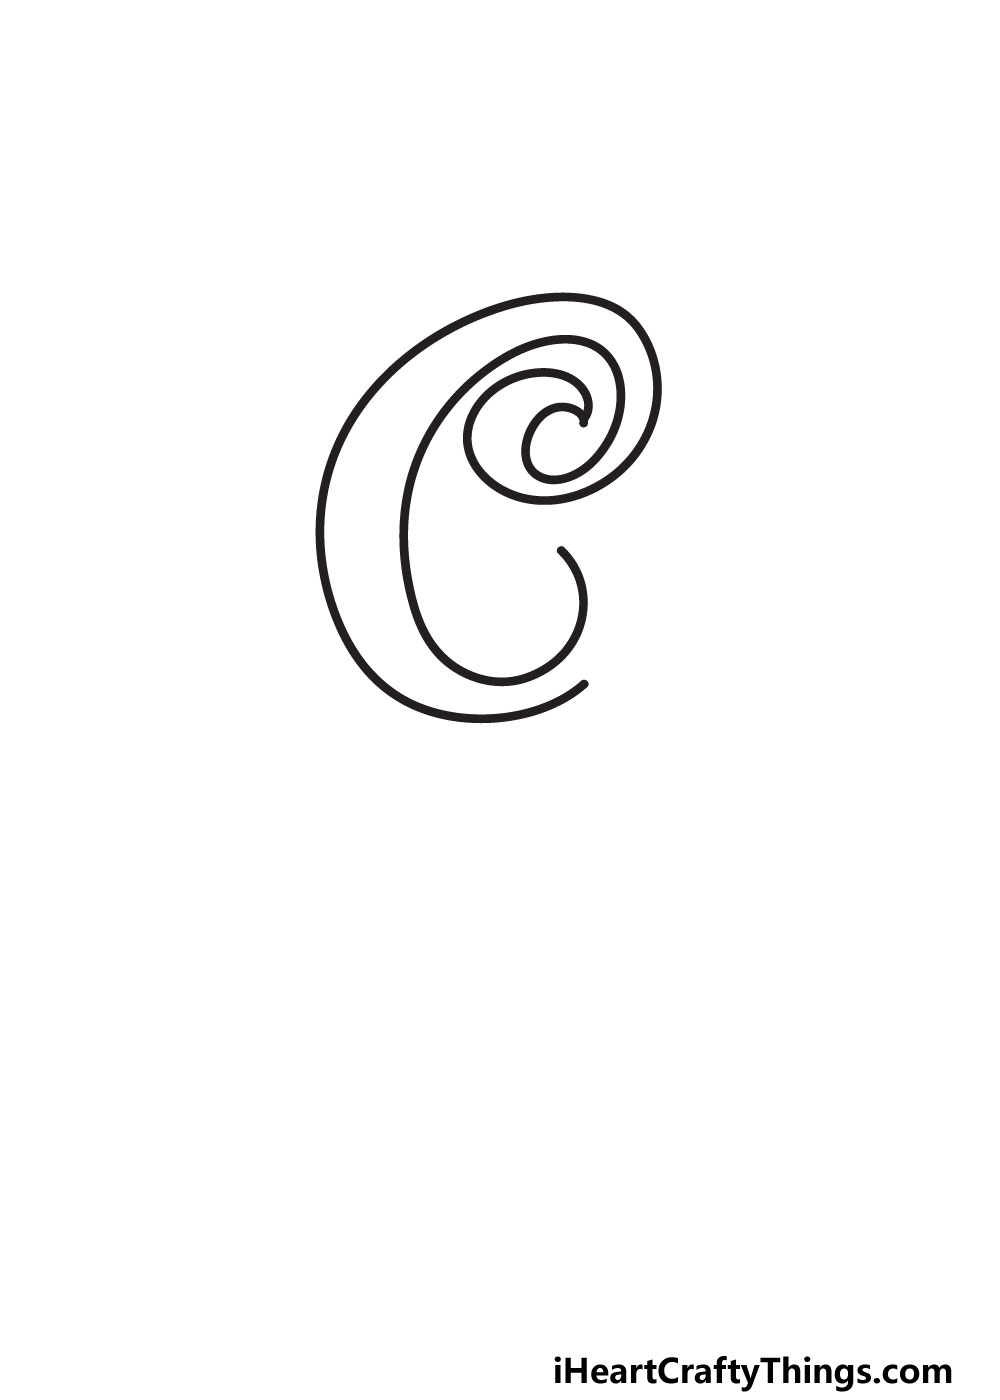
In this second step. We will be finishing off the outline for the upper curl of this letter G. This step could be equally tricky as the first step, so it’s another one you should take slowly.
We will start near the lower end of the line from step 1, and this will have a curved vertical angle to start with. It will then curve more sharply as you move closer to the center.
Then, we will keep curving up and closer to the first line until it loops into the center of the curl at the top of this section and connects in a pointy tip.
It may seem quite complicated, but as long as you follow the steps closely then you’ll see that it’s not that hard.
Next, we will draw the lower section of the letter which should be a bit easier, so let’s move on when you’re ready.
STEP 3:
The third step of your fancy letter G will be a bit less intricate, but there is a lot to add, so we will still take it slowly. We will begin at the slightly curved vertical line near the center of the letter.
This will have a line attached to it that forms a pointy bit. Then, we will have a very slightly curved line extending to the right and ending in another pointy tip.
This pointy tip will slope down quite sharply with another very slightly curved line. The lower you go, the more it will head to the left.
As you can see in the reference, it will slowly start curling up to make a sort of tail hanging down from the letter. This tail will have a sharp tip and then curl in again.
Eventually, it should meet up to close the final gap left from the previous steps. It could sound like this step is very complicated, but it’s all a matter of taking it slowly.
If you drew a rough pencil G shape, then it hopefully made it easier to get to this point! We won’t be needing it anymore though, so you can erase it if you made use of it.
Now that the outline is done, we will focus on interior details in the next step.
STEP 4:
In this step and the next, we will add some extra details and flourishes to the design. For now, we will start by adding som spiral lines on two of the pointy tips of the letter.
If you like the way they look, you could add even more of these spirals! Then we added a pattern to the interior of the letter.
For our version, we chose to draw a wavy, curved pattern all throughout the interior. We think this looks great, but you could add any other pattern you may prefer.
It could even look cool to fill the letter with little shapes, such as stars or circles. There are no wrong ways to decorate the letter, so let your creativity take over and see what happens.
You can surprise even yourself when you allow that to happen, so who knows what you could end up with!
Next, we will add some smaller details to the exterior of the design.
STEP 5:
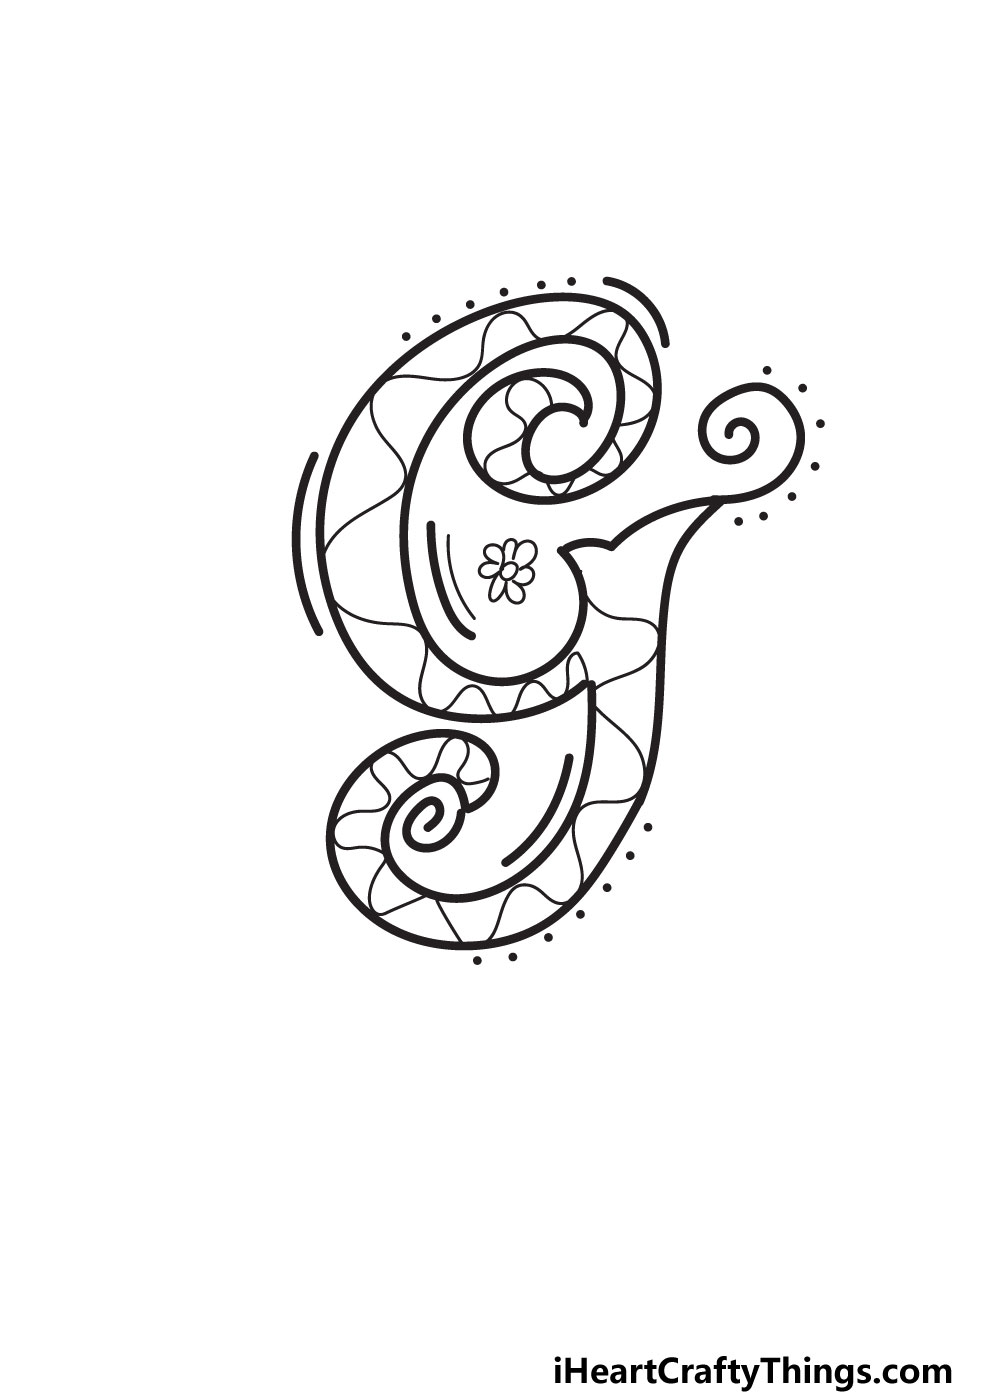
Before we color in your drawing in the final step, we will first add some simple details around the letter. These may be simple, but they will make a big difference!
You’ll notice that we drew some thick curved lines around the outline. We kept these fairly minimal, but you could add some more if you like how they look.
Then, we drew a series of small dots around the letter. These are another simple yet effective detail to add, and you could change up the sizes and placement of the dots.
At the center of the letter, we added a small, simple flower. This is such a pretty little detail, and if you like how it looks then you may want to add some more.
This is how we chose to decorate the letter, but you can surround it with any other details and choices you like. We have a few more ideas that you could use for the details as well.
Those will be saved until after the final step, so make sure you keep reading for those tips! For now, we will focus on coloring your drawing.
STEP 6:
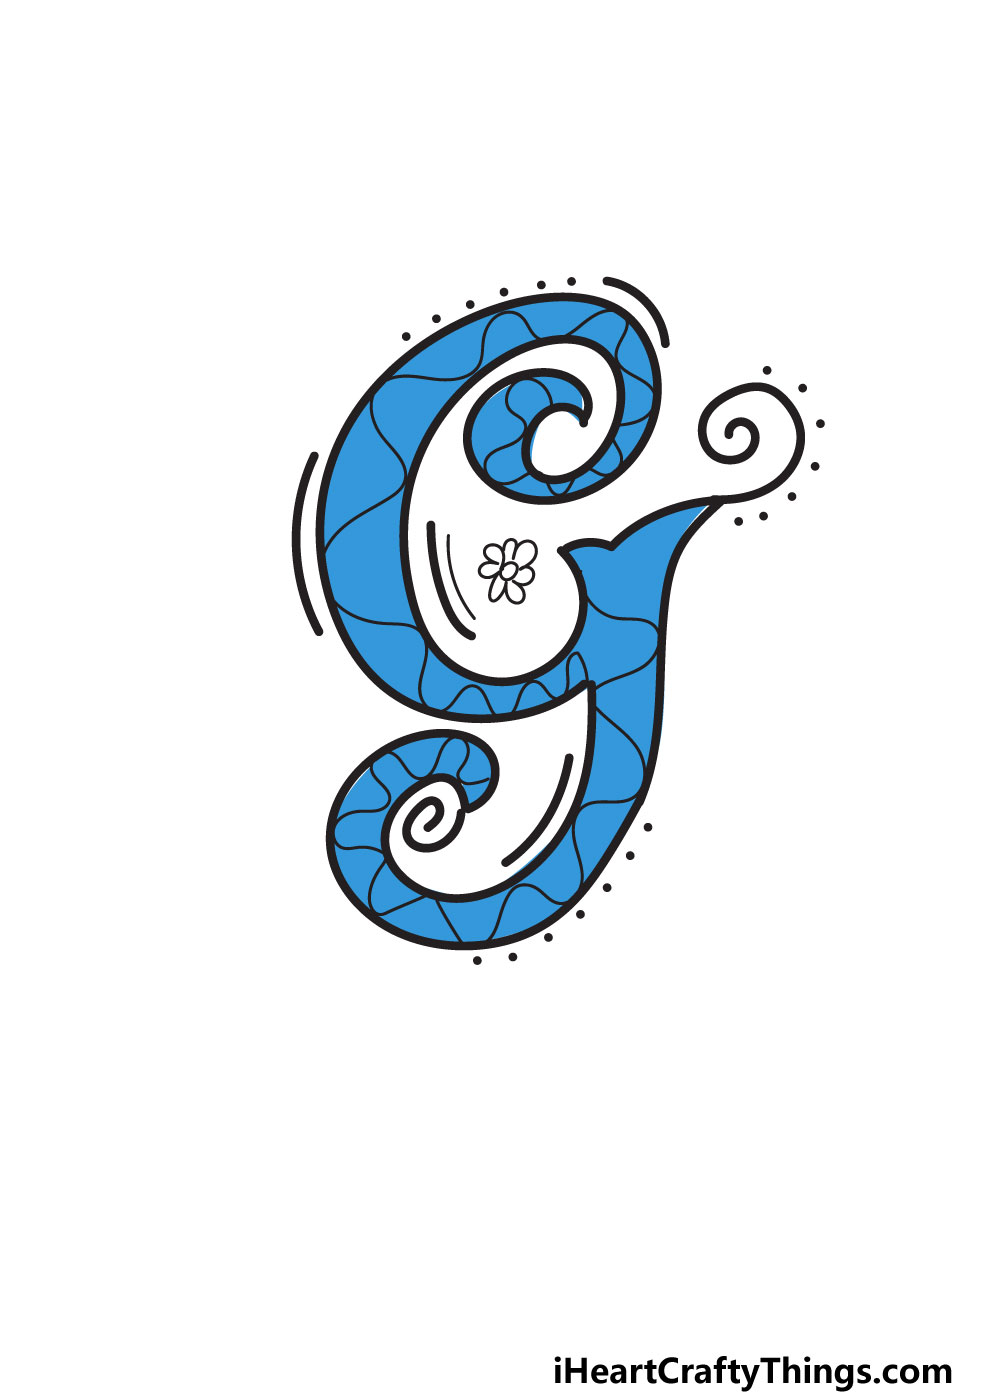
You have tons of colors to choose from for your fancy letter G. In our example, we show you just one of the many ways that you could go about coloring your letter.
We chose to use a nice calming blue color, and it creates a nice feeling for this picture. While we think it looks great, you may have another color you prefer.
You could even stick to the G theme and use a green color for the letter instead. Or, you may want to make it a classy grey color.
These are just a few suggestions, but you can go for any colors you like. You don’t need to stick to just one color, either.
You could use several for the interior to create an explosion of color! Then, it could be fun to work in some more colors to the exterior of the design as well.
These could depend on any details you added around the letter, so there are many possibilities! Before we close off this guide, we shall go over a few more ideas to try.
My Final Tips To Make Your Fancy Letter G Drawing Even Better!
There are many words and names that begin with the letter G. You can use these to come up with a theme for your drawing in some creative ways.
For example, you could use the word garden. You can use the G we created as the first letter and then draw out the rest of the word in a similar style.
Then, you could draw all of your favorite flowers around the word to create your own little garden! This is just one theme you could use, but there are many more.
Many lovely names also start with G, such as Gabriel or Gail. If you know someone whose name starts with G, then you have a good place to start.
You could write out their name in this style and then use some details they would love around the word. By adding crafts like glitter, special pens or beads you can make it look even more amazing!
These are a few ideas to get you started, but what else could you do to make this drawing special?