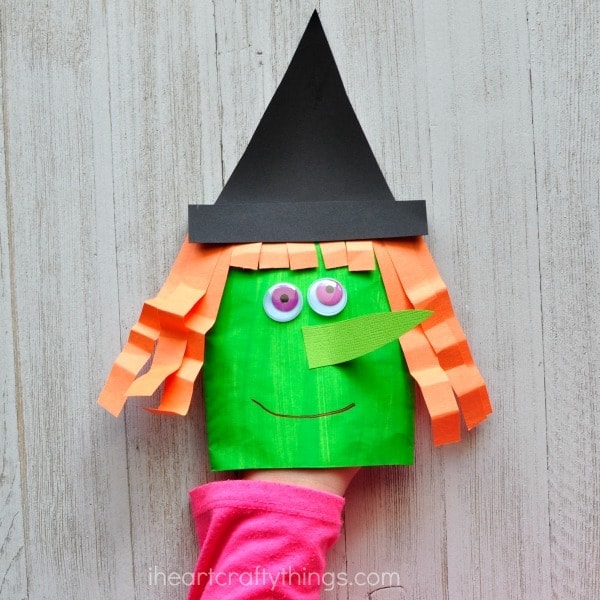
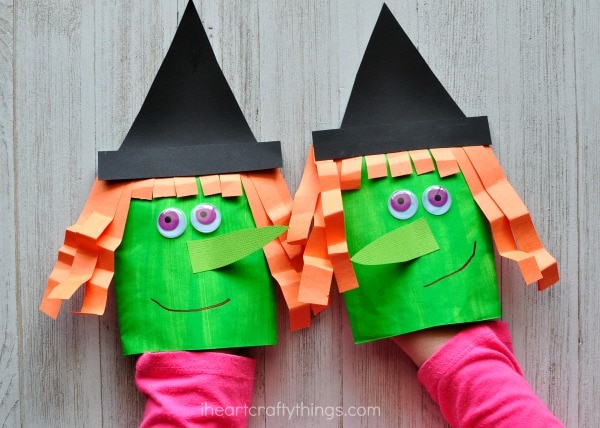
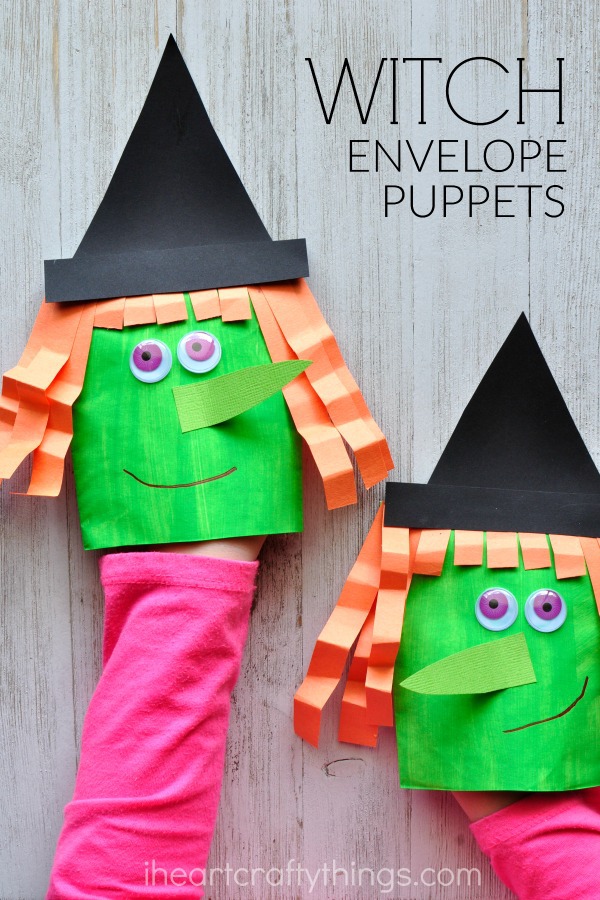
Surprisingly, envelopes are a perfect material for crafting with toddlers, preschoolers and kindergartners. They are the perfect size for young kids to place their hand inside to use the craft as a puppet and the square shape is so versatile for making different characters and animals.
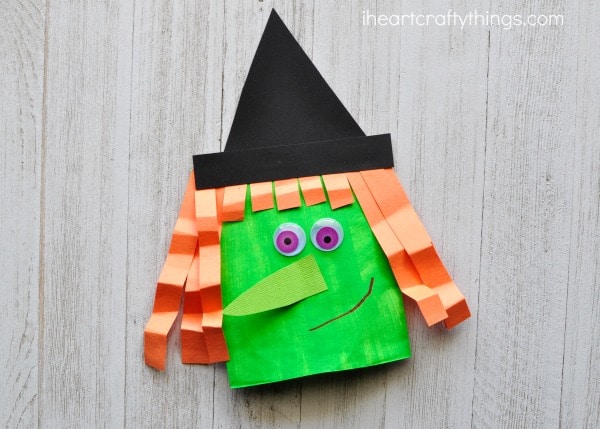
This envelope witch craft puppet is simple and perfect for this Halloween season and you more than likely already have all of the materials on hand… A huge plus!

This post contains affiliate links to the products mentioned. Read our disclosure policy for more information.
Supplies Needed for this Envelope Witch Craft Puppet
- #10 envelope
- green paint
- paintbrush
- orange, black and green construction paper
- googly eyes
- markers
- scissors
- glue stick
Directions for this Envelope Witch Puppet
1. Cut envelope in half and paint it
Start by sealing your envelope shut and then cut it in half. You’ll need one envelope half per witch craft. Paint the front of your envelope half with your green paint and set it aside to dry.
2. Cut out witch hat, nose and hair
While your paint is drying, cut out a witch hat and nose out of your construction paper. Also cut out several strips of orange construction paper to use for witch hair.

3. Stick hair to the top of the envelope
When your green paint is dry, add glue at the top of your envelope (the section that isn’t open). Add your orange strips along the glue for your witch hair. You’ll want to cut some small pieces for bangs right in the middle. You can fold the strips accordion style if you want to make the witch have curly hair.
4. Add hat, nose and eyes
Glue your witch hat at the top of your envelope, then glue on your googly eyes and nose.

5. Draw mouth and eyebrows with a marker
Finish your envelope witch craft puppet by using a marker to draw on a mouth and any details you want like eyebrows or a wart on her face.
To use your puppet simply place your hand inside the open section at the bottom of the envelope. Fly your witch around or use it as a prop to help retell your favorite Halloween story.


