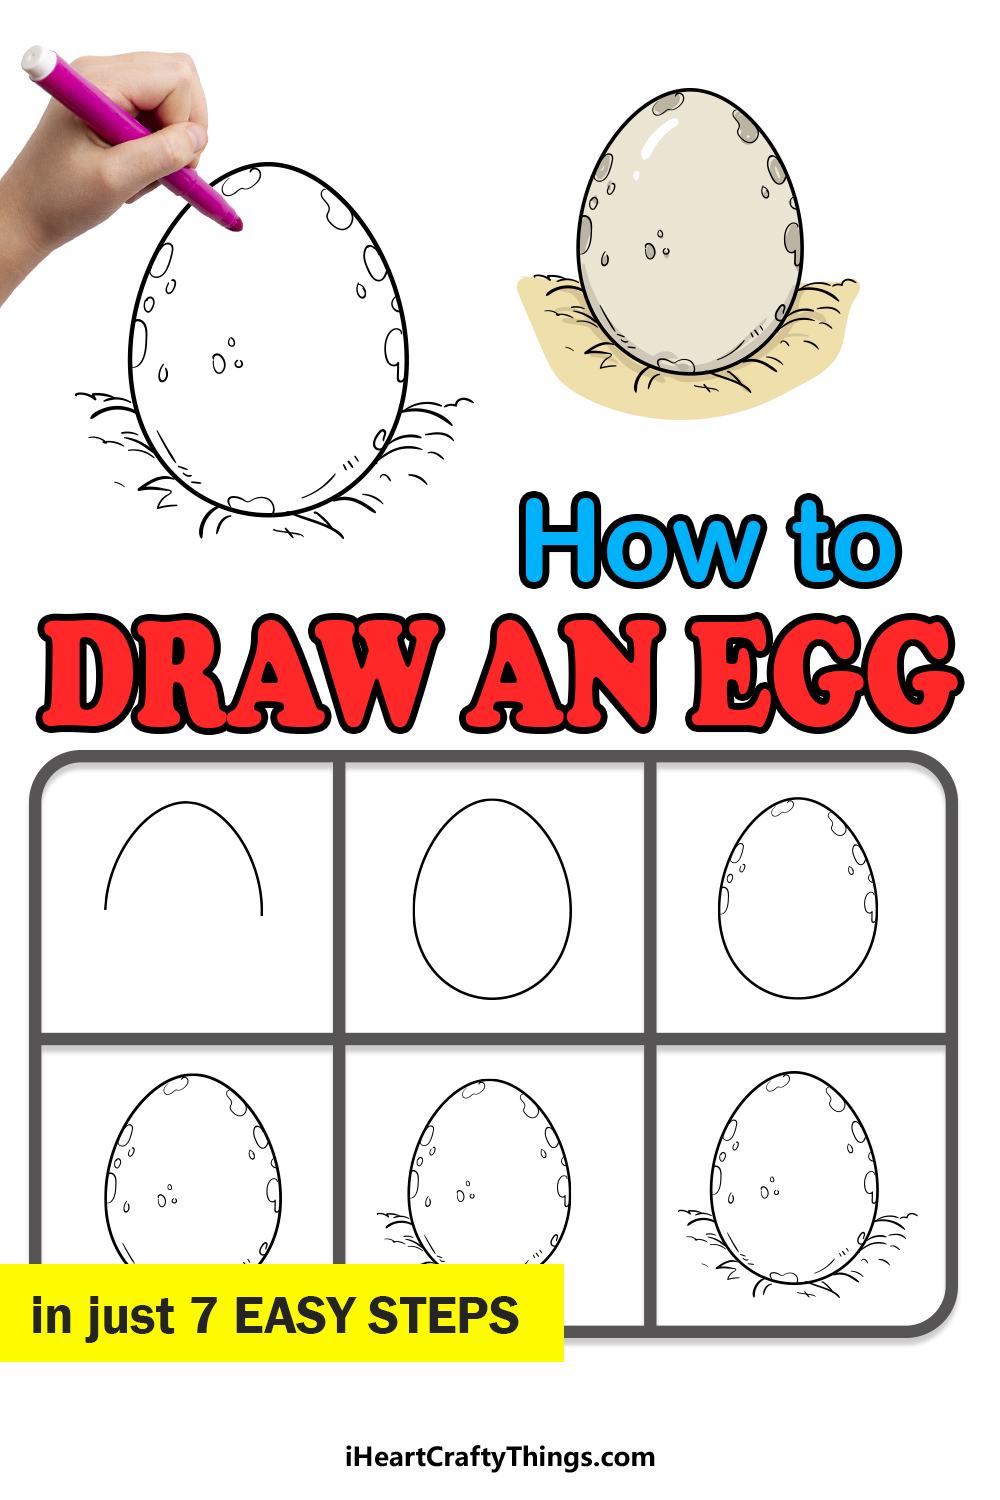
This guide on how to draw an egg is perfect for anyone to enjoy! All ages can enjoy this guide for kids and create some fun drawings.
Eggs can come in all shapes and sizes. From the chicken eggs we have for breakfast to massive ostrich eggs, you can find lots of variety.
There are some great designs that you can make when you know how to make this egg drawing. You could draw a farm scene or maybe even a dinosaur looking after its precious egg.
It’s up to you, and all you need to do is begin the first step of the guide. After that, your imagination can go wild as you add your own ideas and flair to the design.
One thing is for sure: this is an egg-cellent guide, so let’s get cracking!
Discover How To Make Your Egg Drawing
How to Draw An Egg – Let’s get Started!
Step 1
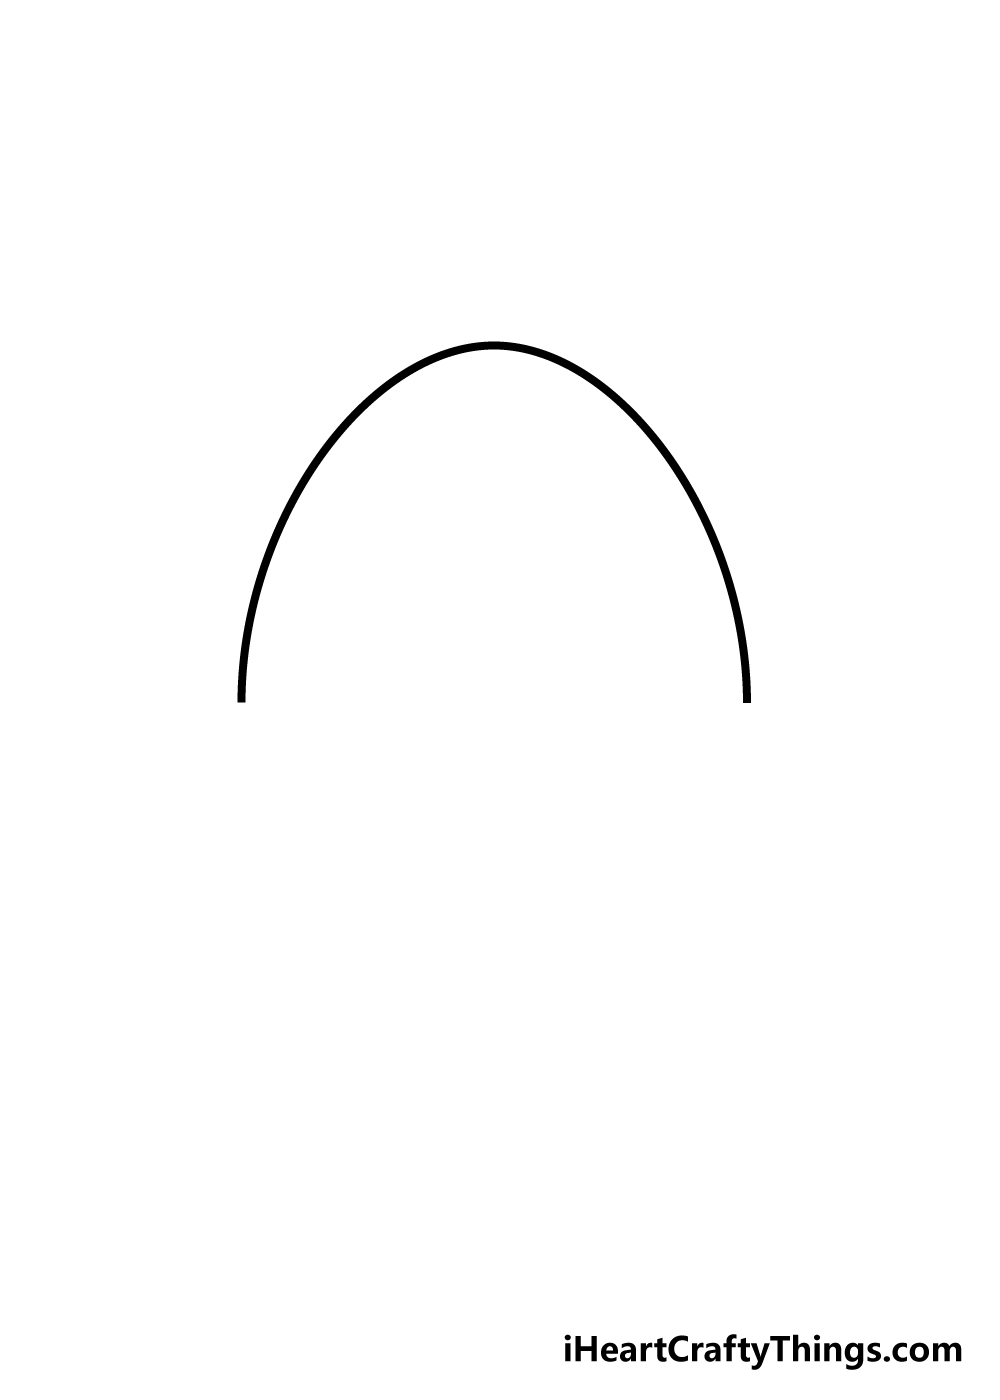
Eggs have a very distinct and simple design, so we shall focus on creating this shape in the first few steps of this guide on how to draw an egg.
To begin this process, you can start with the top of the egg.
This will be drawn with a rounded top, and it will have a round tip at the top. We shall be drawing the second half in the next step, so let’s move on to step 2!
Step 2 – Draw the bottom of the egg
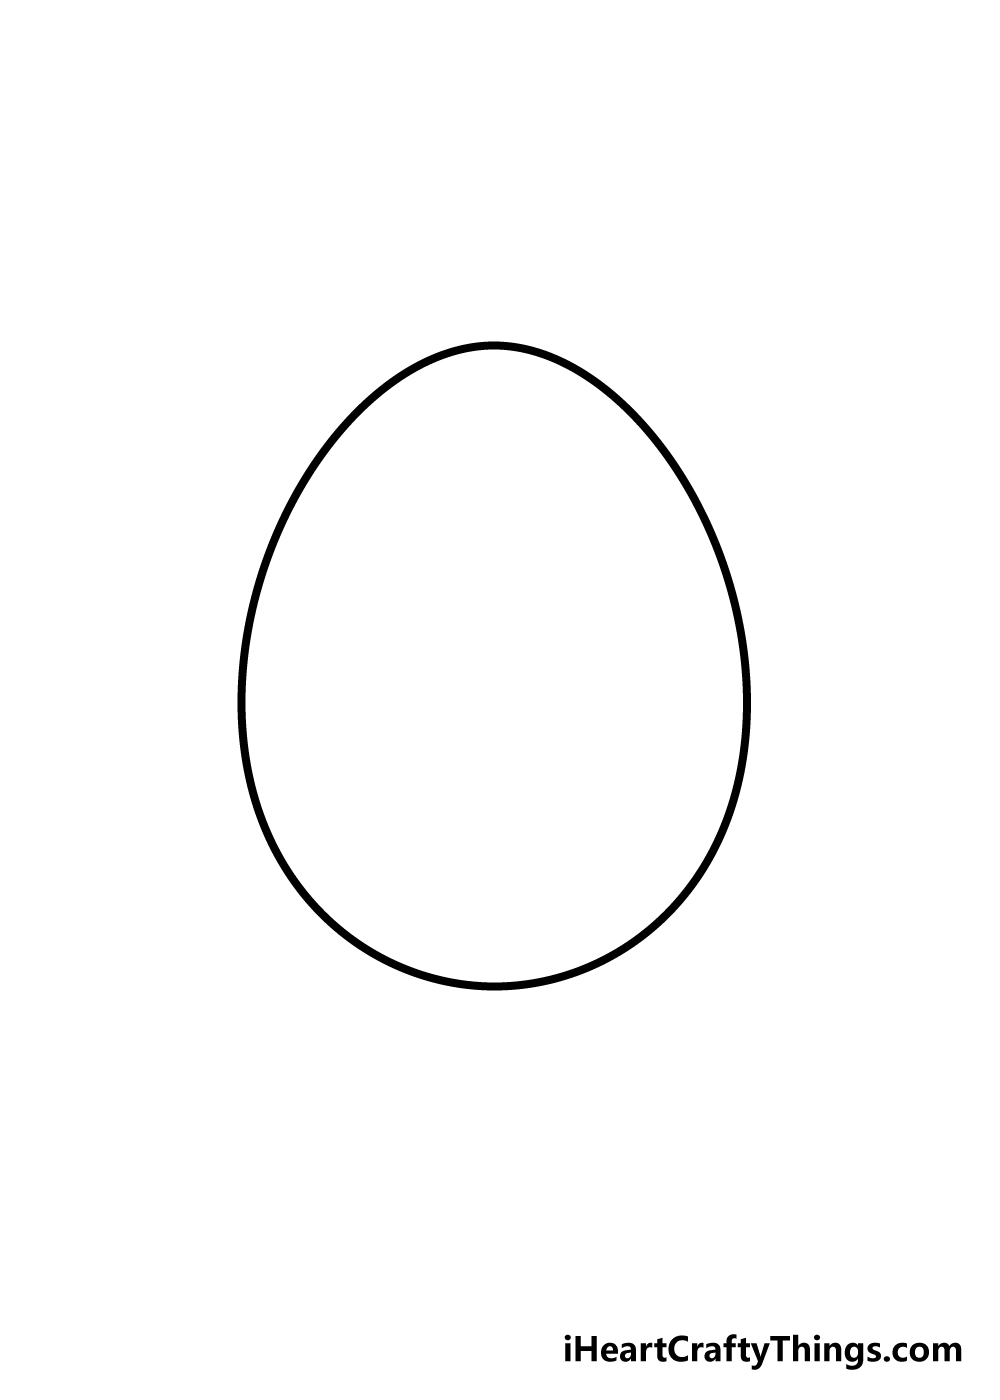
You have the top half of your egg drawing done, so now we shall be drawing the bottom half. To do this, carefully extend the curved line before until you have a rounded bottom of the egg.
Unlike the top, this side won’t have any kind of tip to it and will have a flatter round bottom.
Step 3 – Draw some pattern designs on the egg
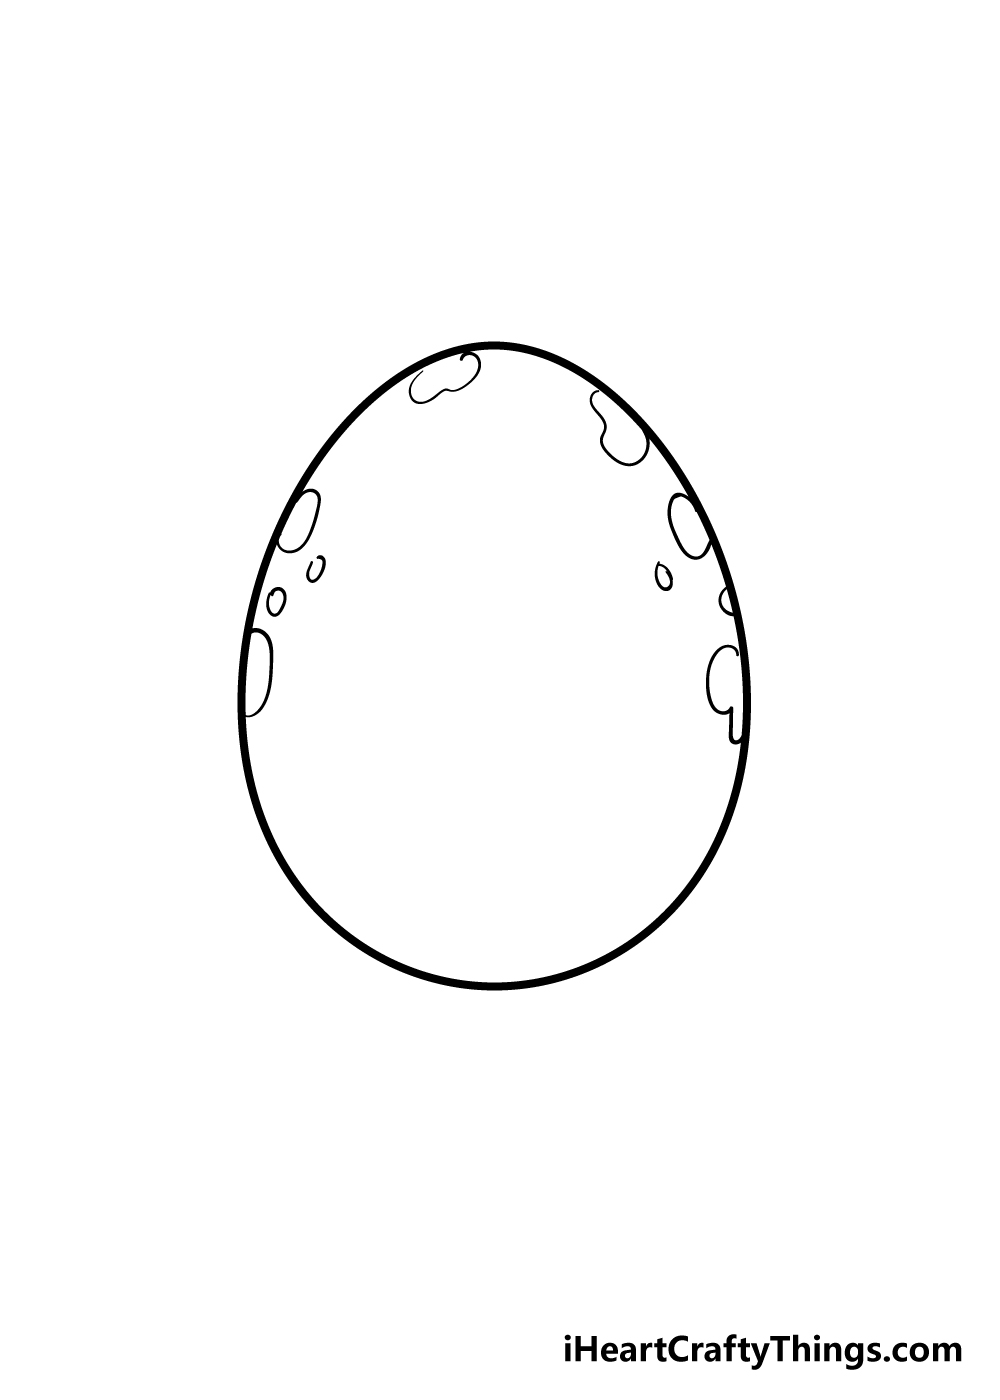
This egg that we are designing in this guide on how to draw an egg will have quite an exotic design to it, and to show this we will start to draw some pattern designs on the egg.
These patterns will be quite small and rounded and will be made of various circular and oval shapes.
For now, these shapes will go along the upper perimeter of the egg. We will continue this pattern design in the next few steps!
Step 4 – Now, continue the pattern on the egg
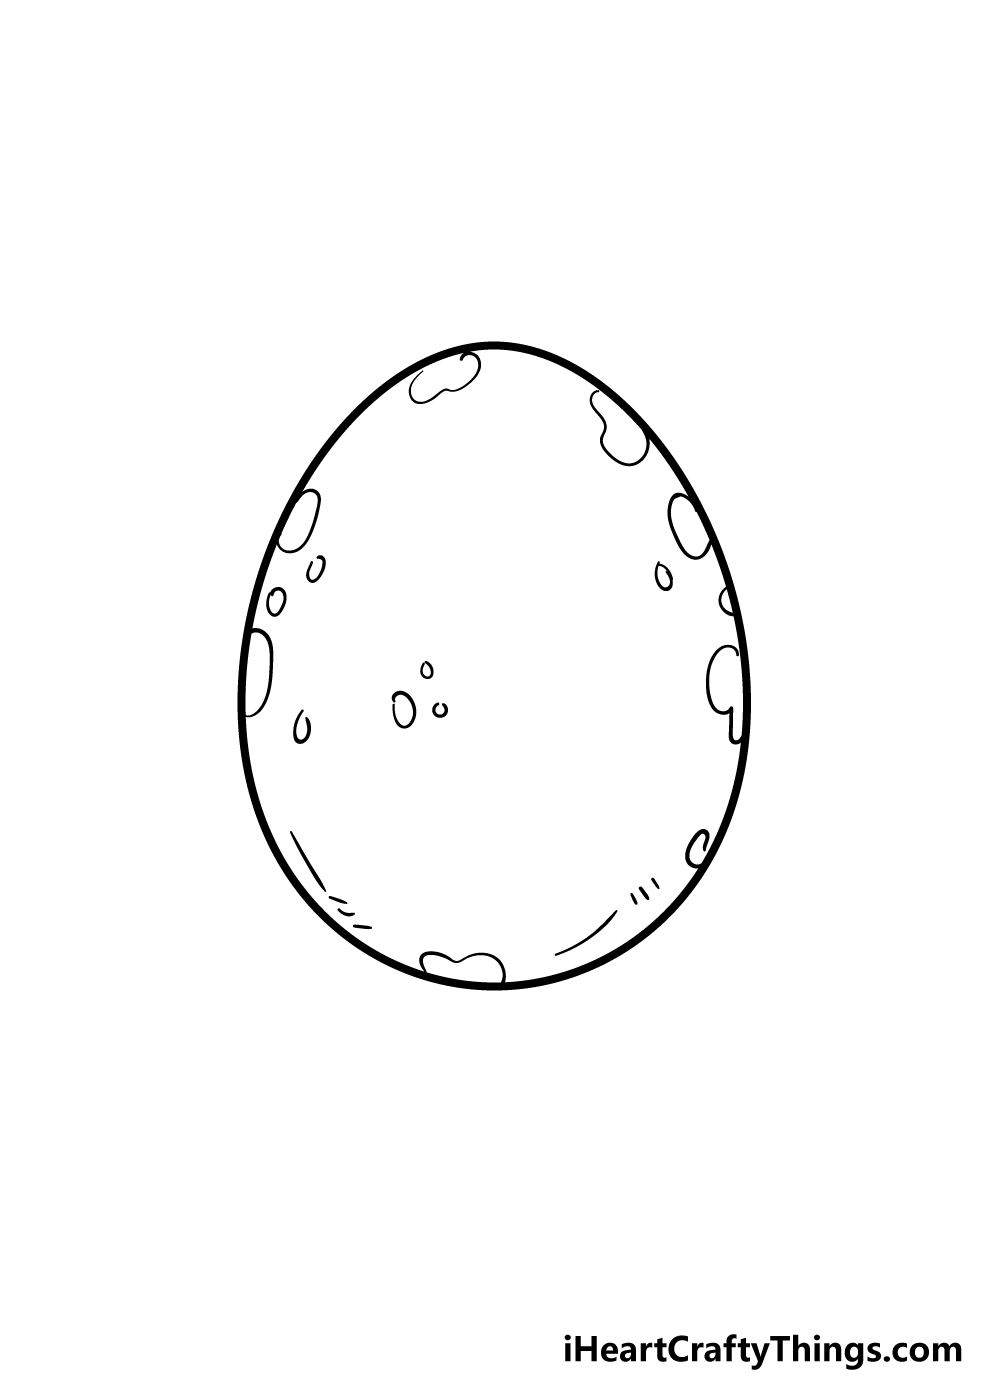
In this part of your egg drawing, you will be adding some more of the spotty pattern that you began in the previous step.
These will go into the middle of the egg as well as near the bottom of it. You can also add some small lines throughout the egg for even more detail.
These are the pattern details we have added, but you could also create your own variation on the pattern if you would like to!
Step 5 – Start the base of the egg drawing in this step
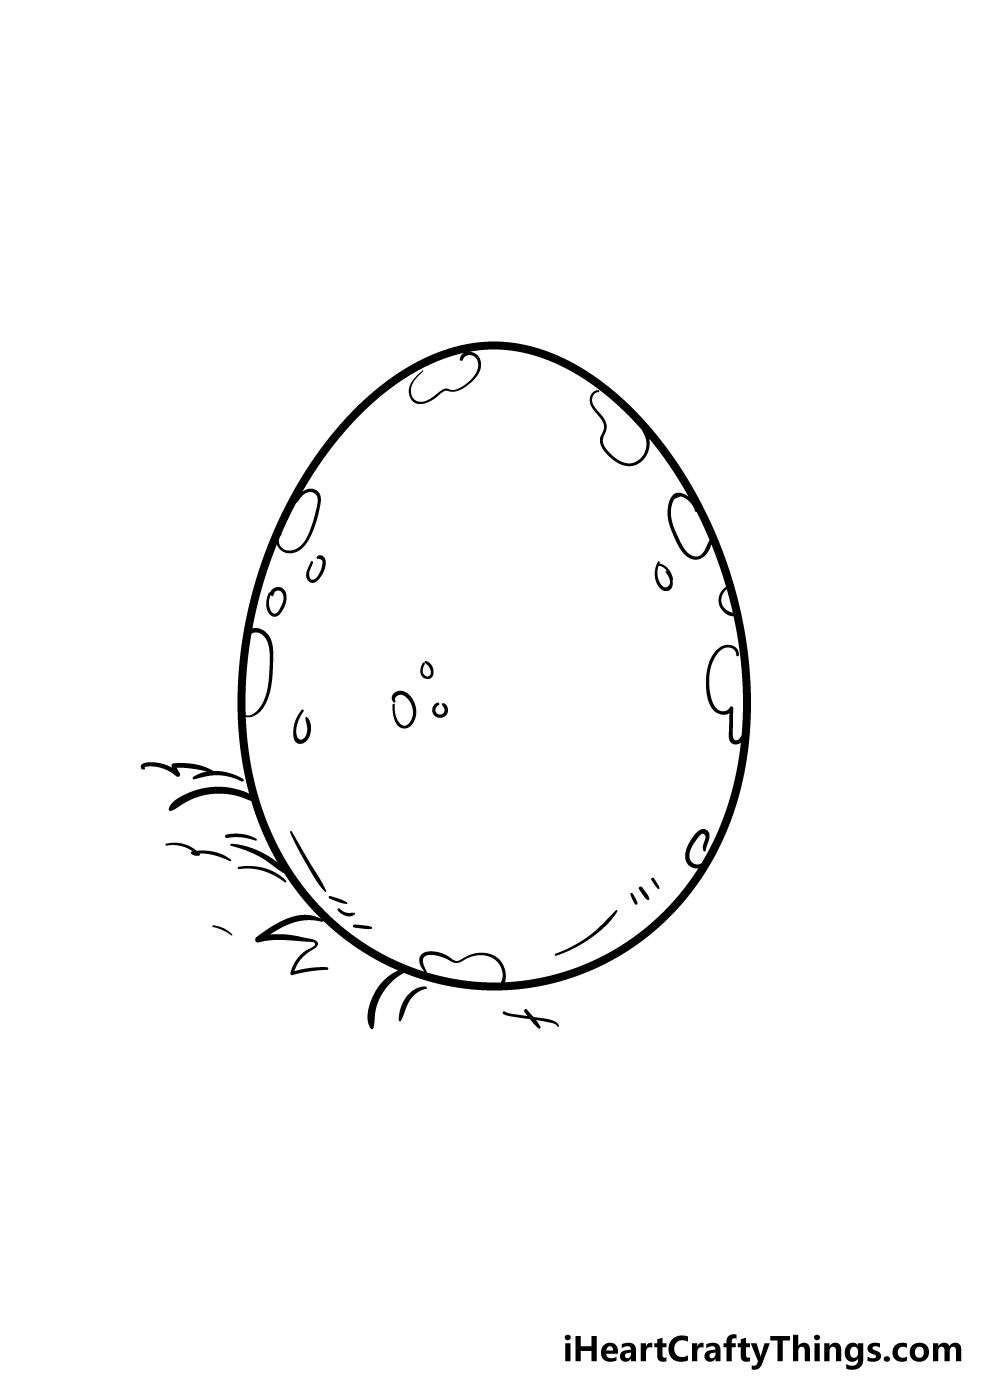
For this fifth step of our guide on how to draw an egg, we shall be drawing a base for the egg. This egg is sitting in some sand, and it will be slightly submerged in this sandy base.
To draw this sandy base, you can use some small curved and jagged lines at the base of the egg. You could also add some straight and jagged lines for some grassy detail if you would like!
Step 6 – Finish off the base of the eggs and the final details
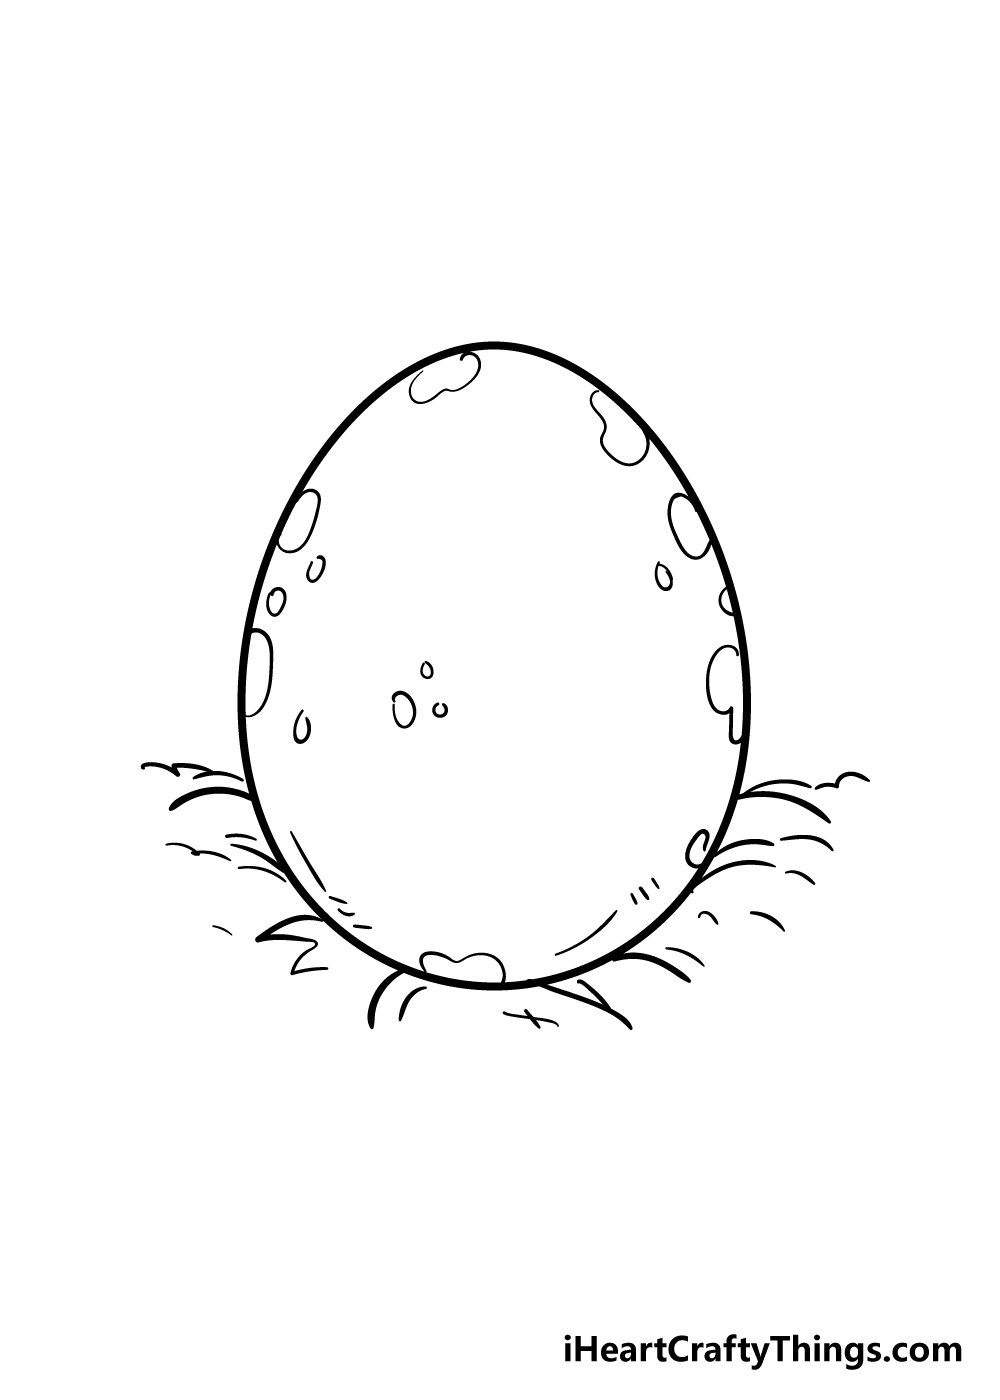
It’s almost time for you to color in your amazing egg drawing, but before we do there are a few final details to add to the picture.
First, you can repeat what you did in the previous step to finish off the base of the egg. Once you’ve done those final details, you’re ready for the final step!
Before you do, however, you can add some of your own details to really finish it off! You could draw a creative background to show what kind of environment this egg is in.
Maybe you could make it look like a dinosaur egg by drawing a volcano and prehistoric trees in the background.
You could also show what kind of creature laid this egg by creating and drawing a weird and wonderful creature beside the egg.
How will you finish off this drawing before you start to color it in?
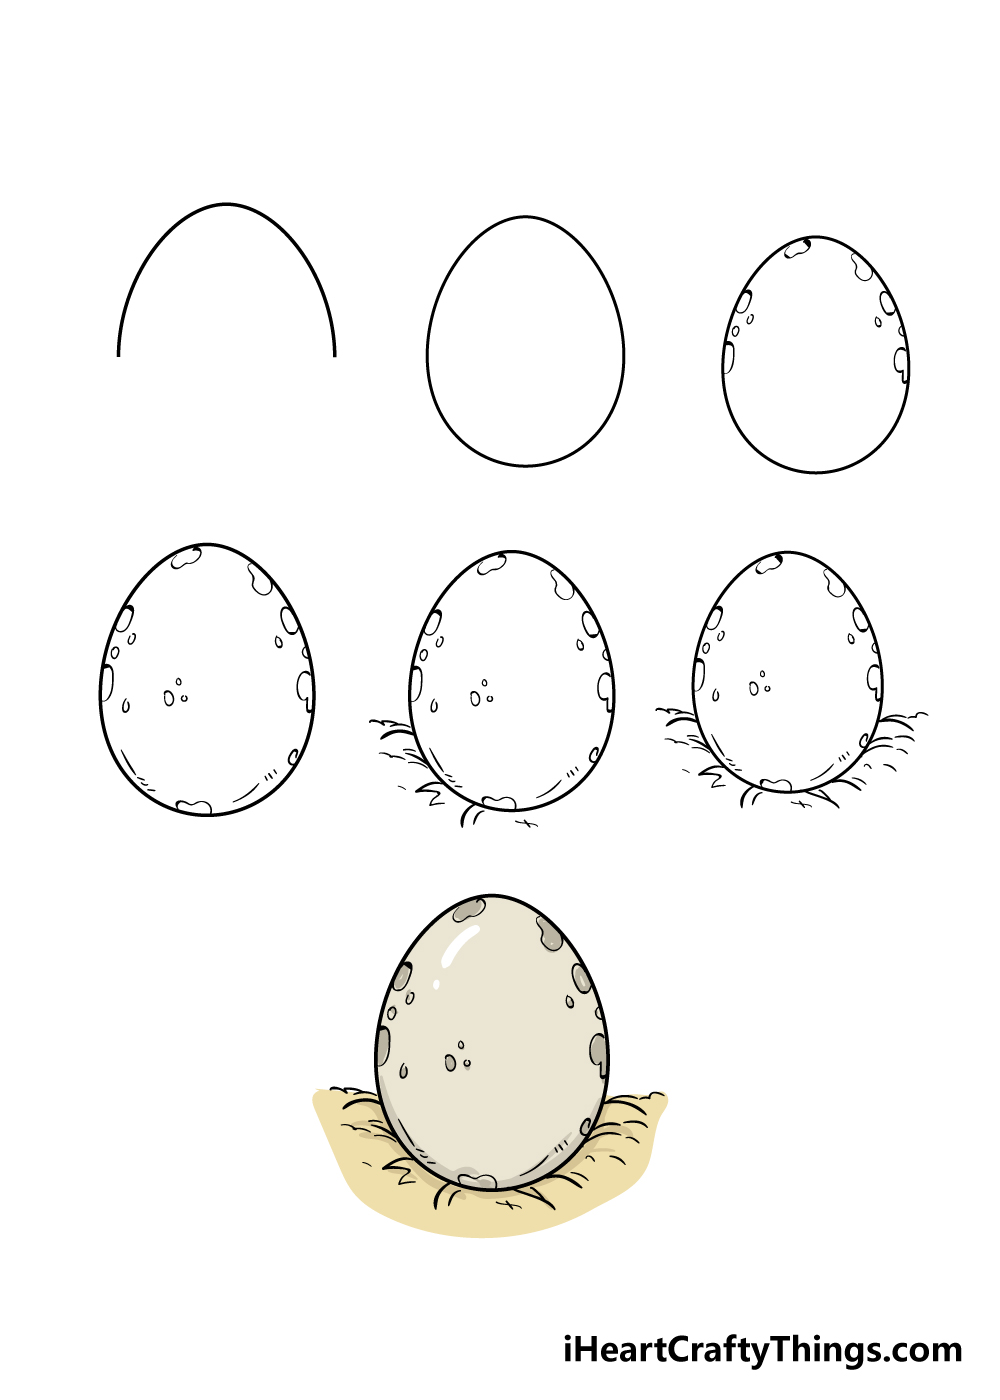
Step 7 – Finish off your egg drawing with some color
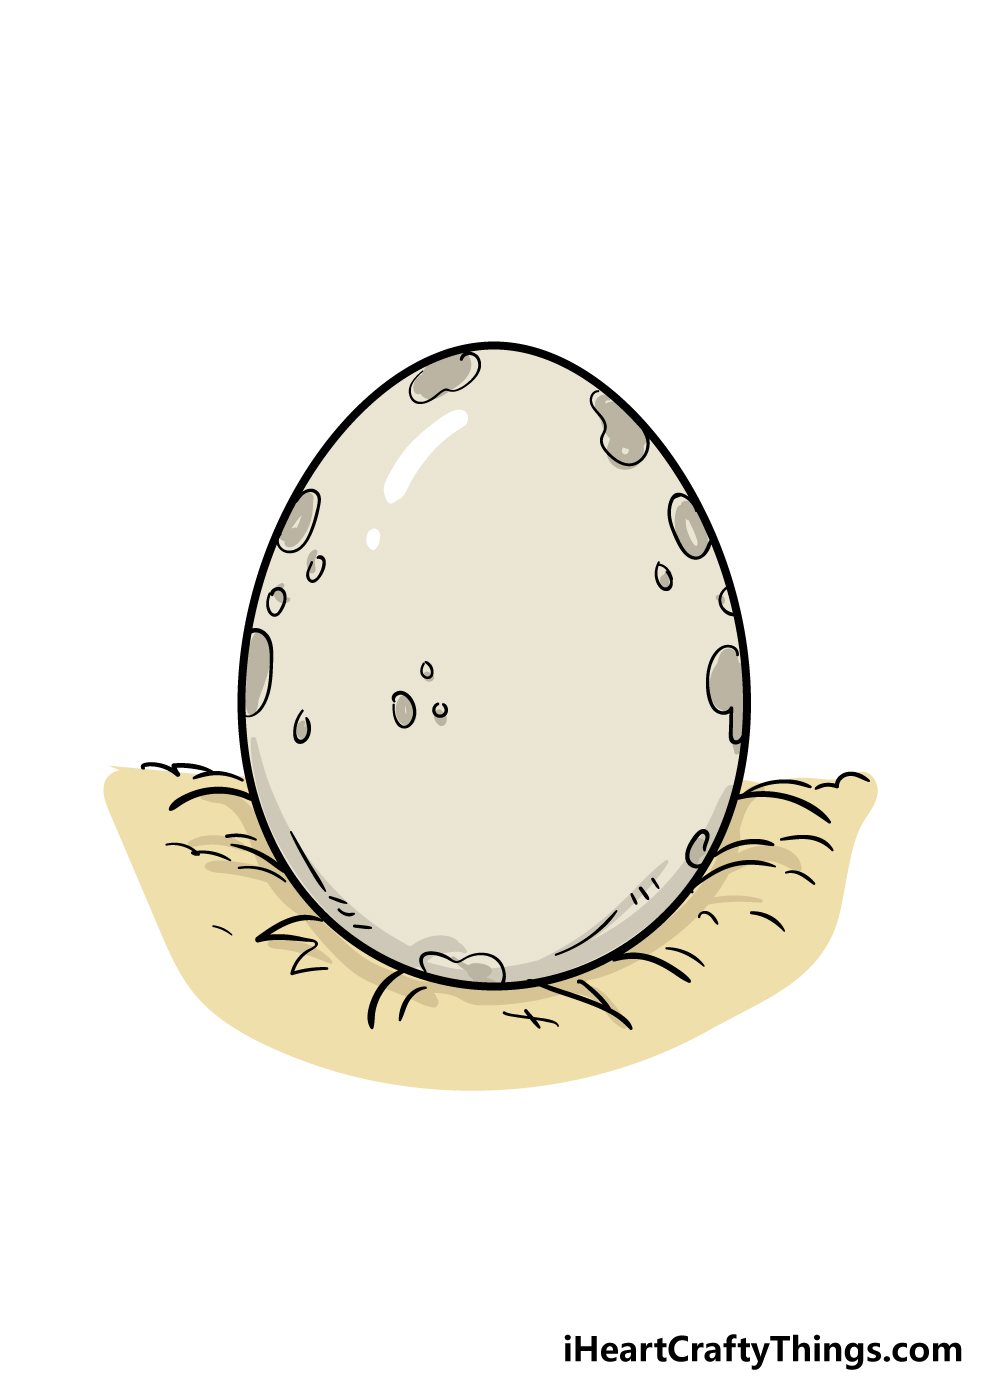
Now that your egg drawing is complete, you can now have a fun time coloring it in!
The pattern design that we created for this egg makes it look like an exotic dinosaur egg or like it could belong to a fantastic fantasy creature!
This design means that you could pick any colors that you love to color it in.
The best thing about coloring a picture like this is that you have complete freedom with how you can color it in.
You could go for a bright and vibrant color scheme that has the colors leap from the page, or you could create a more muted and classic look.
If you would like to create a more vibrant look, then you could use some art mediums such as colored pens and acrylic paints to make the colors pop.
If you’re thinking of a softer, more muted look then you could use mediums like watercolors and colored pencils for that kind of look.
Which colors and art mediums will you use to finish off your egg drawing?
3 More tips to make your egg drawing easy!
Make this easy to draw egg even easier with these 3 additional tips
An egg shape is very simple, but it’s still pretty challenging to draw even with this guide. The good news is that there is a big chance you have a model to use in your house right now!
Using a real egg to help you as you draw can help make creating this egg sketch so much easier to do. If you don’t have any eggs available, they can be bought very cheaply at any supermarket.
Using the real thing can help you get the shape right, and it can really make it easier if you want to add some shading or other details.
The best way to make any drawing easier is to lay some practice groundwork. The easiest way to do this us by using a light pencil. Using the pencil, slowly draw the egg shape as we showed it to you in the guide.
It could take a few attempts, so don’t worry if you don’t get it right the first few times. If you make some mistakes, that’s why they made erasers!
When you are happy with how it looks, you can then go over the lines with your pen to have a finished egg drawing. Carefully erase the pencil lines, and then you’re ready to add your extra details.
Many people struggle to draw a perfect egg shape, and if it’s causing frustration then you can change the design. An easy way would be to have a portion of the top of the egg cracked open.
Perhaps there could be a baby popping out to make this drawing of an egg even cuter! Adding this detail may seem minor, but it can make it easier as you don’t need to get the egg shape looking perfect.
There is also no shame in making things easier for yourself. Often it can even make a drawing more special when you make these kinds of changes!
It could lead to a whole new scene or setting for this egg drawing.
Your Egg Drawing is Complete!
That brings you to the end of this guide on how to draw an egg! We hope that you had a lot of fun working through this guide as you learned how to create this cool egg.
Taking on a new drawing challenge is no yoke, so hopefully finishing this guide allowed you to crack a proud smile!
Now that you have completed this guide, it’s up to you to put your own spin on the picture. You could do this by drawing a background, changing up the pattern or by showing what laid this egg.
We can’t wait to see what you come up with!
This step-by-step guide on how to draw an egg is just one example out of many guides that we have on our website just like it.
Be sure to visit us there, and also check in often as we upload new guides for you to enjoy.
We would love to see your amazing egg drawing once it’s done, so please do share it on our Facebook and Pinterest pages for us to see! We can’t wait to see your incredible artwork!