


Donkeys have been by our side for many centuries. Even in ancient times, these hardy animals helped transport people and supplies even through the toughest of terrain.
The phrase “stubborn as a mule” may have come from the donkey, but it also speaks to their determination and resolve.
They are widely recognized animals around the world, and this leads many to try and learn how to draw a donkey.
If you’re looking to learn as well, then you have reached the right guide!
This step-by-step guide on how to draw a donkey will show you how easy it can be!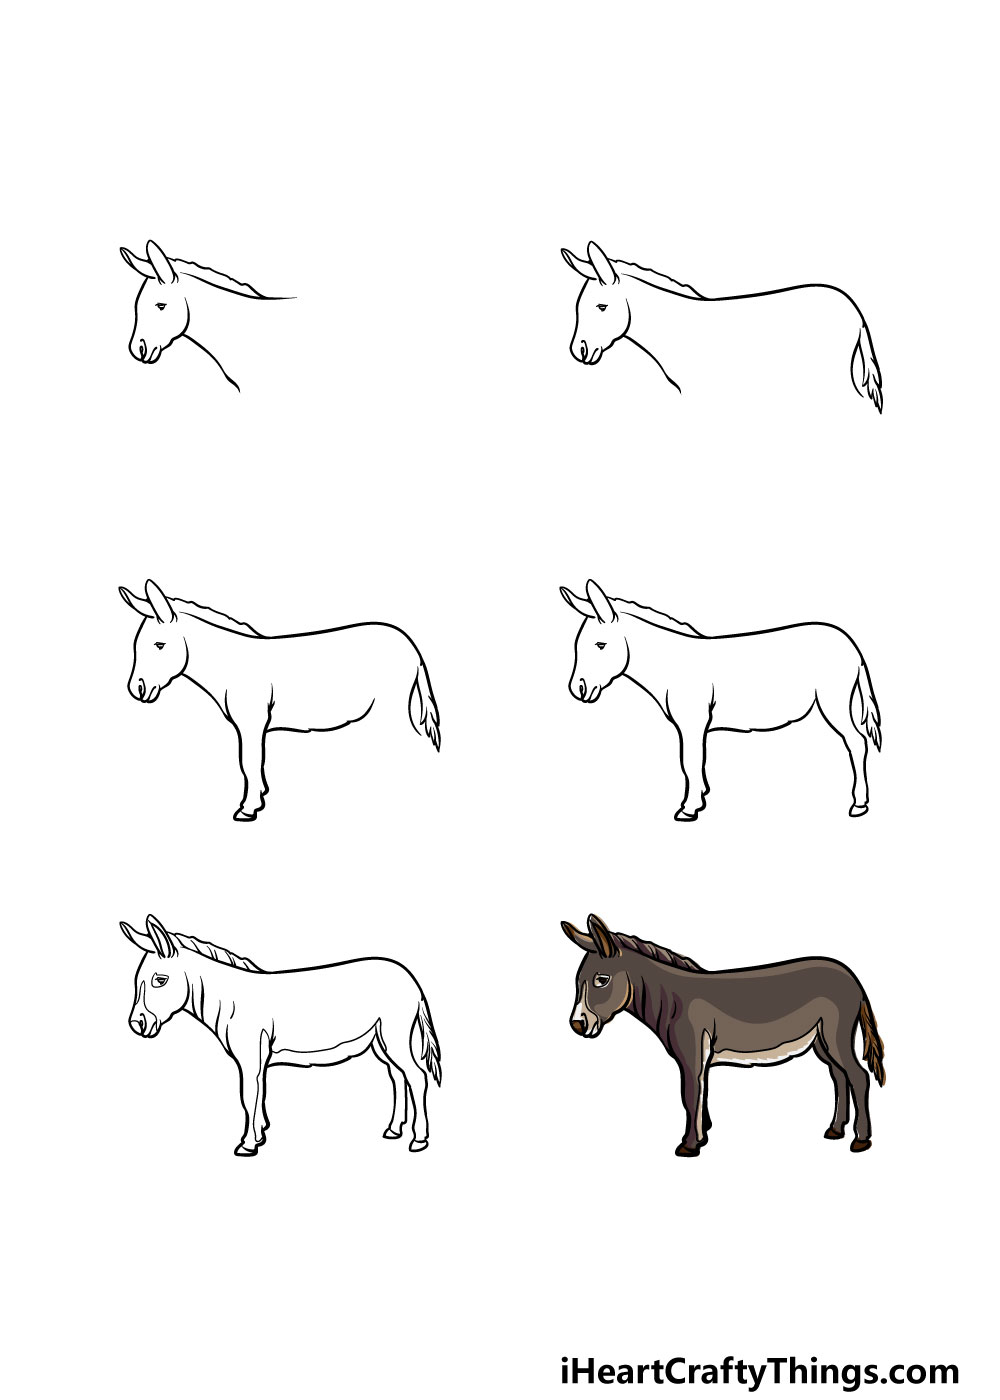
How to Draw A Donkey – Let’s Get Started!
Step 1
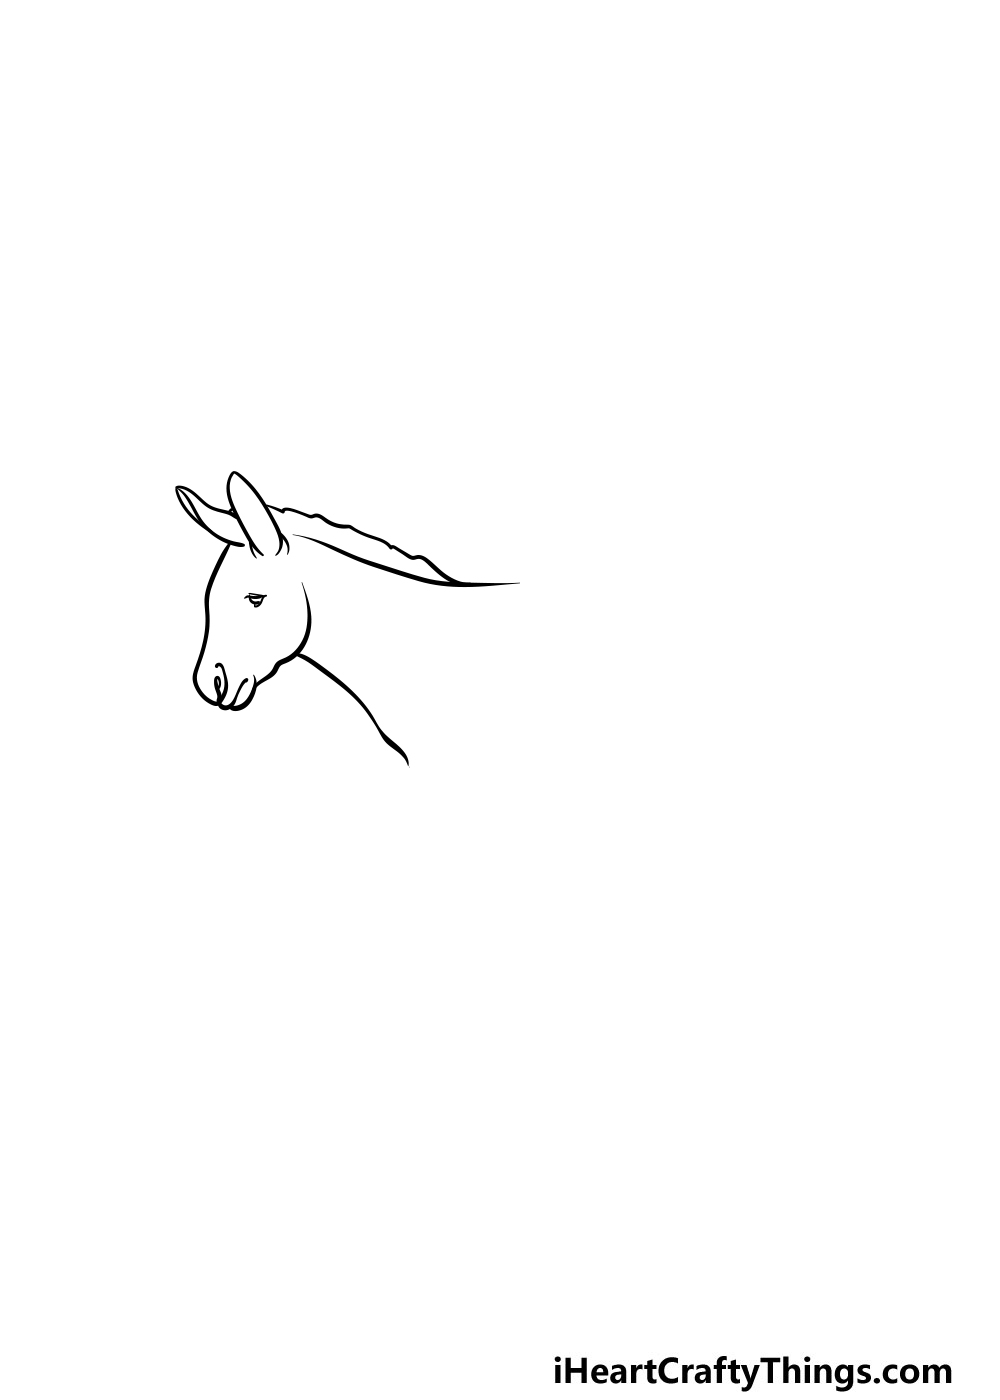
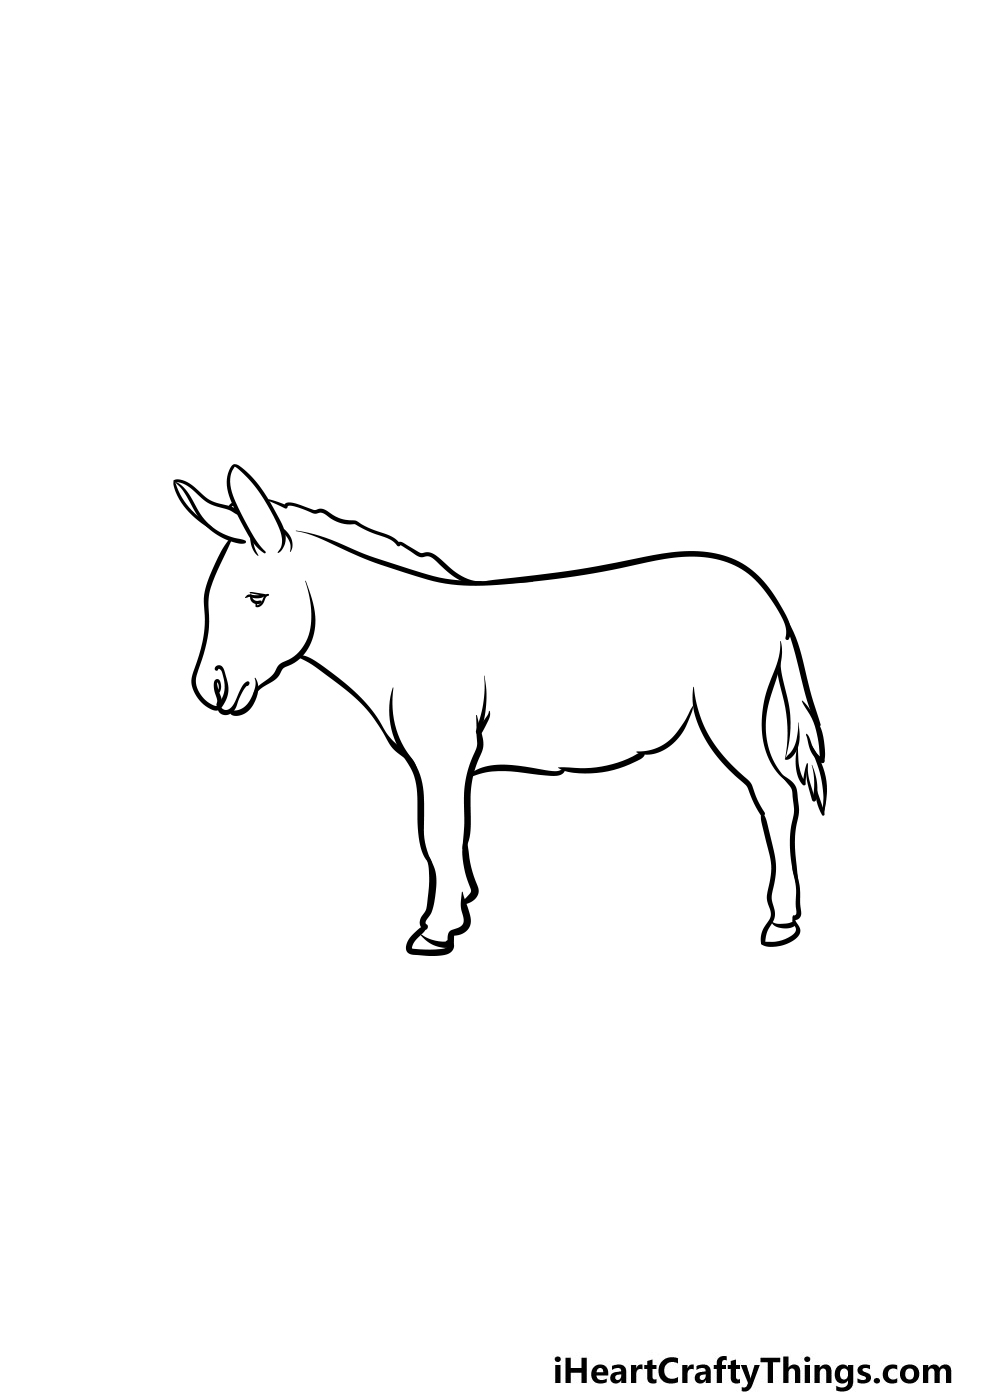
In the first step of our guide on how to draw a donkey, we will be using some pencil lines to draw the outline of the donkey.
For now, we will be using a pencil so that you don’t have to worry about making mistakes or getting it perfect on the first try.
Using your pencil, carefully follow the outline that we’ve drawn out in the reference image.
Once you have this outline drawn, you can then use a drawing pen or a dark pencil to add some detail to the face, neck and mane.
As you draw these pen lines, you can refine the detail as you draw over the pencil lines as well.
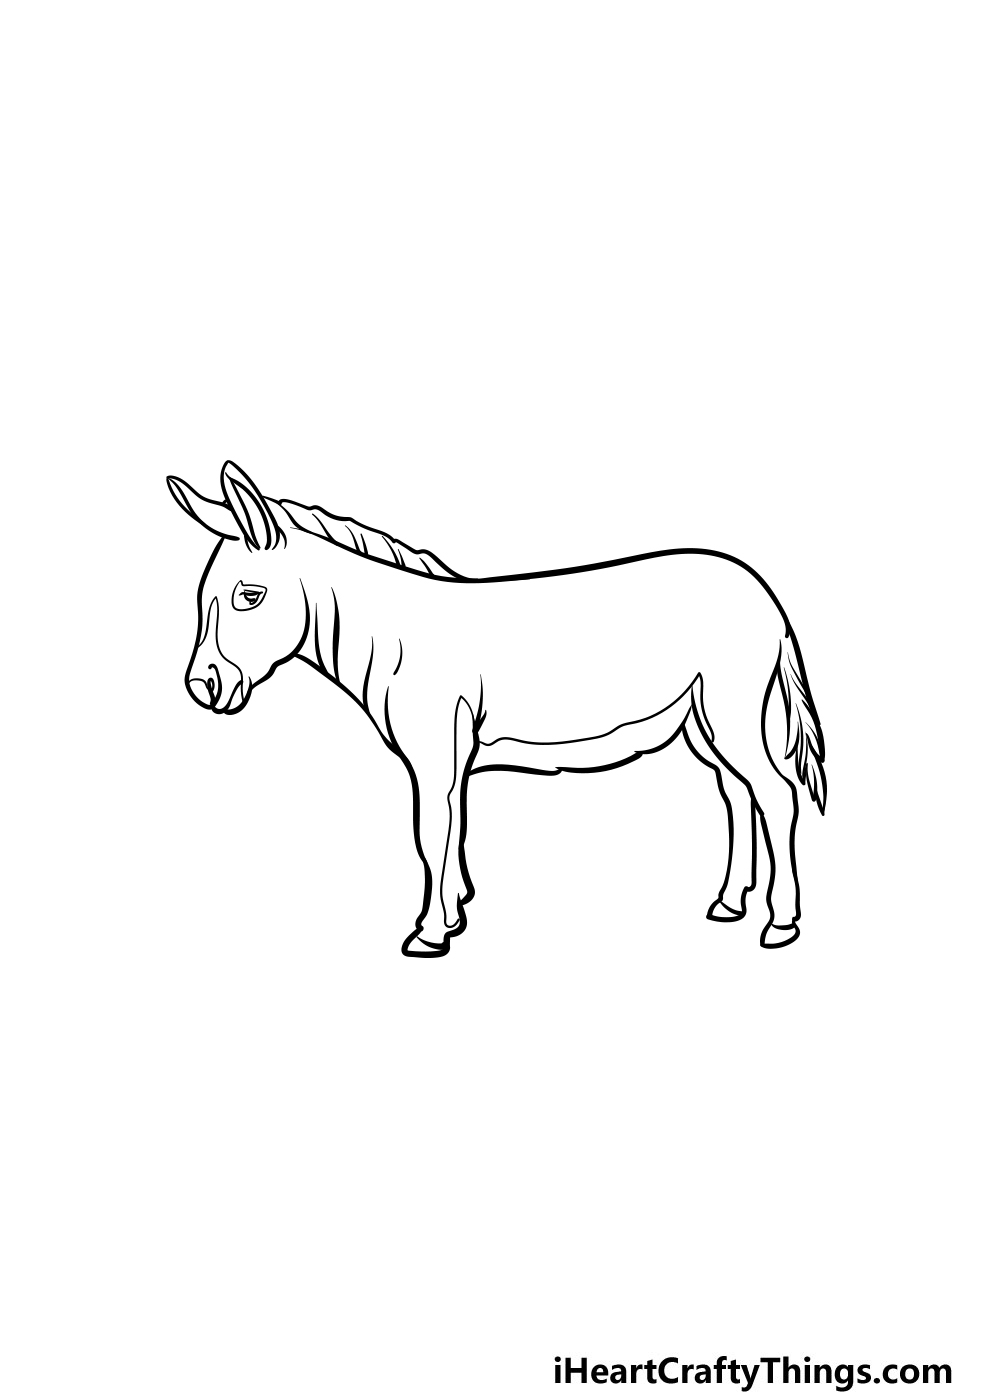
Step 2 – Start drawing the back and tail of your donkey
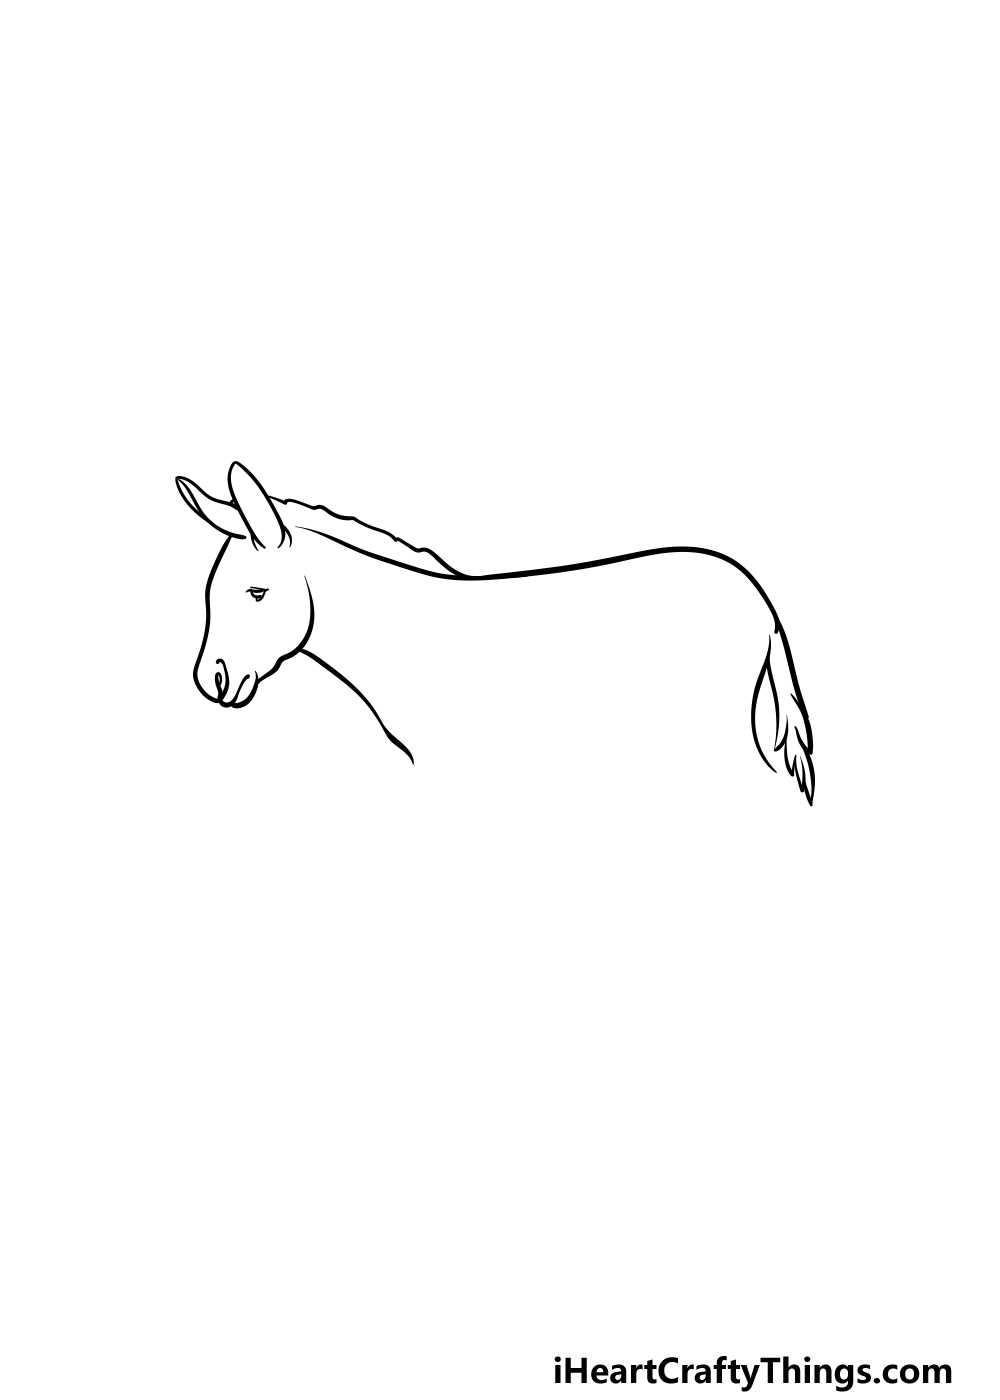
For this part of your donkey drawing, you can use your pen to draw the back and the tail of the donkey.
To do this, simply keep doing what you started in the previous step and use your pen to go over the pencil lines while adding some detail refinement as you go.
Don’t forget to add the thick tail at the back of the donkey!
Step 3 – Now, draw the front legs of the donkey
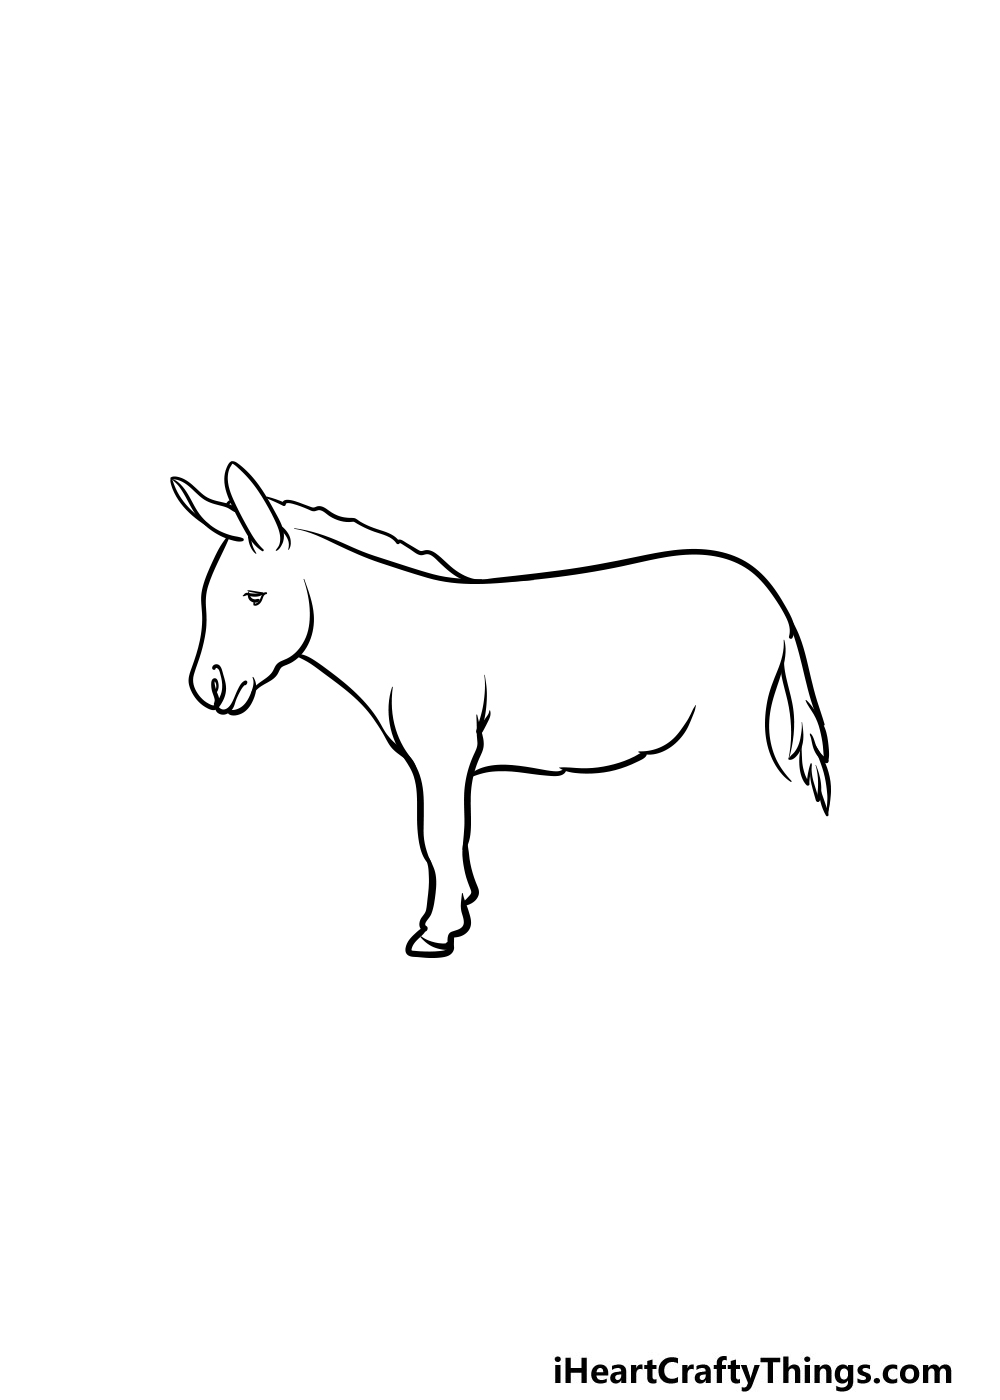
In this step of our guide on how to draw a donkey, we will be focusing on the front legs as well as the belly of the donkey.
When drawing over your pencil lines for this one, you will also be adding some muscle definition while extending the lines a bit.
Then, you can use some curved lines that connect with one another for the stomach of your donkey. Once you have these elements, you’re ready for step 4!
Step 4 – Start the back legs of your donkey drawing
You’re getting the hang of it now! For this part of your donkey drawing, you will be drawing the back leg that is closest to the viewer.
This will be no different from all of the other parts that you’ve drawn over with your pen, and you can keep adding the details that we show in our reference image.
Once you have this leg drawn, you’re ready to add some final details in the next step of this guide.
Step 5 – Now, you can add some final details to your donkey drawing
This fifth step of our guide on how to draw a donkey will be all about adding some final details and elements before you finish up with some colors.
First, you can draw the remaining leg for your donkey. Once you have that drawn, it’s time for some final details! As you can see in our reference image, we have added some details throughout the donkey.
First, there are some lines drawn on the donkey’s face and around its eyes. Then, you can use some lines on the neck, stomach and tail to add even more definition to it.
These are the details that we would add, but you should feel free to draw some of your own! You could add elements like a rider on the donkey or cover it with a poncho or a saddle.
If you’re feeling extra creative, you can even create a cool background for your donkey drawing. This would be a great way to show where this donkey is trekking.
You could look up some landscape pictures for some inspiration if you decide to draw a background.
How will you finish off this donkey drawing?
Step 6 – Finish off your donkey drawing with some color

In this final step of your donkey drawing, you can have fun with some amazing colors for it! In our reference image, we went with some shades of brown and tan, but this is just one way that you can go about it.
Donkeys can come in many different patterns and color schemes, so there is a lot of freedom with how you could finish it off!
If you drew any extra elements or created a background, then you can also have some fun coloring that in.
Doing that is a great way to bring some brighter colors if you keep the donkey coloring more muted and dark.
Once you know which colors you would like, then you can have some fun with the art mediums that you use.
For more vibrant colors, you could use some acrylic paints, colored pens or markers to really bring the colors to life.
Alternatively, for more muted, subdued colors you could use some watercolor paints or colored pencils to finish it off.
What colors and art mediums will you use for your image?
3 More tips to make your donkey drawing easy!
Saddle up for drawing fun as we make this donkey sketch even easier!
This drawing of a donkey that we created in this guide is somewhere between being realistic and a more stylized cartoon.
When it comes to drawing, some people find certain styles easier to draw than others.
If you have a style that you gravitate towards, you could adapt this donkey to match that style!
You may like drawing that simpler cartoon style, or you may actually feel more comfortable making the donkey even more realistic.
This could be a fun thing to try even if you did manage to easily draw our version. It would be a good way to challenge yourself by making some variations!
You can also use a real donkey to make creating this donkey drawing a lot easier. Not everyone has a donkey in their backyard, so you may have to rely on photos from the internet.
Using a real donkey (or a photo of one) can show you some subtle details and proportion elements that can be tricky even with a guide like ours.
You would ideally like to have a photo with a donkey that is posed similarly to the one in our reference image.
Even if it is in a different pose, you could still use it to help you as you draw your own version.
Along with the previous two tips, you can also make your donkey sketch easier by using a pencil to map out your picture. Anything you could ever hope to draw can initially be broken down into simpler steps.
You can use really basic shapes to make up the general outline of the donkey. Then, slowly add more and more detail layers until the drawing starts to take shape.
You may be surprised how freeing using a pencil can be! Try not to press too hard with the pencil, as it could make the lines harder to erase once you have added the final pen lines.
We’re sure using a pencil would make it even more fun and easy to draw!
Your Donkey Drawing is Complete!
We hope that you had a wonderful time working through this guide on how to draw a donkey alongside us!
This guide had some tricky detail and structure to it, but you can make it much easier when you break it down into smaller, more manageable steps.
If you take it slow and follow the guide closely then you will have no problem with this drawing!
Don’t forget that once you finish your drawing, you can take it even further with your own details.
You could take some of our suggestions such as drawing extra elements or a background to really put your own spin on it!
You could also work in some of your own creative ideas, and we can’t wait to see what you come up with!
Once you’re finished with this guide, we have plenty more for you to enjoy on our website! Be sure to check in often to never miss out on new guides that we put up!
Once you’re finished with your donkey drawing, we hope that you will share them on our Facebook and Pinterest pages for us to enjoy.