{This post contains affiliate links for your convenience. Read our Disclosure Policy for more information.}
Supplies you will need:
- regular-sized cupcake liners:
Red, Orange, Yellow, Green, Blue and Purple - white mini cupcake liners
- light blue cardstock paper
- gluestick
- scissors
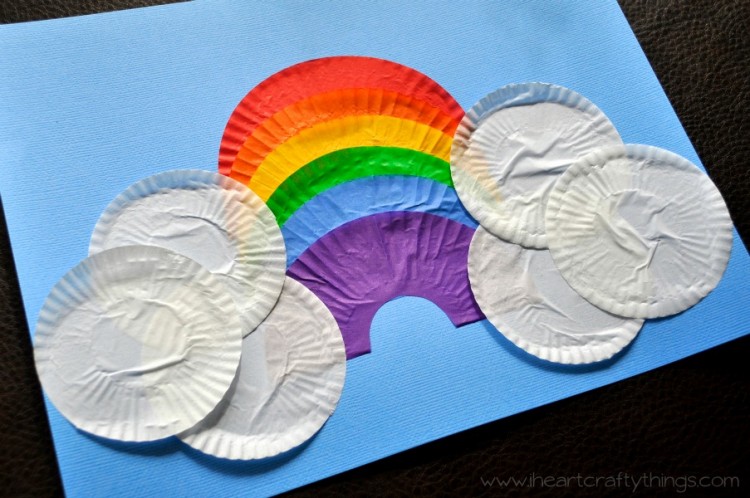
2. Put glue on the back of your red cupcake liner and place it on your blue cardstock paper. Make sure to place it on the upper portion of the paper to leave room for the layering of all the colors. Toddlers may need help with placement or just let them place the different colors all over the paper wherever they choose for a unique rainbow scene.
3. Put glue on the back of your orange cupcake liner and place it under your red cupcake liner, allowing about half of the red cupcake liner to show above. Continue this process with the rest of the colors, finishing with the purple.
4. Flatten out your white mini cupcake liners, put glue on the back of them and place them around your rainbow to act as clouds.
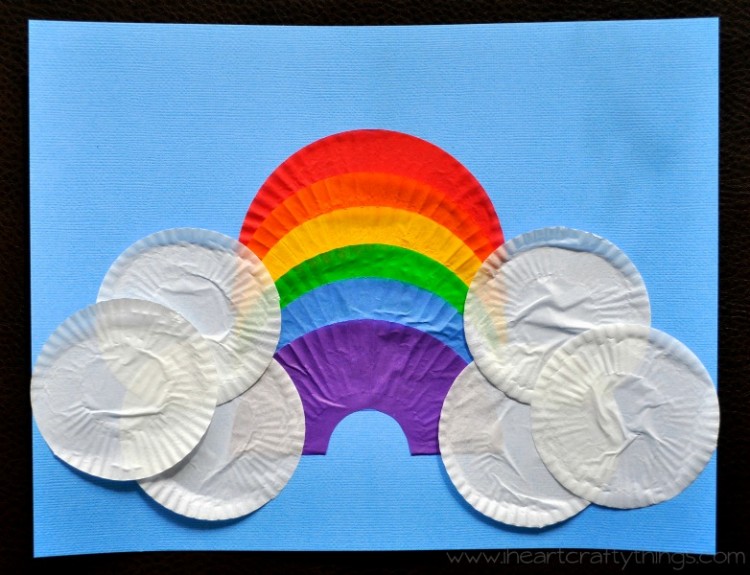
I love the ribbed texture on the liners. It gives so much texture to the artwork. Some of the edges of the liners kind of popped off the page a little but I think that gave it a 2-D appearance and made me love the overall look even more. Now we are even more anxious for Spring to arrive!
You might also enjoy these crafts:
- Washi Tape Rainbow
- Bubble Wrap Rainbow
- Beaded Dragonfly and Lightning Bugs
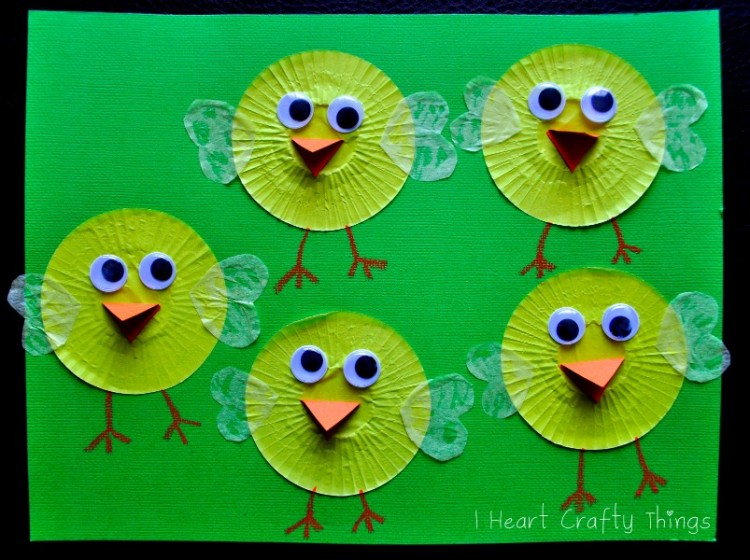
- Cupcake Liner Ladybugs
- Cupcake Liner Chicks
Follow I Heart Crafty Things on Facebook, Pinterest,
Google+, Twitter, and Instagram!