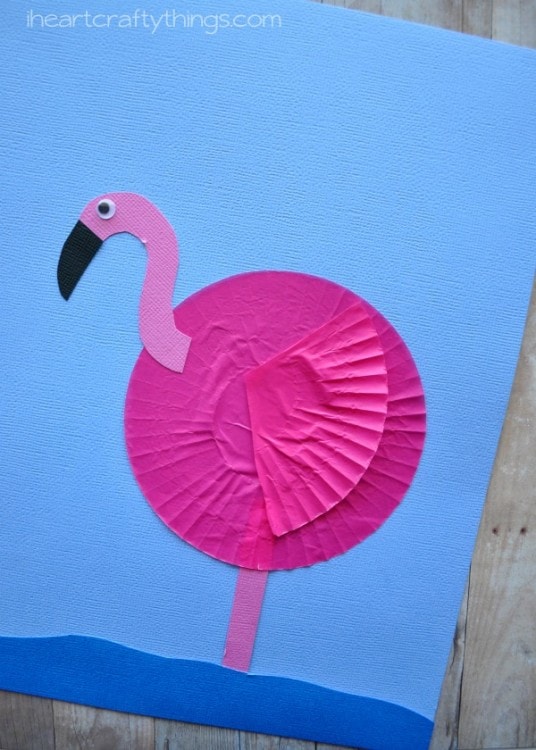
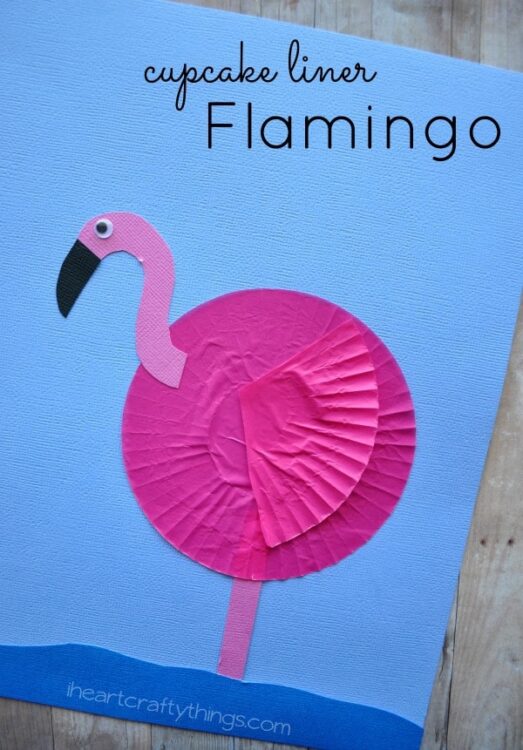
If you follow my blog regularly, you’ve probably picked up on the fact that I love birds and cupcake liner crafts. I’m excited to share today how I mixed my love for both into this cute Cupcake Liner Flamingo Kids Craft. It works great as an alphabet craft when learning about the letter F, or it would be fun to make after visiting the zoo or a bird aviary that has Flamingos.
{This post contains affiliate links for your convenience. Read our Disclosure Policy for more information.}
Supplies needed:
- light blue, dark blue, pink and black cardstock paper
- 2 pink cupcake liners
- small googly eye
- glue
- scissors
Tutorial:
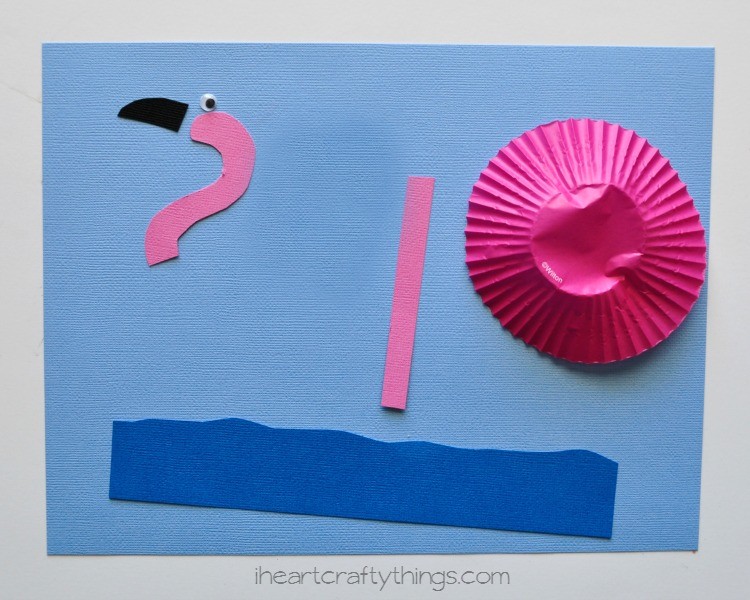
1. Cut out needed shapes
Start by cutting out the pieces you’ll need for your Flamingo out of your cardstock paper. From your pink cardstock paper you’ll need a leg and an S-shaped head and neck. From your black cardstock paper you’ll need a long beak. From your dark blue cardstock paper you’ll need to cut a strip for some shallow water.
2. Glue cupcake liner to the paper
Glue one of your pink cupcake liners onto your light blue cardstock paper.
3. Glue remaining body pieces
Glue your leg up under the cupcake liner and the head at the front of the cupcake liner. Glue your beak and small googly eye at the end of the face.
4. Glue paper as a water
Glue the dark blue strip at the bottom of the paper for the water.
5. Finish with adding wing
Cut out a triangle shape from your other pink cupcake liner (about one-quarter of it) and glue it
onto your Flamingo to finish him.