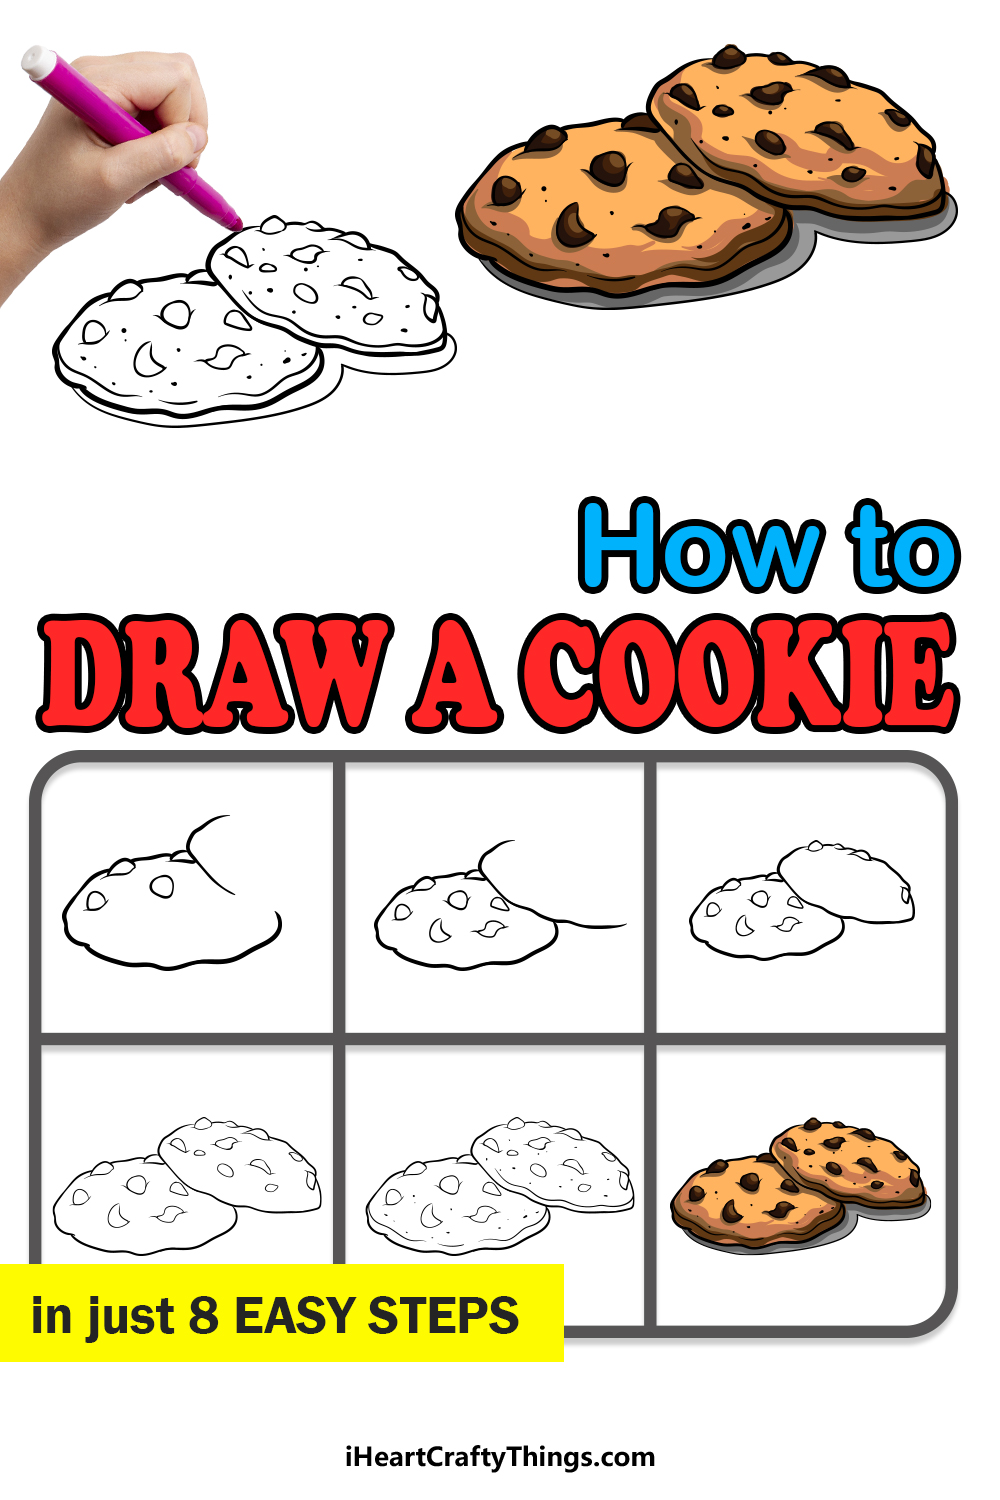
You’re about to see how easy it is to learn how to draw a cookie with this fun tutorial for kids! Keep reading to see how you can make some delectable cookie designs.
Cookies are a type of food that anyone can enjoy. No matter your taste, preference or dietary restrictions, there is bound to be at least one kind of cookie you can enjoy.
Even if you don’t have any cookies to eat now, you can always draw some! That’s where this guide comes in, as I will show you how to make some detailed cookie drawings.
Once you have finished the guide, you can also add your own ideas and background elements to make it even more unique. Get ready to work up a creative appetite as we begin this guide together.
Watch And Learn How To Make Your Cookie Drawing
How to Draw A Cookie – Let’s Get Started!
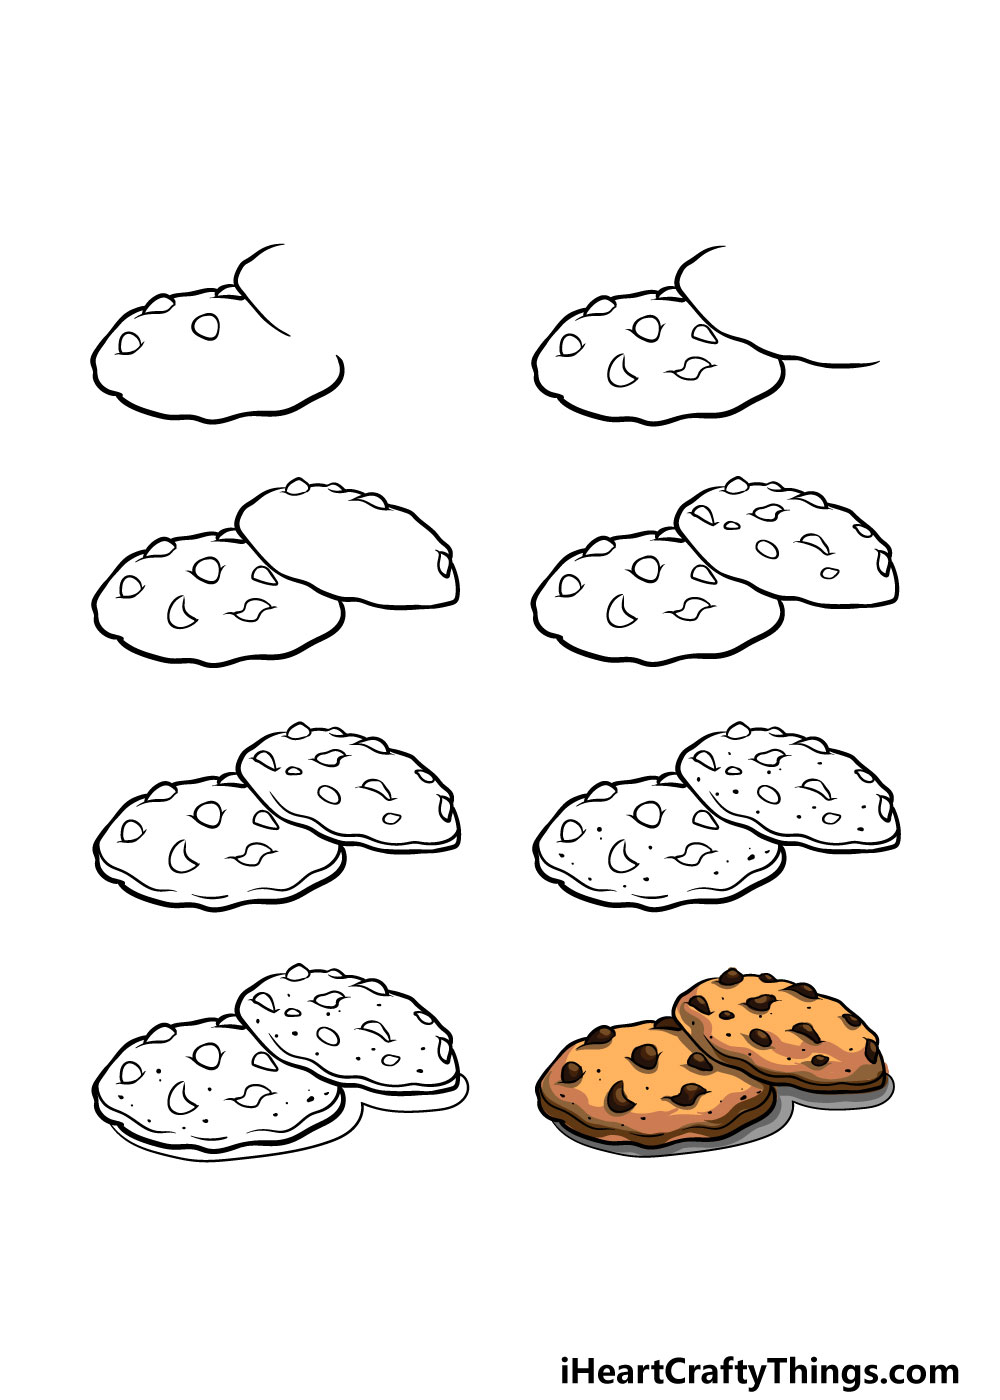
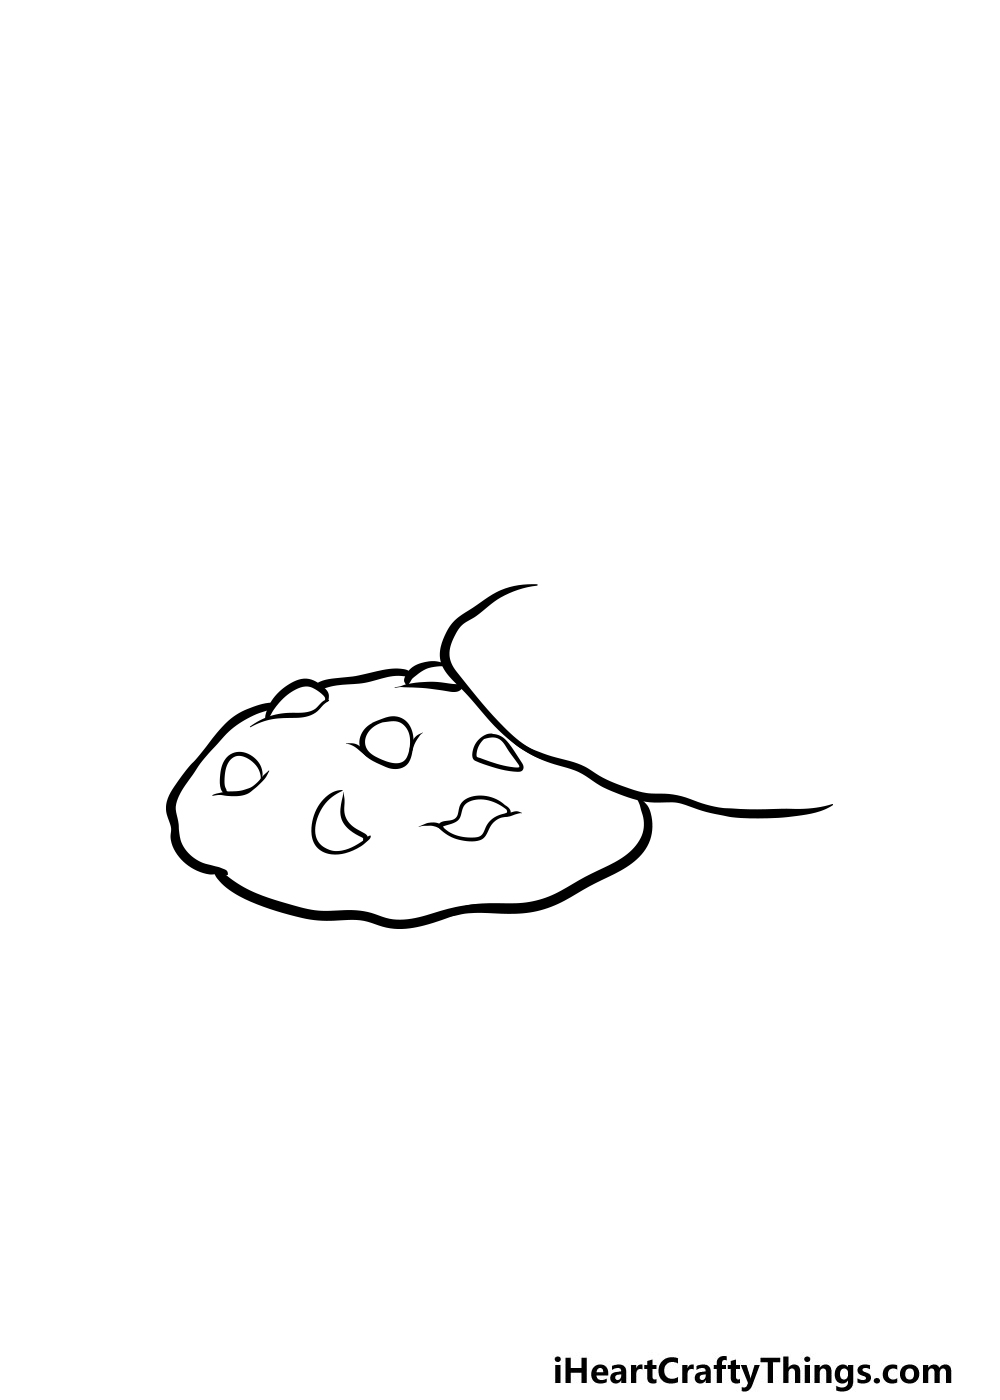
Step 1

In this first step of our guide on how to draw a cookie, we will start with some pencil outlines that will guide you as you draw.
These shapes that will form the cookies will look like flat ovals, yet they will be drawn with a somewhat bumpy, irregular line. One cookie will be flat on the surface, and the other will be leaning on it.
Once you’ve drawn these outlines, then you can use your pen to go over the pencil line of the cookie that’s lying flat on the counter.
Finally, you can use some rounded shapes for some chocolate chips on the cookie’s surface.
Step 2 – Next, draw some more chocolate chips and some more of it
For this part of your cookie drawing, we will keep adding some chocolate chips to the flat cookie.
Simply keep drawing more of the rounded shapes of the chocolate chips that you started in the previous step.
Then, start drawing the beginning of the outline of the second cookie using your pen, as shown in the reference image.
Step 3 – Now, start drawing some chocolate chips onto the other cookie
The second cookie is looking a bit bare, so let’s fix that in this step of our guide on how to draw a cookie!
We will be filling up that empty space by drawing some more chocolate chips onto it. Because of the angle the cookie is at, the chocolate chips will be poking up out of the top of the cookie.
Then, you can finish off this step by completing the outline of the second cookie with your pen.
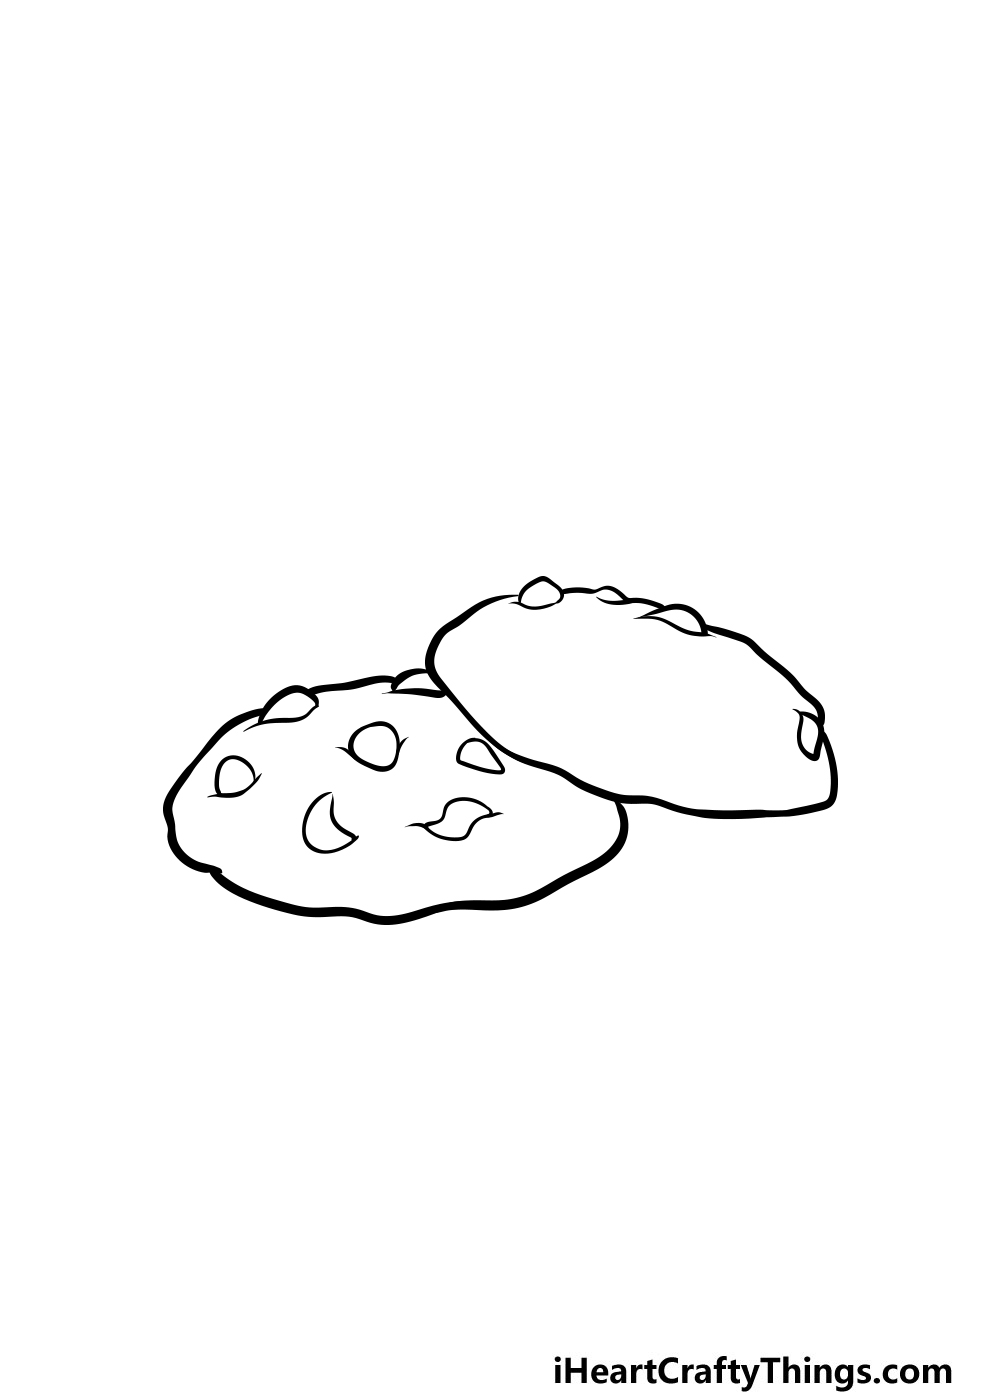
Step 4 – Next, draw the final chocolate chips of the cookie
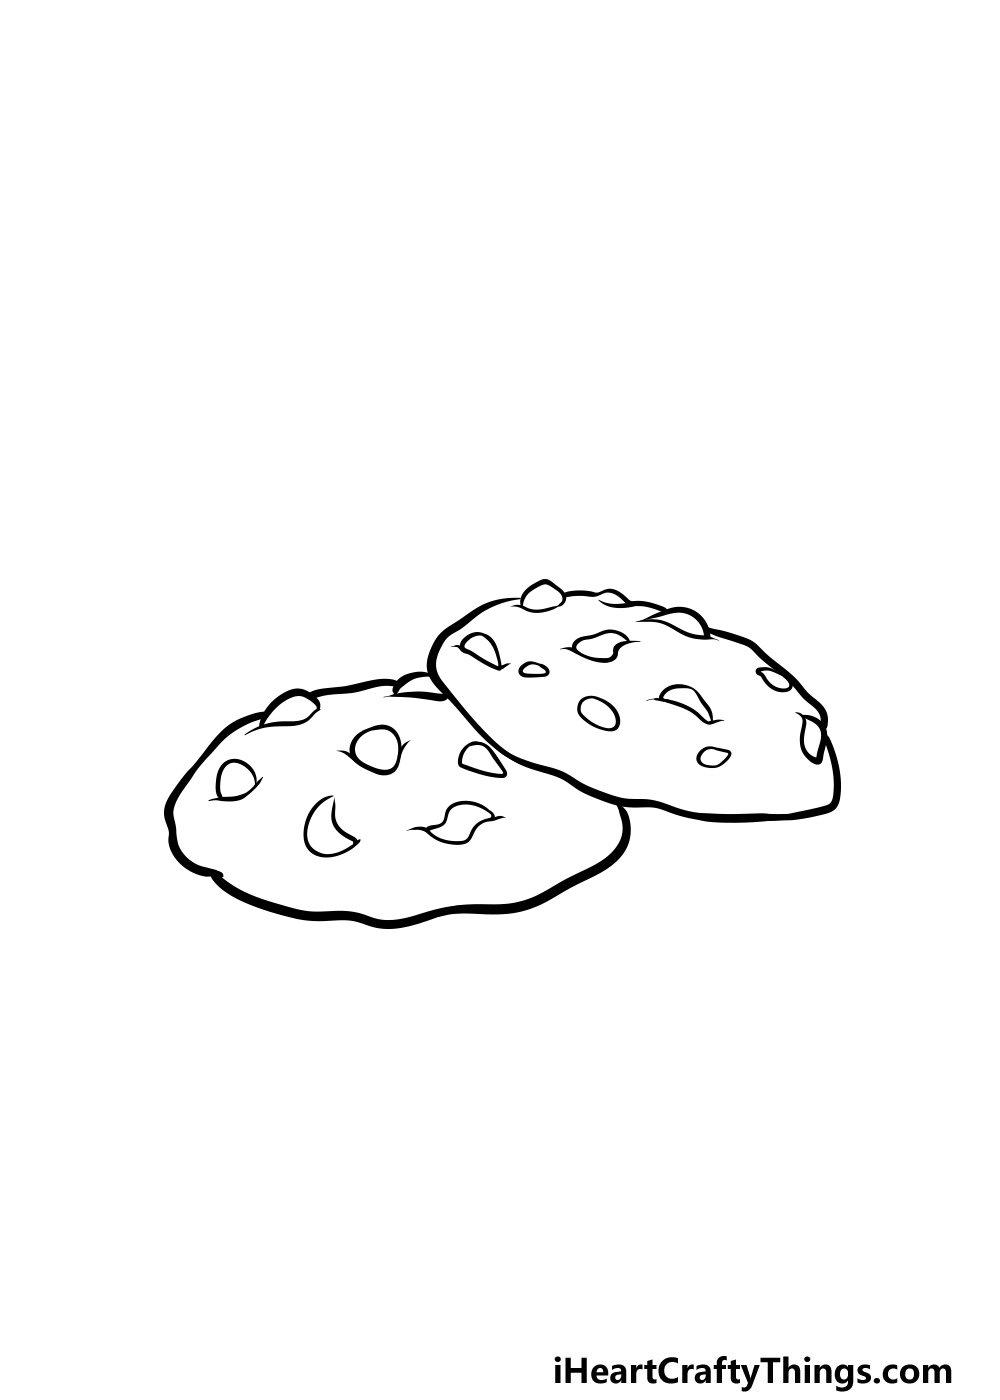
It’s still looking a bit bare on the second cookie, so I think that we need to add even more chocolate chips for this part of your cookie drawing!
You know what to do now, as you can add as many or as little chocolate chips as you would like for the central part of the cookie.
Step 5 – Now, start adding some detail to the base of the cookies
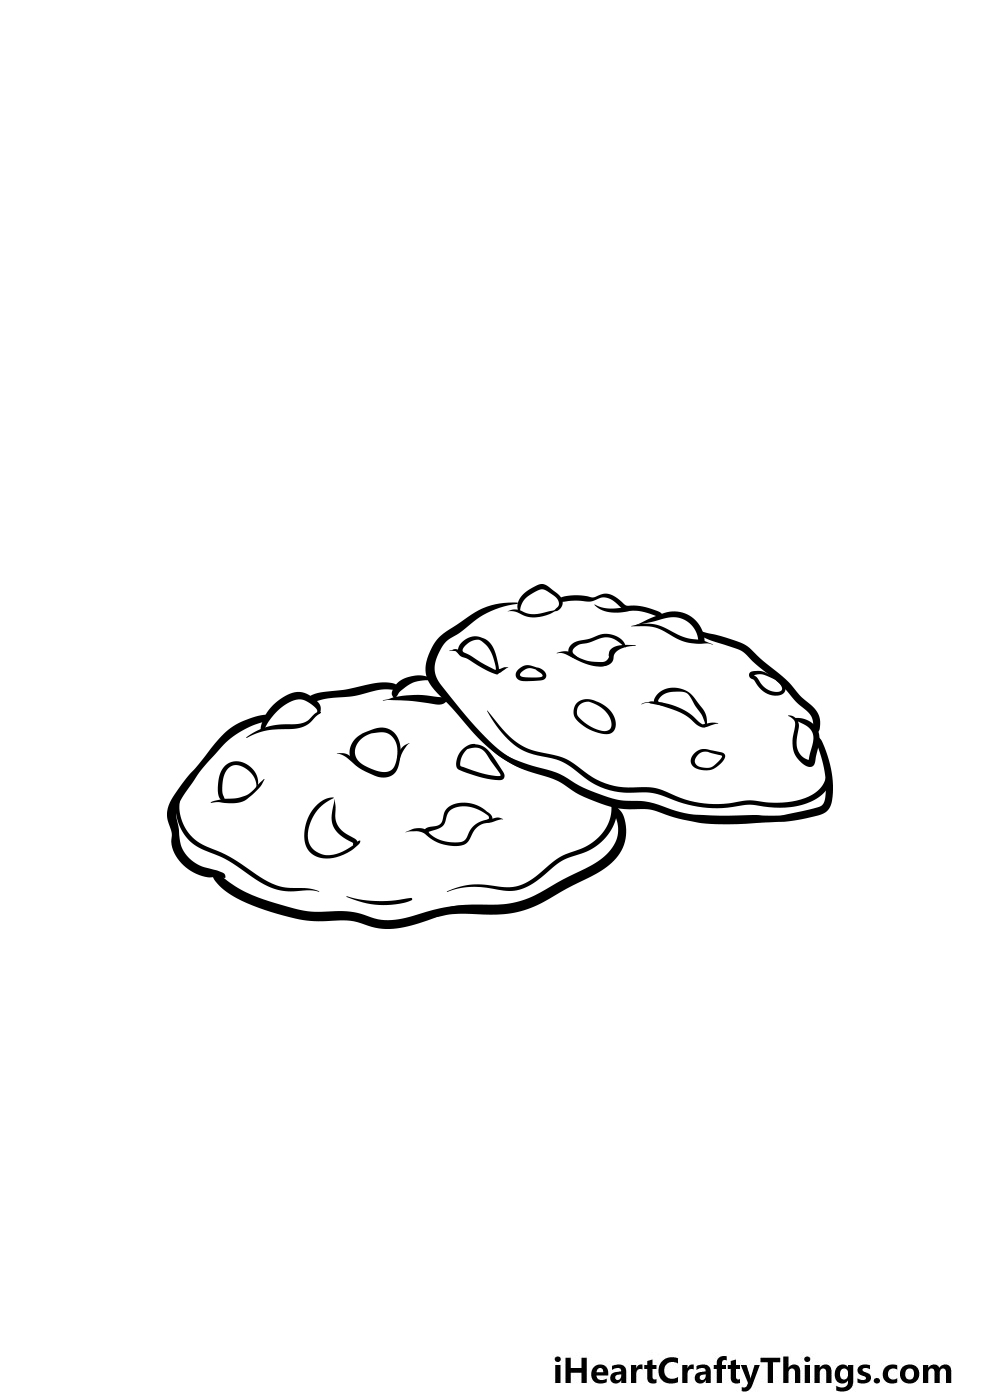
The details that we will be adding in this fifth step of our guide on how to draw a cookie will help to add some depth to the structure of the cookie.
You can use some bumpy lines near the base of the cookies to give them a bit more dimension. It’s a simple step that will be quite effective at making your cookies look even better!
Step 6 – Next, draw some little details for the cookie
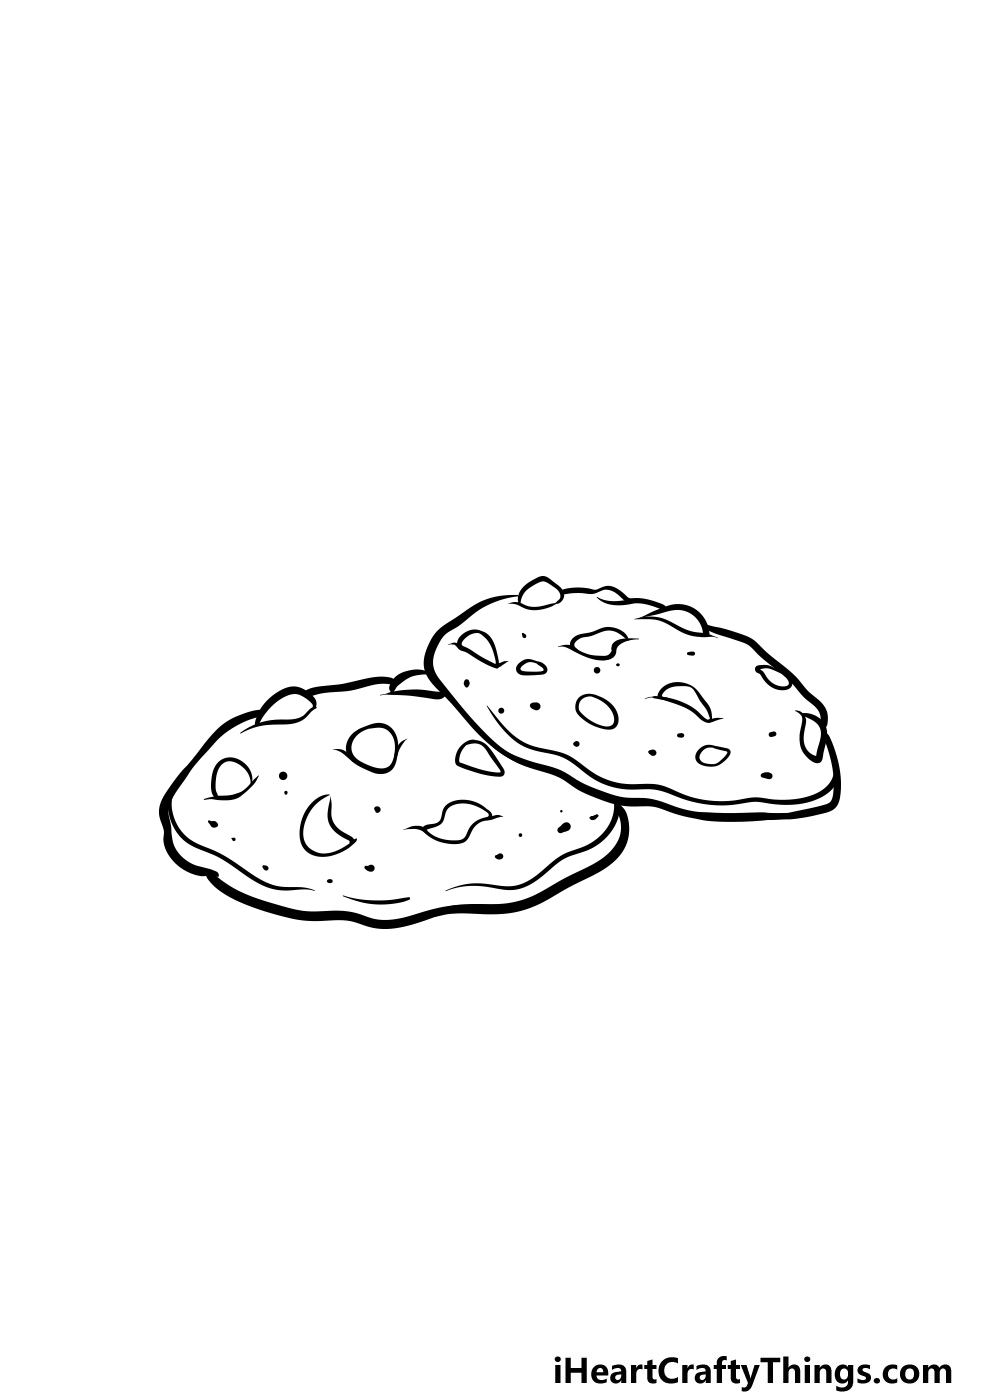
It’s time to start adding some final details in the next few steps of our guide on how to draw a cookie!
For our example, we added some small dots all over the surface of the cookies to give them some more texture.
It also makes it look like the cookie is sprinkled with tasty sugar! Before moving on, you could also draw some extra toppings that you would like for the cookie!
Maybe you could put some sprinkles or other little candies on it for some ideas you could use.
Step 7 – Finish off the shading of the cookie
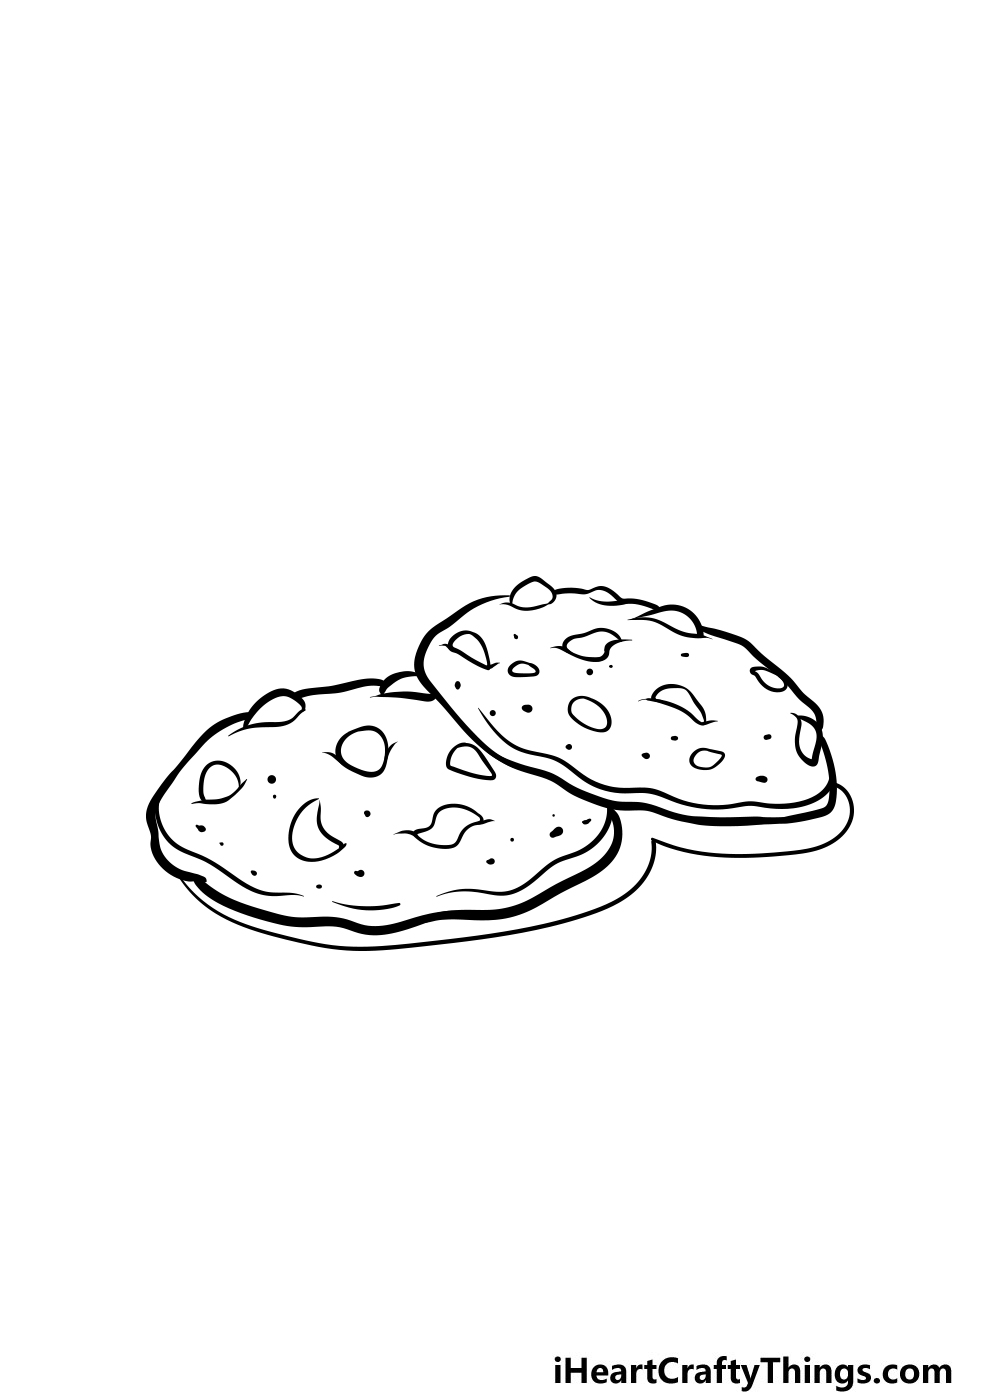
Before moving on to the final step of this guide, you can draw some shadows for your cookie drawing in this step.
To do this, simply draw some curved lines underneath the cookies. Once you have these shadows drawn, you have finished the steps of this guide!
You can draw some details of your own if you would like before you move on.
Maybe you could draw a background for the cookies to show what other treats or beverages you would like to enjoy with these cookies.
Step 8 – Now finish off your cookie drawing with some color
This step of our guide on how to draw a cookie is a fun one, as now you get to add some pretty colors to your cookies!
In our reference image, we used some tan browns for the cookies and then some darker browns for the chips. Using different shades of brown can really help to bring some depth to the image.
You can also incorporate any colors that you would like as well, however!
For example, if you drew some more toppings for the cookie then that would be great for you to use in bringing some bright colors to the image.
You could also color in any background elements that you have added to really finish off this picture. Which colors and art mediums will you use to finish off this cookie drawing?
3 More tips to make your cookie drawing easy!
Create a tasty artwork with these fun and easy tips for your cookie sketch!
We used some wavy lines and lots of details for this cookie drawing, and it makes them look really good! It can also make them a lot trickier to draw, however.
If you find yourself struggling with these details, you could simplify them a bit. The outlines could be smoother, and the chocolate chips could be drawn as simpler shapes.
It won’t make the drawing any worse, and it could even result in a style that you prefer! What are some details that you could change to make it easier for yourself?
Another way that you can make it a bit easier on yourself would be by adding some more to the image. For instance, you could add a plate or maybe a glass of milk to this drawing of a cookie.
Adding these would probably be quite easy to do, but they would ensure that the attention of the viewer isn’t entirely on the cookies. Not only that, but it will also make for a fuller scene!
A plate and a glass of milk are a few ideas that we had, but what else could you add to the scene so that the cookies aren’t the only focus? If you simplified the style of the cookies as we suggested then you could draw the new elements in the same style.
We think you will like the next tip we have to make this cookie drawing easy to create! Using a real object as a model is a great way to make drawing something so much easier.
With that in mind, if you were to buy some real cookies, you could arrange them to help you draw this picture. If you have real cookies in front of you, you could also create different arrangements to make it more unique.
Then, when your artwork is done, you will have some cookies to enjoy. Just be sure to wait until the drawing is complete before you eat them!
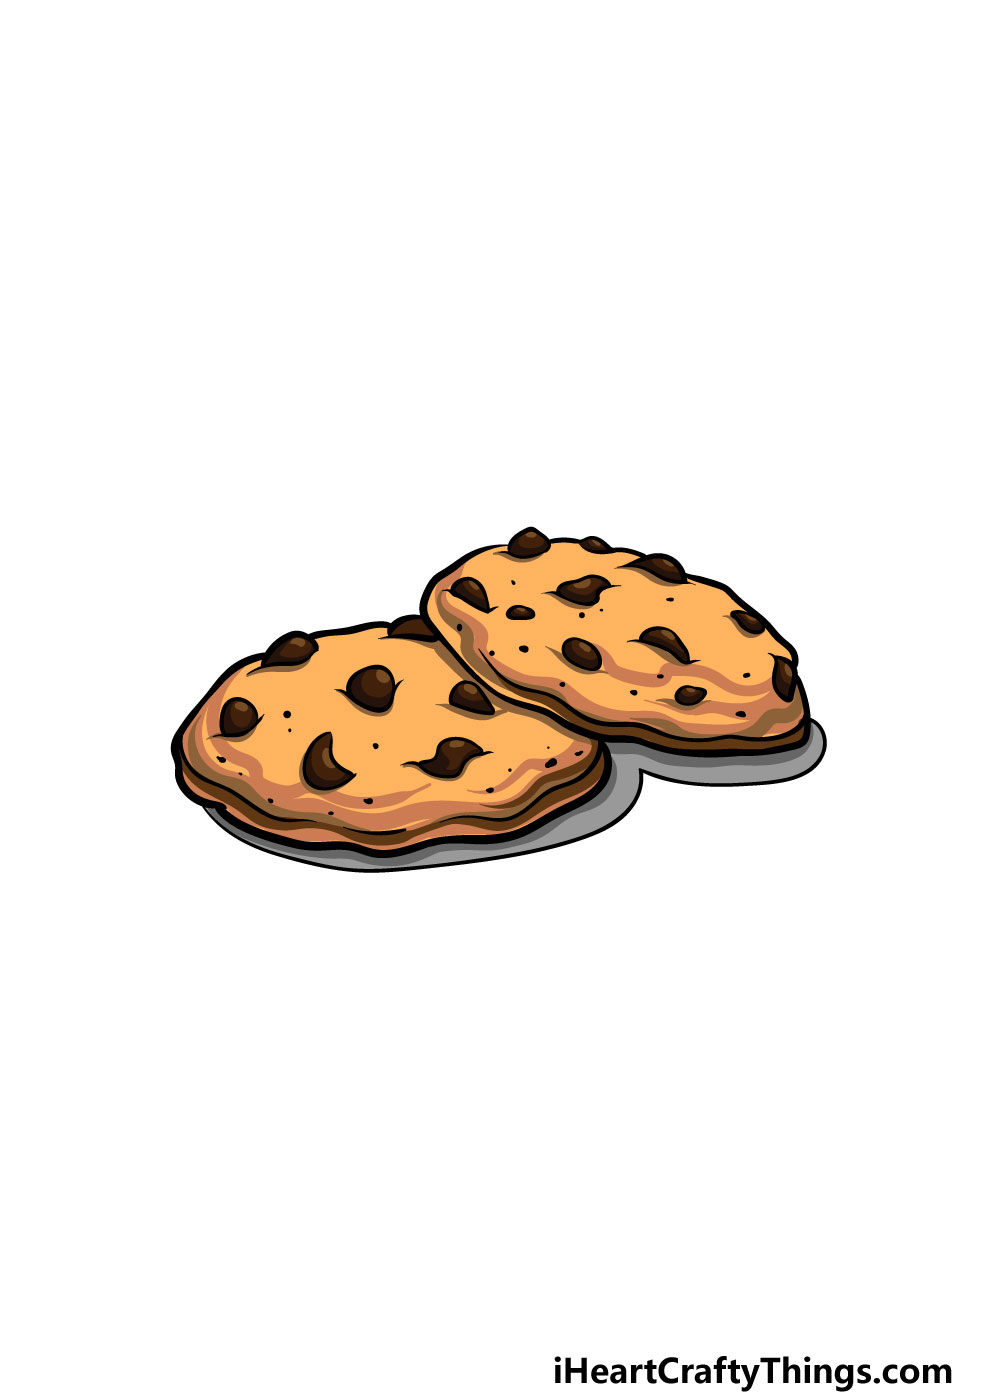
Your Cookie Drawing is Complete!
That brings us to the end of our guide on how to draw a cookie! We hope that by following the steps in this guide that you found drawing it to be much easier and even more fun than you may have suspected!
Now that you can draw these cookies, you could create some variations that have different details or backgrounds.
You could also experiment with different colors, art mediums and tools to keep personalizing your cookie drawing! How will you put your own spin on this drawing?
When you’re ready for more drawing fun, you can visit our website where we have many great drawing guides for you to enjoy. You’ll want to visit often, as we upload new guides quite frequently!
We would also love to see your amazing cookie drawing when it’s done, so we hope that you will share it on our Facebook and Pinterest pages for us to enjoy!