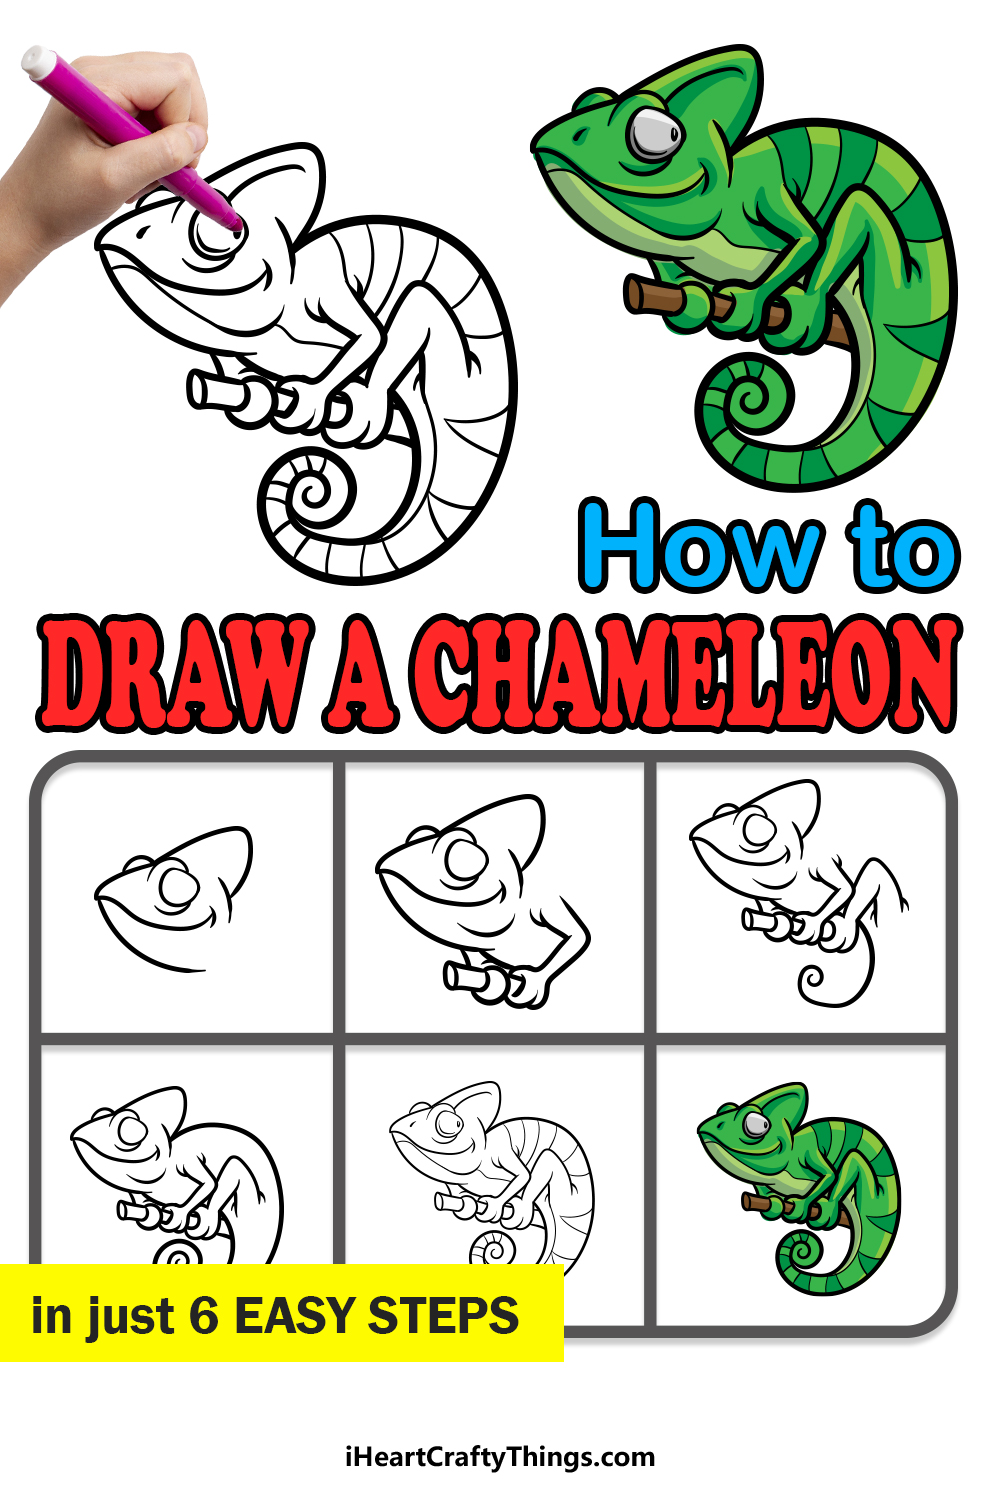
The chameleon is one of the most fascinating and unusual animals in nature. Just their appearance is notable enough, but they also have a cool trick where they can blend into their environment.
Many people love chameleons, and because they look so unusual it can be a fun challenge to learn how to draw a chameleon.
While you may not be able to see a chameleon all the time, by the end of this guide you will see how to draw one!
We hope that you enjoy this step-by-step guide on how to draw a chameleon in 6 easy steps!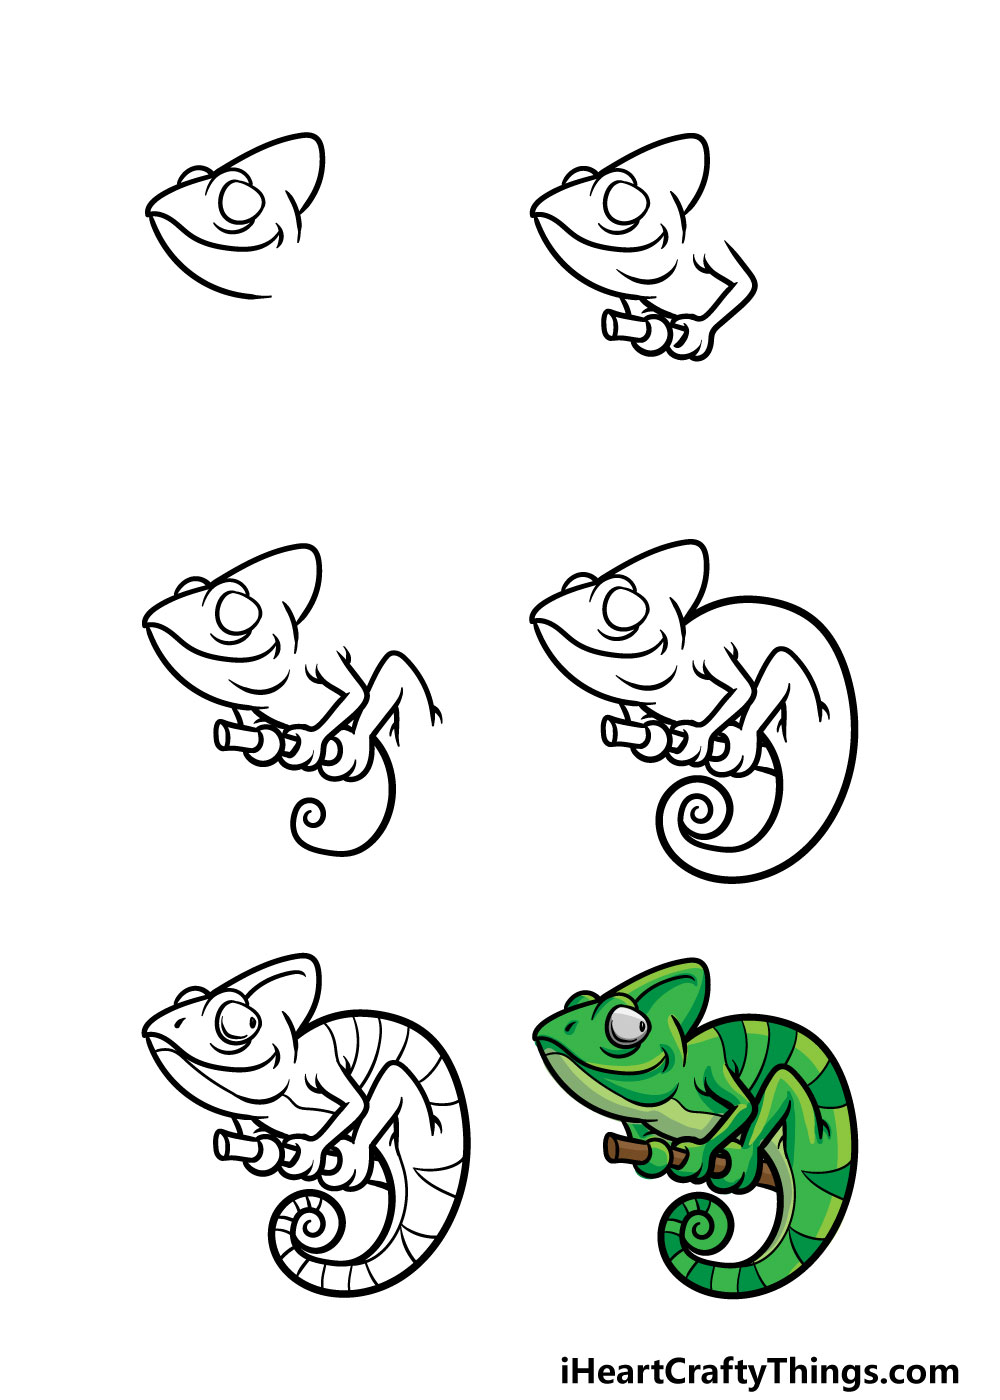
How to Draw A Chameleon – Let’s Get Started!
Step 1
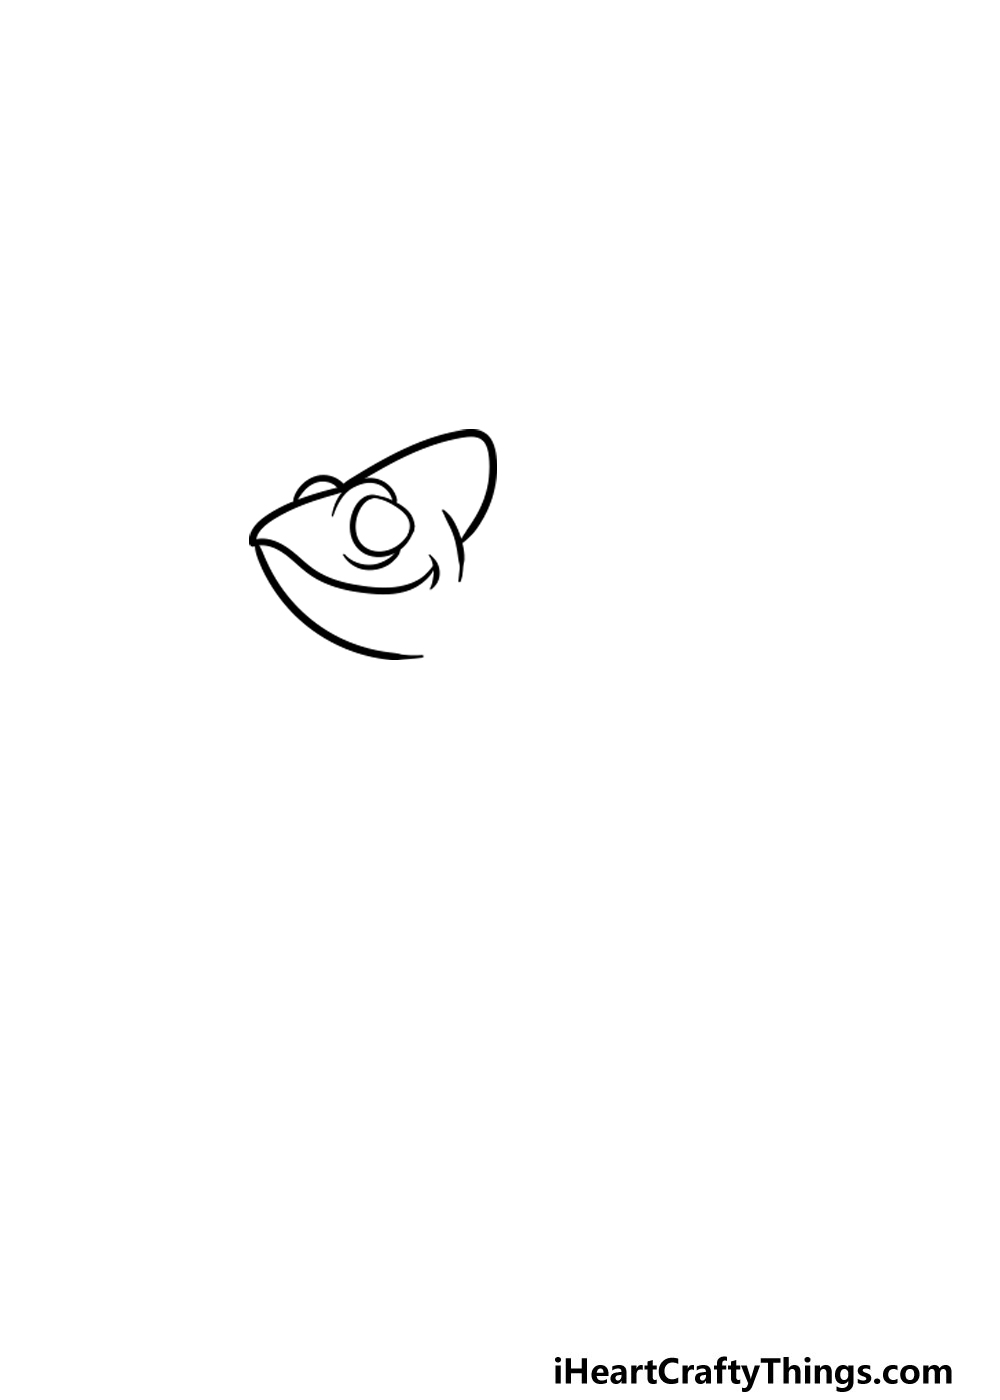
In this first step of our guide on how to draw a chameleon, you will be using a pencil to draw the outline of the chameleon.
This is a step where you will want to very closely follow the reference image that we’ve provided.
The drawing will be very light on details for now, but we will be adding some more as we move on to the later steps.
Once you’ve drawn the outline with your pencil as shown in the reference image you can use your pen to start going over the face of the chameleon.
You can see how to start this in our example, as the black lines will form the pen lines of the drawing. Once you’re happy with the face and body pencil lines you’re ready for the next step!
Step 2 – Next, draw the arms of the chameleon
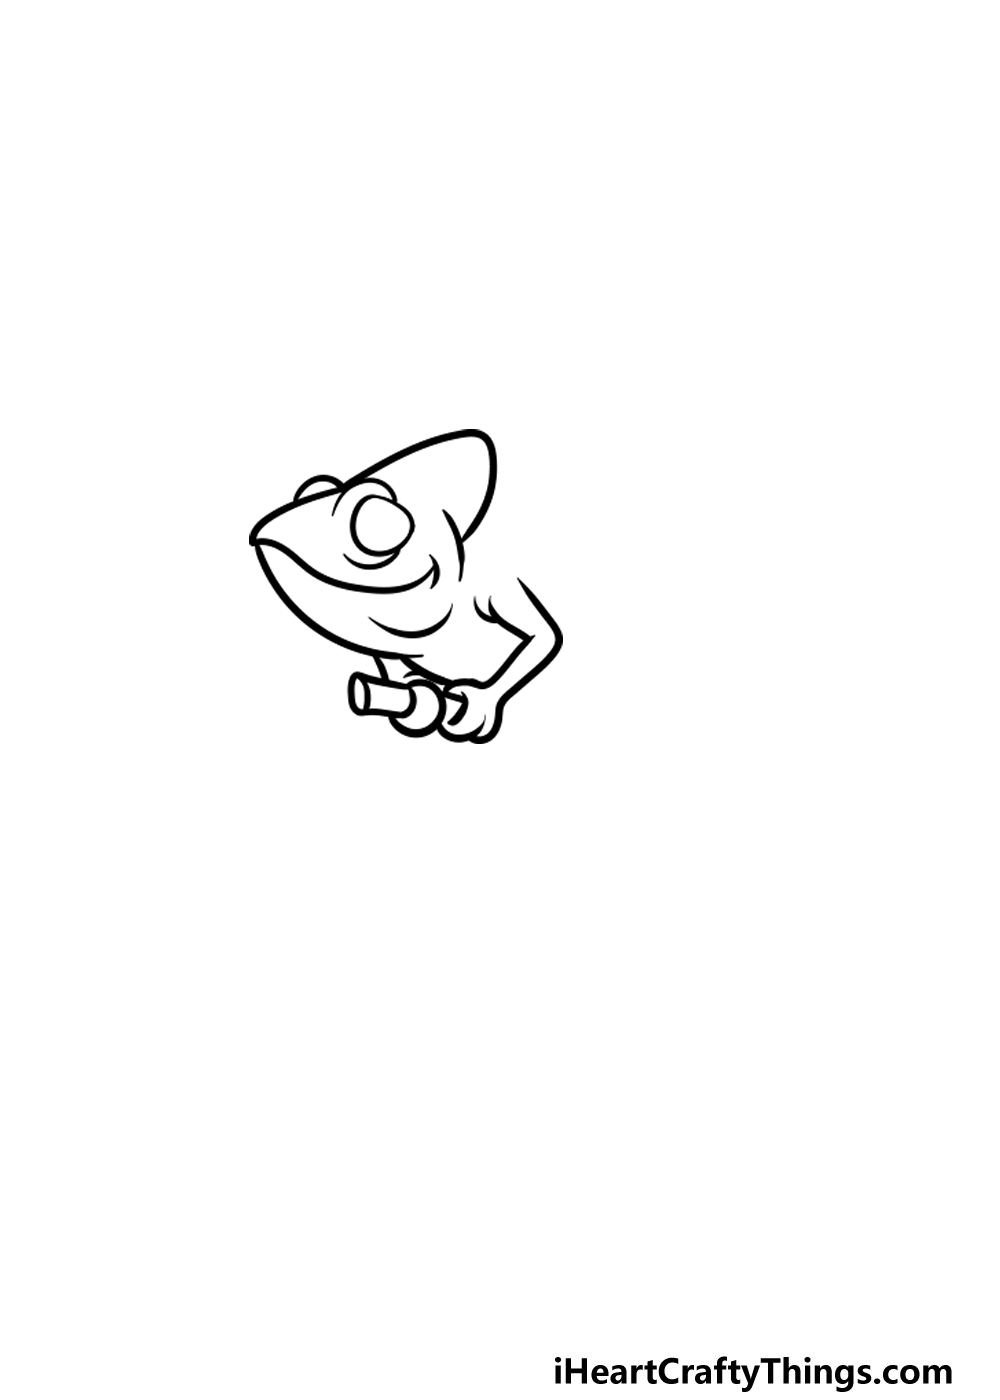
We will continue adding some detail to the outline in this part of your chameleon. This time we will be focusing on the arms of the chameleon.
When you go over the pencil with your pen, you won’t be simply tracing over it, but you will be adding some detail along the way.
You can also start to draw the branch that the chameleon is clinging to in this step.
Step 3 – Now, draw the legs and tail of the chameleon
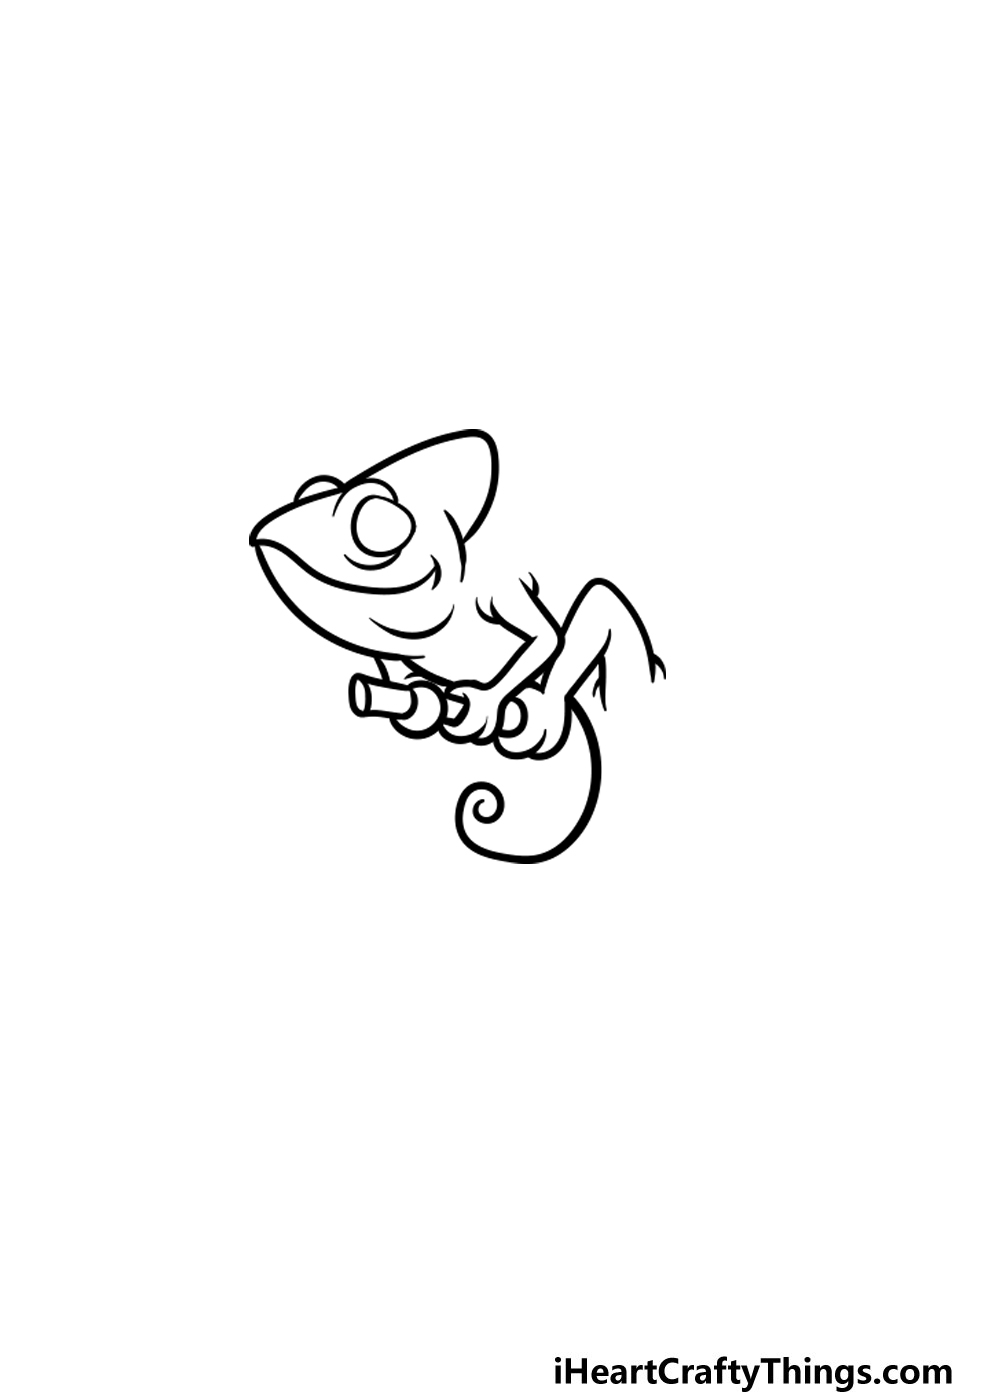
In this third step of our guide on how to draw a chameleon, we will be adding some detail to the legs and the inner curl of the tail.
As you do this, you will be doing it in a similar way to how you did the arms of the chameleon. That means that as you trace over the pencil lines you can add some detail as well.
Then, you can use a curved line for the inner curl of the tail.
Step 4 – Finish off the back and tail of the chameleon

We will be finishing off the outline of your chameleon drawing in this step. The main part of this step will be in finishing the back outline of the chameleon as well as the rest of the tail.
Basically, you will be finishing off the entire outline of the chameleon. You can also finish off drawing the branch that the chameleon is on.
Once you have the whole outline done, we’re ready to add some last details in the next step!
Step 5 – Now, add the final details and erase the pencil lines
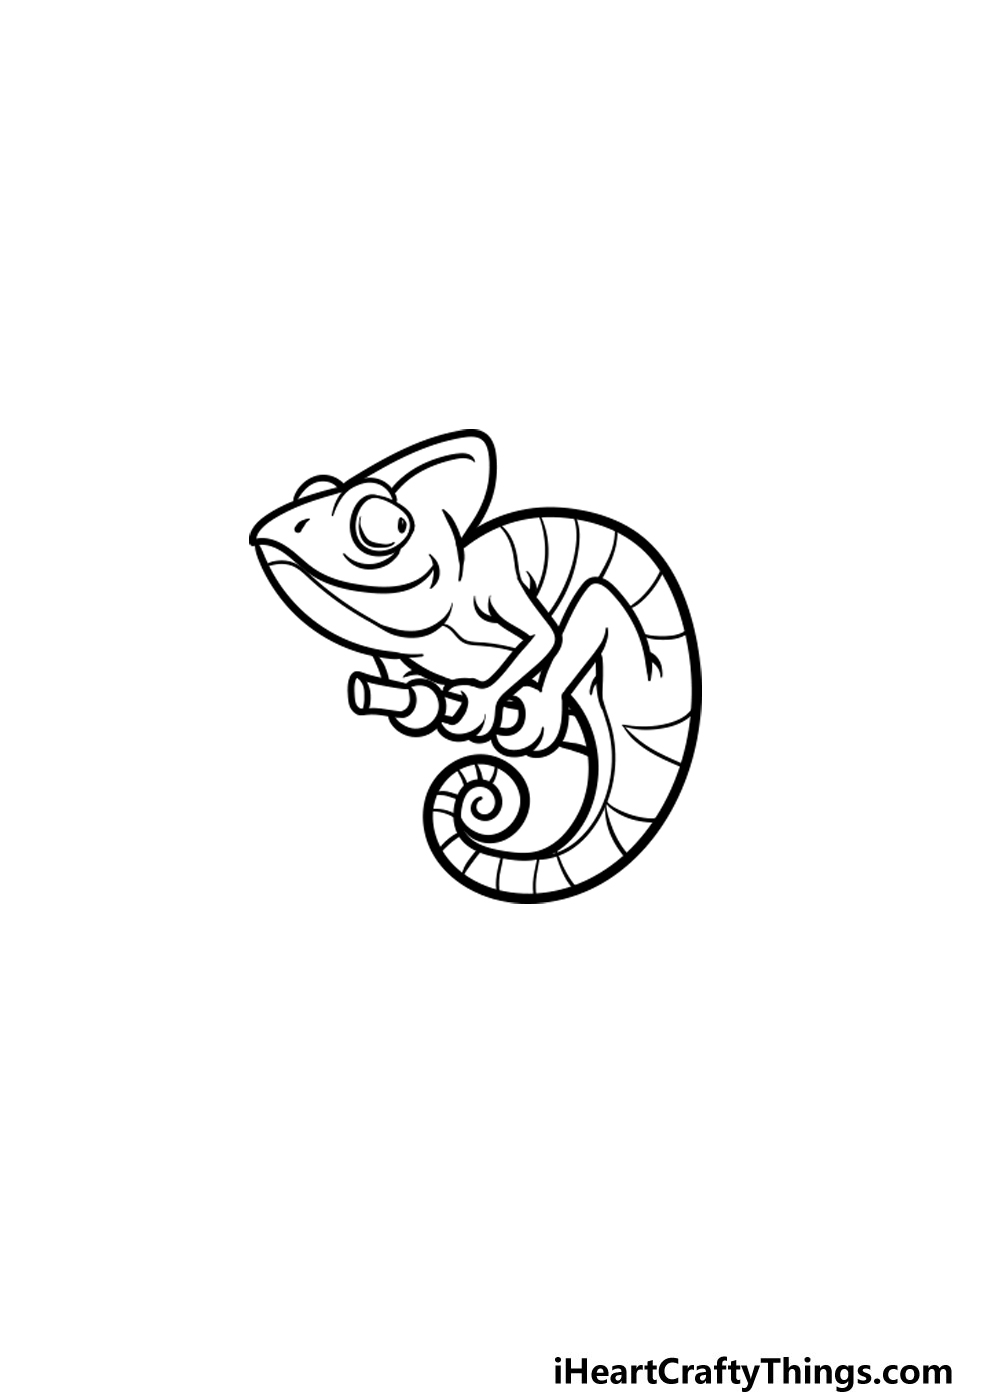
This step of our guide on how to draw a chameleon will be all about adding the final details before we move on to coloring it in.
As you can see in our reference image, this will mostly involve adding some stripes to the back, some detail to the belly and also smaller aspects such as the pupils in the eyes.
These are the details that we have added, but you should feel free to add any extra details that you would like!
Maybe you could draw a background to show that this chameleon is relaxing in a jungle or perhaps in a nice terrarium. Adding a background is a great way to put your own spin on a drawing, so be sure to get creative with it!
Once you’ve added all your final details and drawn the background and any other elements that you’d like, you can also erase the pencil lines from the very first step.
Whenever erasing pencil lines that you’ve drawn over with a pen, you’ll always want to wait until the pen ink is completely dry. Some pens take longer than others to dry, so some might need a bit more patience than others.
Step 6 – Finish off your chameleon drawing with some color
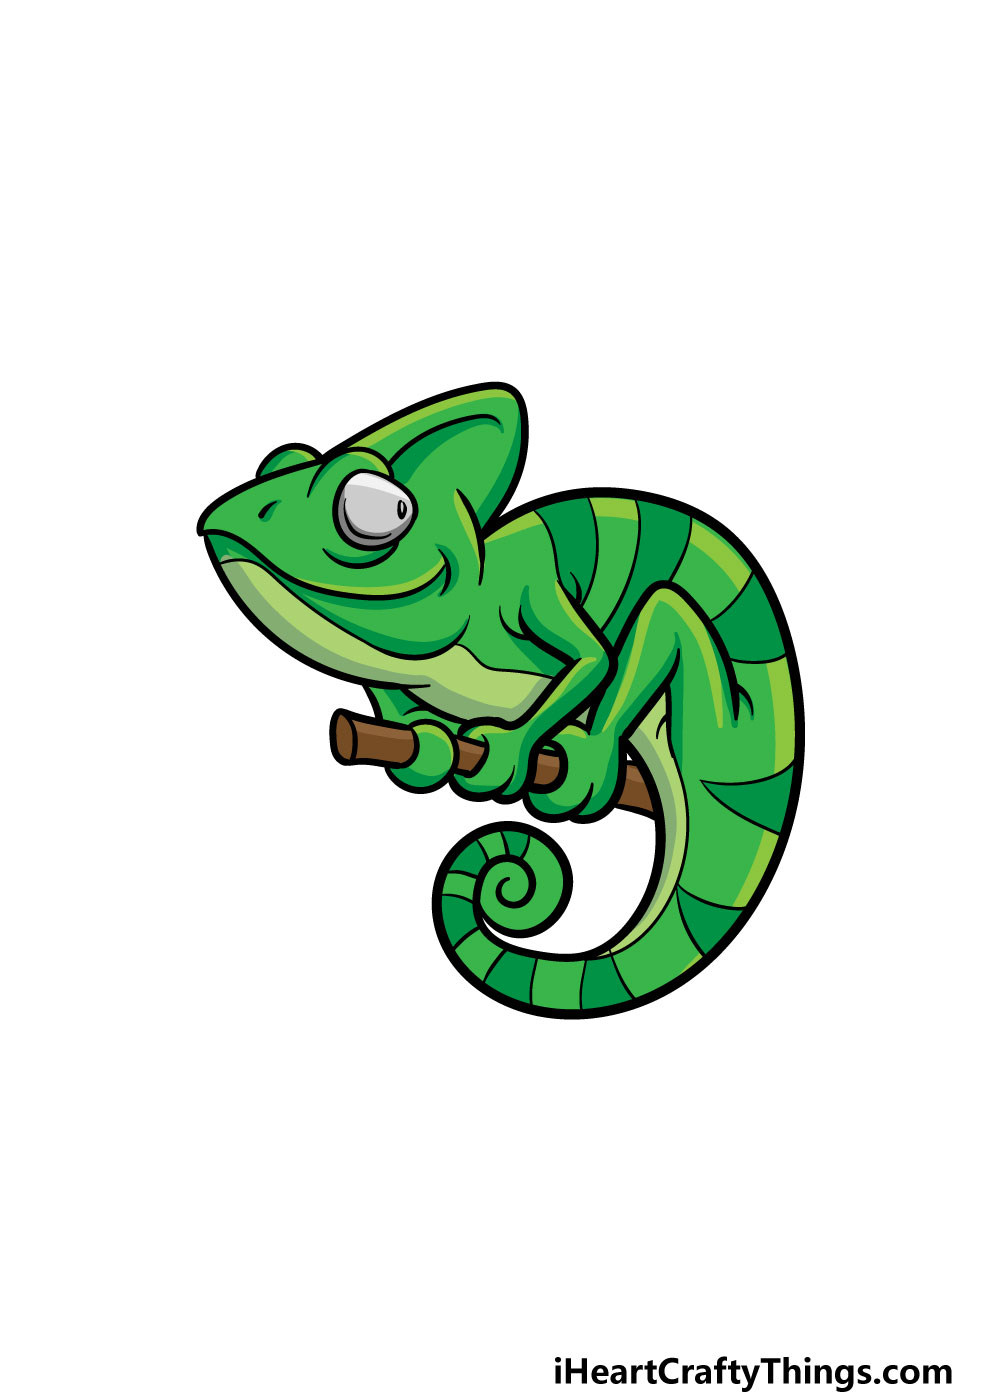
When coloring in a chameleon drawing, you have a lot of freedom with how you go about it! Color is a big part of a chameleon’s identity, as they are well known for how they can change color to camouflage themselves.
In our reference image, we used some shades of green to color it in, as chameleons are usually green in their default state.
That’s just one way that you could color this chameleon drawing in, though! You could even try some creative ideas as you color in.
One thing you could try would be to show the chameleon halfway through its color transformation. Maybe it could be half brown, half green to show that it’s blending in to the branch it’s sitting on!
Once you know which colors to use, you can also play around with your favorite art mediums and tools.
Maybe you could even use one medium for half of the chameleon and another for the other half to really suggest a color transformation.
Which colors and art mediums will you use to color in your chameleon drawing?
Here’s how you can make your chameleon drawing even better…
Make this awesome chameleon sketch even greater with some help from these fun tips!
This drawing of a chameleon shows one that is colored in shades of green. Chameleons can adapt their colors to the surfaces around them, so you could use any colors you like for this chameleon!
These could be natural colors like browns to show that it is on a branch. Or, you could go for something fun like brightly colored polka dots!
What colors would you like to use for this chameleon?
If you have too many ideas for colors you’d like to use for your drawing, then you could solve this by adding a second chameleon friend to the picture.
Now that you have finished the guide, you have everything you need to draw a second one, and you could even change the pose and facial expression of this second chameleon.
Then, you can use any colors or textures you didn’t get to use for the second chameleon! What kind of fun pose could you create for this second chameleon?
There are many other creatures and animals that you could add to the chameleon drawing you have created. These could include similar creatures like lizards or maybe frogs.
Chameleons love to eat insects, so you could draw some unfortunate creepy crawlies for the chameleon to go after. You could even draw it shooting its tongue to catch the insects!
These are a few creatures you could add, but what are some others you could add?
Finally, you could finish off your chameleon sketch with a background setting. This is something that could be paired with our first suggestion of changing the chameleon’s colors.
Whatever the chameleon is sitting on could be made to match the colors or patterns you used for the chameleon’s new look.
This could be a natural environment that you would expect to see a real chameleon, but don’t be afraid to do something more creative! What are some locations you could use for the background?
Your Chameleon Drawing is Complete!
That brings us to the end of this guide on how to draw a chameleon!
We hope that you had a great time creating this colorful little critter and that you found it to be easier than you expected when first seeing the image you would be drawing.
Now you can put your own spin on this drawing by adding your own details and elements!
These could include drawing a background or some other creatures around it. Be sure to really let your creativity flow when you draw!
The drawing fun doesn’t stop with this guide, and we have plenty of awesome guides for you to enjoy on our website! We upload new ones frequently too, so be sure to visit often.
We hope that you will share your awesome chameleon drawing on our Facebook and Pinterest pages for us to enjoy!