Sometimes, you need to just get away from it all and enjoy some quiet time in nature.
This kind of outing is very popular around the world, and often will be enjoyed with the comfort of a cabin as a sort of home base for your outdoor adventures.
Cabins come in many different types and variations, and if you’ve ever wanted to design your very own one then learning how to draw a cabin will be the next best thing!
This will be the tutorial for you if that sounds like you, so be sure to read to the end!
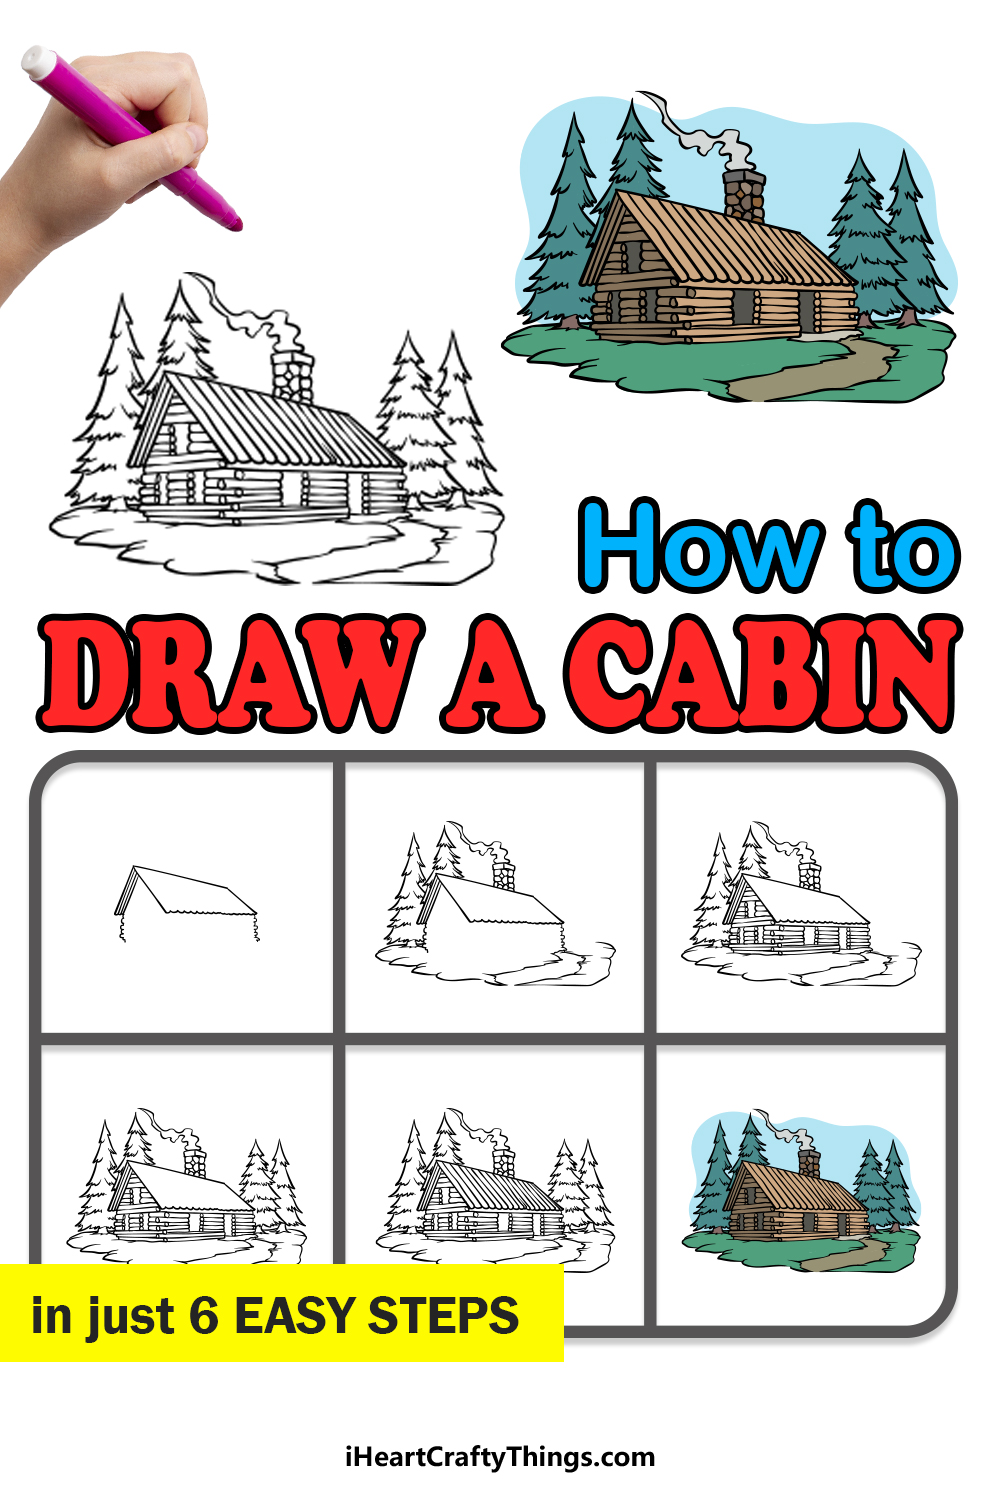
Our step-by-step guide on how to draw a cabin will show you how to create your very own outdoor refuge.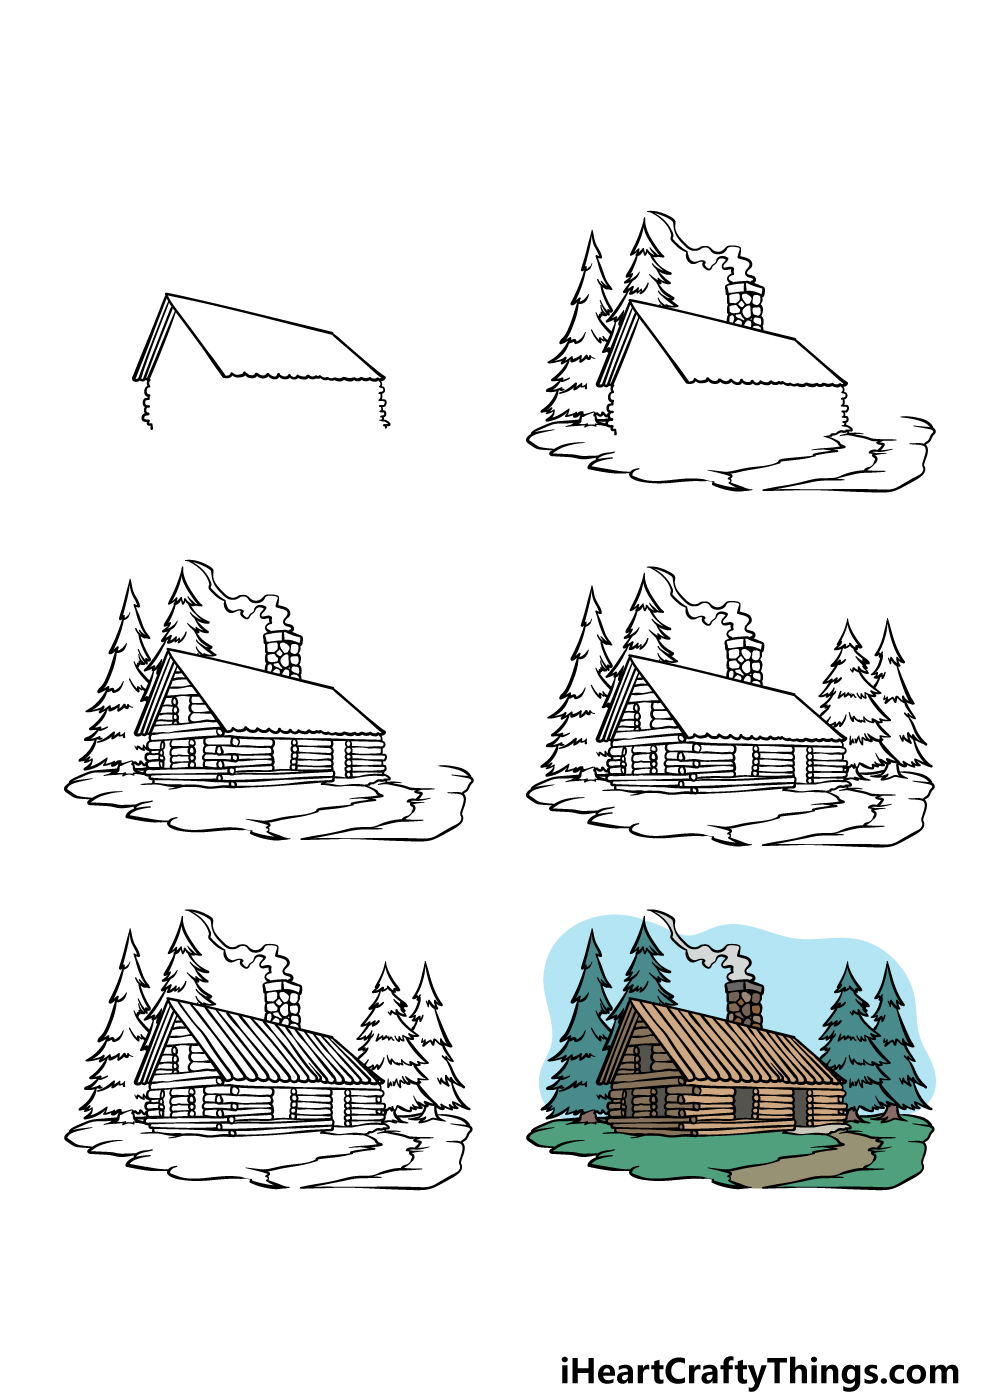
How to Draw A Cabin – Let’s Get Started!
Step 1
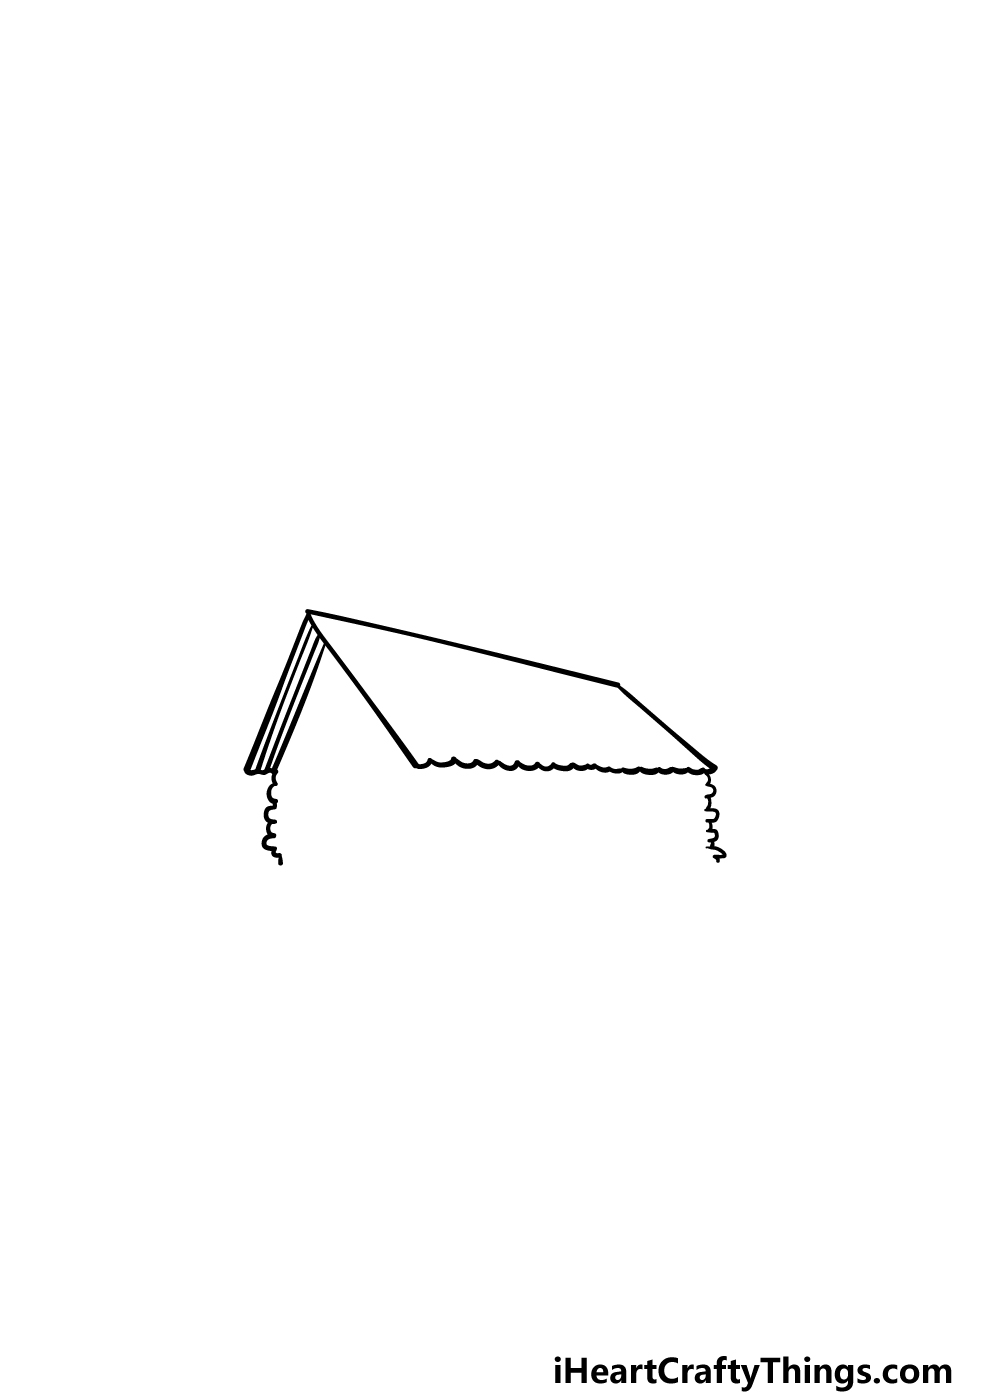
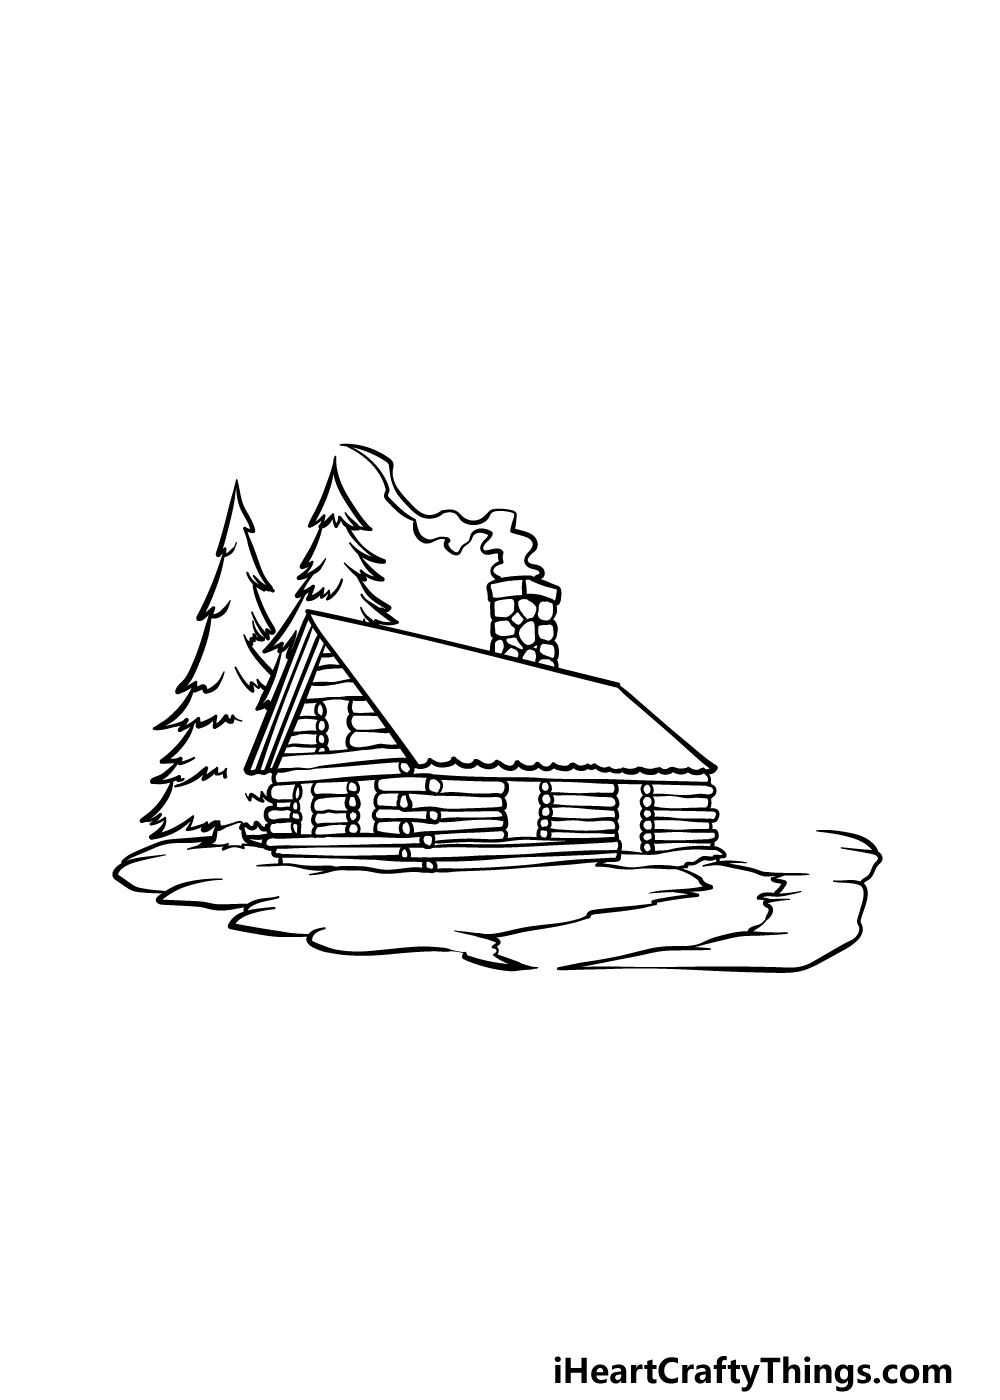
For this first step of our guide on how to draw a cabin, we will first start by drawing the roof of the cabin. When drawing this, you may want to have a ruler on hand for the edges of the roof.
The sides of the first half of the room will be at diagonal angles, and then there will be a slightly sloped horizontal line connecting the tops of them.
For the lower edge of this side of the roof, we will be using a different kind of line. This line will instead be drawn in a series of small bumps connecting to one another.
Try to make these bumps fairly regular, as they will be drawn to be the ends of wooden slats later on.
Finish off by drawing some straight lines for the other edge of the roof, and then finish off with some more bumpy lines for the start of the walls.
Step 2 – Now, draw some more surrounding details for the cabin
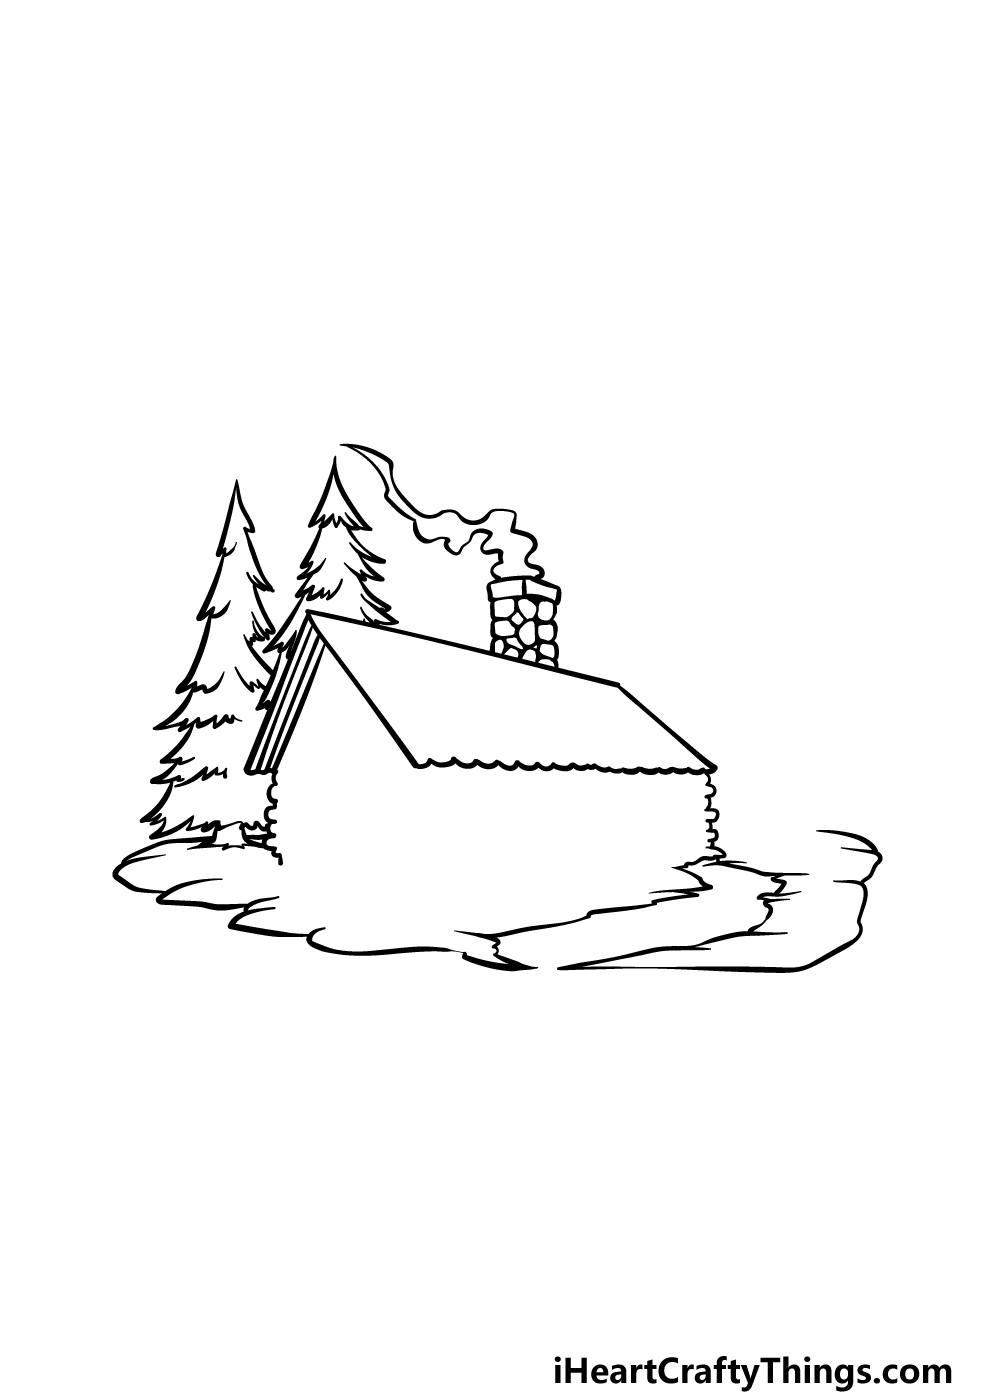
Continuing on with your cabin drawing, we shall now start drawing the surrounding landscape of the cabin before focusing back on the cabin itself.
First, we shall use some slightly curved lines with pointy edges to create some tall pine trees around the cabin.
Then, we will add some grassy areas around the cabin along with a path leading up to what will be the front door.
The final aspect that we will draw in this part will be a smoking chimney made out of lots of small stones on top of the cabin.
Step 3 – Next, draw the logs making up the walls of the cabin
During this guide on how to draw a cabin, we are specifically creating a cozy log cabin. With that in mind, we shall draw the walls in this step.
To do this, we will be using lots of straight lines going across to create the individual logs. The reference image will help you in placing these and show you the angles they should be at.
There will be a few openings for some windows and a door, and you can add a small circle where the logs would be cut off.
The door of the cabin will also stand right above where the path connects to it.
Step 4 – Now, draw some more trees for the scene
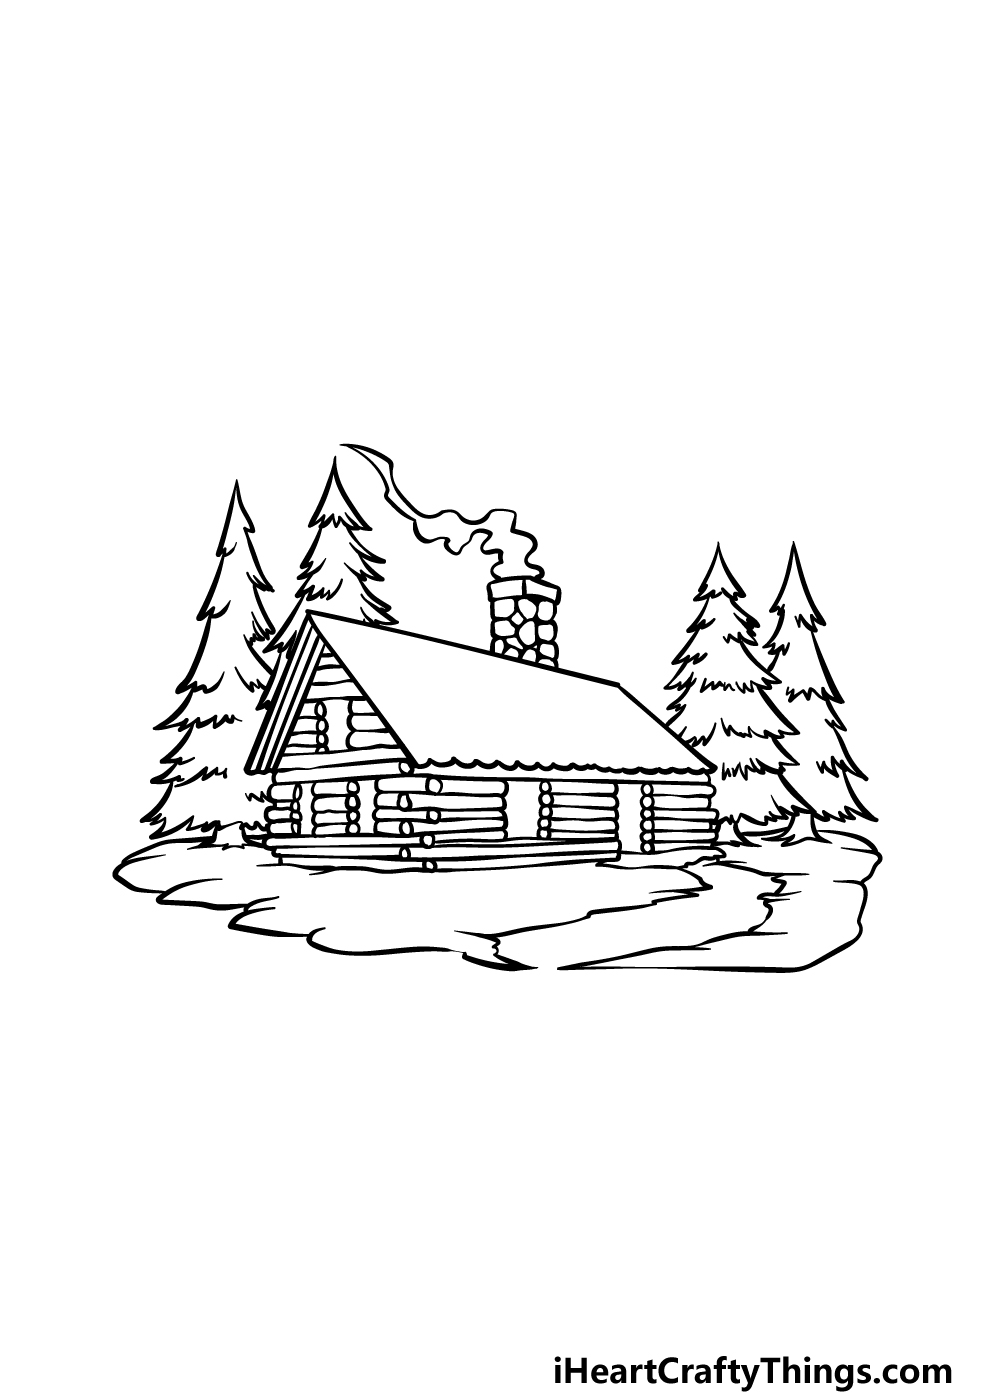
Your cabin drawing is already looking great so far! In this next step, we shall keep adding to the surroundings before we finish off the cabin itself.
For now, simply draw a few more pine trees on the right-hand side of the cabin. These trees will be drawn to look similar to the other ones that you drew, and they will finish off the scene nicely!
In the next step, you will then be able to finish off the cabin itself.
Step 5 – Add the final details to your cabin drawing
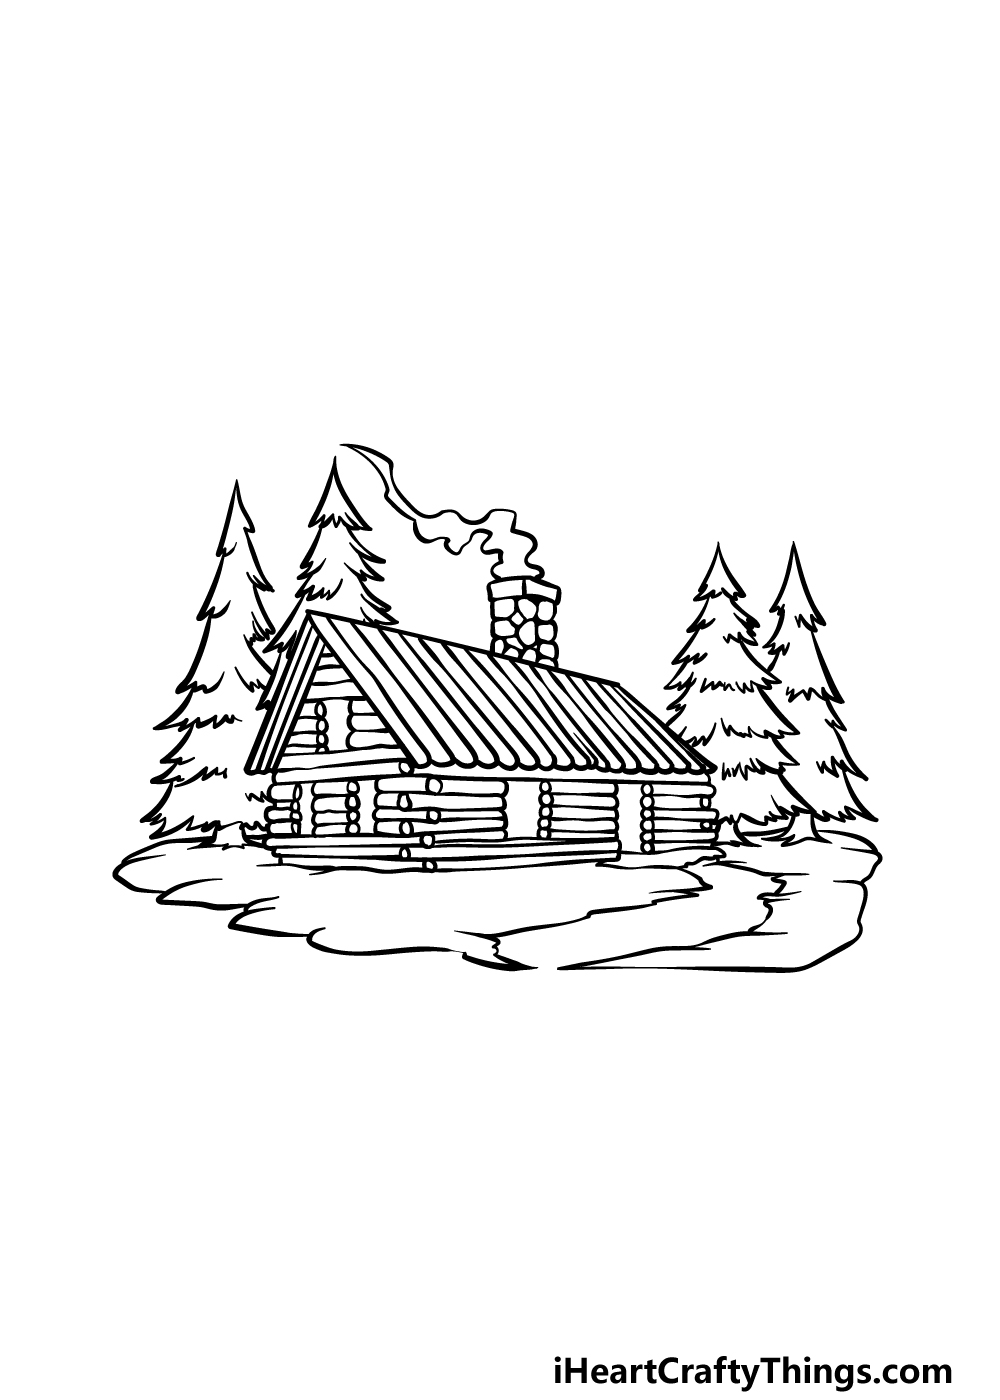
This step of our guide on how to draw a cabin will see you finish it off by completing the roof. As we mentioned earlier in the guide, the roof will be drawn as several individual slats of wood.
To do this, simply draw a line up from every bump that you drew at the base of the roof back in the first step.
This will help to finish off the effect of looking like a log cabin nicely! Once the roof is complete, you could also add some details of your own!
Maybe you could add some features to the cabin, draw some wildlife around or draw a family in front of it! How will you finish off this peaceful cabin?
Step 6 – Finish off your cabin drawing with color
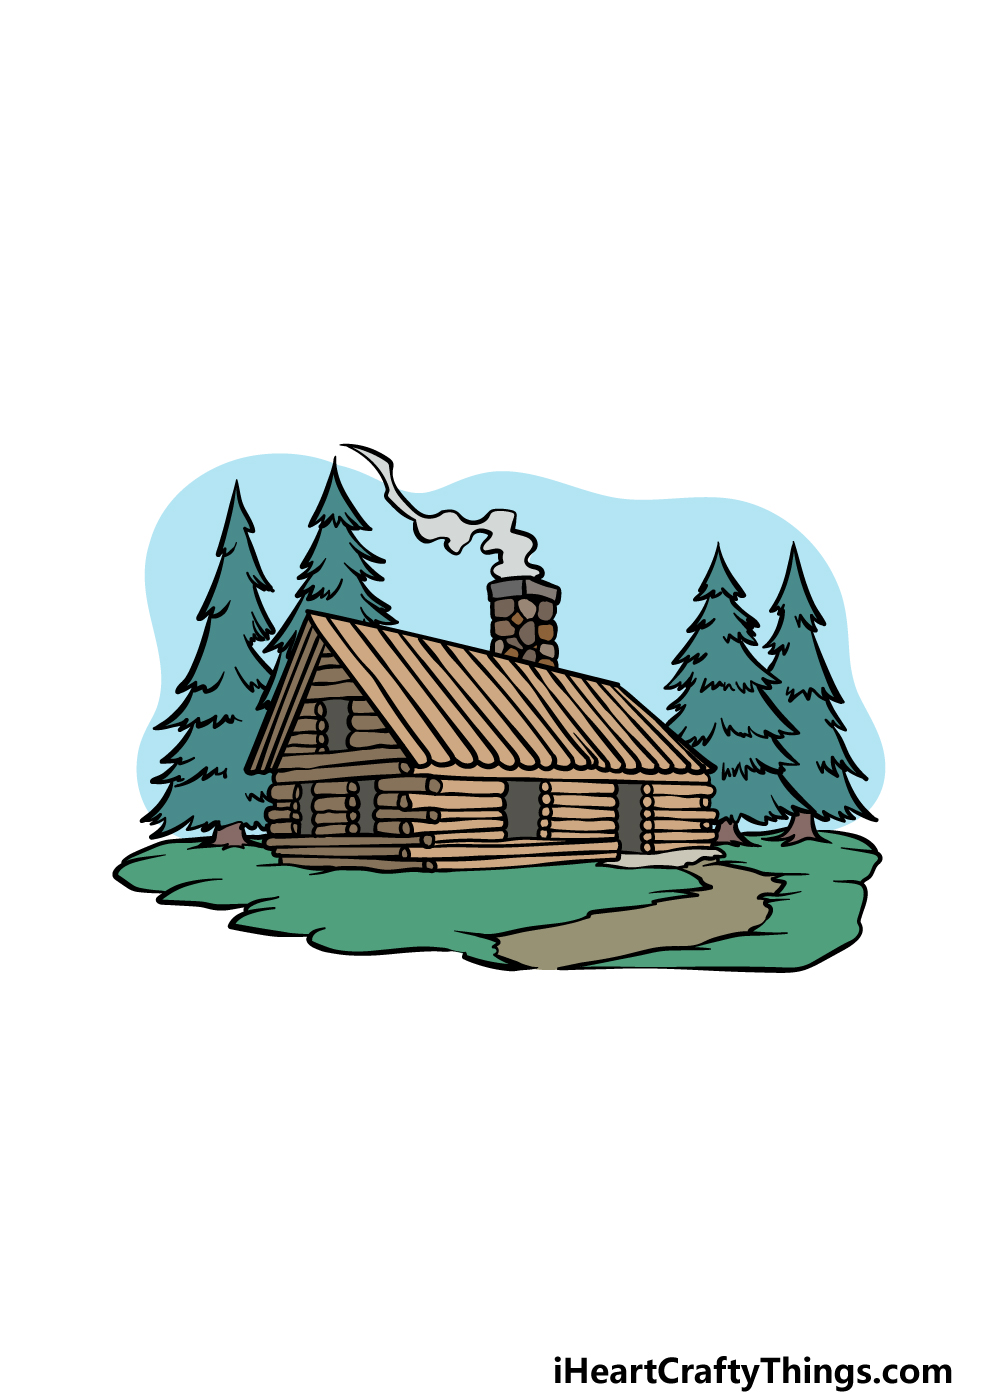
In this final part of your cabin drawing, you can finish it off with some amazing color! We used some lovely shades of green for the grass and pine trees, blues for the sky and some earthy browns for the wood of the cabin.
Our example image provides a great blueprint if you would like to incorporate similar colors, but you should also feel free to use any other colors of your own!
Once you know which colors you would like, you can also experiment with various art tools and mediums to achieve the tones that you’re after.
Be sure to have lots of fun getting creative with it and see what you come up with. We will look forward to seeing how it turns out!
5 Tips To Make Your Cabin Drawing Even Better!
Create a cabin sketch fit to live in as we show you some cool ideas to try!
The drawing of a cabin that we created in this guide is made out of logs, which is a common material for cabins.
It looks great, but you could also incorporate some different materials for your cabin.
Maybe you could make some variations, such as a cabin built from brick or maybe a mix of brick and wood. What other materials could you use?
We have a few pine trees in this drawing, and it makes for a cozy setting. You could take this even further by adding other trees, plants and other elements such as looming mountains.
If you have a place that you love to visit or go camping, then you could use that as the setting for the drawing.
A good cabin will withstand many types of weather, and you could show this in your cabin drawing. You would have many types of weather to choose from!
It could be some heavy rain or maybe even a snow storm. Whatever it is that you choose, it will make your artwork look even more interesting and show how hardy your cabin is.
There’s no point in having a great cabin without someone to enjoy it! For that reason, we would recommend adding some human characters to the scene.
These could be drawn in any style you like, and they could even be based on real people that you know. Because they will likely be small on the page, they won’t need to be super detailed either!
When creating your cabin sketch, you may think you’re limited to pens, pencils and paints when drawing and coloring. There are so many fun and creative tools you could use, though!
For example, you could use some toothpicks to stick onto the picture in order to make it look like it’s actually made of wood.
This is one example of how to think outside the box, but what else could you use?
Your Cabin Drawing is Complete!
You have successfully completed all 6 steps of this guide on how to draw a cabin! We hope that it was a lot of fun creating your very own cabin getaway as you worked on these steps.
Our aim was to make sure that drawing this awesome cabin would be not only more fun but that it would be made easier with our helpful steps.
When you have completed our rendition of this cabin, remember that you can also create your own details and variations.
There is a lot that you could do to put your own spin on it, so this is your chance to really show off your creativity!
If you enjoyed this guide, then we have many more for you to love on our website. We have a huge selection and plan to release many more soon, so be sure to check in regularly!
When you have finished your own cabin drawing, by sharing it on our Facebook and Pinterest pages you can show off how your hard work turned out!
We will be very excited to see what you came up with.