A bun is quite a versatile food, when you think about it. You can put any other food that you may enjoy between it and it can work!
You get buns that are sweet, savory and everything in between, and it’s always a tasty treat.
It can be fun to imagine what you would put on a bun and design your own burgers and sandwiches, and learning how to draw a bun can really help that.
If you would like to create some creative bun food designs, then you’re on the right guide!
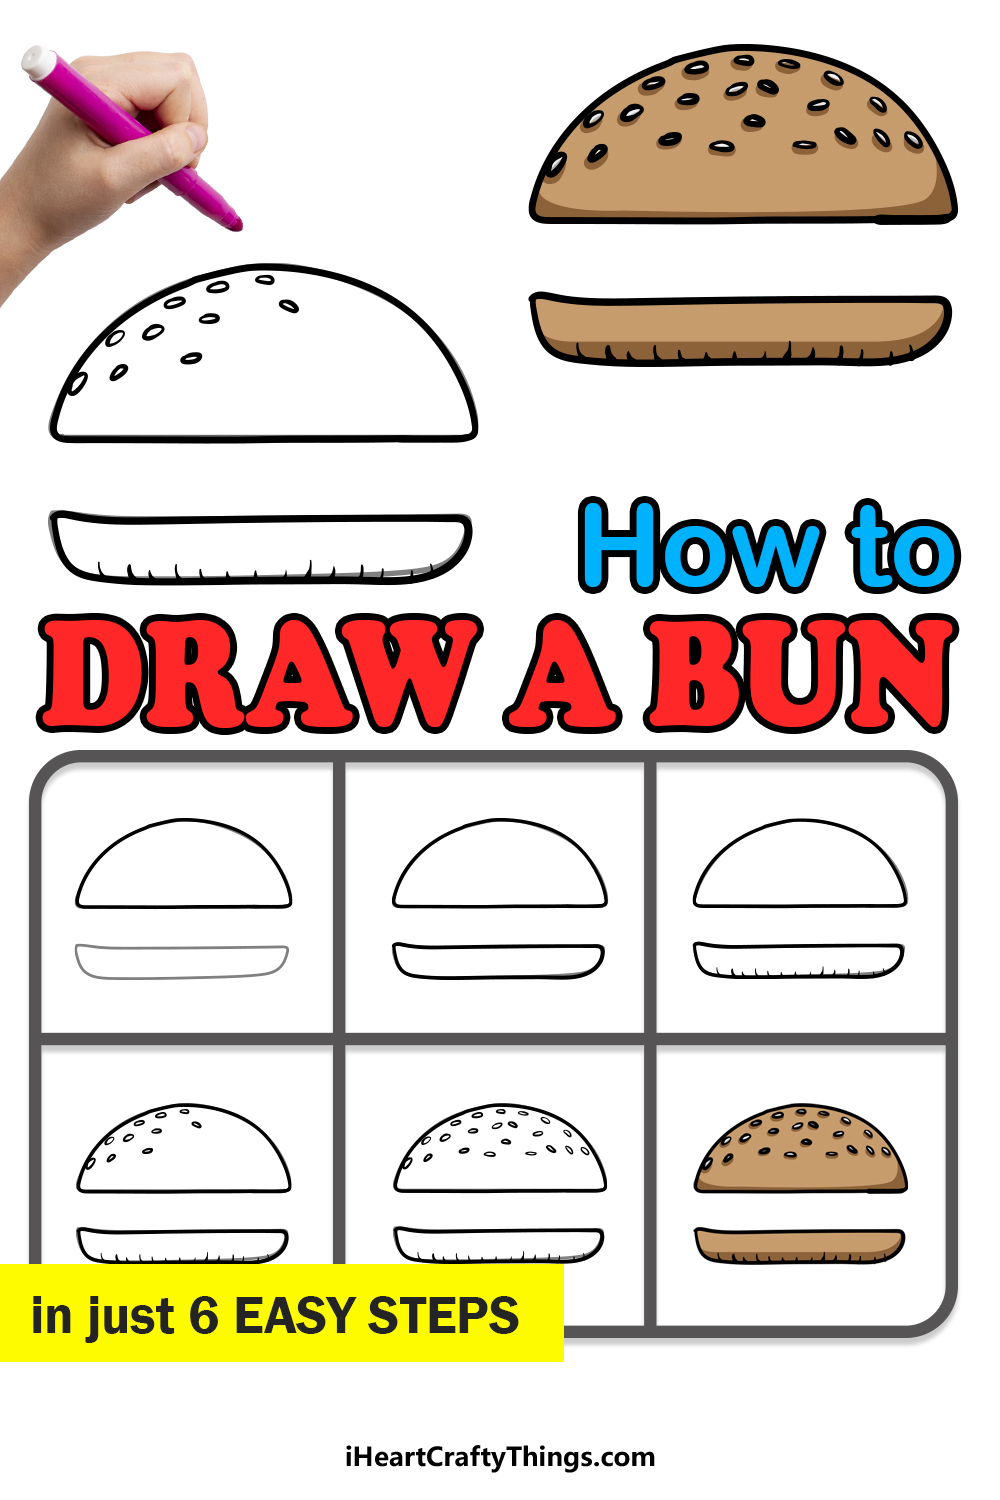
This step-by-step guide on how to draw a bun will show you everything you need to know about creating your own buns!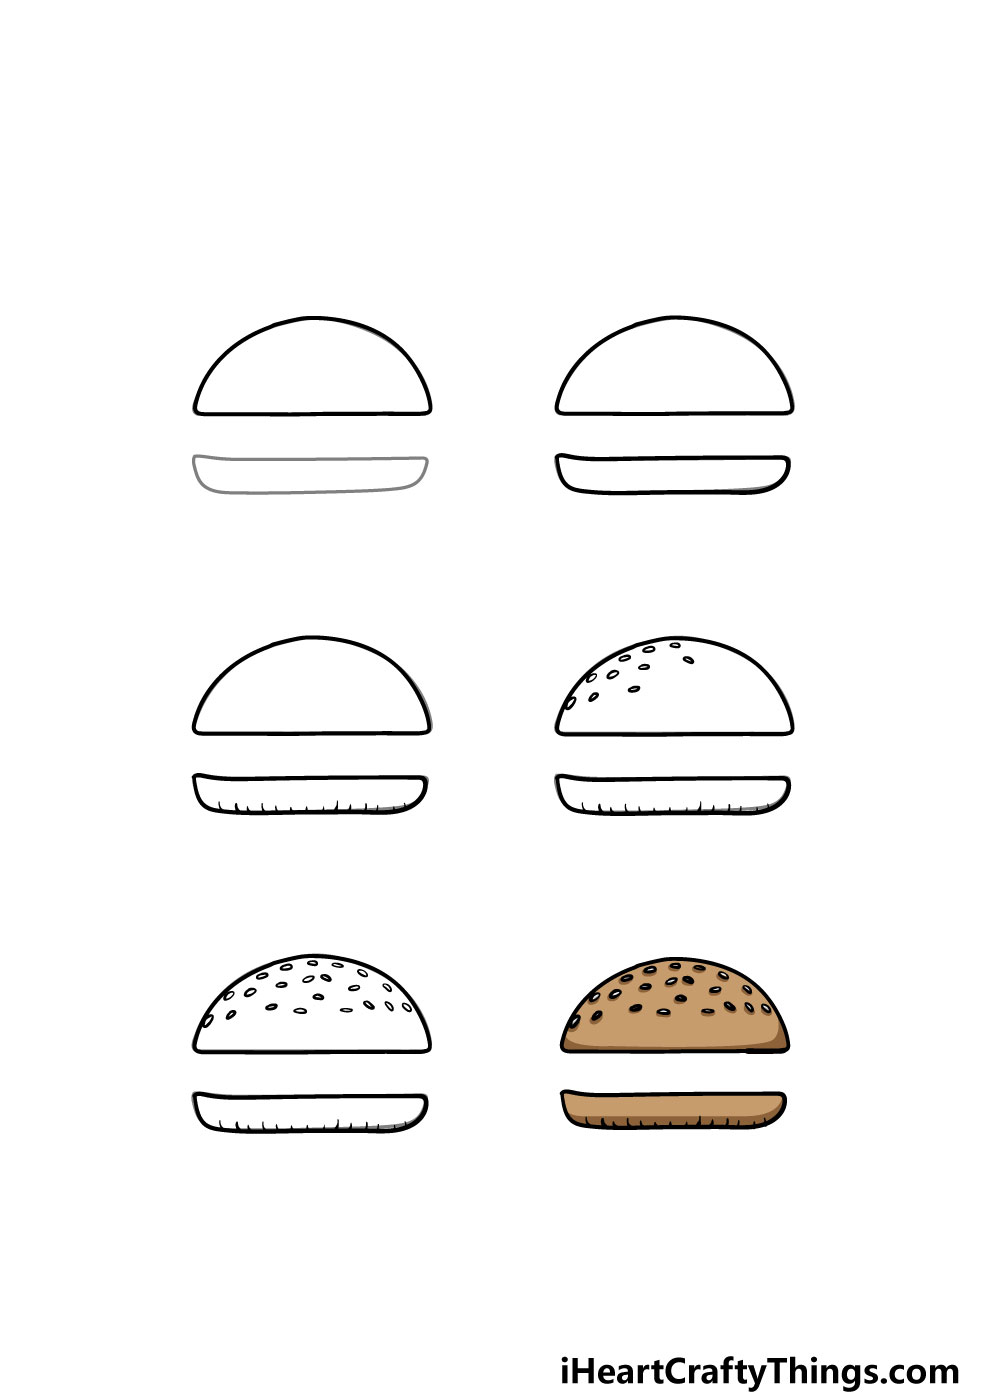
How to Draw A Bun – Let’s Get Started!
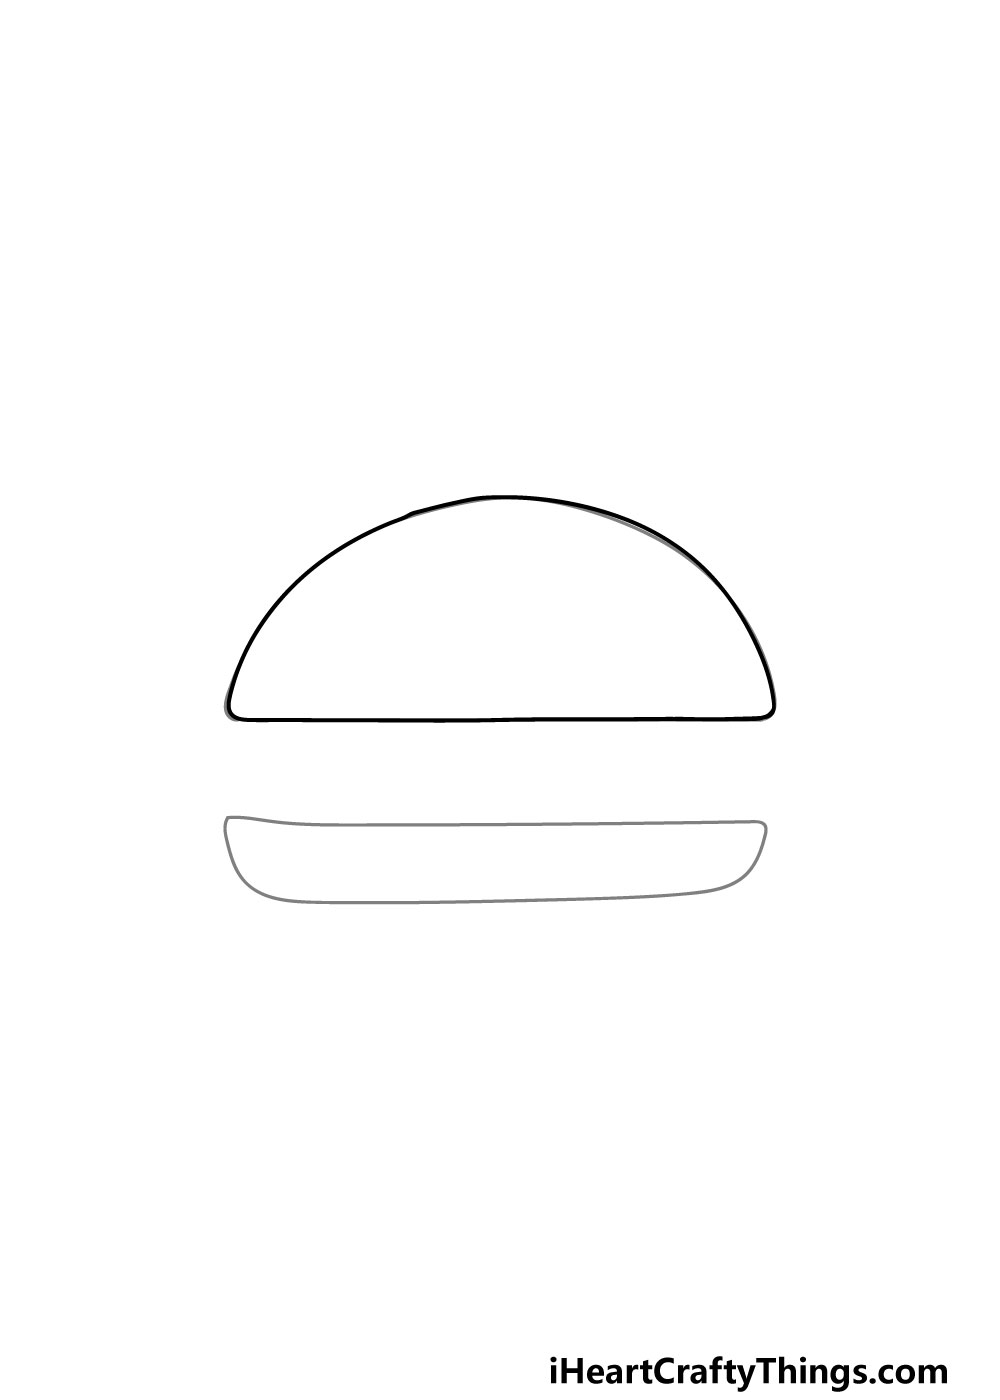
Step 1
Here’s a tip that you can use for any new drawing you take on: it can make life so much easier if you start drawing with a light pencil before committing to pen or dark pencil.
If you use your pen straight away it can make you anxious about messing up, which ironically can make you mess up even more!
For that reason, we will be using a pencil for this first step of our guide on how to draw a bun.
This bun isn’t a particularly challenging shape or picture to draw, but often it’s the drawings that are simpler than can be easiest to make mistakes on!
Using your pencil, you can draw the top bun which is flat on the bottom and rounded on top.
The bottom bun will be flat on the bottom and will be much smaller than the top one. When you’re happy with the shape of it, you can use your pen over the pencil lines for the top bun.
Step 2 – Next, draw over the pencil lines for the bottom bun
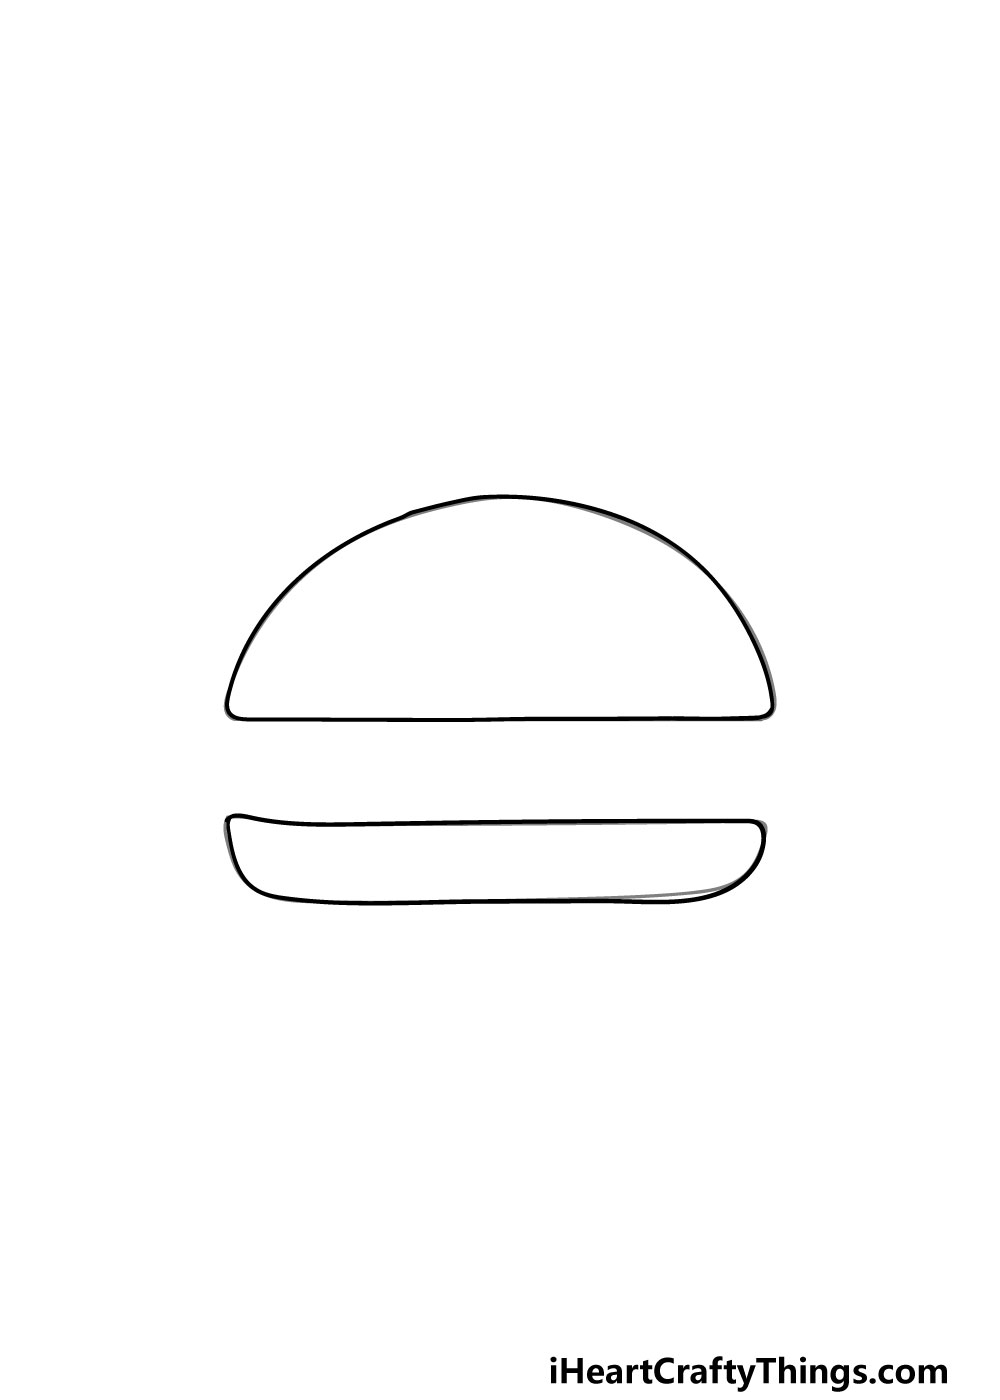
Now that you have the top bun drawn and inked, you can do the same thing for the bottom of your bun drawing.
Once you’re satisfied with how the bottom bun looks compared to our reference image, you can carefully go over the lines with your pen.
Once you have the pen lines drawn, you can also erase the pencil lines from the first step, as you won’t be needing them anymore.
Step 3 – Now, draw some details for the bottom of the bun
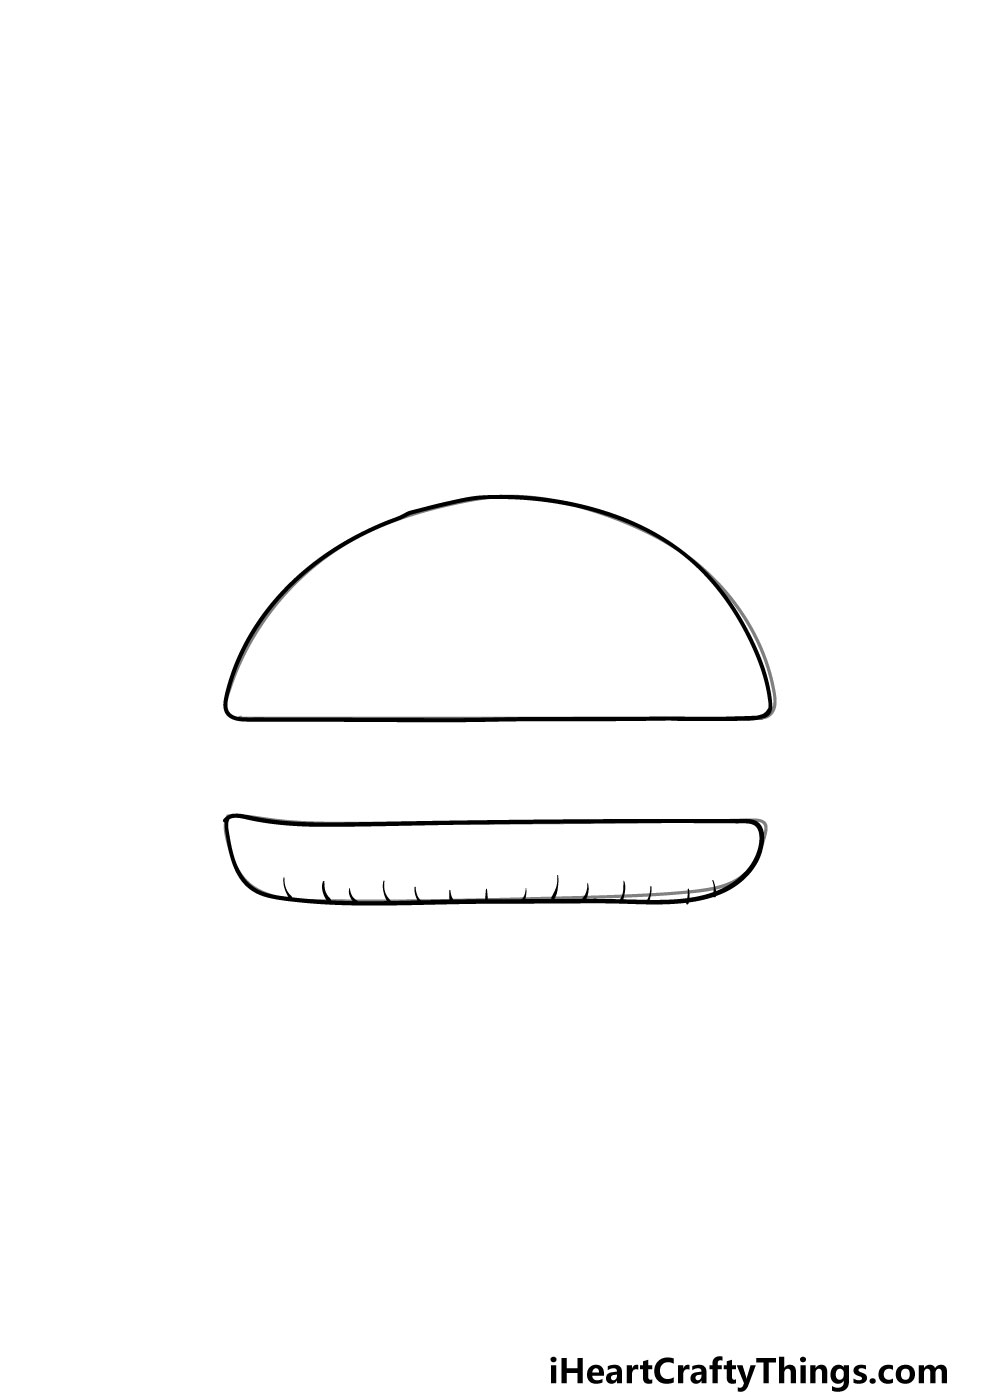
With the outline now completely done, we will be adding some details in the next few steps of our guide on how to draw a bun.
The details in this third step will be simple yet effective. All you need to do is draw some small lines across the bottom to make it look like the bread has some texture to it.
Step 4 – Start adding some seed details to your bun drawing
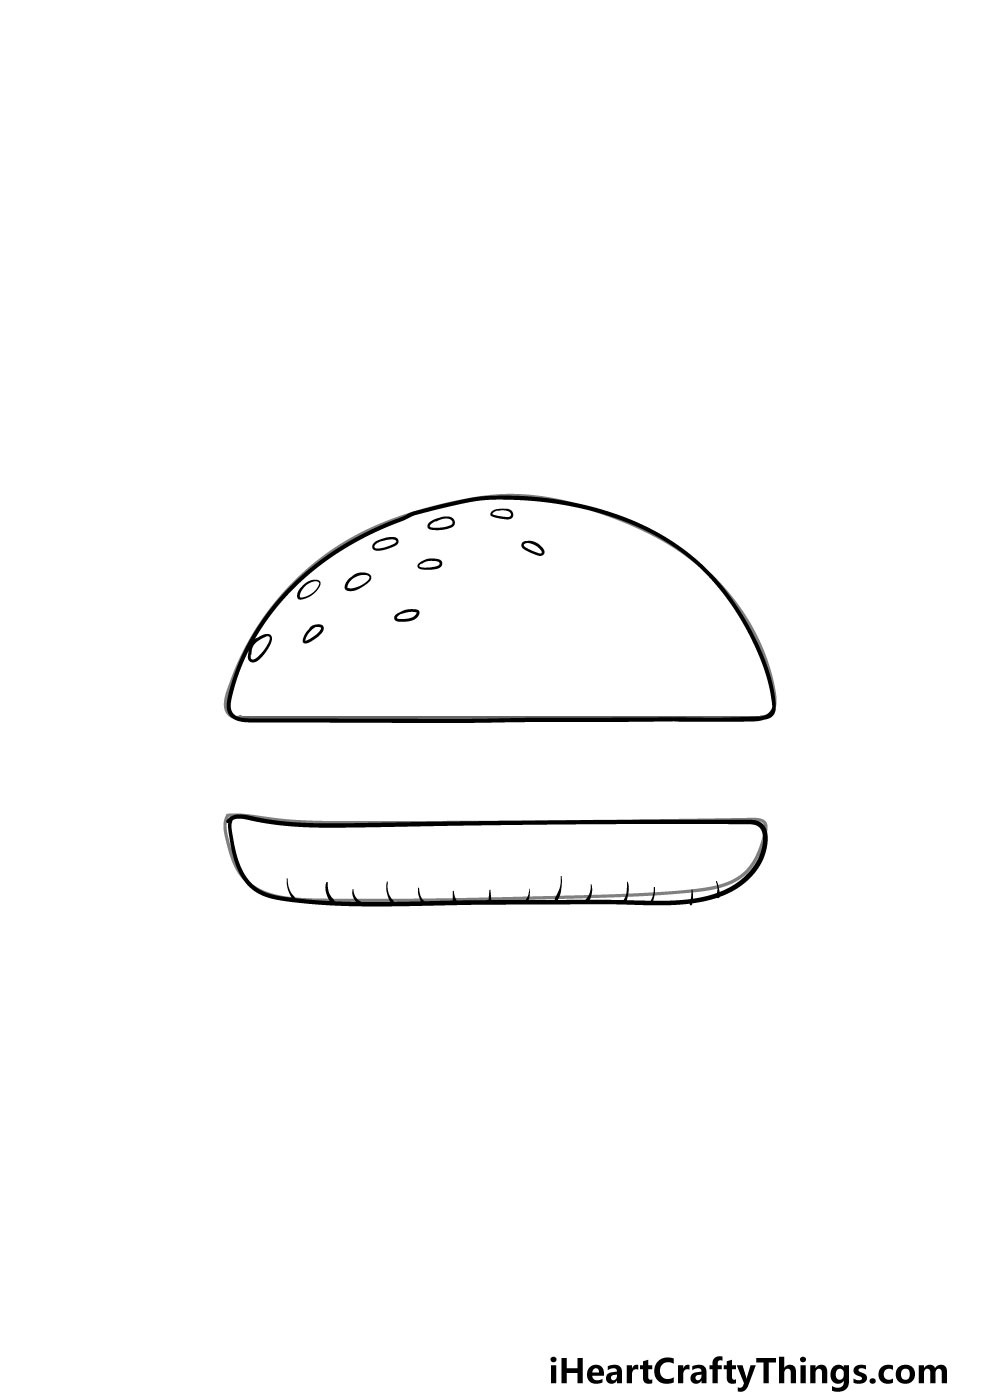
We will be adding more details and elements to your bun drawing for the next few steps of this guide.
For now, we will be adding some seeds to the top of the bun. That’s what we’re covering in the guide, but you could also add some toppings of your own choice instead if you wish!
For the seeds, all you need to do is draw some small rounded shapes on the left side of the top bun.
Step 5 – Now, finish off the final details

You can finish off the final details and add some extra details of your own for this step of our guide on how to draw a bun.
To finish it off, you can draw some more seed shapes on the right-hand side of the upper bun. That finishes up our details for this drawing, but you should feel free to add some extra elements of your own!
These extra details could include toppings for the bun, but it could also be fun to show what you thing would be between the buns. Will it be a giant hamburger or maybe a marshmallow sandwich?
There are no wrong answers and you should make it anything that you want!
This is your chance to show us how creative you can get, and you could even take it further by creating a cool background for the drawing.
Maybe you could show what other tasty treats you would be enjoying with this bun!
Step 6 – Finish off your bun drawing with some color
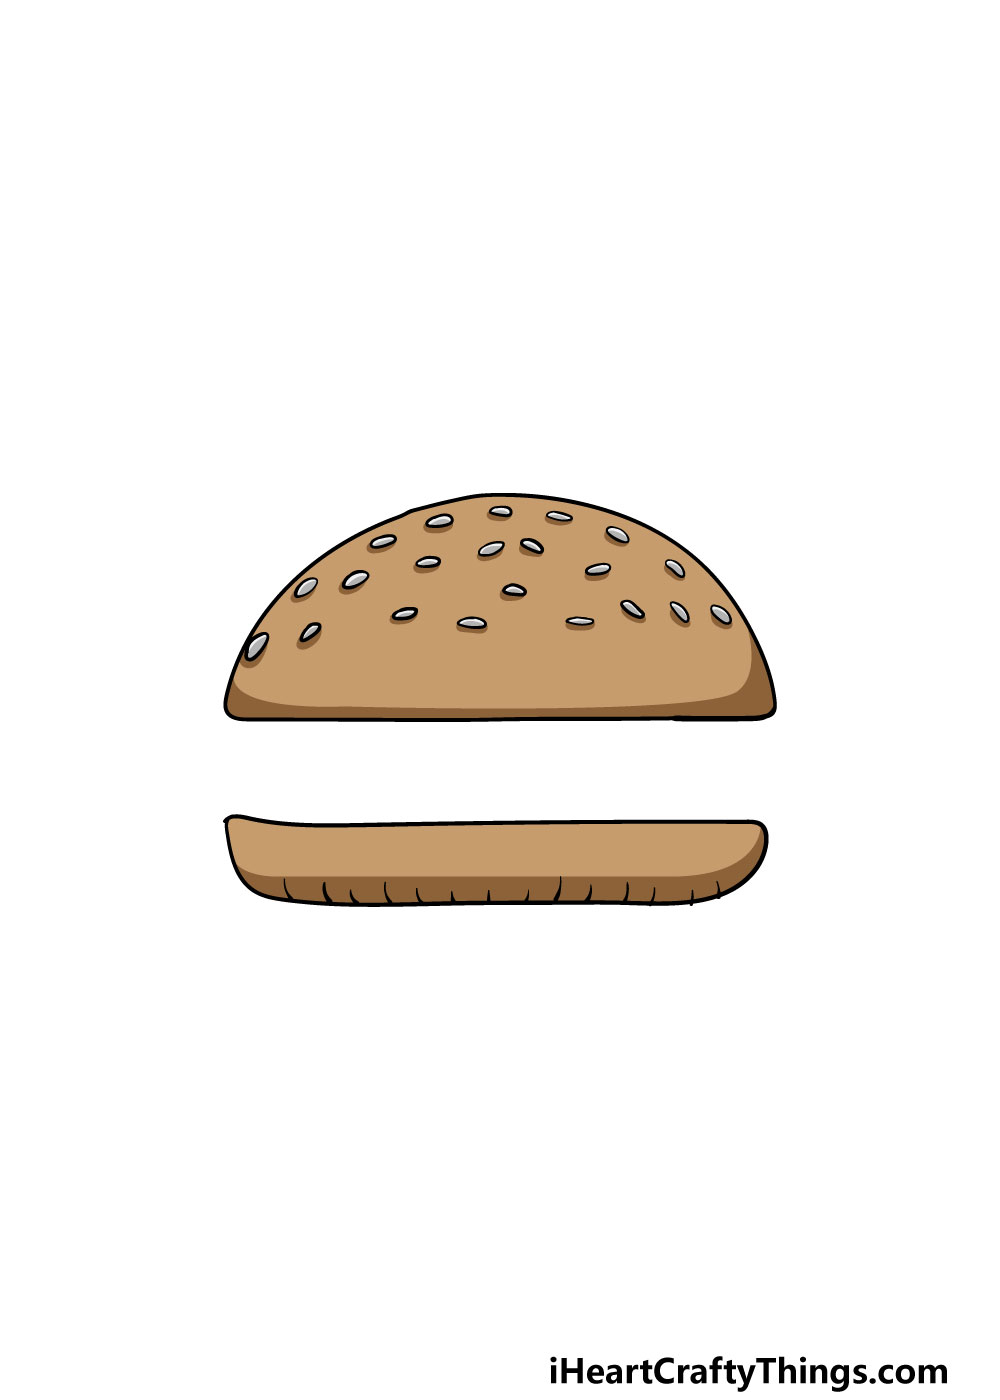
Now that your bun drawing is all drawn, you can have some fun coloring it in!
For our example image, we used a few shades of brown to color in the picture, but you should feel free to use any colors that you like for it!
Even if you do keep the bun to more muted colors, there are ways that you can bring some bright colors to it.
These could include coloring the filling of the sandwich that the bun is forming or by coloring any background elements that you may have drawn.
Once you have the colors you would like chosen, all that remains is to pick the art mediums you would like to use for it!
Acrylic paints and colored pens can be great for more vibrant and solid colors if that’s the look you would like for the image.
On the other hand, you can use watercolor paints and colored pencils for a softer, more muted look. What will you use to finish off your bun drawing with color?
4 More Ways To Make Your Bun Drawing Unique
Take a bite out of these tips for your bun sketch that will make it even better!
This drawing of a bun shows just one kind of bread bun. There are loads of other bun types you can get, though, so you could change this bun to one of those.
This could be as simple as using a different color for the bun, or you could change the shape or toppings instead.
You could look up some images of real buns online or buy some from a store to get some inspiration.
We have left the space between the buns empty, and that means that it is ready for something to be added! This is your chance to make your own ultimate sandwich.
You could go for a classic hamburger or maybe have some kind of crazy sandwich. It could be something you would actually want or something unpleasant like a fish and marshmallow sandwich.
These are just a few ideas, and you could make something delicious or horrific! What do you think should be in this bun?
Once you have filled this bun drawing with anything you want, you could then draw some sides for this meal. This would be a great way to make a meal of this sandwich!
Perhaps this could be a plate of chips, a cool beverage or a nice salad. These are just a few options, but now you can show us what you would like to have with this sandwich you’ve created.
Finally, you can add a sense of place to this bun sketch with a background. This is another idea you can get really creative with.
One idea would be to use a room in your house as a background setting, perhaps a kitchen or a living room. That’s one way of doing it, but you could also leave the house.
Another option would be to draw this bun in a restaurant or maybe a diner with someone about to enjoy it. Where would you like to enjoy this bun?
Your Bun Drawing is Complete!
You have successfully reached the end of this guide on how to draw a bun!
This guide was designed to be not only easy for you to use but also be lots of fun to do! We hope that we achieved both of these goals for you as you worked on this guide alongside us.
This guide was also designed to give you some freedom with how you can customize the image to your liking.
You could add some of your own elements, create a filling for the bun or draw some background elements for a few ideas. We can’t wait to see what you come up with!
When you have completed your bun drawing, you can join us for more drawing fun on our website! We have plenty of guides for you to enjoy and we upload new ones often as well!
We would also love it if you would share your completed bun drawing on our Facebook and Pinterest pages for us to enjoy!