There are many different religions, belief practices and lifestyles around the world. Buddhism is one of these religions, and it is widely practiced by millions of people around the world.
It was founded all the way back in the 6th Century B.C.E. by Guatama Buddha, and it endures as one of the most popular religions in the world.
The religion is centered on a few traits such as love, calmness and inner peace and serves as a foundation that many people base their lives on.
It all started with Buddha himself, and learning how to draw Buddha is a great way to pay tribute to the wise figure.
This is the tutorial for you if you would like to do that yourself.
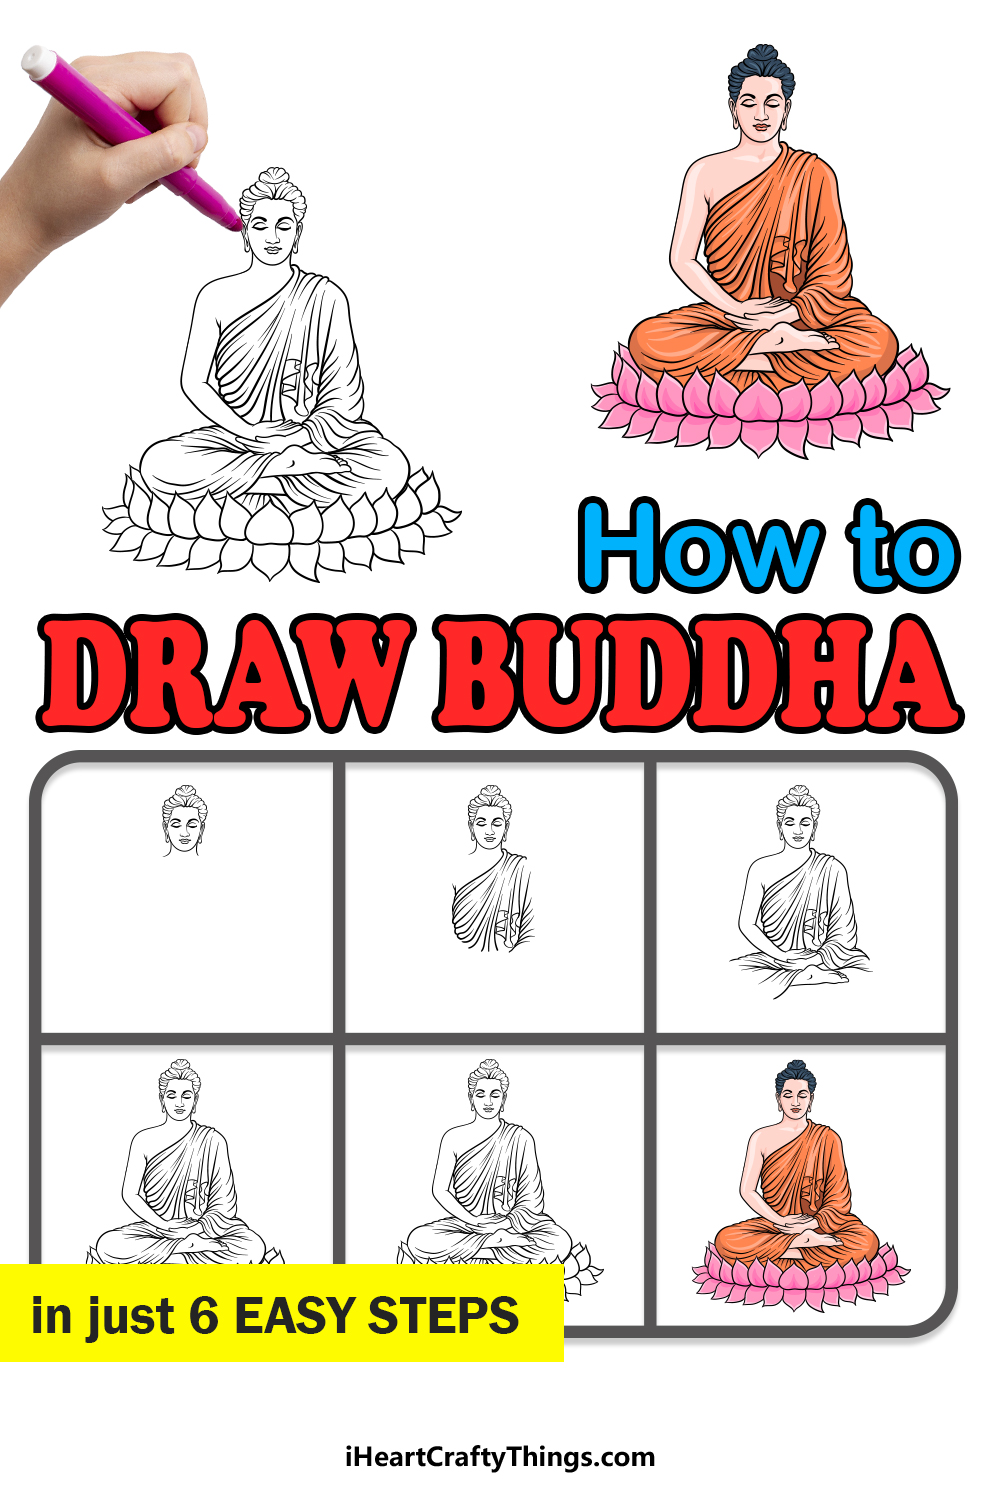
Our step-by-step guide on how to draw Buddha will show you how you can represent this important religious figure.
How to Draw Buddha – Let’s Get Started!
Step 1
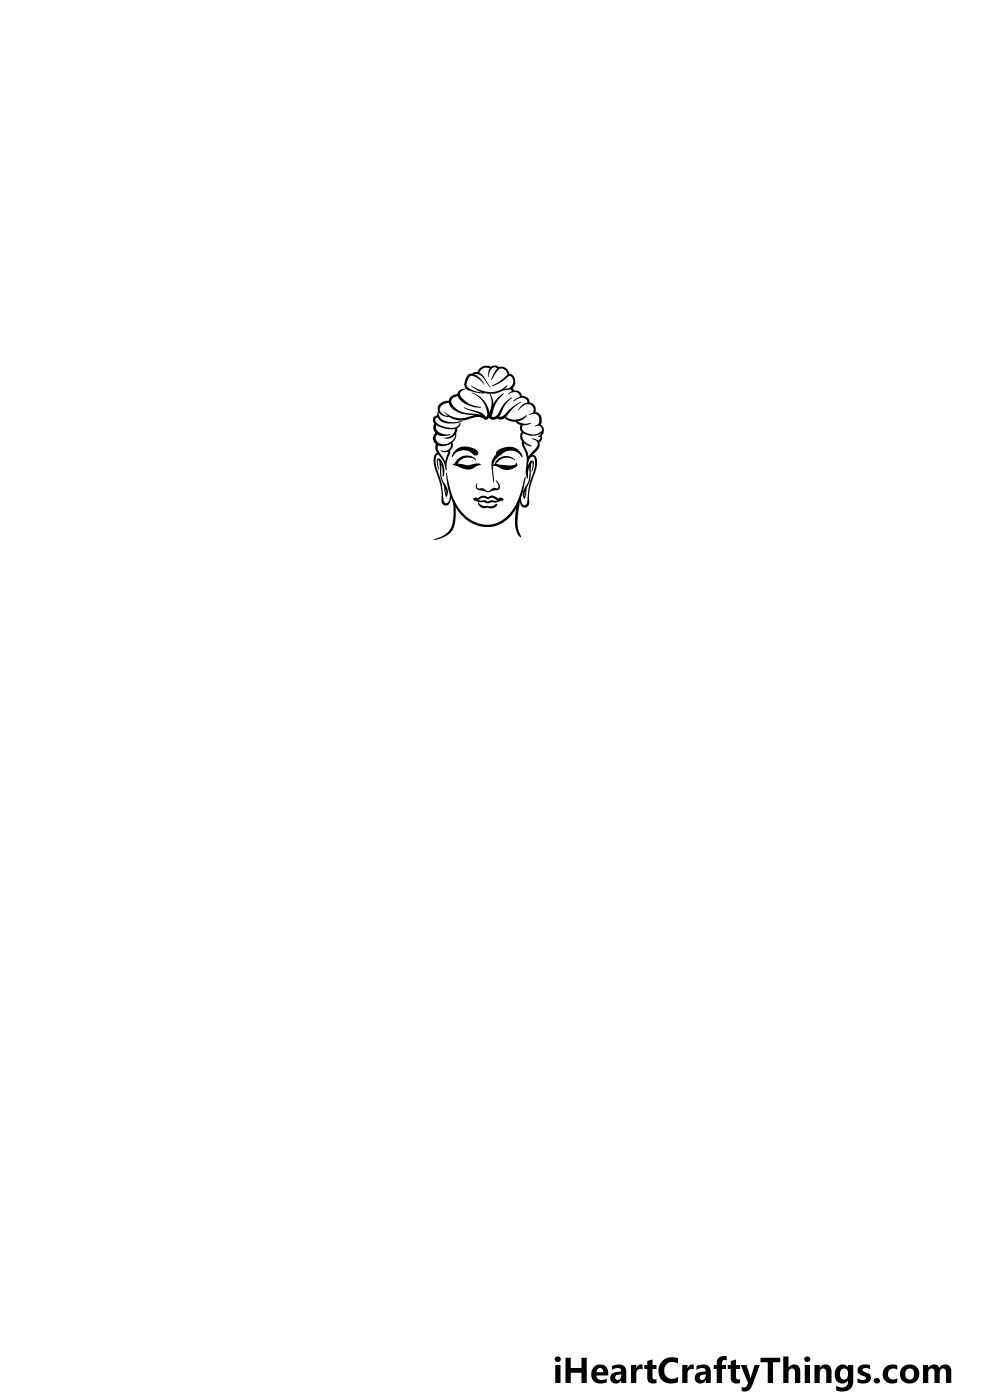
Meditation is an important act in the Buddhism faith, and for that reason we will be portraying Buddha in a meditative state during this guide on how to draw Buddha.
To begin, we will first be drawing his head and face. First, use some smooth, curved lines for the outline of his face and ears.
Then, we will be using a lot more curved lines to create some long shapes on his head to show his hair tied behind his head.
Once these aspects are drawn, you can then draw his facial features. We will be portraying him with a calm, serene expression, so use some simple lines to recreate the face we laid out in the example.
Then you’re ready for step 2!
Step 2 – Draw the start of his clothing and shoulders
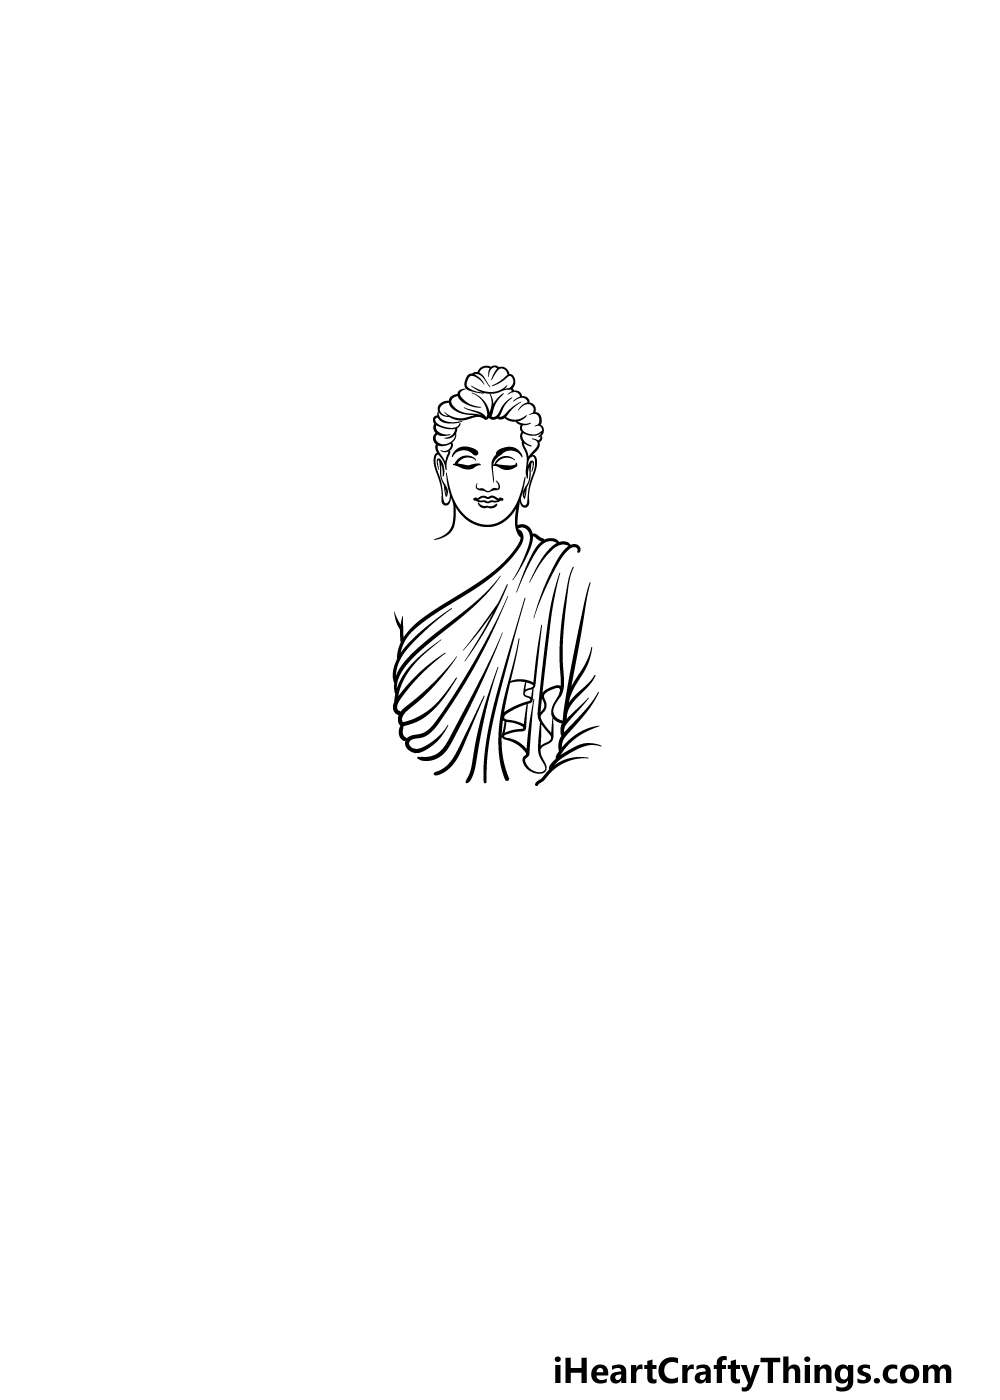
For the second part of this Buddha drawing, we will be drawing the start of the gown that he is wearing.
This gown will be going over the shoulder on the right, and we will be using a lot of curved lines to portray the fabric.
By using all of these curved lines close to one another, we will be able to portray that the fabric is rather creased.
Draw this gown going over that shoulder, and then finish off this step by drawing some more smooth, curved lines for his neck and his other shoulder.
Step 3 – Now, draw his arms and the start of his leg
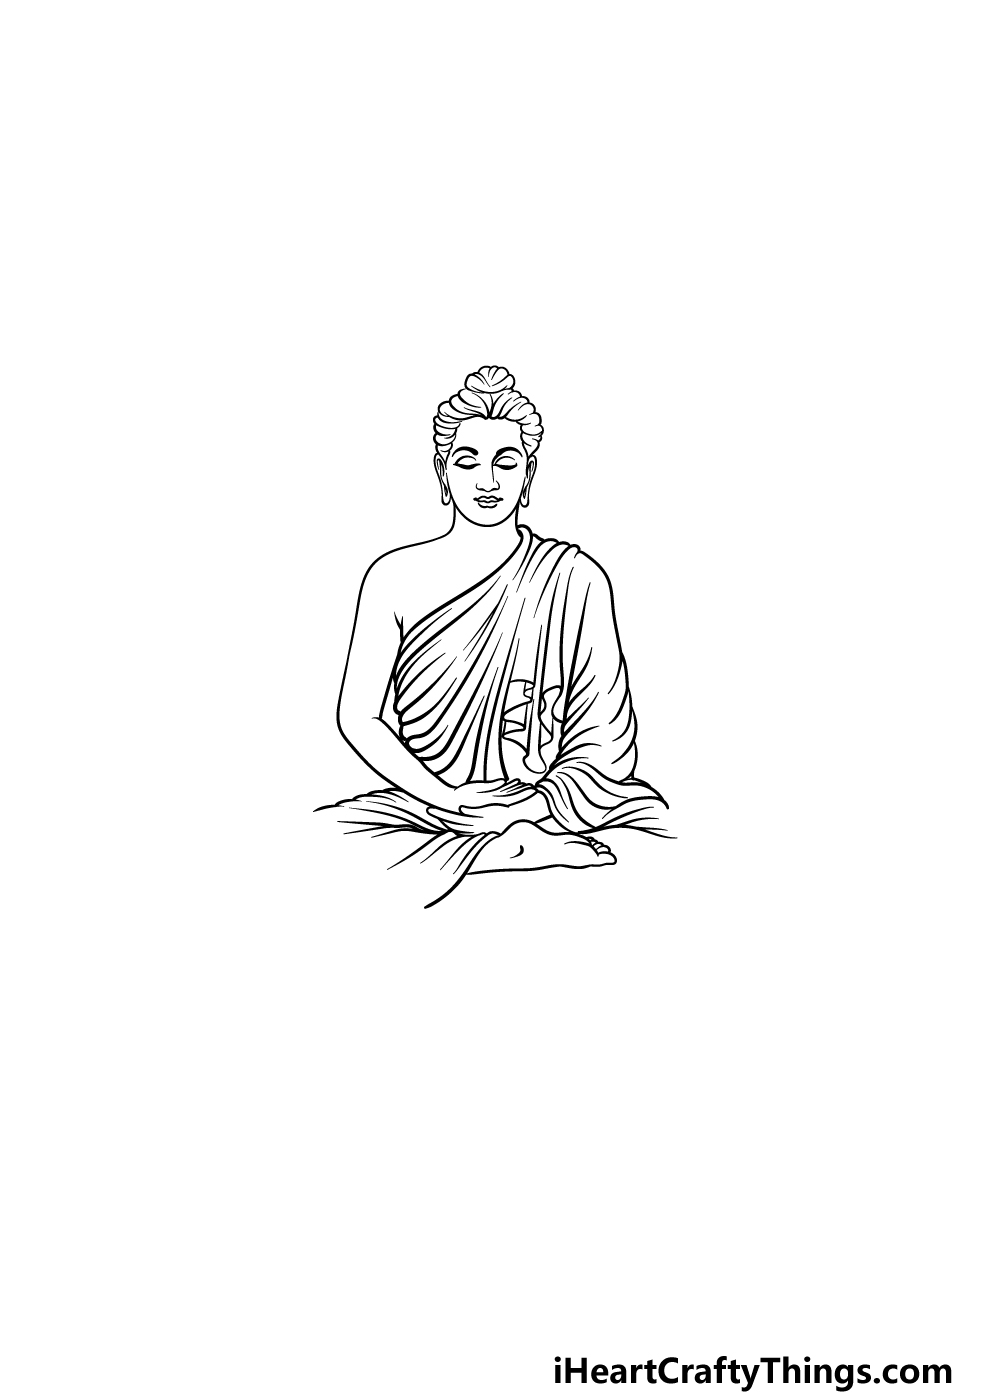
Now you can start drawing his limbs in this third step of our guide on how to draw Buddha. First, we shall start with his arms.
The arm on the left will not be covered by clothing, and it will come down from his shoulder to rest in his lap.
The other arm will be mostly covered by the gown you started in the prior step, so only his hand resting in his lap will be visible.
With both these arms drawn, you can then draw his legs that will also be mostly covered in fabric. We will see the first foot poking out of the fabric, so once that foot is drawn we can continue to step 4.
Step 4 – Next, draw the rest of his legs and the start of his base
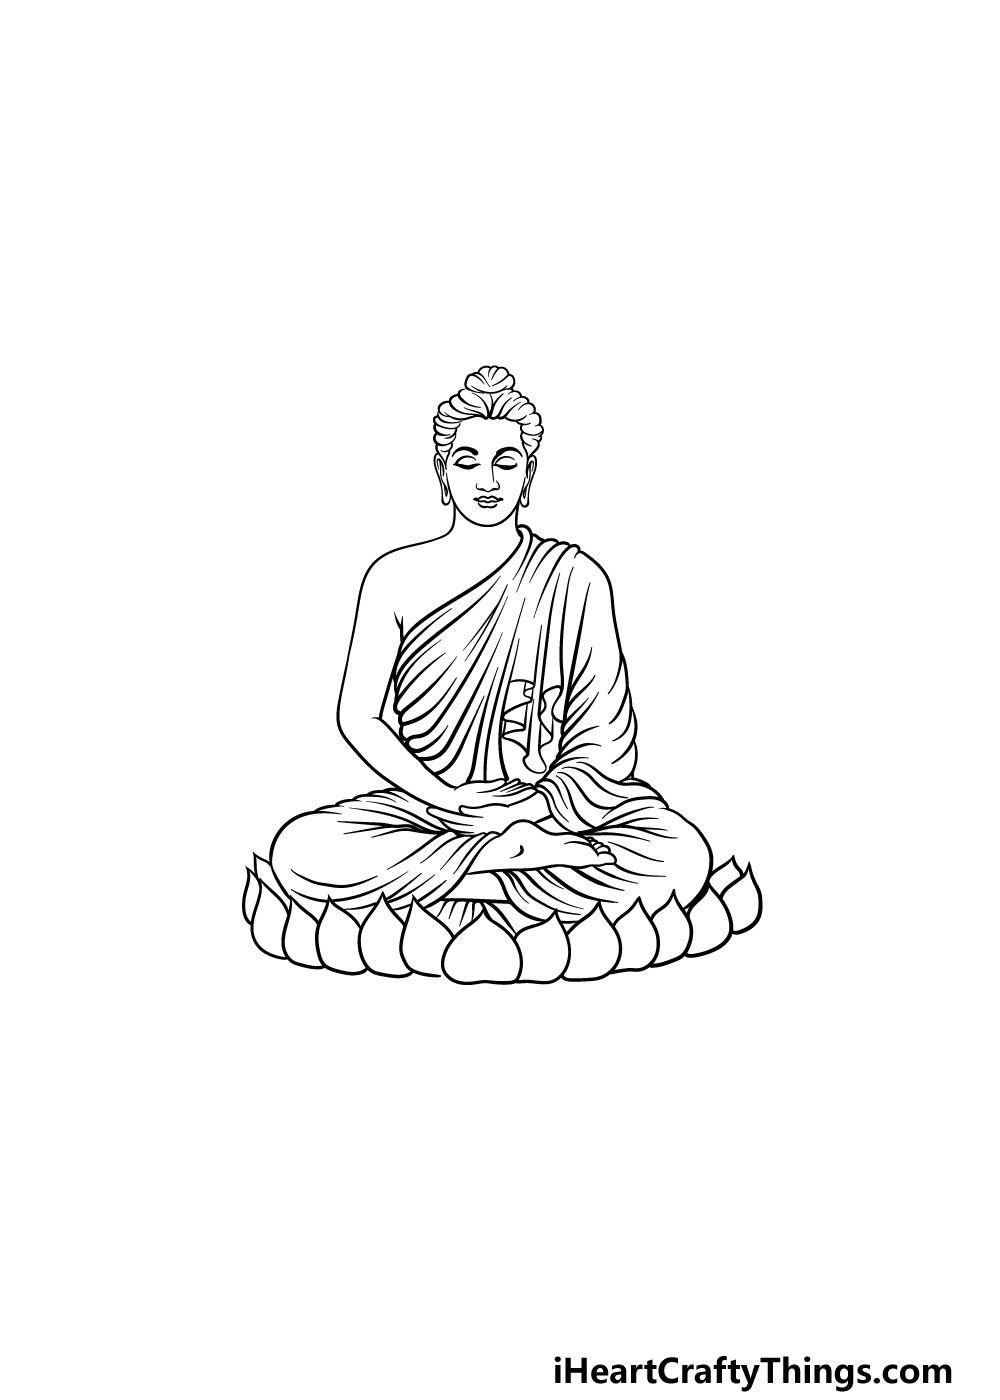
To continue your Buddha drawing, the next thing we will do will be to draw the rest of his legs.
Most of his legs will be covered by the fabric of the gown that he is wearing, so be sure to use a lot more of those curved lines to show his crossed legs covered by the fabric.
Then, we shall start drawing the base that he is sitting on. This will be constructed to look a bit like a seat made of petals.
This seat will have two layers to it, but we shall only be drawing the top layer for now. Draw some rounded shapes with pointy tips at the tops of them surrounding the base he is sitting on.
Then we will be ready to finish the base along with any final details in the next step of the guide.
Step 5 – Add the final details to your Buddha drawing
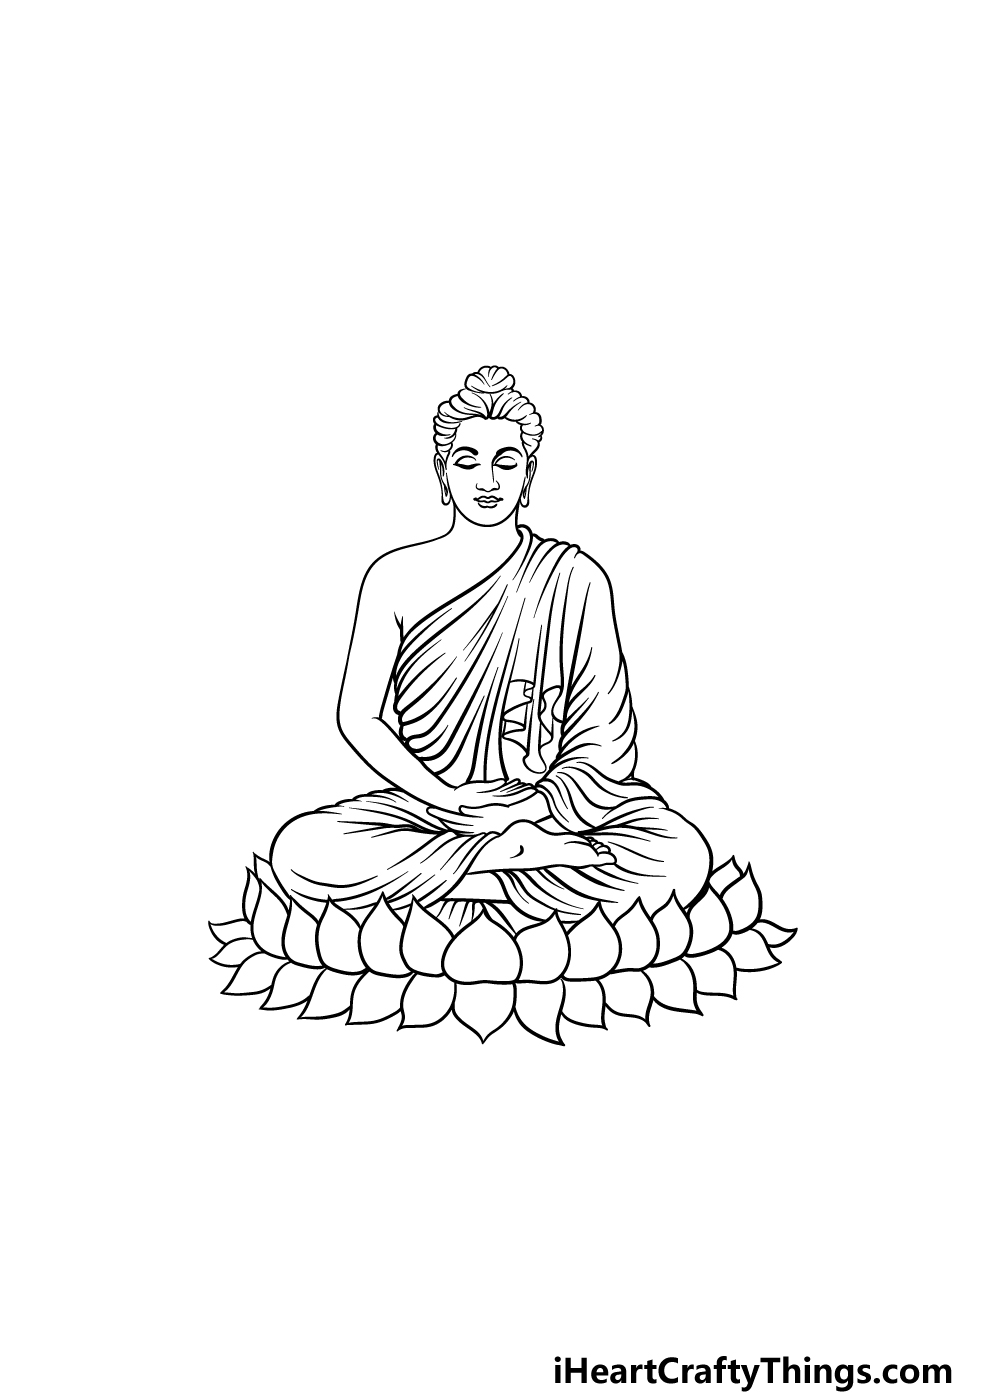
This fifth step of our guide on how to draw Buddha will see you finish it off with the final details and elements.
As mentioned, this step will primarily see you finishing off the petal base he is sitting on.
To do this, draw another row of those rounded shapes with pointy tips, however this time they will be pointing downward instead of up.
Once the base is complete, you can move on to the final step! Before you do, be sure to add any extra details you would like.
One idea would be to draw a background, and another would be to write an inspirational phrase associated with Buddhism to go above or below the image.
How would you like to finish off this image?
Step 6 – Finish off your Buddha drawing with color
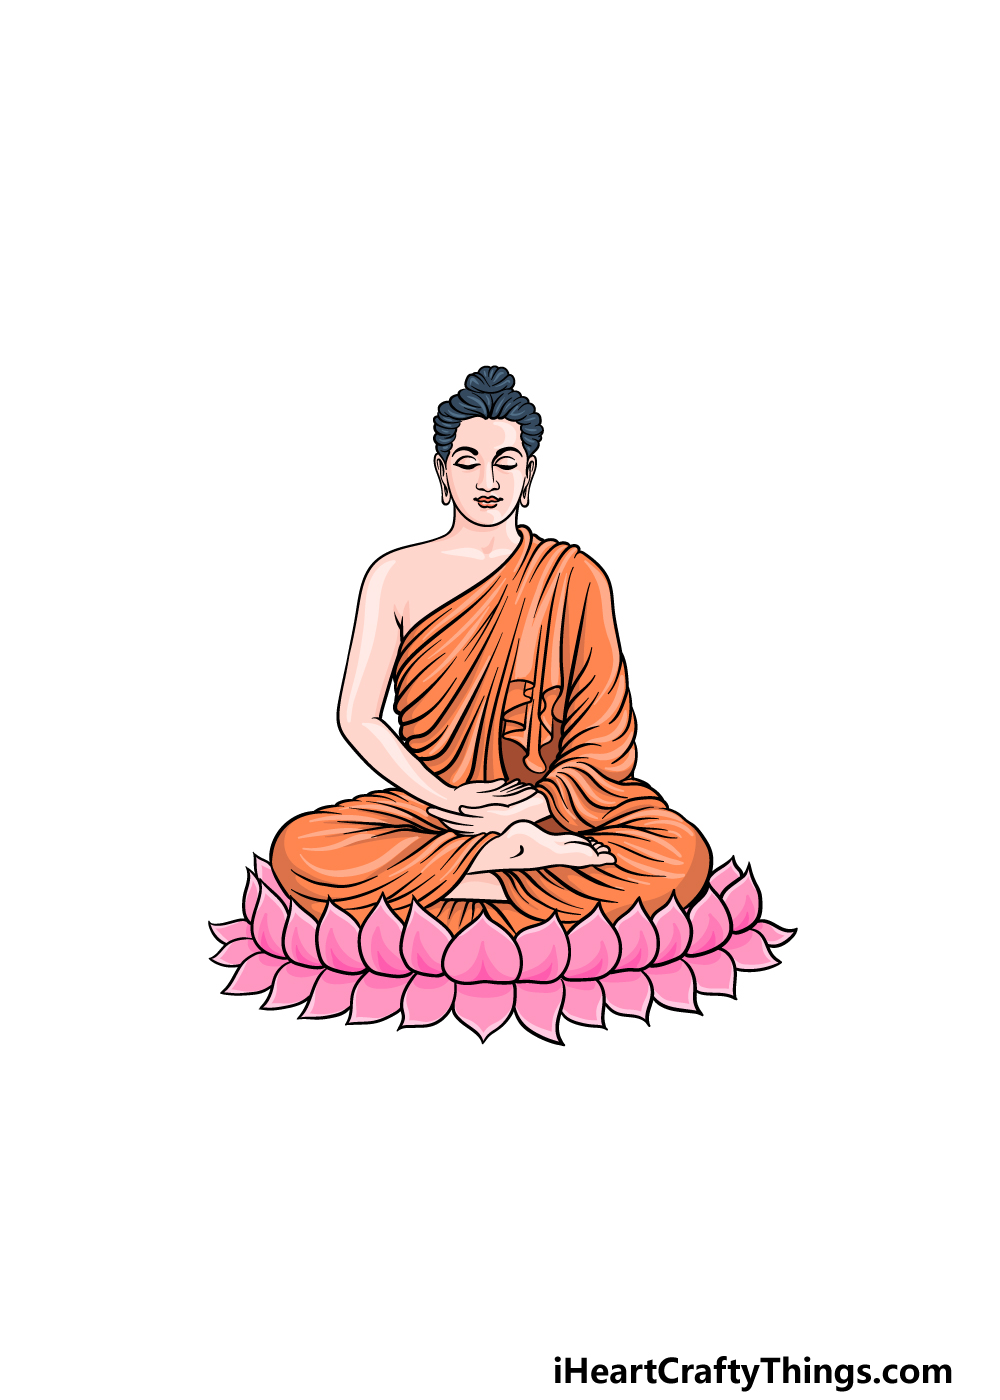
Now you are ready to finish off your incredible Buddha drawing with some color! In our reference image, we showed you just one of the ways that you could color it in.
We used black for his hair and then used some oranges for his gown while finishing off with pink for the petals on the base.
You could go for some similar colors, but you should also feel free to use any additional colors of your own!
We would suggest using some watercolors or colored pencils for a softer look to this peaceful image, but anything you use will look great!
Do this to take your Buddha drawing to the next level
Have a peaceful time as you make this Buddha sketch even more incredible.
This Buddha drawing we have created gives off such a peaceful feeling. You could make it even more peaceful by adding a few small details around the figure of Buddha.
For one example, you could draw some small leaves or flower petals floating around him. That would be a wonderful effect to make this image even more tranquil.
If there are any other similar effects that you think would make this drawing look even more peaceful then you should certainly add them!
What particles and details could you add to this drawing?
Buddha is often portrayed as a bronze statue. That would be an interesting idea for this drawing of Buddha you have been working on!
This could be done by simply changing the colors that we suggested for him. As we mentioned, you could use some shades of yellow and gold for that bronze look.
Or, you could use white and grey to make it look like he is carved out of stone. These are a few materials you could simulate, but what others could you use?
Another way to finish off the scene of this Buddha sketch would be by adding a background. This could be paired with the first suggestion we had a few steps ago.
For instance, if you added some petals then you could draw branches of a tree above him. Or, he could be sitting by a peaceful stream or a pond.
What other background settings could you use?
There are many inspirational quotes and words of wisdom attributed to Buddha. Adding one of these phrases would be a great way to finish off this Buddha drawing!
You may already have a favorite quote, but if not you can find many online. Once you have your quote, you can then choose your font and figure out how you would like to position the words.
What famous Buddha quote could you use for this picture?
Your Buddha Drawing is Complete!
You have finished this guide on how to draw Buddha, and we hope that working on this guide proved to be an enjoyable and relaxing experience!
Now that you have mastered this tranquil drawing, you can keep it going by adding some ideas and extra details of your own.
You can also experiment with various colors and art mediums, so have fun with it and see what happens!
You can then head over to our website to find some incredible drawing guides to enjoy. We have many more we will be adding soon, so keep on the lookout for those!
When your Buddha drawing is all done, please share your creation on our Facebook and Pinterest pages. We would be thrilled to see how your wonderful drawing turned out!