It doesn’t take a lot to learn how to draw a brain thanks to this guide for kids! Find out how you can draw a realistic brain in just a few intuitive steps.
Brains are so complex, not just in what they do but also in how they look. There are many different parts of the brain that need to be drawn correctly together to form the full design.
Getting these details and proportions right isn’t easy when you go in blind, but I will show you how you can take some simple steps to make it easier! When you break it down to individual steps, then you can make the whole process much simpler to follow.
Then, you could even take it further with additional details and maybe even some labels for the different parts of the brain.

Watch This Guide On How To Draw A Realistic Brain
How to Draw A Brain – Let’s get Started!
Step 1
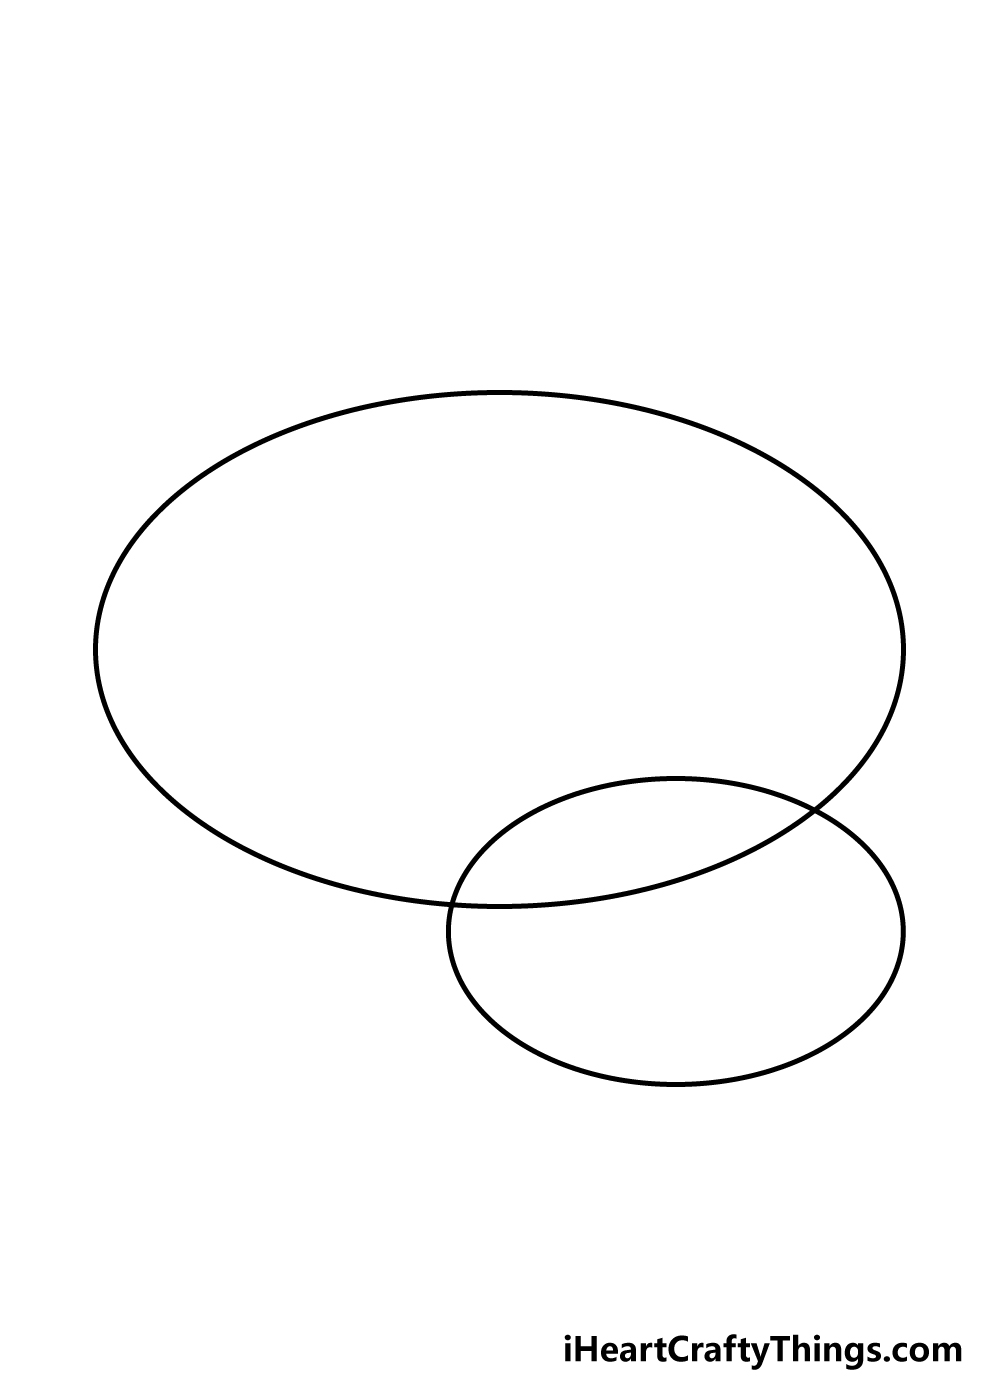
We will be drawing some guide shapes to help you in this first step of our guide on how to draw a brain.
For this step, it would be highly recommended to use a light pencil for now, as these shapes will not be in the final image.
Using the reference image as a guide, you can draw two oval shapes intersecting with one another.
The lower one will be much smaller, and as you will see in later steps, these shapes together like this will help you with the shape of the brain.
Step 2 – Next, draw the outline of your brain
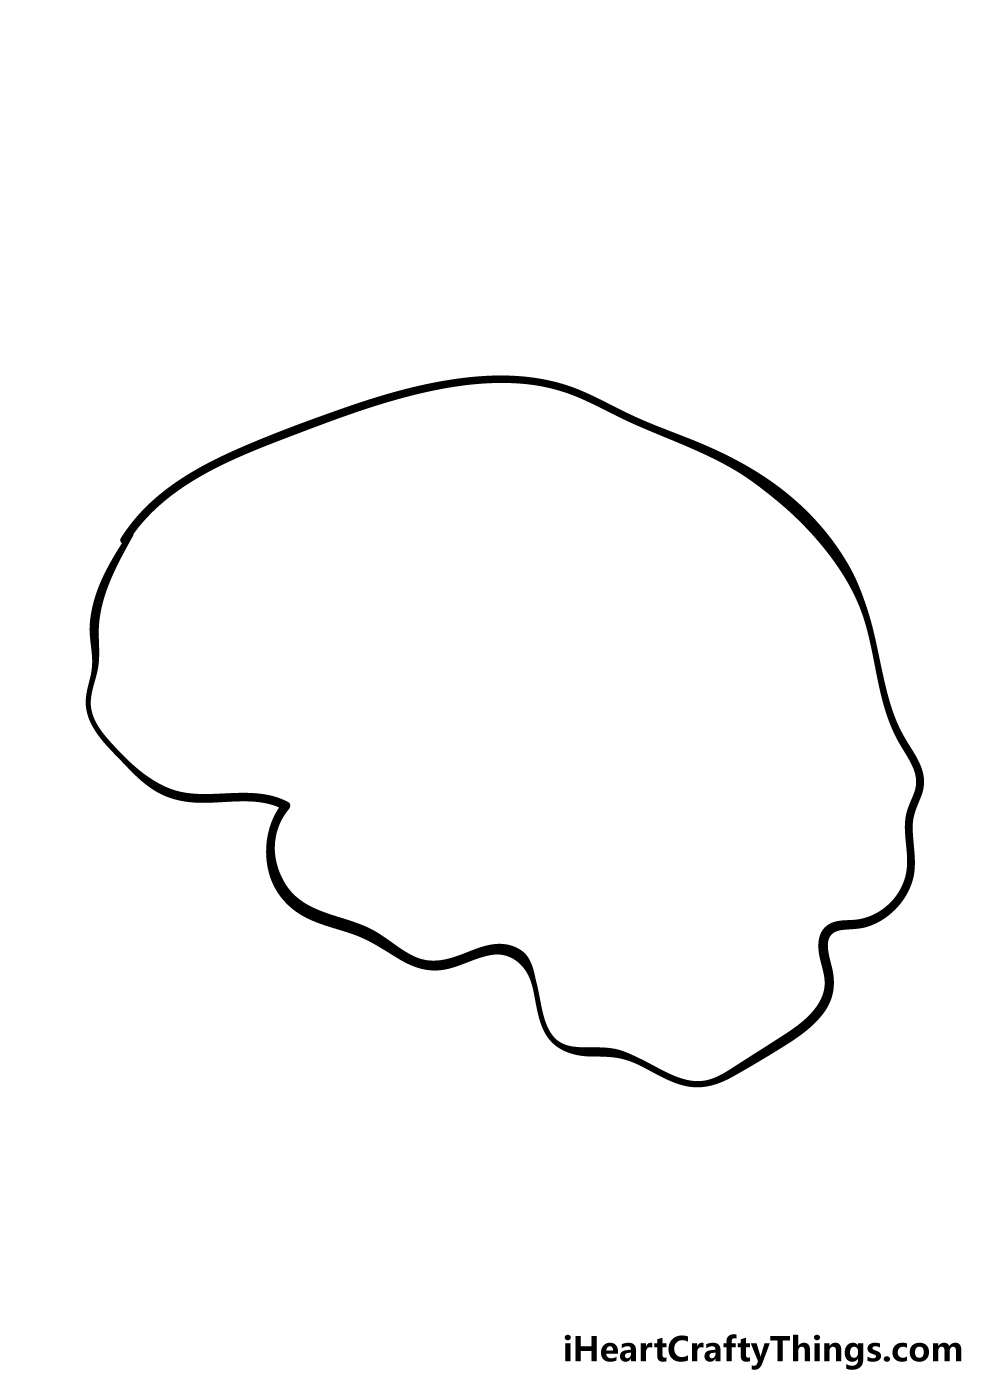
Now that you have your planning shapes drawn in pencil, you can begin on the outline of your brain drawing in this step.
Using your planning shapes and the reference image, carefully draw in the shape of the brain for the outline.
This could take a few tries to get right, so I would recommend still using a pencil for this stage. Once it’s looking good to you, then you can go over it in pen before erasing the pencil lines.
Step 3 – Now, start drawing the brain textures
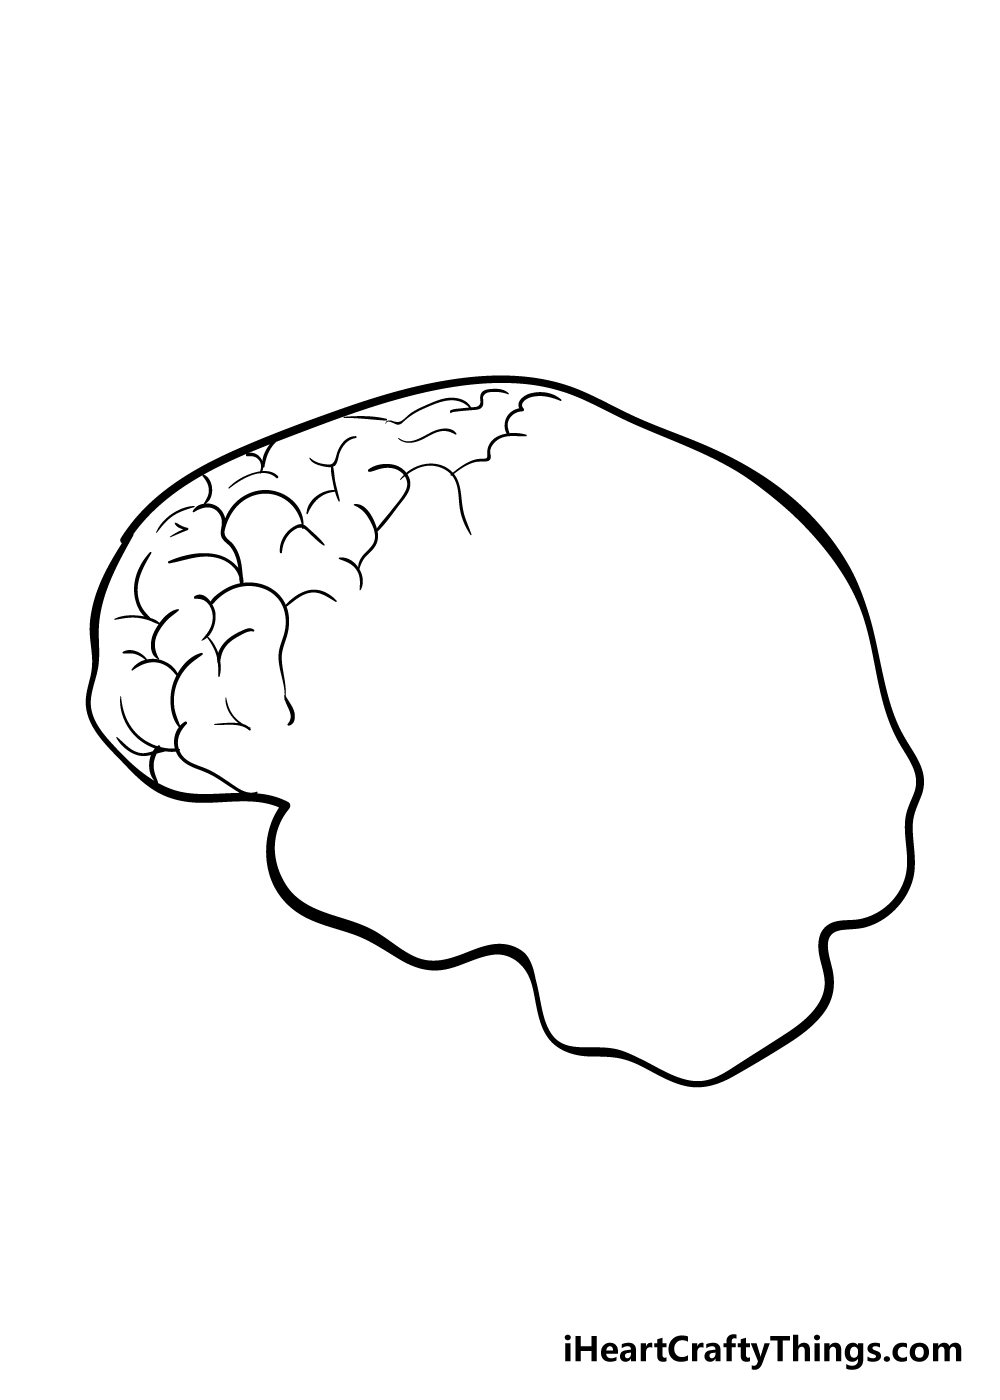
The brain is very textured, as it has many wrinkles and folds to increase the surface area.
These details will probably be the most challenging to draw, so we will take it slow and add these details of your brain drawing section by section.
Using the reference picture as a guide, carefully start drawing in the lines that will make up the folds of the brain. We’ll be starting from the left-hand side of the brain for now, and fill in that section.
Step 4 – Draw in more of the brain folds
We will continue to add more folds and wrinkle textures in this step of our guide on how to draw a brain.
You can use a similar pattern as you move further along to the right side of the brain. As you can see in the reference image, however, the spacing between them gets a little bit wider the further you go.
Once you’ve filled in this section, we can move on to the next one!
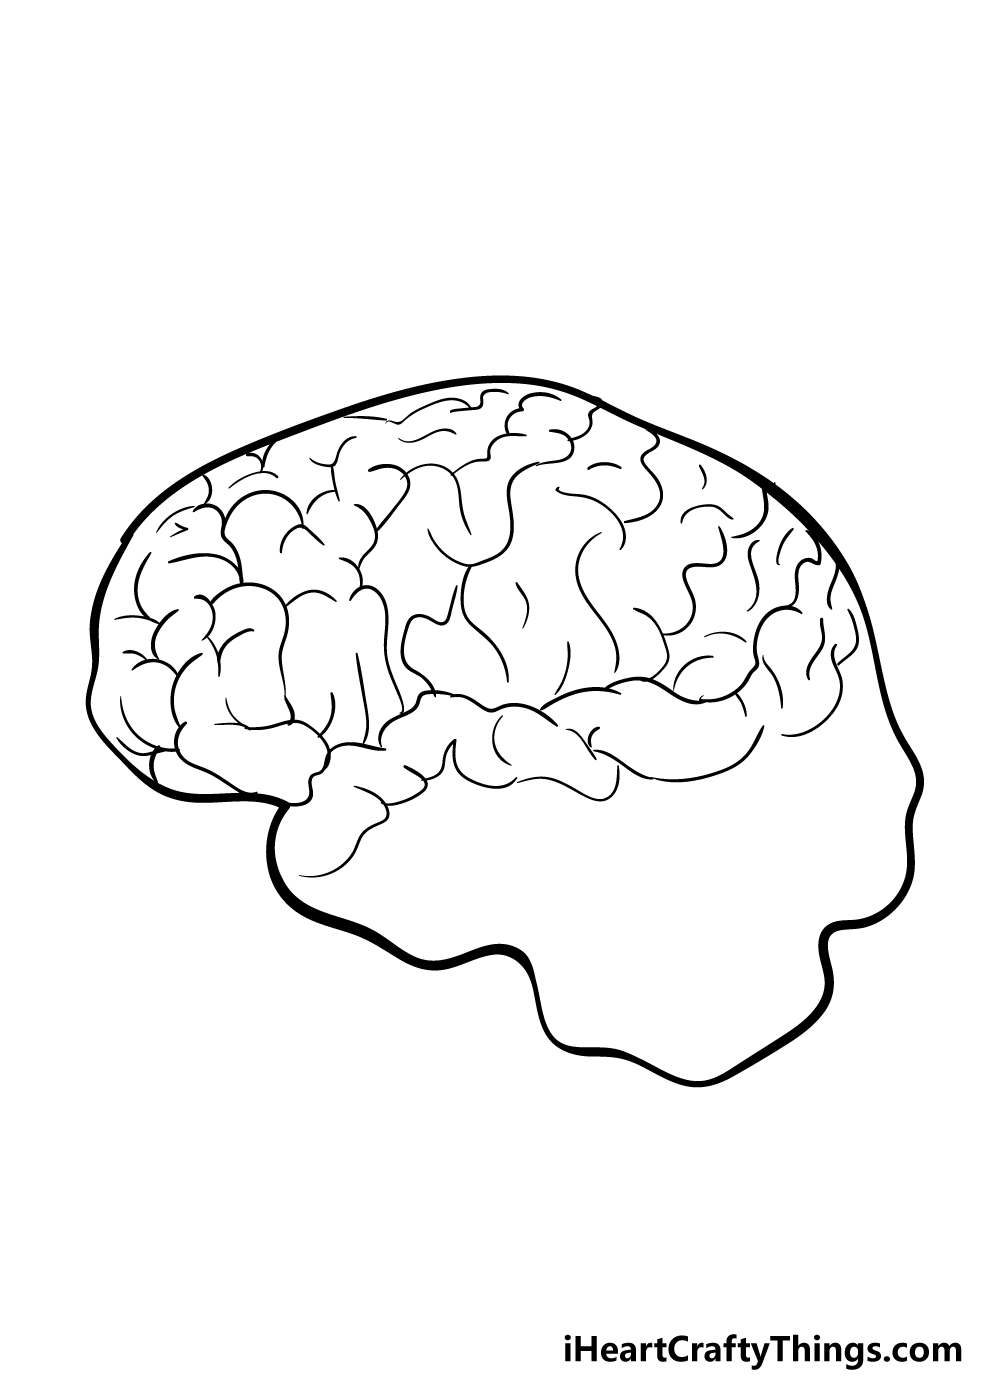
Step 5 – Next, fill in the final wrinkles
You’ve really gotten the hang of the wrinkle pattern at this point, and there is only a little bit more to go!
Carefully fill in the remaining section of the main part of the brain in the same way that you have been doing it before.
The part at the bottom should remain blank for now, as we shall fill it in for the next step.
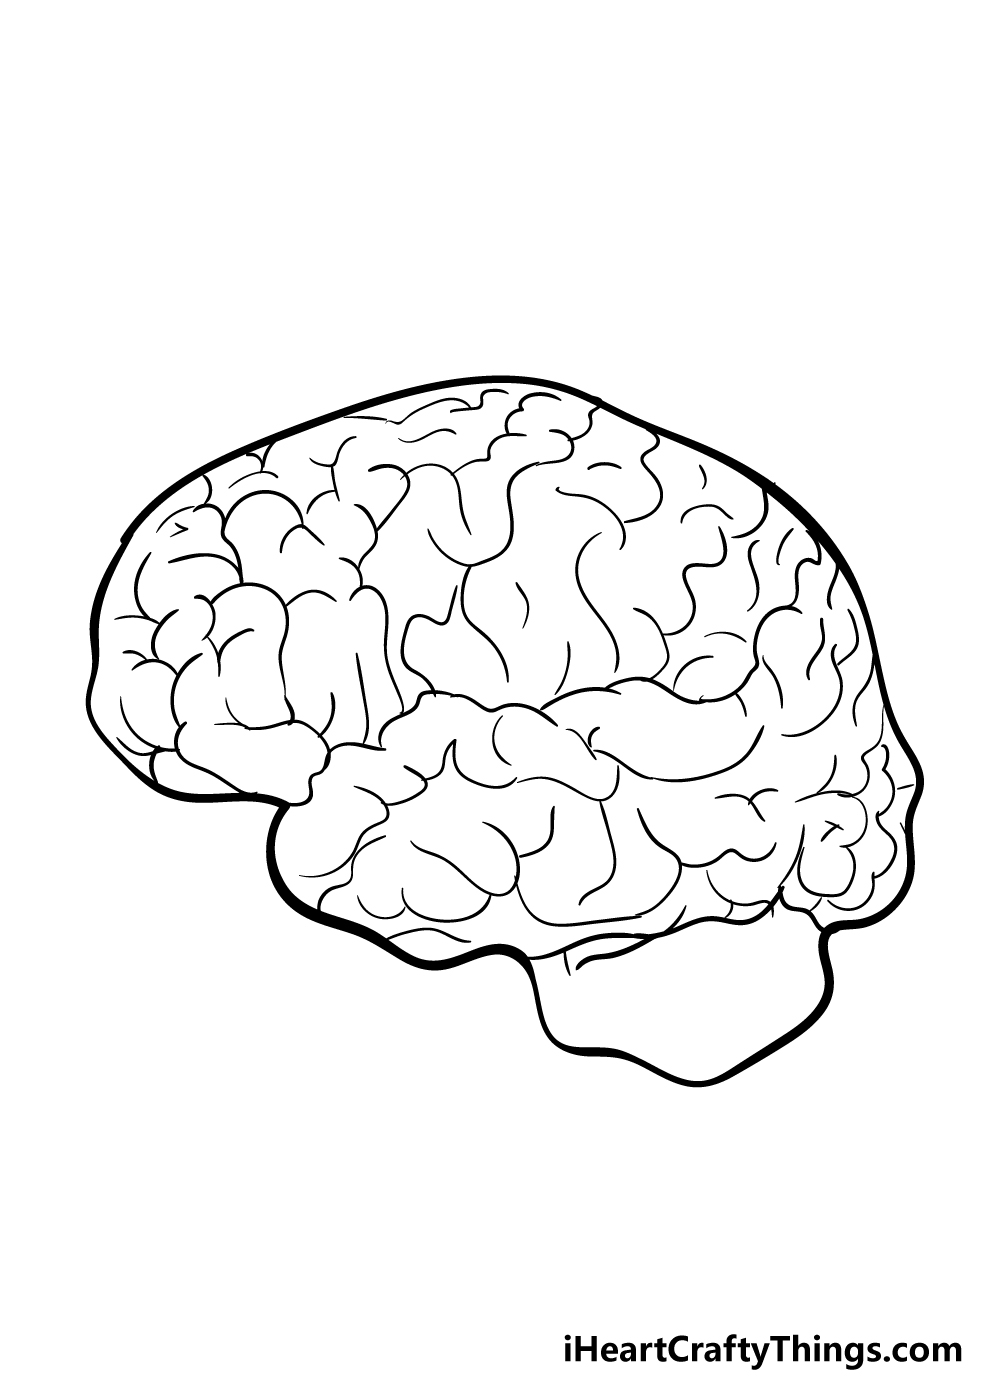
Step 6 – Now, fill in the final details

You’ve almost finished this guide on how to draw a brain at this point! There’s just one more part at the bottom of the brain that we need to fill in.
This part is called the cerebellum, and it has a different look from the rest of the brain textures. This part of the brain has textures made up of lots of small, thin lines.
This gives it an even wrinklier look than the rest of the brain.
With the cerebellum drawn in, you’re almost done! If you’re feeling extra creative, you could look up a sideways picture of a skull to draw around this brain!
What other fun ideas can you think of to finish off this brain drawing?
Step 7 – Finish off your brain with some color
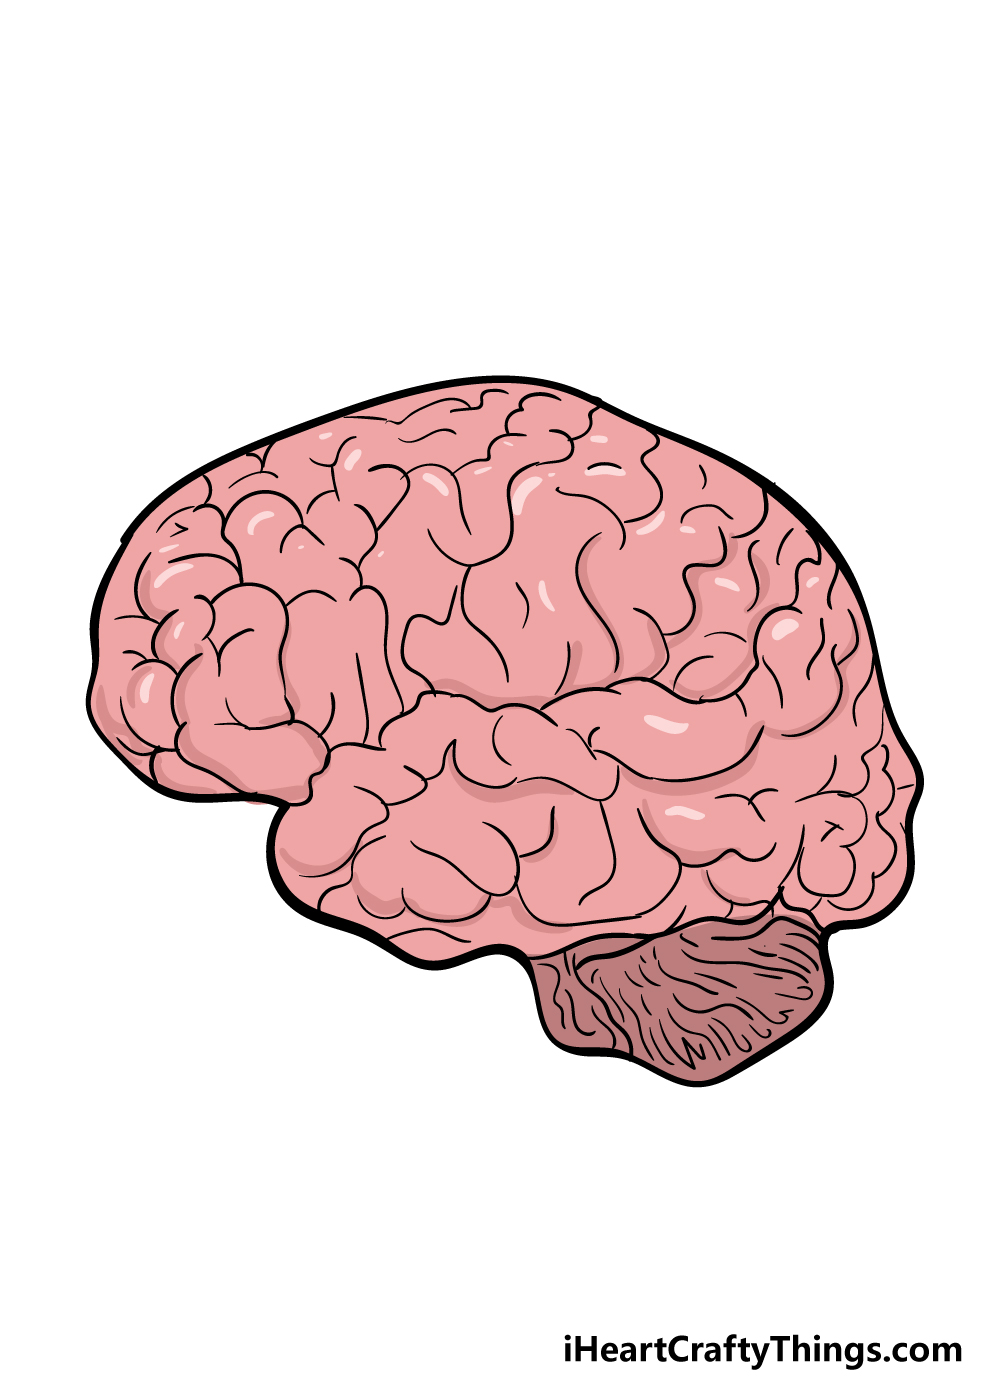
That brings us to the most fun of all the steps: coloring in your drawing! Brains typically have a pink and purple color scheme, and that is what we chose to color in our example.
However, you could also get creative with it and use your favorite colors to fill in your brain drawing!
You could even use some bright colors throughout the brain to visually represent that the brain is working hard on some great ideas!
Perhaps you could even draw a thought bubble coming up from the brain to show what’s going on inside of it.
We’re sure to see lots of creative interpretations of how to finish off this brain drawing! You can also choose from some fun coloring mediums to finish off your drawing.
You could go bright and bold with acrylic paints or colored pens, or keep it more muted with watercolor paints or crayons. What do you think you’ll use?
3 More tips to make your brain drawing easy!
We have some super smart tips for making your brain drawing even easier!
This easy to draw brain looks great the way we have it here, but you could change it a bit if you wanted.
This would not only make for a more unique drawing but could also help to make it easier.
One way that you could change it would be by altering the angle we’re looking at it. This could depend on what you find easiest to draw.
If you wanted to try that for this brain drawing, you may want to look up some brain diagrams online. Or, you could possibly buy a model of a brain from a toy store or other location to use as you draw!
Another way to make your drawing of a brain a bit easier would be to change the style of the draiwng. The best way to do this would be to make the brain a lot more cartoony in appearance.
This is another case where you could look up some examples of cartoon brains online in order to help you get inspiration. If you go for this tip, you could make it as wacky as you want!
It could even be fun to turn the brain into a cartoon character by adding some eyes or maybe even limbs to the brain. What are some fun ideas you have for changing the style of this brain?
If you’re still having a bit of a tough time, we would again suggest using as many references as you can get your hands on.
This guide was designed to make this an easy to draw brain, but getting a bit more help is never a bad thing!
As we’ve suggested before, using diagrams and even models can make things a lot easier. You can also make things much simpler by using certain art tools to help.
For example, you can draw some rough lines with a light pencil and then slowly build up the details. Then when you’re happy with how it looks you can use your pen for the final lines!
Your Brain Drawing is Complete!
You have successfully finished this step-by-step guide on how to draw a brain! This was definitely one of the trickier drawings we’ve seen in our guides, so you should be very proud of drawing such a great picture!
We really hope that you had a fun time while learning as you worked through this guide.
Our goal was to show you that even a more difficult drawing such as this one can be much easier than you expected if you have steps to follow and try your best!
Now it’s up to you to bring this brain drawing to life! Will you go with some realistic colors to finish it off, or will you perhaps use some bright and striking ones to give it a more stylistic feeling?
You could also draw in a background or some extra elements to your brain drawing, so there is no limit to the ways you can make this your own!
There will be many more awesome drawing guides that we will be bringing out soon, so please do check out our site often to join in the fun!
We would also love to see your completed brain drawing, so please share it on our Facebook and Pinterest pages when you’ve completed it so we can all enjoy your wonderful drawing!