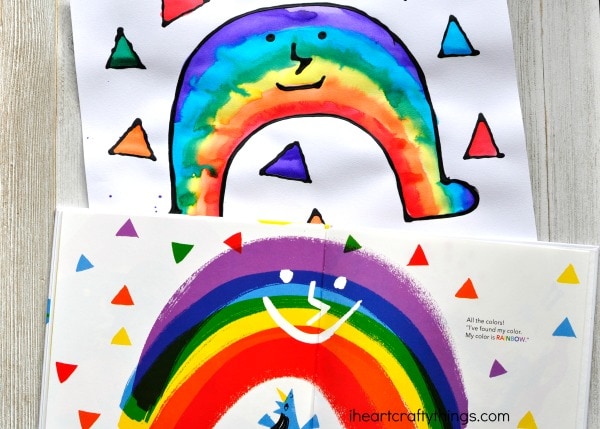
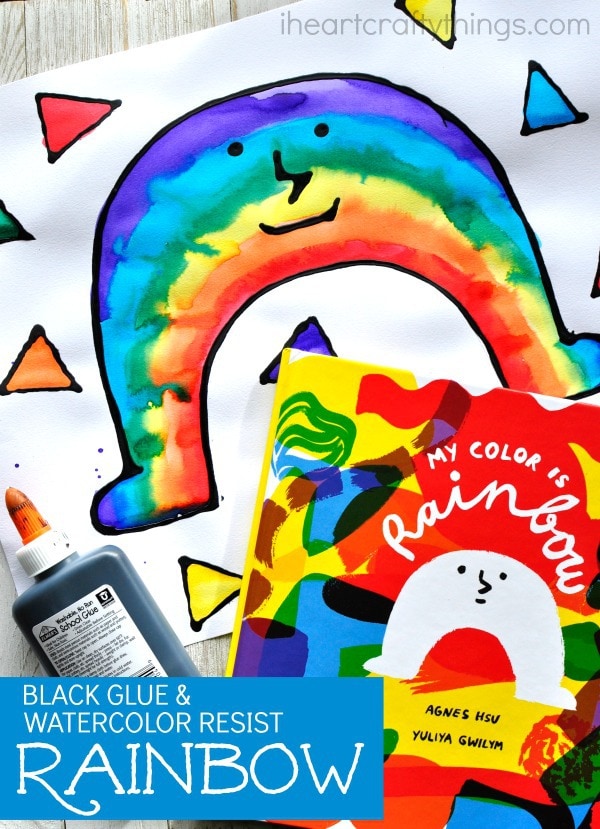
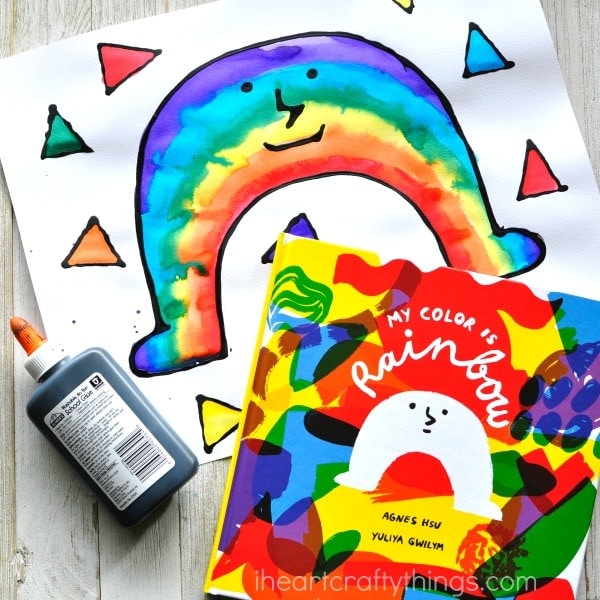
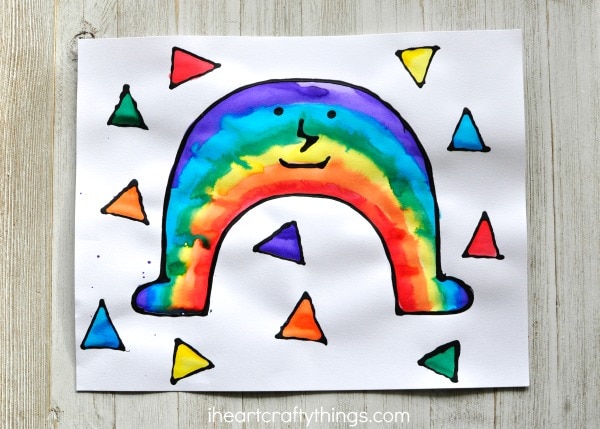
My daughter and I created this black glue and watercolor resist rainbow craft today. Look how pretty it looks, those colors look great together.
This post contains affiliate links to the products mentioned. Read our disclosure policy for more information.
Supplies Needed to Make this Black Glue Rainbow Craft
- mixed media paper
- school glue
- black acrylic paint
- watercolors
- pencil
- Little White Arch pattern (optional)
Instructions:
1. Draw a rainbow
Begin by drawing Little White Arch on your watercolor or mixed media paper or use the printable pattern to trace it onto your paper with a pencil.
2. Make glue mixture
Mix together your black glue. There isn’t a specific measurement for this. I simply squirted some black acrylic paint into a school glue bottle and shook it vigorously until it was mixed. It works best if the school glue bottle isn’t completely full when you start. If you can’t get the glue to mix with the paint completely you might need to use a skewer or something to help mix it together.
3. Trace the rainbow
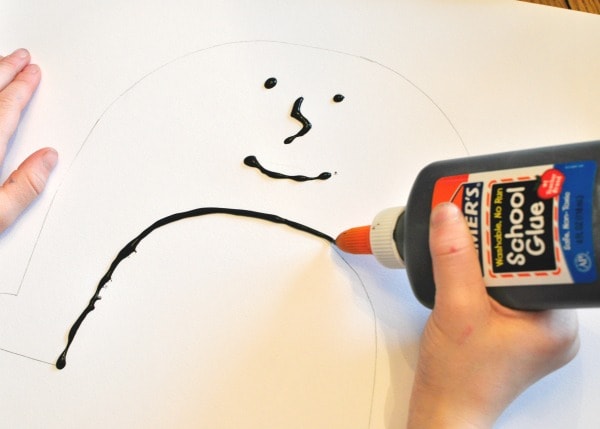
Open up the cap of the black school glue and trace the rainbow on your paper. This is amazing practice for kids to learn how to control a glue bottle. Set your paper aside to allow your black glue to dry completely. We also drew triangles around our Little White Arch to mimic the book but this is of course optional.
4. Paint with watercolors
When your black glue is dry, use watercolors to paint the inside of your rainbow and any shapes you make around your rainbow.
If you have never tried out this black glue and watercolor resist art technique it’s a must! I love how the black glue raises off of the page and the black lines make the watercolors stand out so bright and beautiful on the page.
