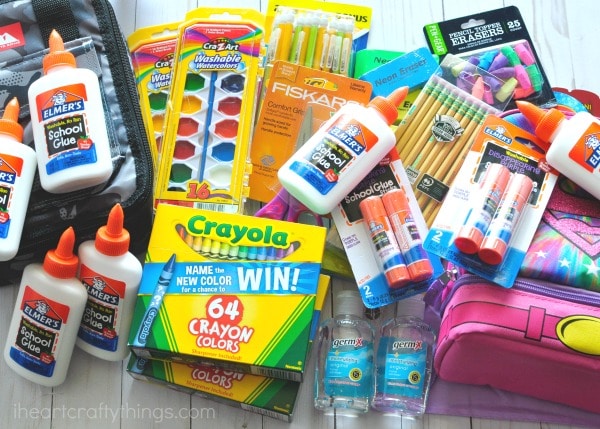
I always get extra giddy about back-to-school shopping because it’s a great excuse for me to stock up on supplies for us to use for crafts throughout the school year. School glue and glue sticks are always on the top of my list along with construction paper, watercolors and markers.
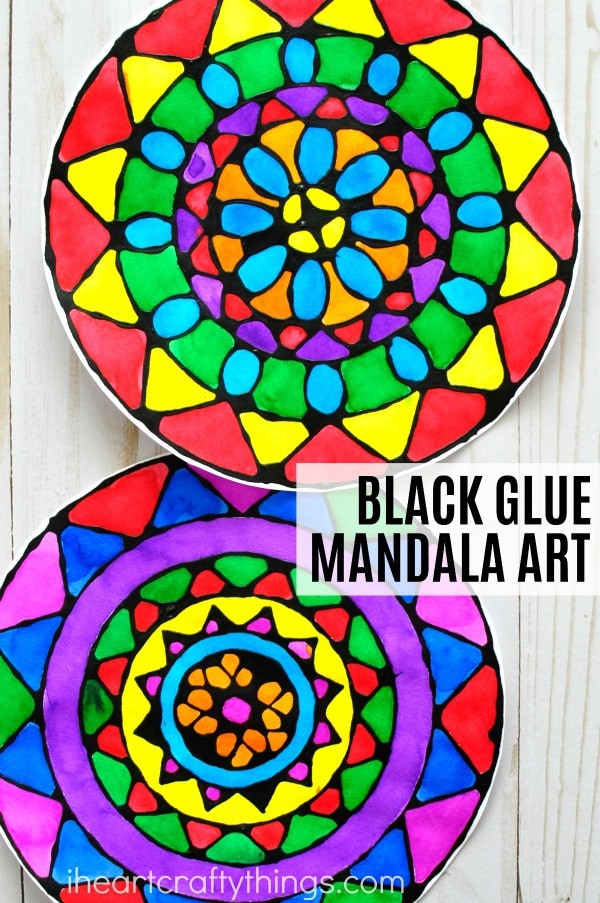
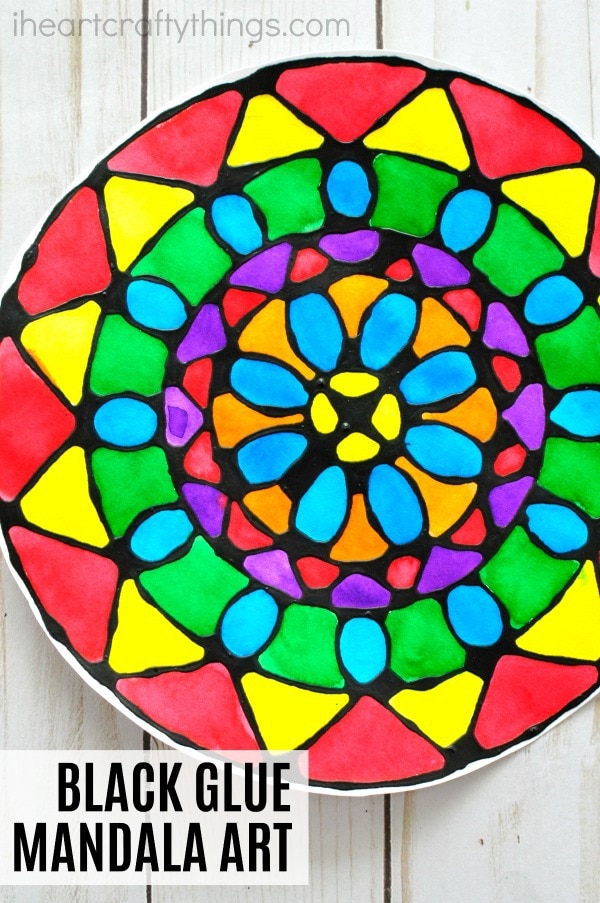
We’ve already crossed most of these items off our list since back-to-school supplies are in stock. Last week we had fun using some of our new glue stash in a creative way by making this colorful black glue mandala art project.
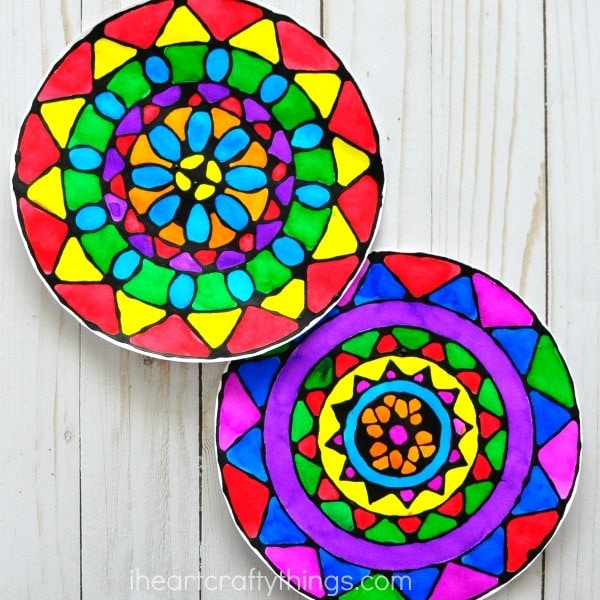
Just remember to stock up with extras of your favorite supplies so you can make fun art projects like our black glue mandala art. All you need to do is print out our mandala template, create the black glue mixture and you are set for an afternoon full of fun!
Supplies Needed:
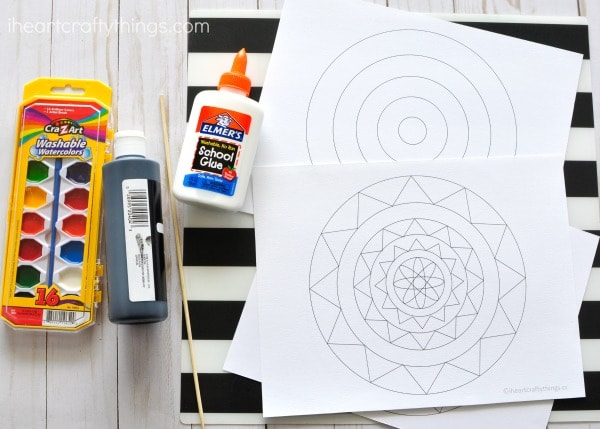
- mandala template <—-Get the mandala template here.
- mixed media paper
- School Glue
- black acrylic paint
- wood skewer or stick for stirring
- watercolors
- scissors

Instructions:
1. Print out templates
Print out one of the mandala templates on your mixed media paper and gather your supplies. For your convenience we’ve created two different mandala patterns and have a blank version available to help you design your own.
2. Make black glue
Mix together your black glue. To do this, use a bottle of School Glue that is about 75% full. Open the lid and squeeze in a generous amount of black acrylic paint. Put the lid back onto the school glue and then shake, shake, shake the bottle of glue for several minutes to incorporate as much of the black paint as possible. Then remove the glue lid and give the mixture a stir with your skewer or stick. The end of a paintbrush works well for mixing too.
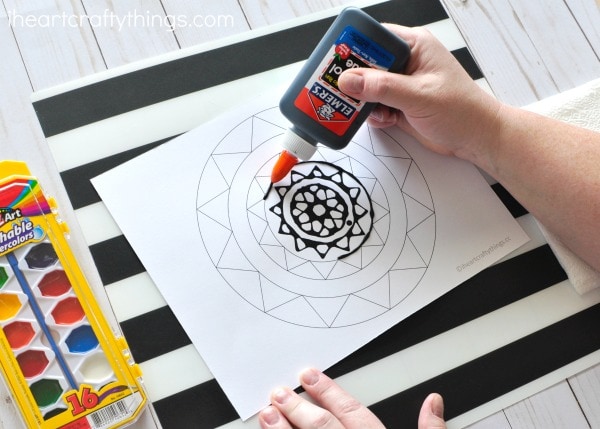
3. Trace the lines with glue
Before you begin tracing the template, test out the glue first on a napkin or separate piece of paper. Create some lines to experiment with the flow and spread of glue. Once you’re happy with the way the black glue flows use a steady hand to trace the lines of the mandala template.
4. Let it dry
Leave the black glue to dry overnight. This step is important because if you paint your picture prior to the black glue drying your watercolors will mix with the black paint.
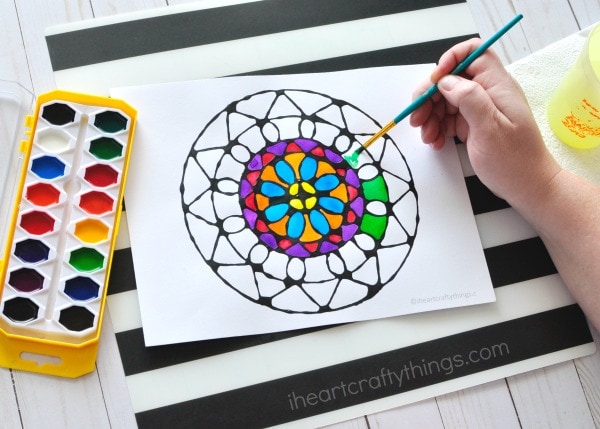
5. Color mandala with watercolors
Once the black glue is completely dry, paint your black glue mandala art project with your watercolors. Allow the art project to dry completely.
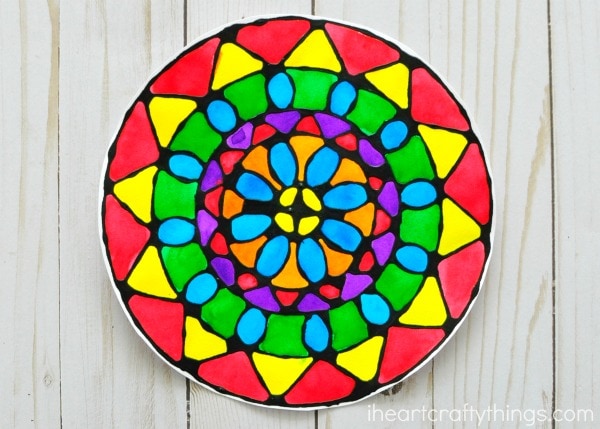
Your black glue mandala art project is finished!
Cut out your mandala art project and display it somewhere in your home for everyone to admire. The beautiful mandala pattern and bright colors reminds me of stained glass. Isn’t it gorgeous?!
