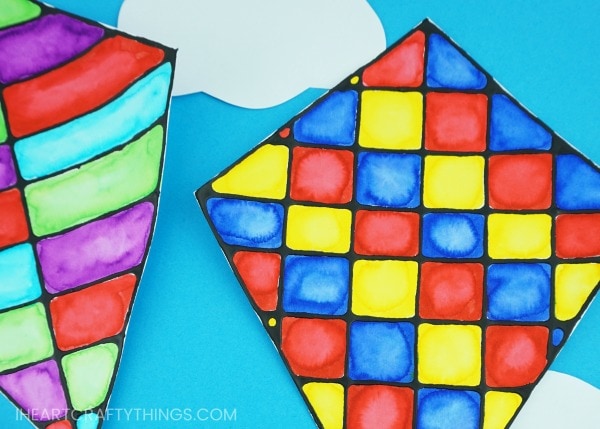
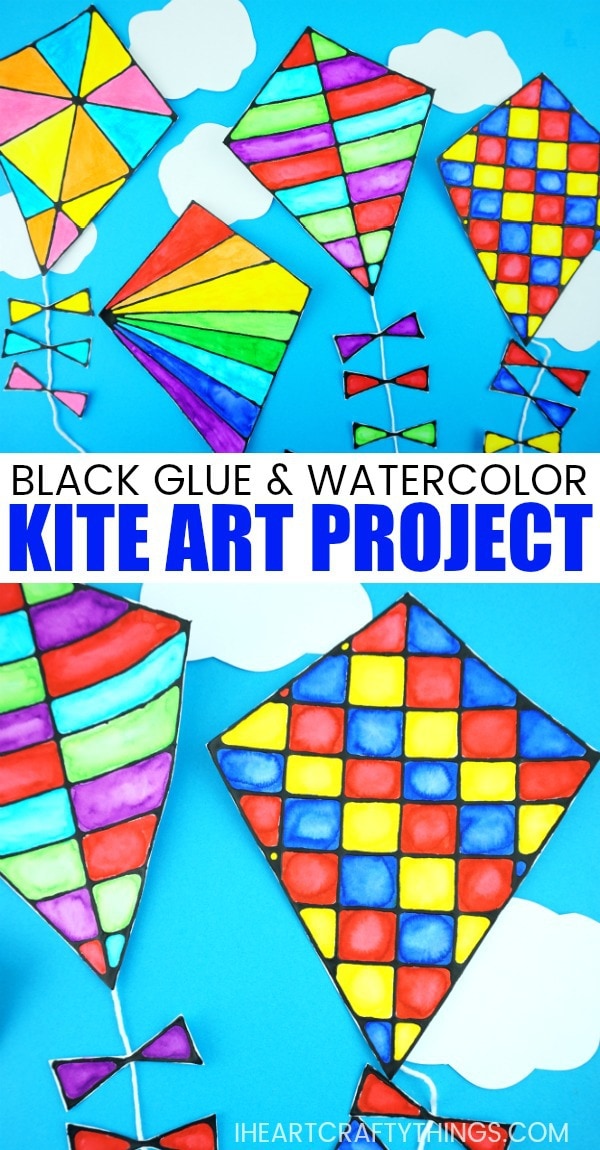
This gorgeous black glue kite art project is a perfect compliment to a family afternoon of flying kites at the park on a windy day. It is also a fun art project to make this summer when you are indoors and want to avoid the afternoon heat.
Can I tell you a secret? I am horrid at flying a kite. When my husband and I were newly married he thought it would be fun to venture out on a windy day for some kite flying. Romantic, right?! He of course had the kite flying up in the air on his first try and had a blast. Me…Well, lets just say after an hour of me trying we ended up leaving the park with my husband laughing hysterically about my kite flying skills [or lack thereof]. To this day I am still known for my inability to get a kite in the air. Sigh… This is one reason why I love the non-flying craft version of kites so much better.
Supplies needed for your black glue art project:
- kite art project templates <—– Purchase in Shop
- mixed media paper
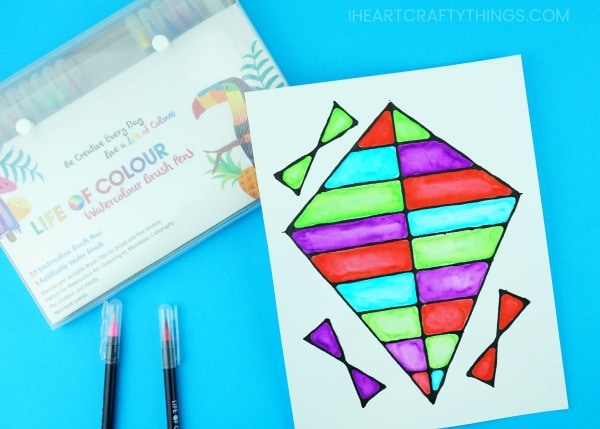
- watercolour brush pens
- school glue
- black acrylic paint
- white string
- tape
- glue
- scissors
Instructions for making this kite artwork:
1. Mix together black glue
Start by mixing together your black glue. To do this, squeeze a generous amount of black acrylic paint into a bottle of Elmer’s School Glue (We start with 1 Tbsp.). Use a wooden skewer or the end of a paintbrush to stir and mix the black paint into the school glue until it is thoroughly incorporated and the glue is black.
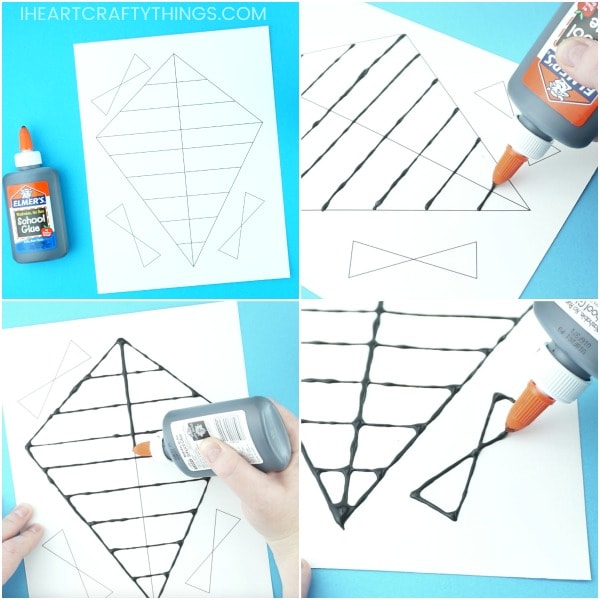
2. Print off template on mixed media paper
Purchase the kite templates. Print off one or several of the kite templates on mixed media paper. Note: If you prefer to not purchase a template, simply draw a kite onto your mixed media paper.
3. Trace the lines of kite template with black glue
Before you begin tracing the kite with your black glue, test out the glue first on a napkin or separate piece of paper. Create some lines to experiment with the flow and spread of glue. Once you’re happy with the way the glue flows, use a steady hand to trace the lines of your kite template with your black glue.
4. Leave black glue to dry overnight
Leave the black glue to dry overnight. This step is a MUST because if you paint your picture prior to the black glue drying your watercolors will mix with the black paint leaving you with a mess.
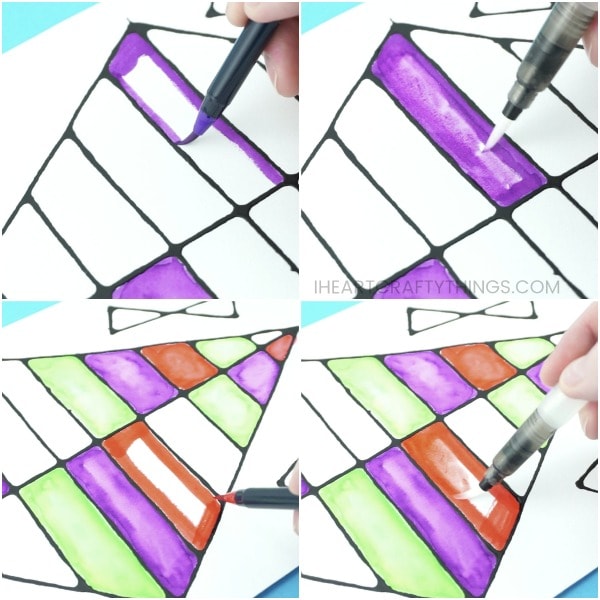
5. Paint kite template with watercolors
Once the black glue is completely dry, paint your kite template with watercolors.
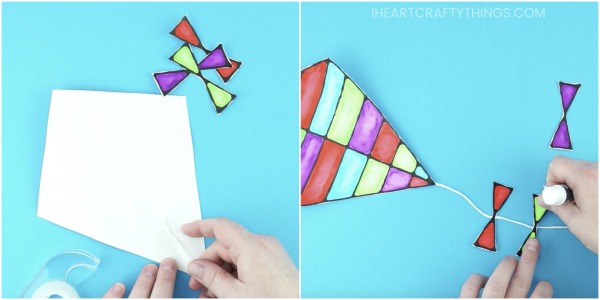
6. Cut out kite and bows and assemble all together
When your watercolors are dry, cut out your kite and the bows. Tape a string to the back of your kite so it hangs down below the kite. Then attach the bows along the kite string with glue.
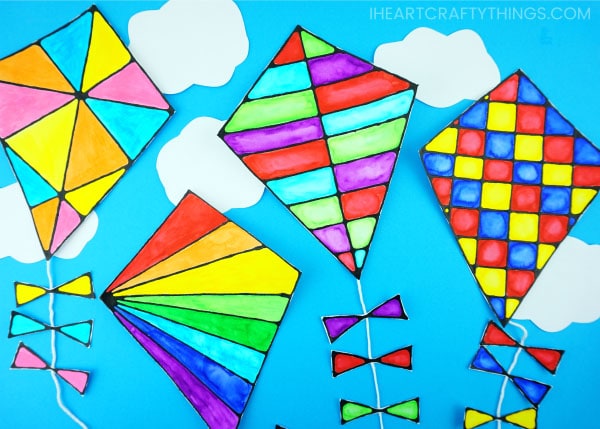
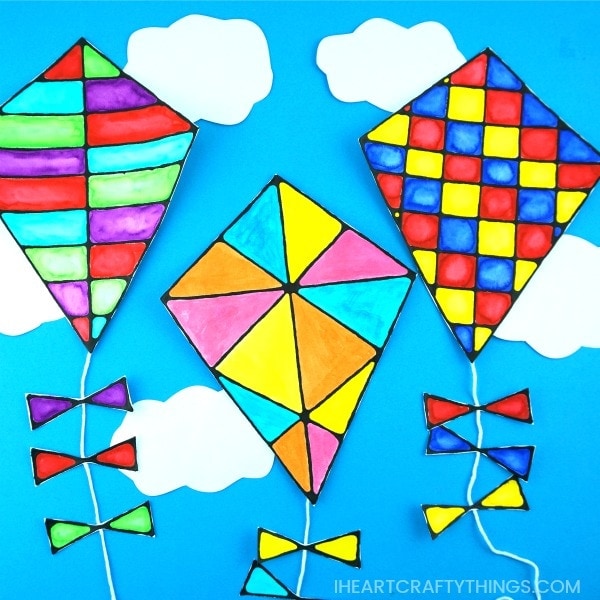
Your black glue kite art project is complete! These colorful kites will look gorgeous up on display on a classroom bulletin board. Use blue butcher paper for a backing and cut clouds out of white paper so it looks like your kites are gliding in the air on a windy spring or summer day.