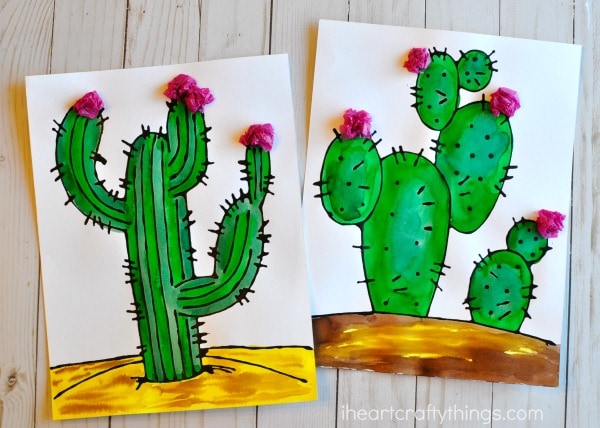
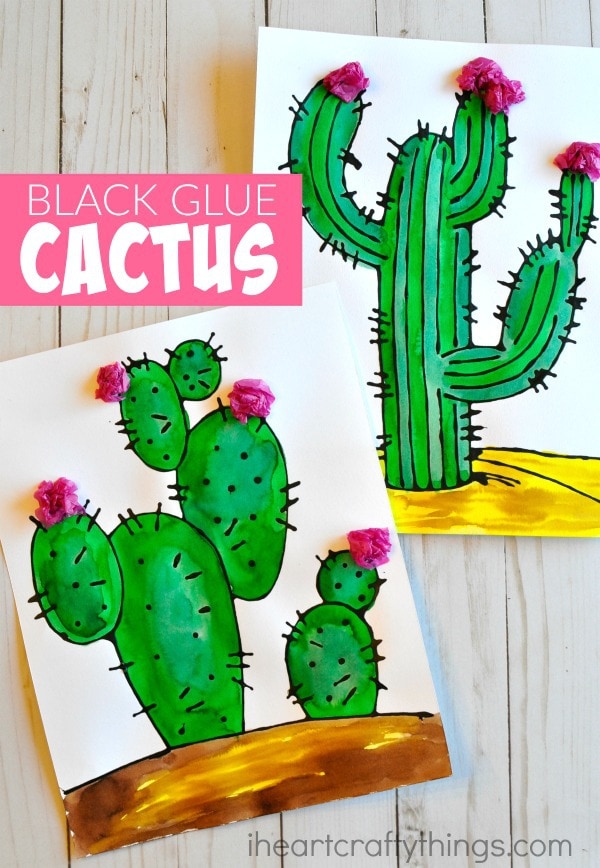
We are on a black glue art kick again and our latest creation screams summer time. Touching a prickly cactus in real life is no bueno, but crafting one is a different story.
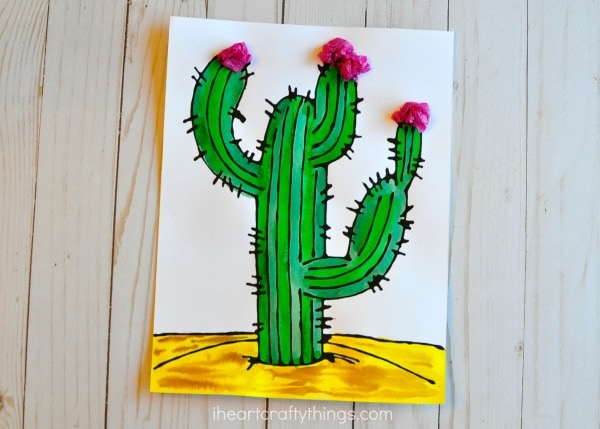
This black glue cactus craft we are sharing today is incredibly beautiful! The raised black glue texture mixed with the bright green watercolors and the bright pink crinkly tissue paper flowers makes this a fabulous mixed media project for kids that they will adore making this summer.
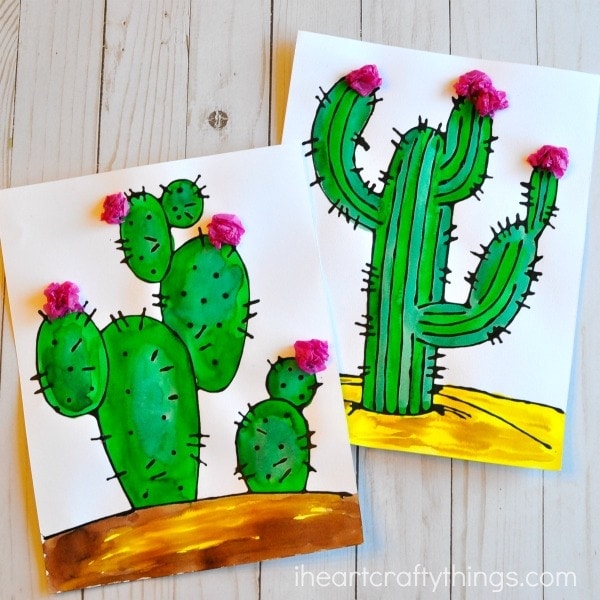
All you need to do is download the template, create the black glue mixture and you’re ready to make this beautiful cactus craft!
This post contains affiliate links to the products mentioned. Read our disclosure policy for more information.
Supplies Needed:
- cactus templates←Download the Cactus Templates
- mixed media paper (or watercolor paper)
- School glue
- black acrylic paint
- food skewer (or stick for stirring)
- liquid watercolors
- paintbrush
- pink tissue paper
- napkins
Instructions:
1. Make black glue
Start by mixing together your black glue. To do this, use a bottle of Elmer’s School Glue that is about 75% full. Open the lid and squeeze in a generous amount of black acrylic paint. Put the lid back onto the school glue and then shake, shake, shake the bottle of glue for several minutes to incorporate as much of the black paint as possible.
2. Stir the glue
Then remove the glue lid and give the mixture a stir using your stick or end of a paintbrush.
3. Print out template
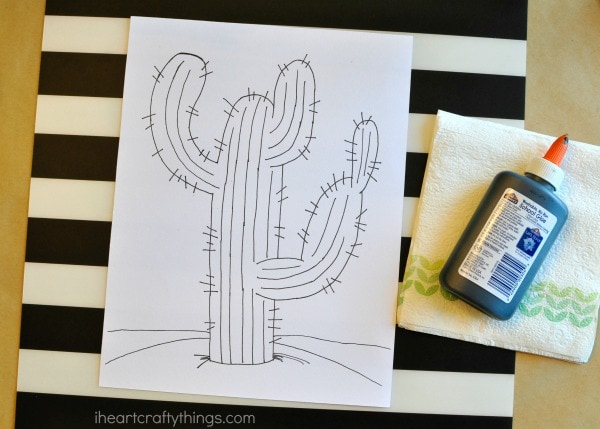
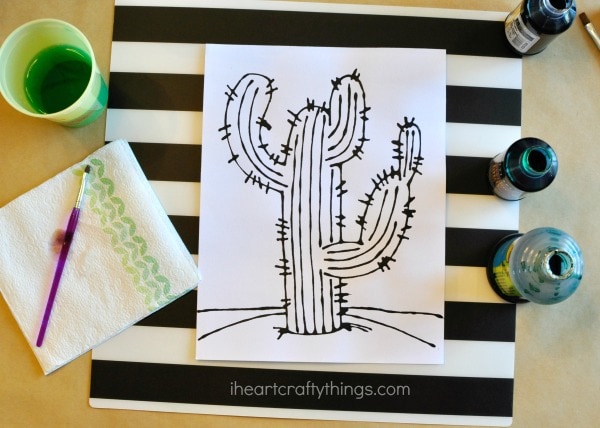
Before you begin tracing the template, test out the glue first on a napkin or separate piece of paper. Create some lines to experiment with the flow and spread of glue. Once you’re happy with the way the glue flows, download the Cactus template and print out whichever cactus you’d like to use.
4. Trace the template
Using a steady hand, trace the lines of the cactus craft with black glue. Don’t worry if the lines are not perfect or the glue pools a little, as this adds to the overall affect of the piece. We traced the big outlines of the cactus first then went back in and traced the smaller cactus prickly parts.
5. Let it dry
Leave the black glue to dry overnight.
6. Add watercolors
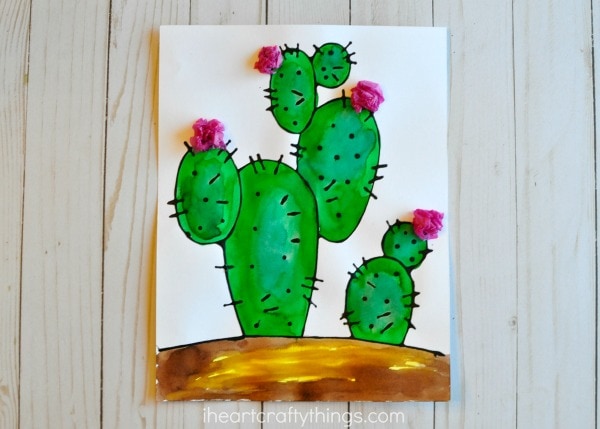
Have fun playing around with the watercolors when you paint your cactus. I love to outline sections with one color and then color in the middle with a different color. I did this when painting the cactus with two different shades of green. Don’t be afraid to brush over the black glue as it repels the watercolors, leaving the outline perfectly intact!
7. Add crinkle tissue paper
For some extra color and texture crinkle up some pink tissue paper squares and glue them onto some of the cactus pieces for pretty cactus flowers. You could also use other colors of tissue paper like bright red or orange.
YOUR BLACK GLUE CACTUS CRAFT IS FINISHED!
