When visiting London, there are many sights that simply have to be seen! From Buckingham Palace to the London Eye, there is no shortage of incredible things to behold.
One of the most famous and recognizable of them all would have to be Big Ben.
This famous clock tower is a part of the equally famous Palace of Westminster, and it has served as an iconic tourist destination and symbol of London for many years.
People who love this great city often like to learn how to draw Big Ben to show their admiration.
If you love this city and this famous landmark, then this will be a tutorial that’s not to be missed!
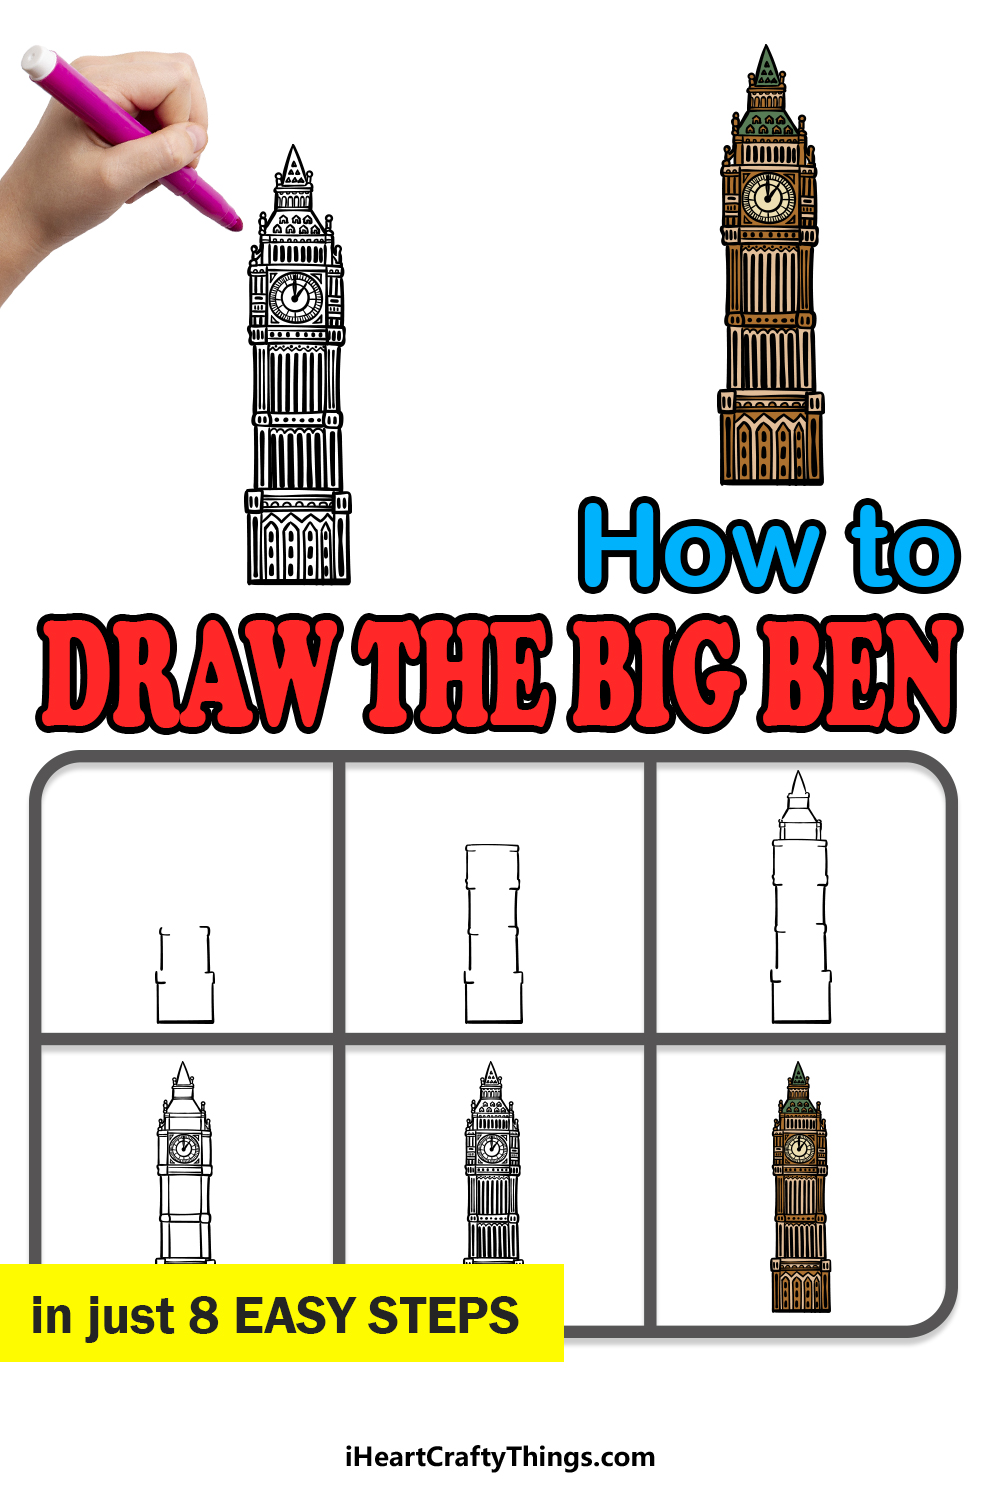
Get ready to recreate this famous architectural icon as we begin this step-by-step guide on how to draw Big Ben in just 6 easy steps!
How to Draw Big Ben – Let’s get Started!
Step 1
You may think that drawing such an iconic and detailed landmark would be a tough challenge to take on, but we will make it much easier by breaking it down into some smaller steps!
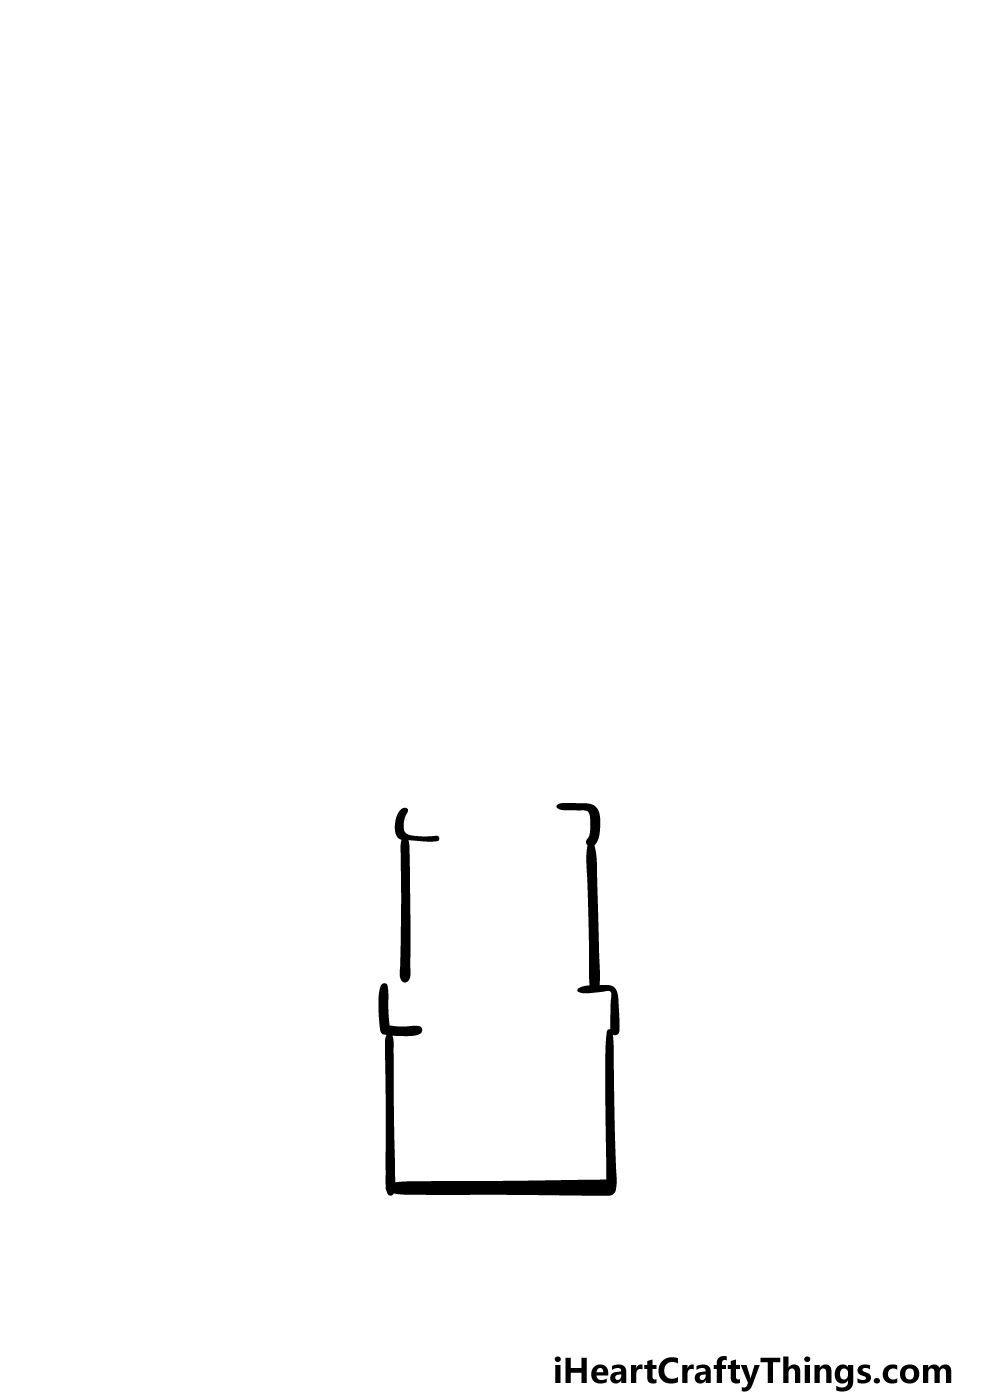
For the first few steps of this guide on how to draw Big Ben, we will be working with some simple shapes. For now, we will work on the lower sections of the structure.
We will be using some straight lines to create two squared shapes that have some thick rims at the upper edges. The reference image will guide you as to how these should look.
The upper section should also be ever so slightly smaller than the bottom one! Then, when these are drawn you will be ready for the second step!
Step 2 – Next, draw the next section of the building
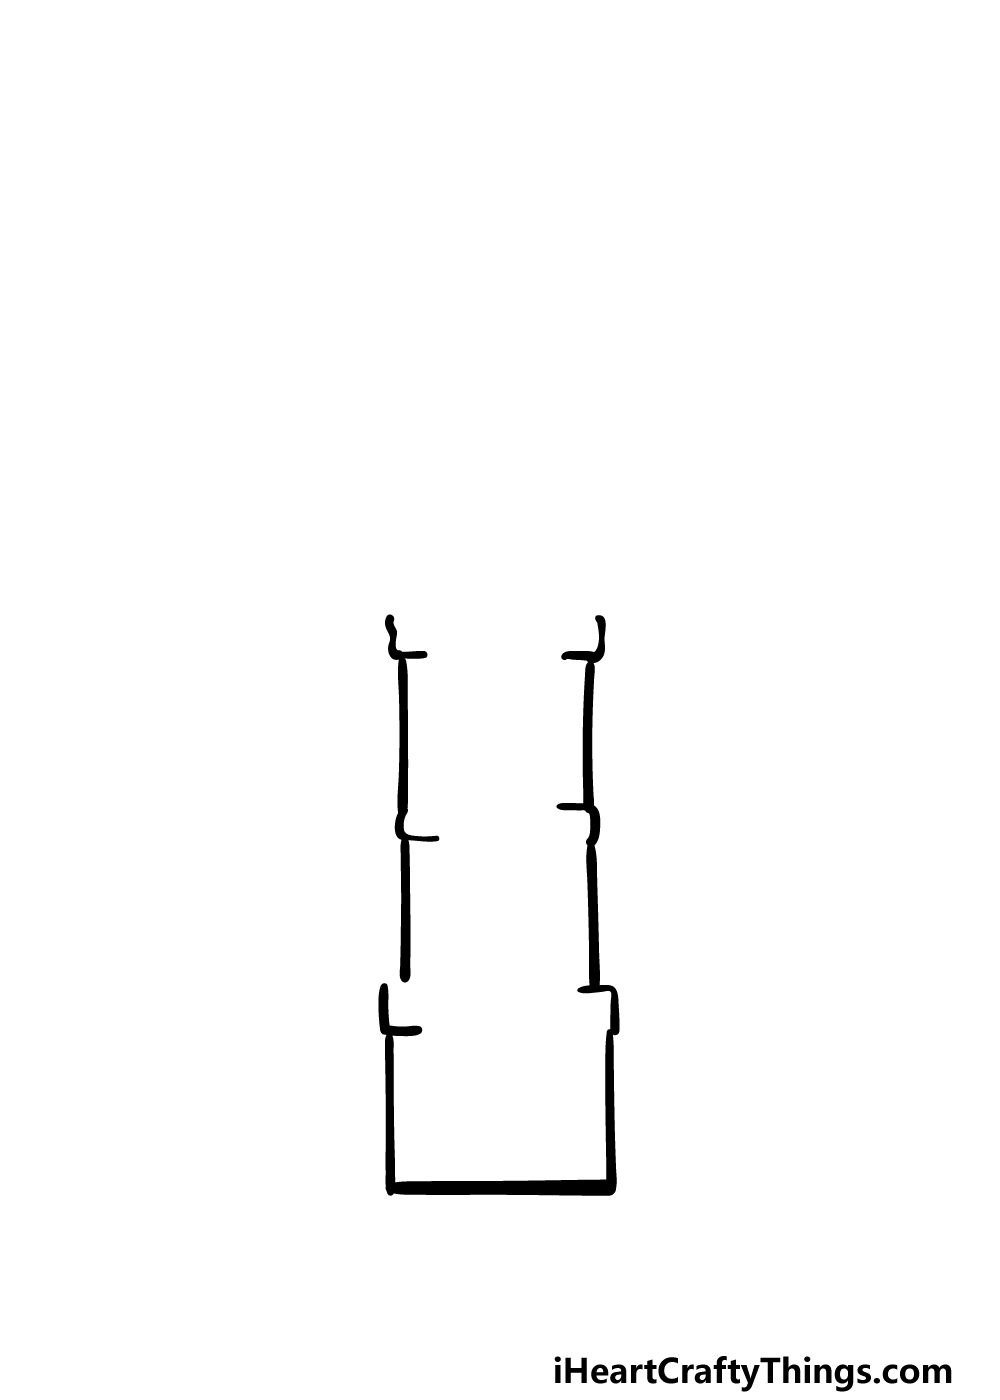
You started off this Big Ben drawing with two squared sections, so you should have no problems adding another to the image in this second step!
To do this, you simply need to add another squared section on top of the first two. This one will be the same width as the preceding one, and it will have the same rims at either top side.
With this third section drawn, you can then proceed to step 3 of the guide.
Step 3 – Now, draw one more section of the building
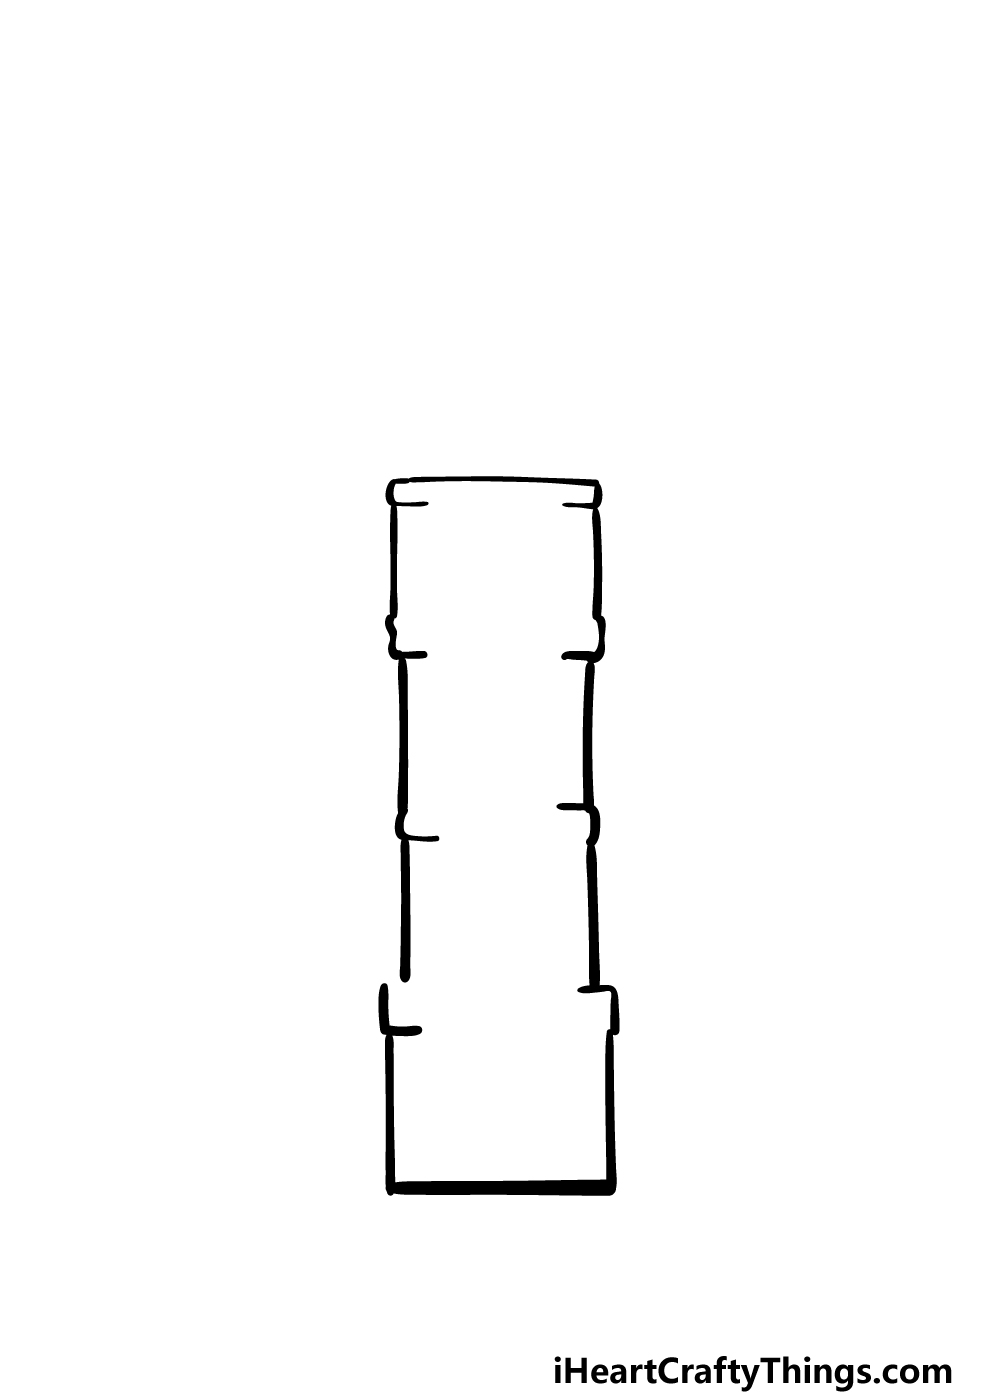
There’s just one more squared section to draw before we start adding some more intricate elements to the image.
This one will also be the same width as the previous two, but there will be one difference in this latest section.
The difference will be that the rims at the top edges will be joined by a straight, horizontal line.
This will be because this squared section will be the last one before the sloped roof of the tower that we will begin in the next step.
Step 4 – Next, draw the top of the tower
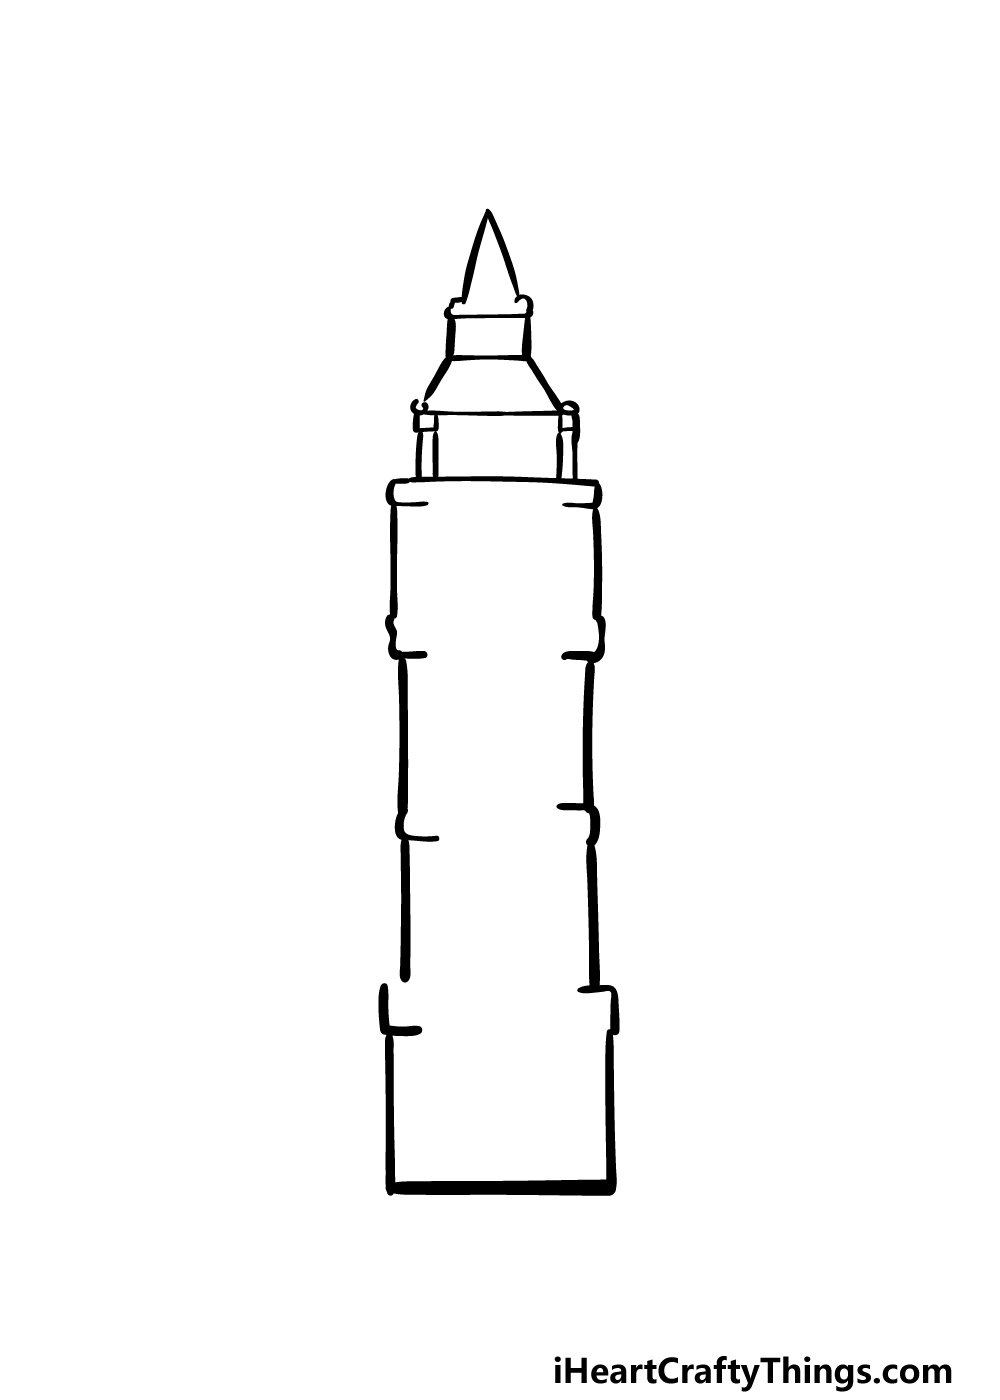
As mentioned in the previous step of this Big Ben drawing, this part will see you beginning the roof of the tower.
This will have some thin vertical sections for the base of the roof, and then there will be a flatter triangular section above it.
Then, add a small rectangular section that has two straight lines forming a pointy tip.
The reference image will guide you as you draw if any of this sounds confusing!
Step 5 – Now, start drawing some finer details
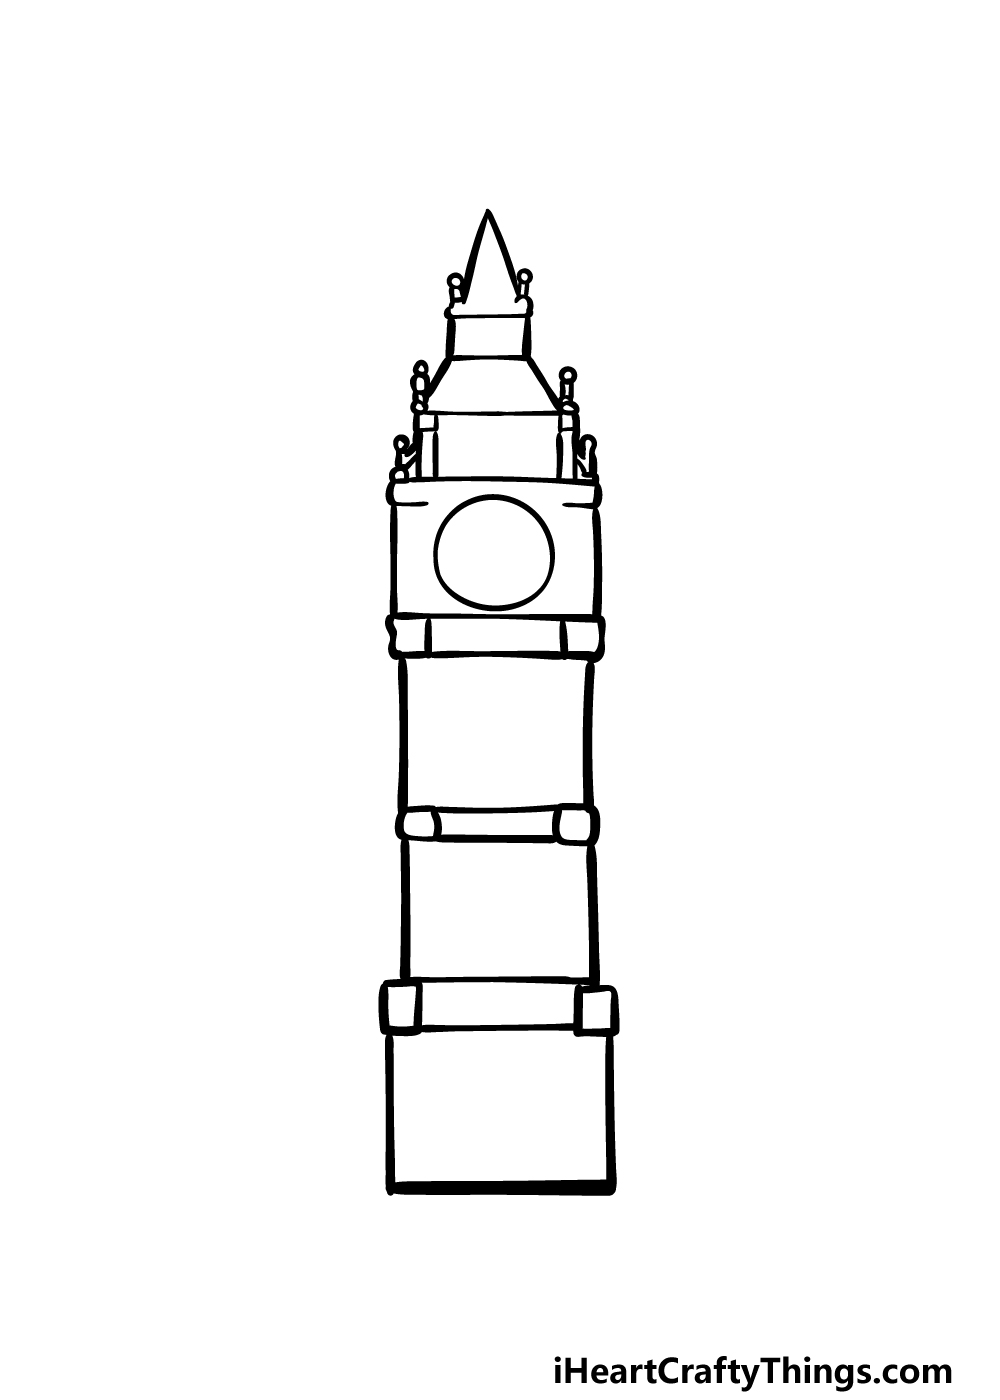
The main outline of this tower is complete, so from this step of our guide on how to draw Big Ben we will focus on some finer details.
First, draw a circle near the upper sections of the tower for the clock face. We will add some details to that soon enough.
Then, use some small squared shapes and straight lines to connect the various rims that you drew at the tops of each squared section.
Finally, draw some small, thin vertical shapes near the top for some spires on top of the tower.
Step 6 – Next, draw some more fine details
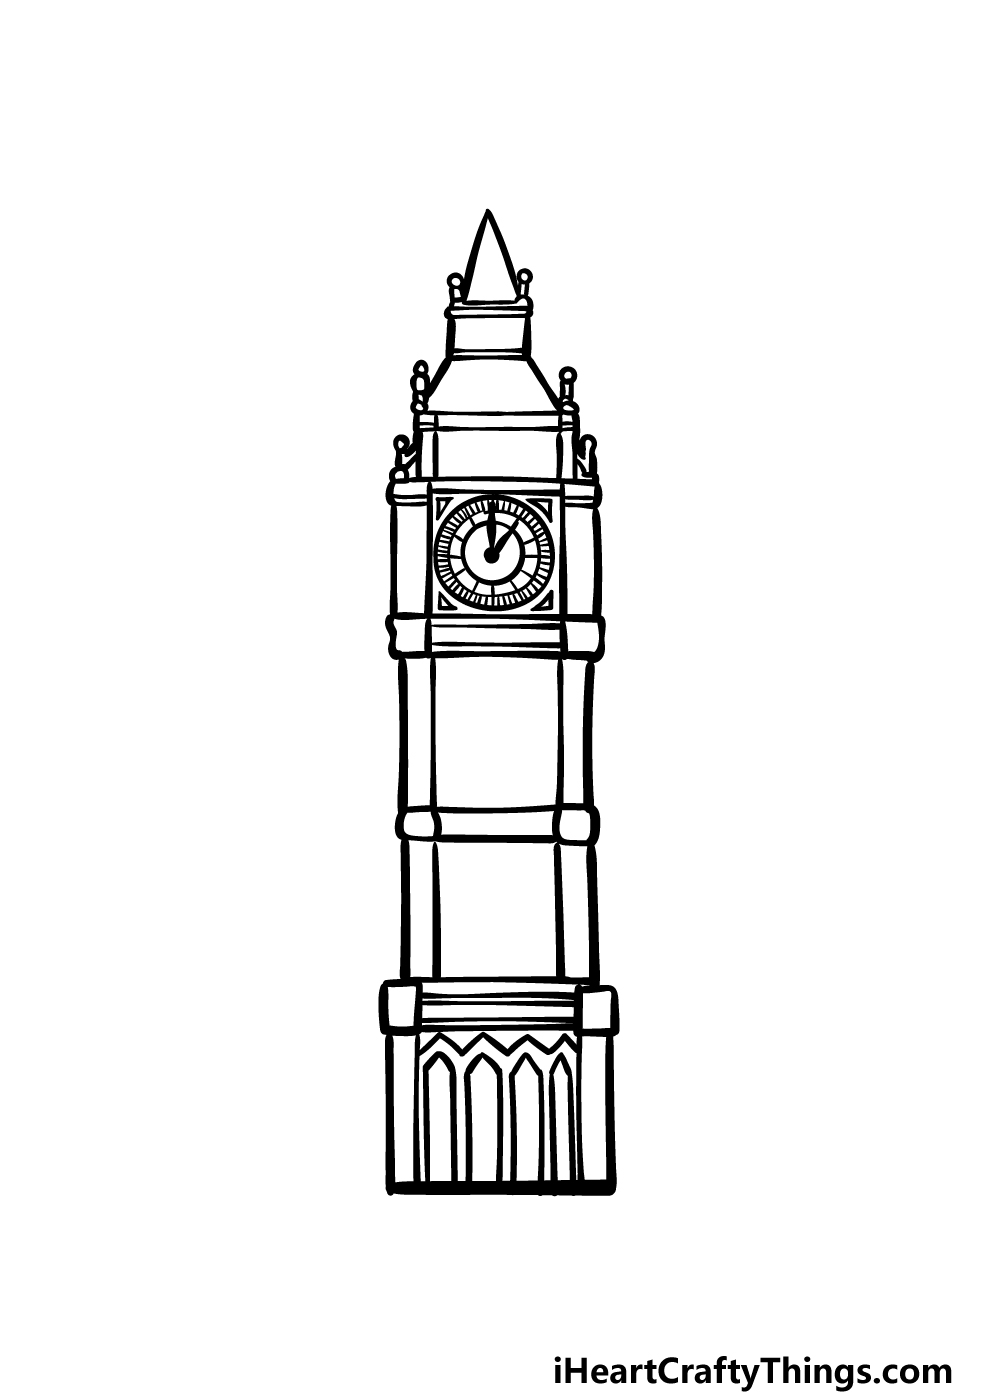
Continuing with this Big Ben drawing, we can now add more fine details to the image.
First, draw another circle inside of the clock face, and then add some lines at the edge of the clock face. You can also draw the thick hands of the clock.
Then, add some vertical lines down the inner sides of each squared shape. You can finish off this step by adding some thin pointed shapes near the base of the clock tower.
Step 7 – Finish up the final details
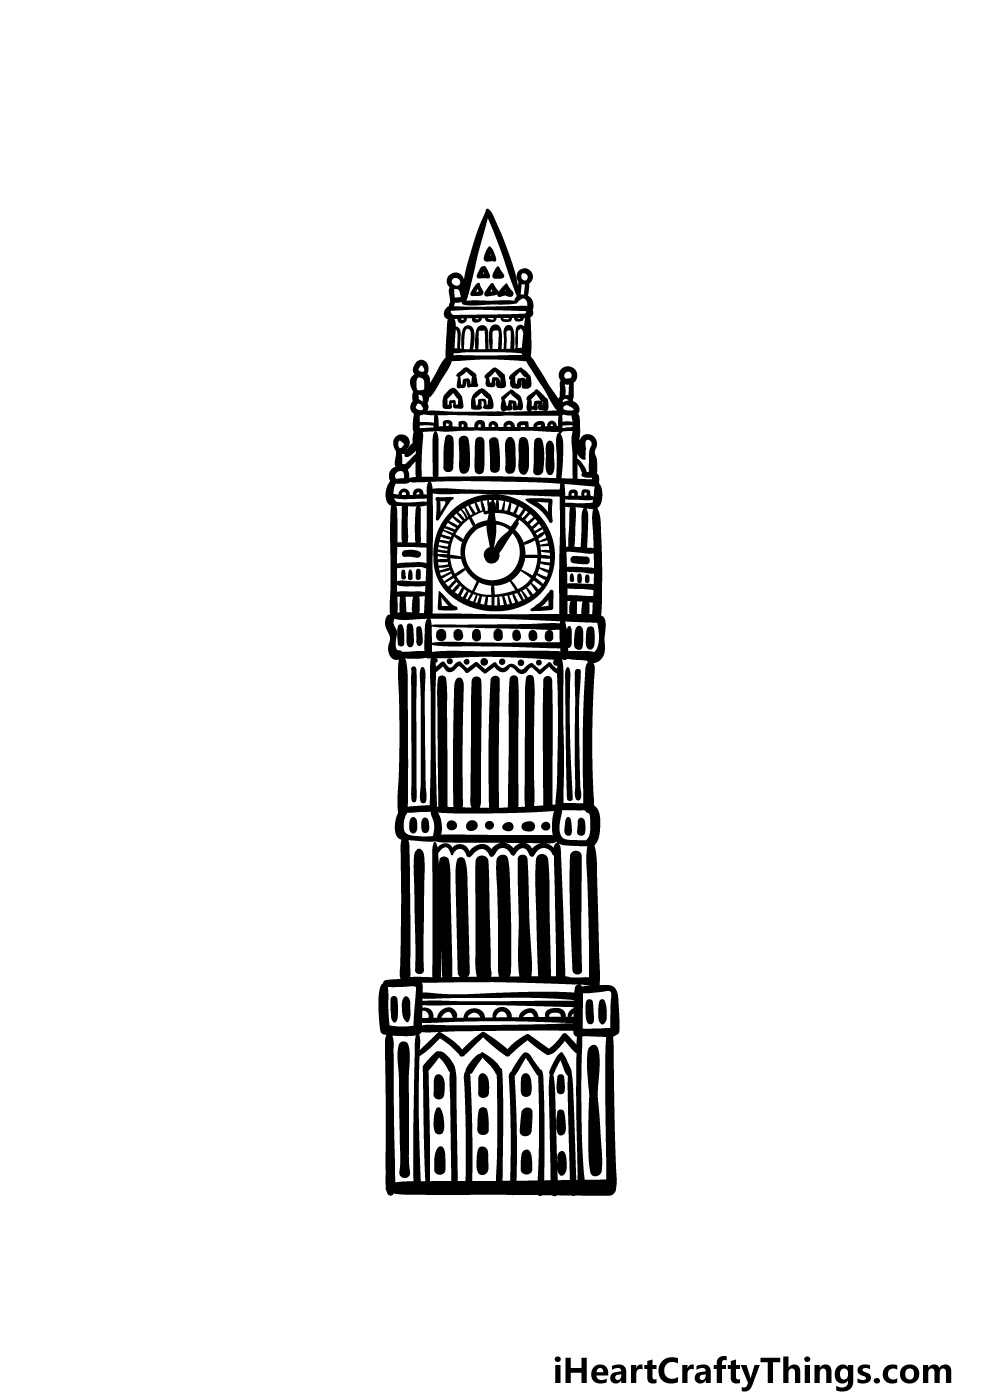
This step of our guide on how to draw Big Ben may look complicated, but it’s not as bad as it looks! For this step, you will be drawing some thick line details inside each section of the tower.
This is a step where you would really benefit from closely copying the reference image we provided.
When all of the details are added, you could also provide some extra details of your own.
These could include some weather effects or even some more famous London landmarks! How will you finish it off?
Step 8 – Now finish it off with some color
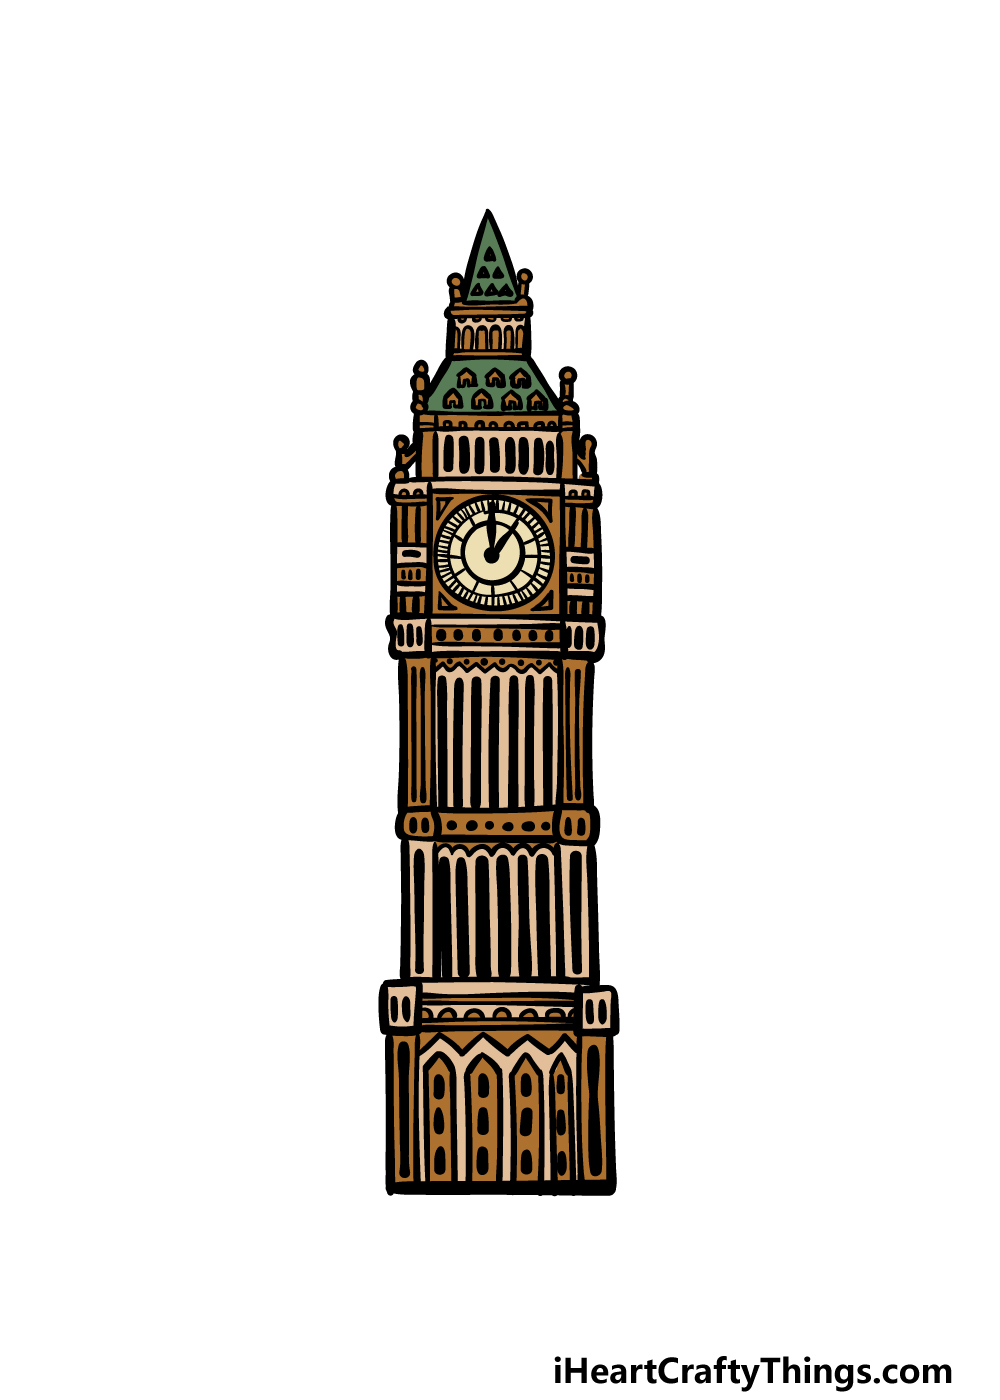
The final part of this Big Ben drawing is all about finishing up with some colors. In our example image, we used some realistic colors and shades to color it in.
These include some more muted browns and dark greens, and you could go for similar colors in your own image!
Will you go for a more muted look or maybe some brighter colors for a more expressive, stylistic approach? We can’t wait to see what you choose!
3 More tips to make your Big Ben drawing easy!
Make this easy to draw Big Ben easier in no time at all with these 3 fun tips!
Part of what people love so much about Big Ben is just how intricately detailed the structure is.
We made sure to capture these incredible details in this Big Ben drawing, but they can sure make the drawing harder to do.
Because of this, you can start to take away some of these details in order to make it easier. It would be a shame to lose all of the detail, so you should try to remove them sparingly.
Try to focus on areas that are giving you the most issues if you need to alter the design. If you keep it more minimal, then you will still have an incredible drawing at the end!
Another way that you can make this drawing of Big Ben a bit easier would be by portraying it in a different style. This would be a great way for you to get away with portraying fewer details as well.
For instance, you could draw this Big Ben in a more simplified, cartoony style. This would give the drawing a whole new feel, but it would still look awesome and capture the majesty of this structure.
That is one way that you can use a new style to make the drawing a bit easier, but there may be other styles you would prefer to use.
Finally, one of the best ways to make this Big Ben drawing easy to do would be by using the real thing! If you happen to live in London, then you could take a trip for some photos to help you as you draw.
If not, you can definitely find many photos and drawings of Big Ben online that you can use to aid you. Using these pictures along with the images in our guide will make the process much easier.
Using this tip with the other ones we provided can make the process even more simple and enjoyable!
Your Big Ben Drawing is Complete!
That brings you to the end of this guide on how to draw Big Ben! We hope that the steps in this guide made it fun and easy for you to recreate this iconic tower.
Now that you have mastered the steps in this guide, you can keep it going by adding your own awesome details and ideas!
We mentioned a few ideas earlier in the guide, but what else can you think of?
When you’re finished with this guide and ready for more, you can find your next guide on our website! Be sure to keep visiting us as we upload new guides frequently.
Lastly, be sure to share your finished Big Ben drawing on our Facebook and Pinterest pages for us to see!