Banners can be used for many different purposes and occasions. These can range from birthday parties and weddings to carnivals and Renaissance festivals.
They can come in all manner of different shapes, sizes, materials and color schemes, and there can be a banner for any occasion.
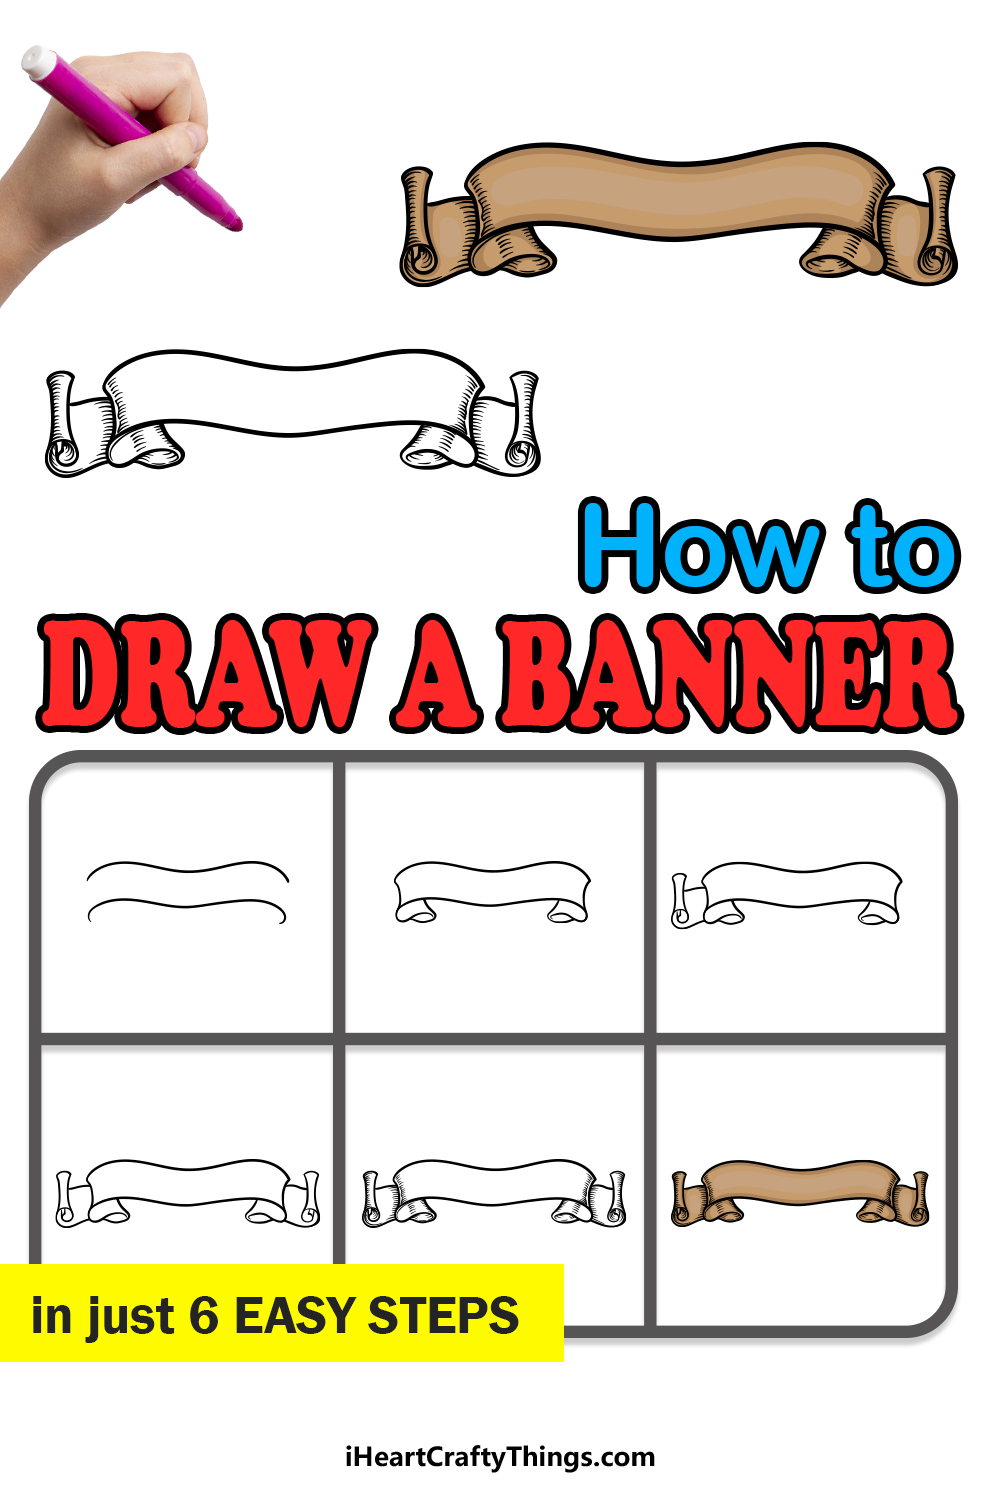
Learning how to draw a banner isn’t always an easy thing to get right, but this is the guide for you if you would like to know how it’s done.
By the end of this guide, you will also see that it can be not only easy but lots of fun too!
We hope you have a great time working with us on this guide on how to draw a banner in 6 steps.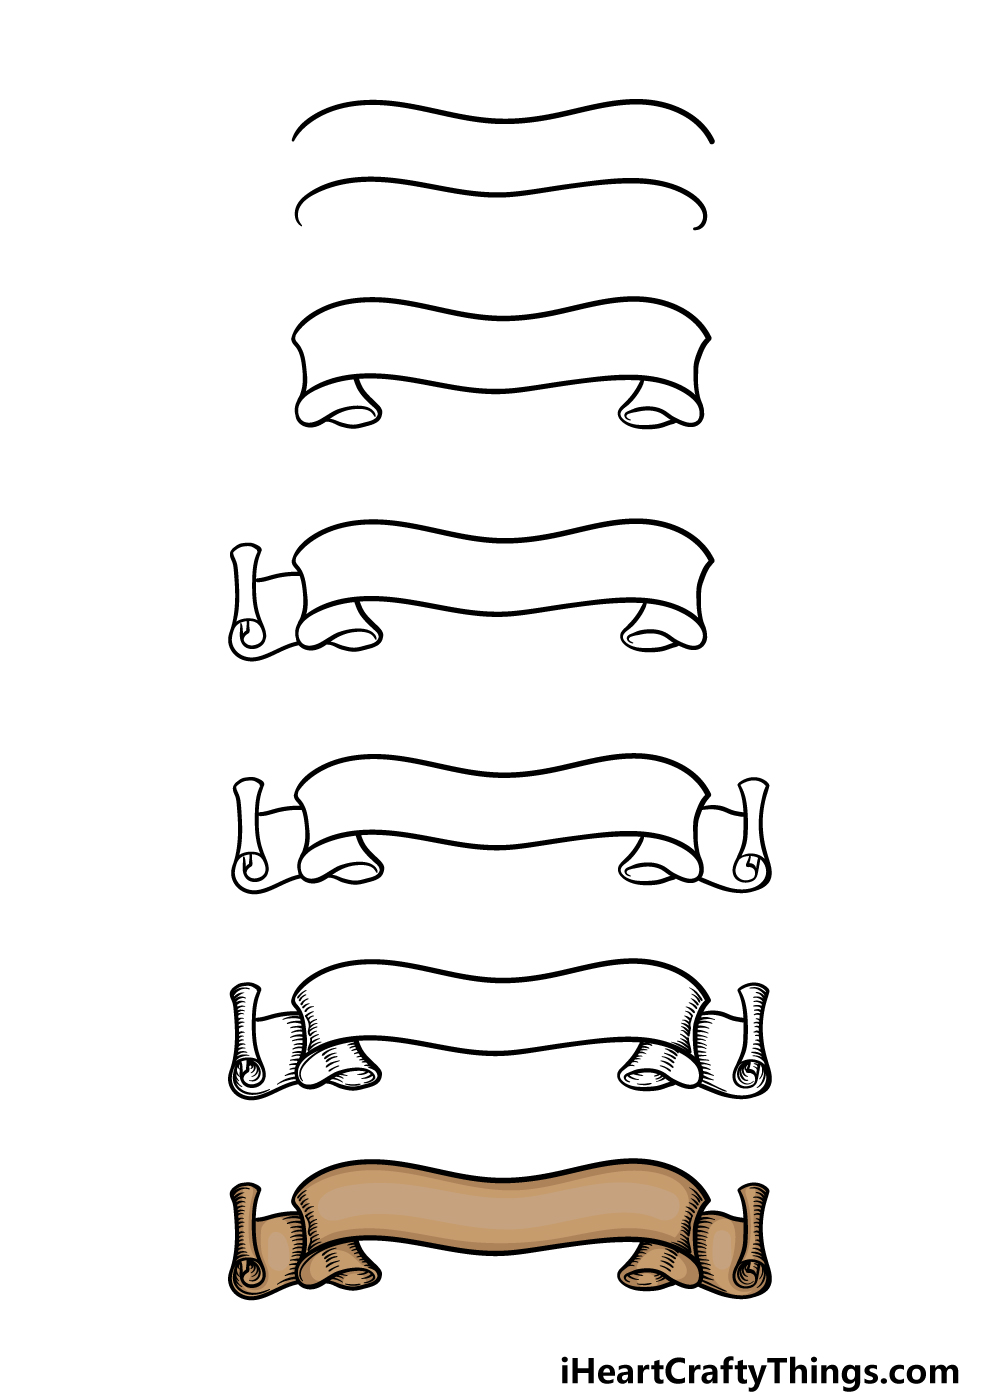
How to Draw A Banner – Let’s Get Started!
Step 1
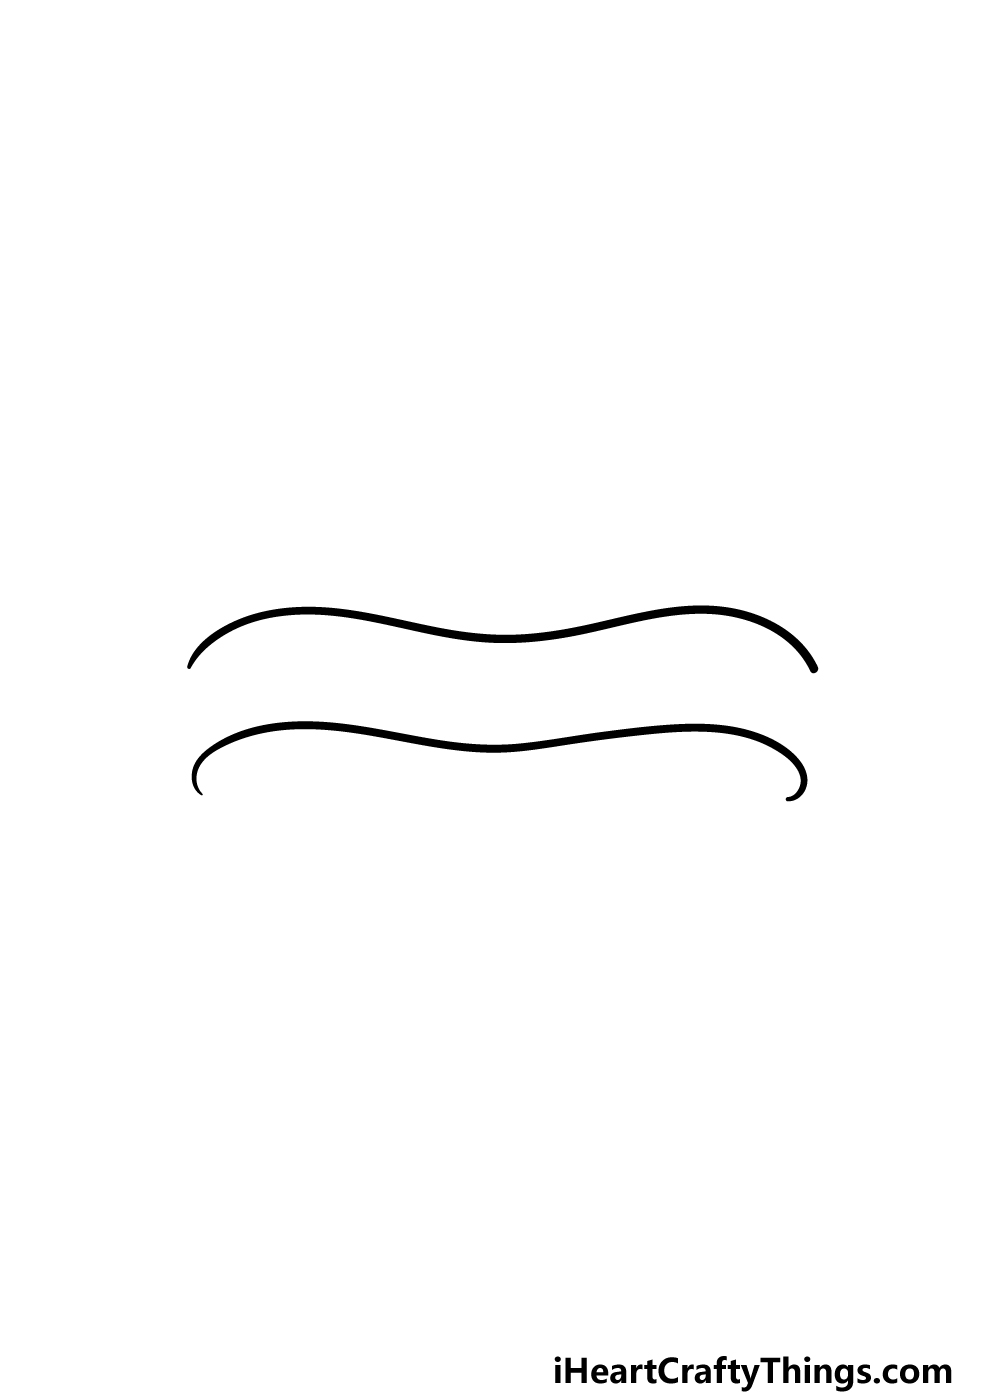
To kick off this guide on how to draw a banner, we will be starting with the central ‘body’ of the banner.
This should be one of the easier parts of this drawing to complete, as all you need to do is draw some wavy lines.
They will curve downwards slightly at both ends, as these will lead into the folds of the banner that we will be drawing in later steps.
Once you have these lines drawn, you can move on to the next step!
Step 2 – Next, start drawing the folds of the banner
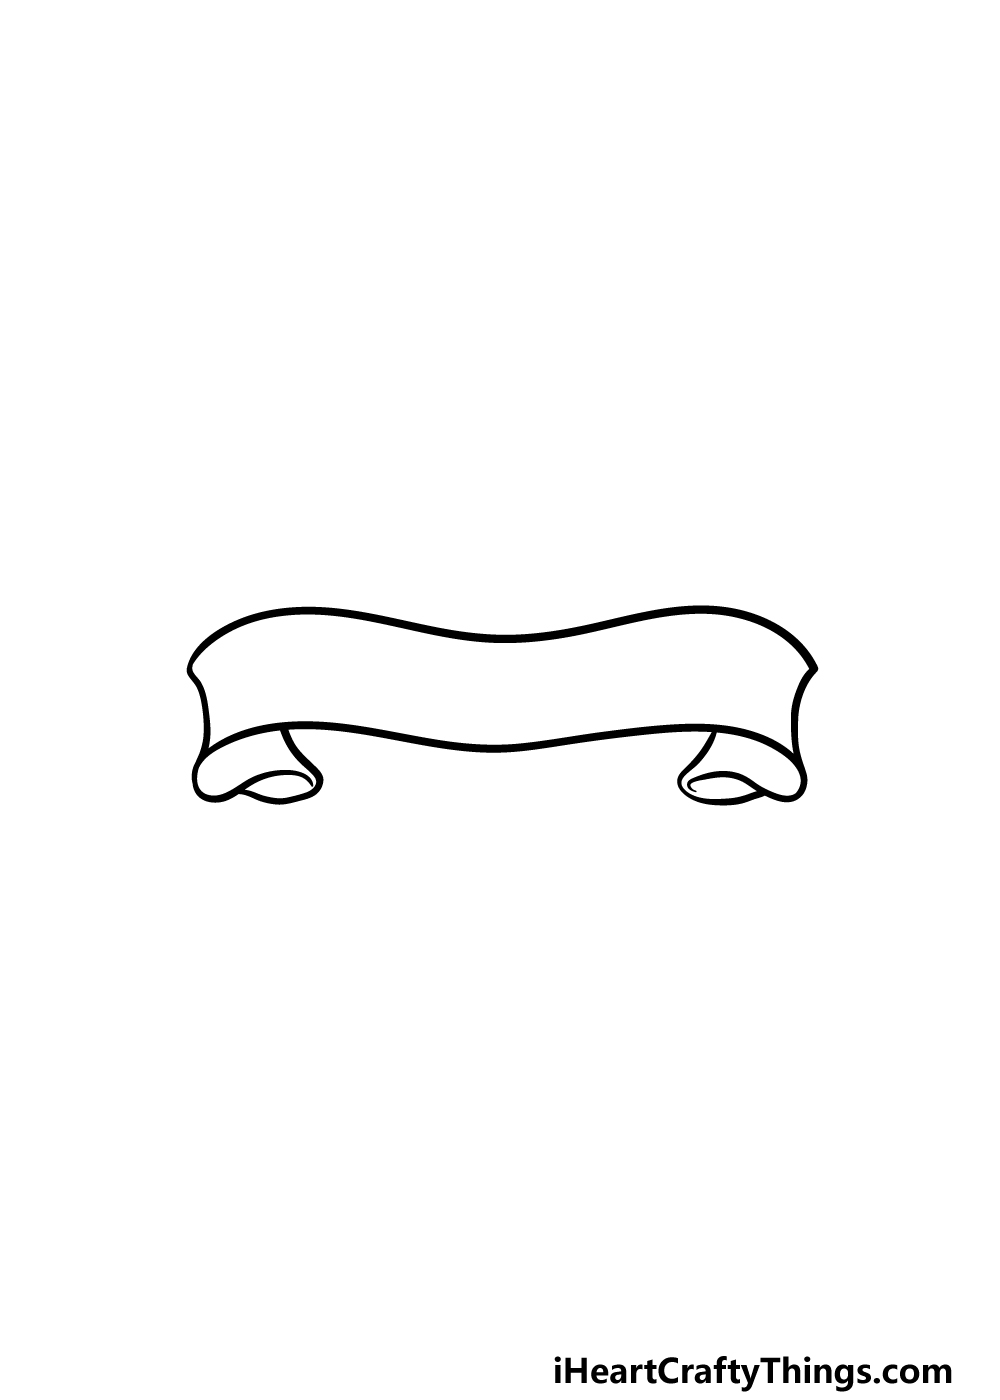
Now that you have the body of your banner drawn, you can start on the folds at the sides of it for this part of your banner drawing.
To start this, we will be adding some slightly curved vertical lines to the sides of the banner. These will curve inward, and will turn the body of the banner into a solid shape.
Once you have drawn those lines, we will be adding some rounded shapes underneath the ends of the banner.
These can be drawn with some curved and rounded lines, and they will make it look like the banner is unfurling on both ends.
Try your best to replicate these shapes as they appear in the reference picture and then we shall proceed to step 3 of the guide.
Step 3 – Draw the left-hand side of the banner
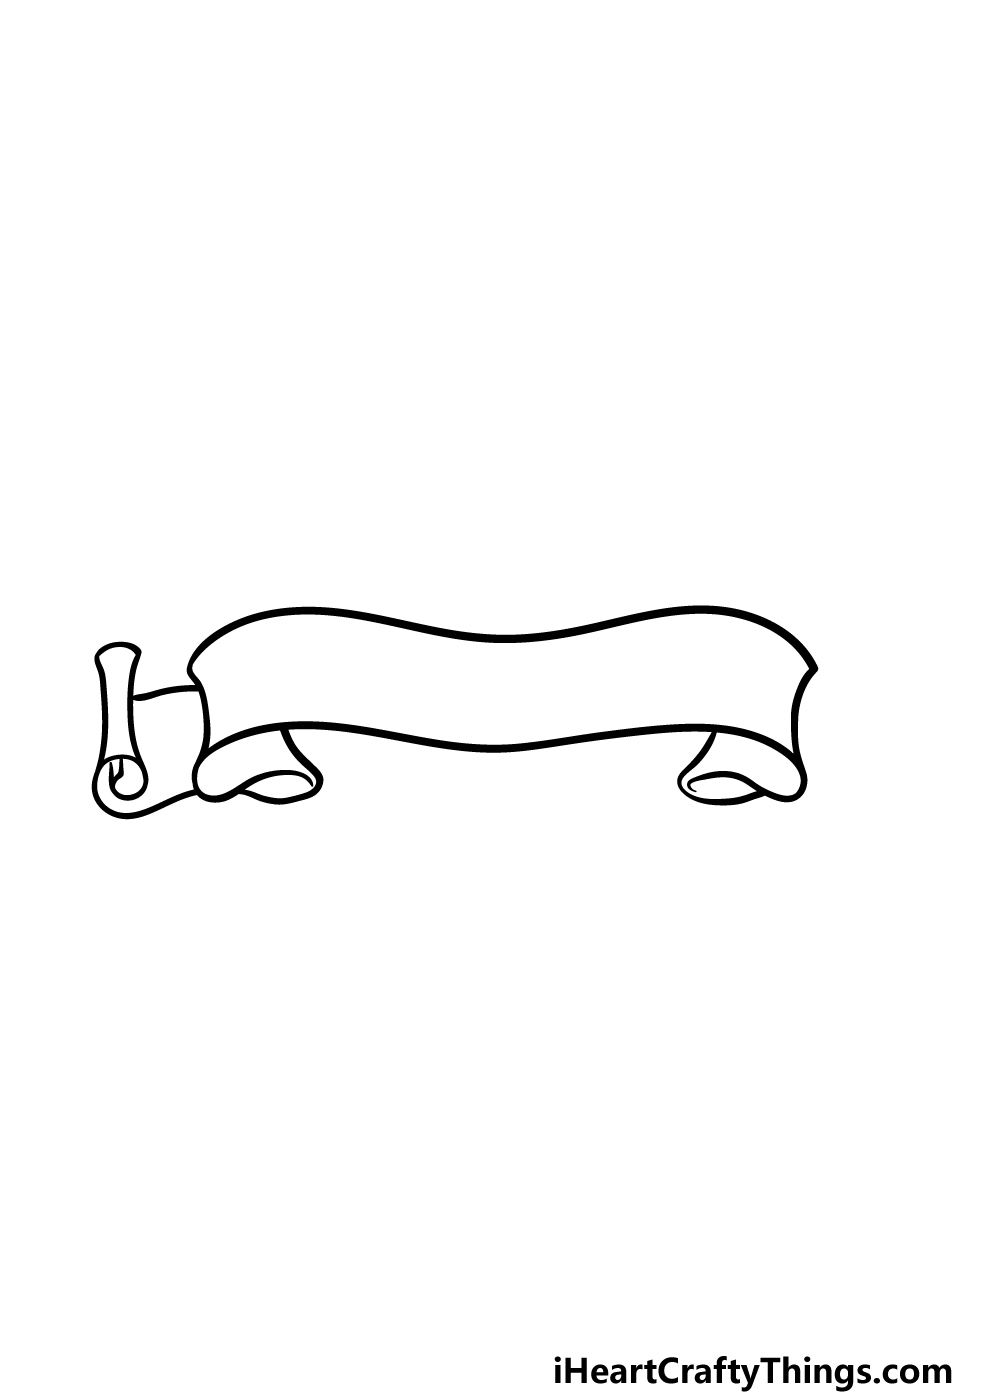
For this part of our guide on how to draw a banner, we will continue to draw the unfurling effect of the banner.
For now, we will focus on the left-hand side and you can begin by drawing two wavy lines coming off from the vertical edge of that side.
Those will then extend into more inverted vertical lines, and at the bottom you can draw a twisty spiral line to show where the banner is still furled. This will make it look like this banner is made out of parchment or paper.
If any of this sounds a bit confusing, then make sure to follow the reference image closely along with this step to make sure you don’t get lost!
Step 4 – Now, draw the right-hand furl of the banner
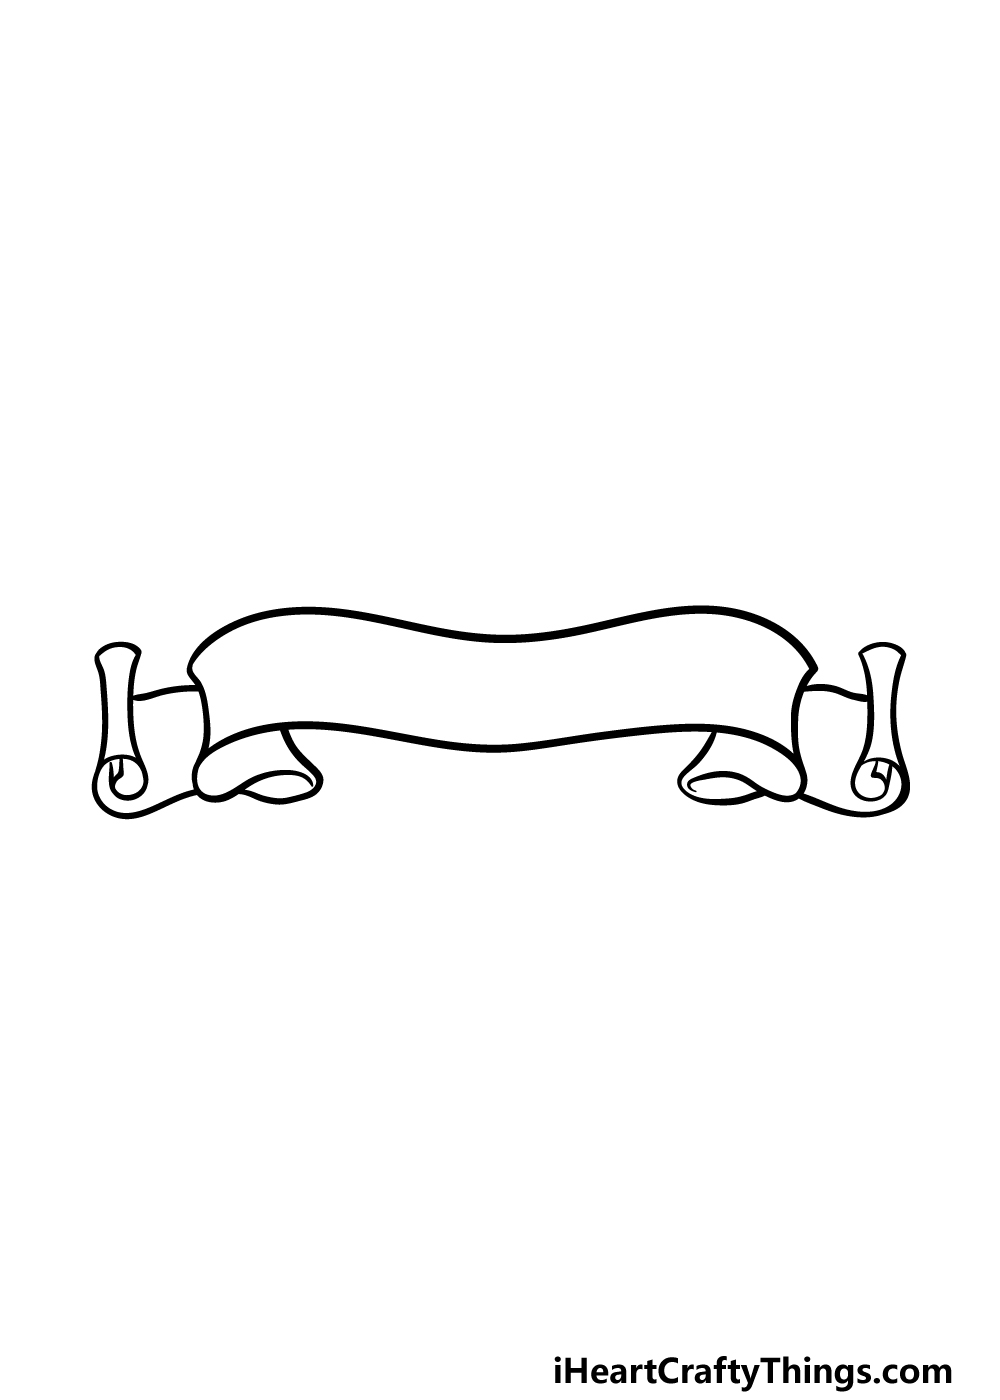
Step 4 of your banner drawing will see you basically mirroring exactly what you did in the previous step.
Using the same curved lines, you can draw the banner unfurling in exactly the same way as previously, and then you can finish it off with another spiraling line at the bottom of the shape.
With this side of the banner drawn, we then just have a few final details to add in the next step before you start to color in.
Step 5 – Finish off the final details of the banner drawing

You have finished the main structure of your picture, so in this step of our guide on how to draw a banner we will finish off the final details.
We shall be adding some shading lines to most of the lines of the banner, and these can be drawn with lots of small, thin lines in the areas you see them in our reference image.
These will help to give the banner a bit more texture and depth. With these shading details complete, you’re ready for the final step!
You don’t have to move on just yet, though, as just because you have finished our details doesn’t mean you can’t add some of your own.
As we mentioned previously, banners can come in all manner of different shapes and styles, so you could change up the look and details if you have another design in mind!
This would be a great design to incorporate into a birthday or Christmas card, so you could also write a name or message onto the banner. These are just a few ideas, but what else can you think of to finish off this drawing before the final step?
Step 6 – Finish off your banner drawing with some color
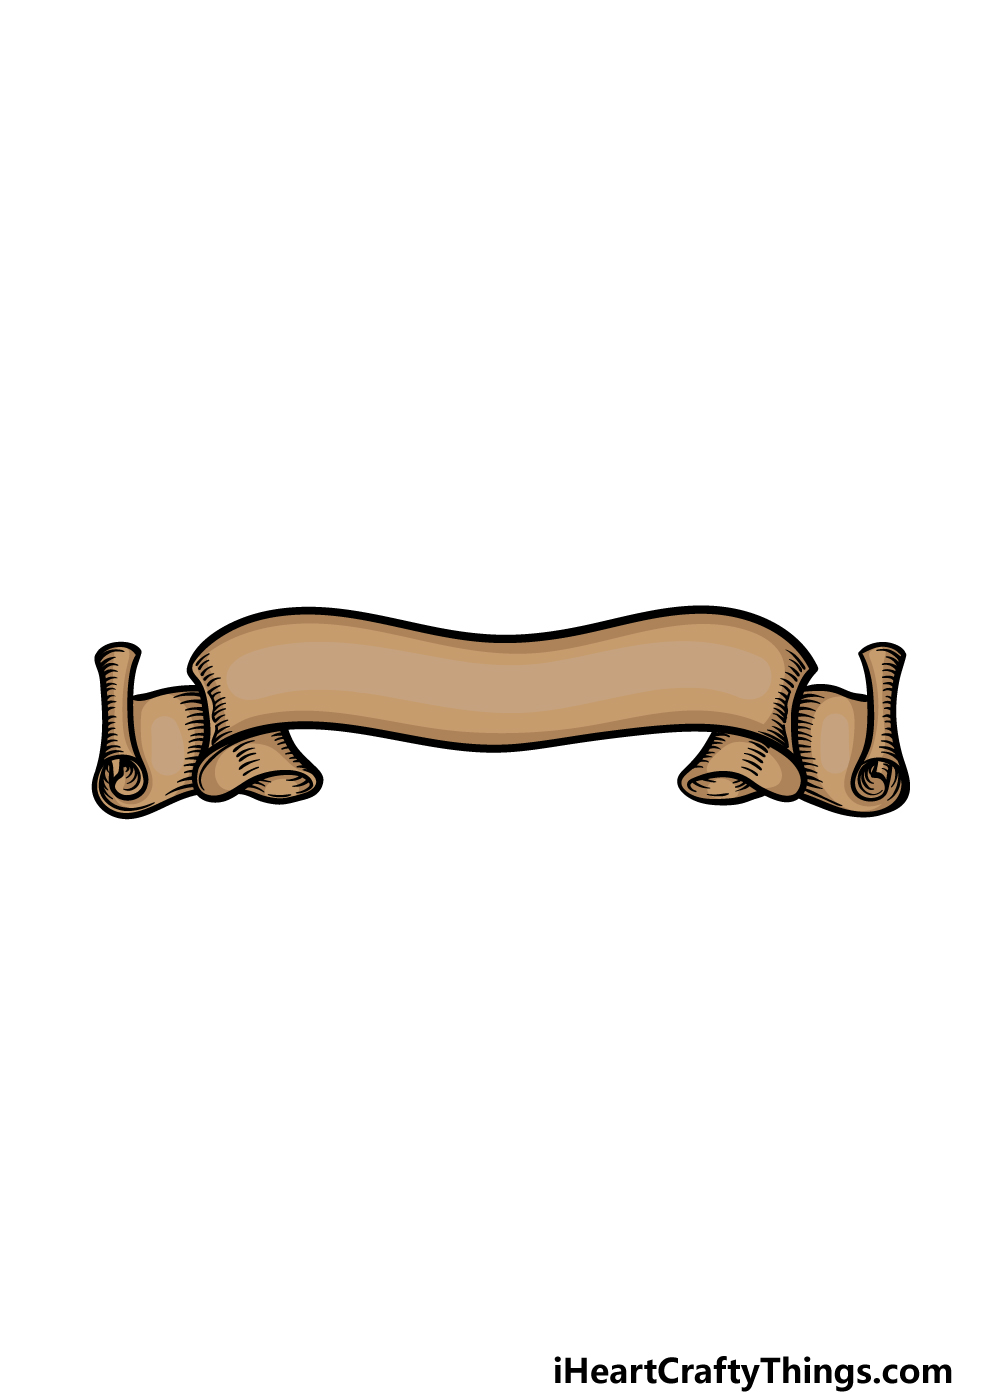
This final step of your banner drawing is where you can finish it off completely with some amazing colors!
We used some shades of brown for our example image, as this helps to give the banner a look of being made of old parchment.
There are so many colors that you could go for as well, however! You could use a similar scheme or go bright and bold with your colored pens or paints.
This step is completely up to you and your creativity, and we can’t wait to see how you finish off this drawing!
Here’s how you can make your banner drawing even better…
Make this banner sketch something to write home about with these 4 tips we have for you!
This drawing of a banner looks like it is made out of parchment or some similar material. Just by changing the color, you could make it look like it is made of something else.
For instance, if you used some white instead then it would look like the banner is made out of paper. Brighter colors could also be used to make it look like a party banner.
What colors would you like to use for this banner?
Another interesting way you could make this banner look really cool would be by using some crafts and unique art materials.
For instance, you could decorate the banner with some stickers or even beads.
Or, you could take it a step further by using strips of real ribbon or colored tape to create the banner on the page. These are just a few ideas of how you could get creative with it!
What are some other interesting crafts you could use for this banner?
A banner isn’t much use without something written on it, so you could add some text to this banner drawing. The text that you add to it would depend on you, and there are loads of options!
You could start by choosing an occasion to use as a theme. For example, you could use the banner to advertise a birthday party.
If that is the case, then you could have text relating to that on the banner.
Finally, you could finish off this banner sketch with a background. This would be a great way to show where the banner is hanging!
In the previous tip, we mentioned using a theme for the text. If you add a background, then you could illustrate this theme even more.
You could get really creative with the background location you choose to create, and the background can go with any of the previous additions we suggested.
What setting would you hang this banner in?
Your Banner Drawing is Complete!
All six steps of this guide on how to draw a banner have been completed, and you should be proud of the incredible drawing you have ended up with!
Drawings like this can often be surprisingly tricky, so we hope that this guide made it not only easy but also lots of fun for you to take on.
Now it’s up to you to get creative as you finish off the picture!
There are so many cool ideas you could go with for this image, and it will be very interesting to see what you would use this banner for. Be sure to get creative and have fun with it!
This guide is one of many we have for you on our website! Be sure to visit us there often to never miss out on the guides that we upload frequently for you to enjoy.
We would be very curious to see your take on this banner drawing, so please do share it on our Facebook and Pinterest pages for us to enjoy!