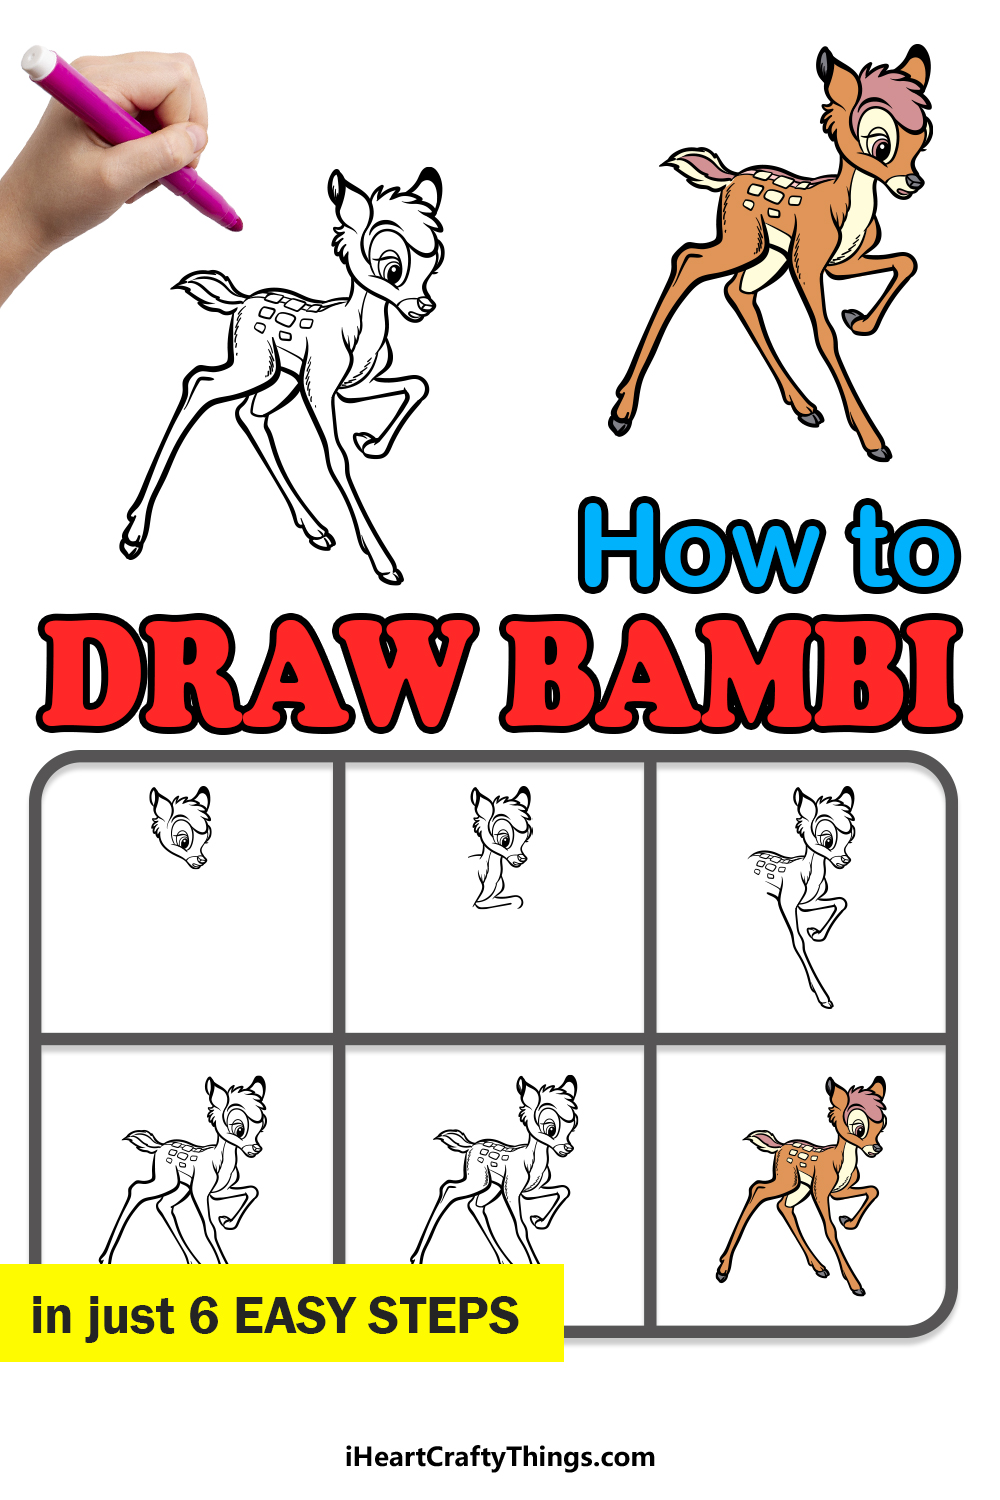
Disney Studios have made countless classic films and cartoons dating all the way back to the 1920s. One of the most beloved films they have ever produced is Bambi from 1942.
This classic story about a young deer has laughter, tears, thrills and adorable characters all in one movie.
These aspects have made the movie popular with audiences to this day, and fans of this lovable character may want to know how to draw Bambi.
That’s what we’re here to uncover, so you’ll want to read all the way through to the end of the guide!
Our step-by-step guide on how to draw Bambi in just 6 easy steps will show you how you can have loads of fun learning to draw this classic Disney character.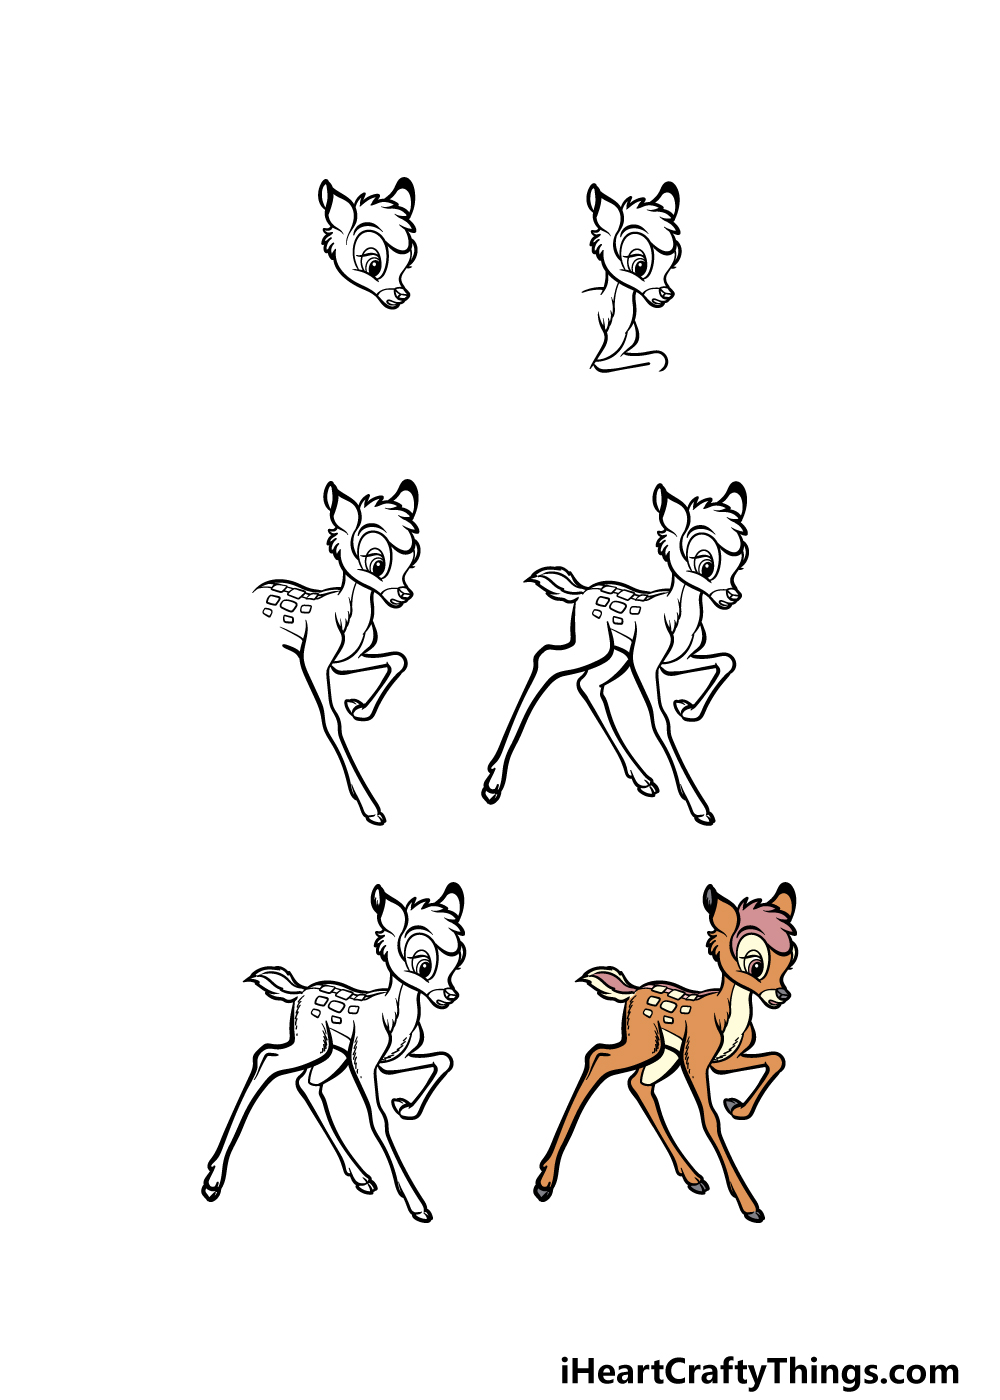
How to Draw Bambi – Let’s Get Started!
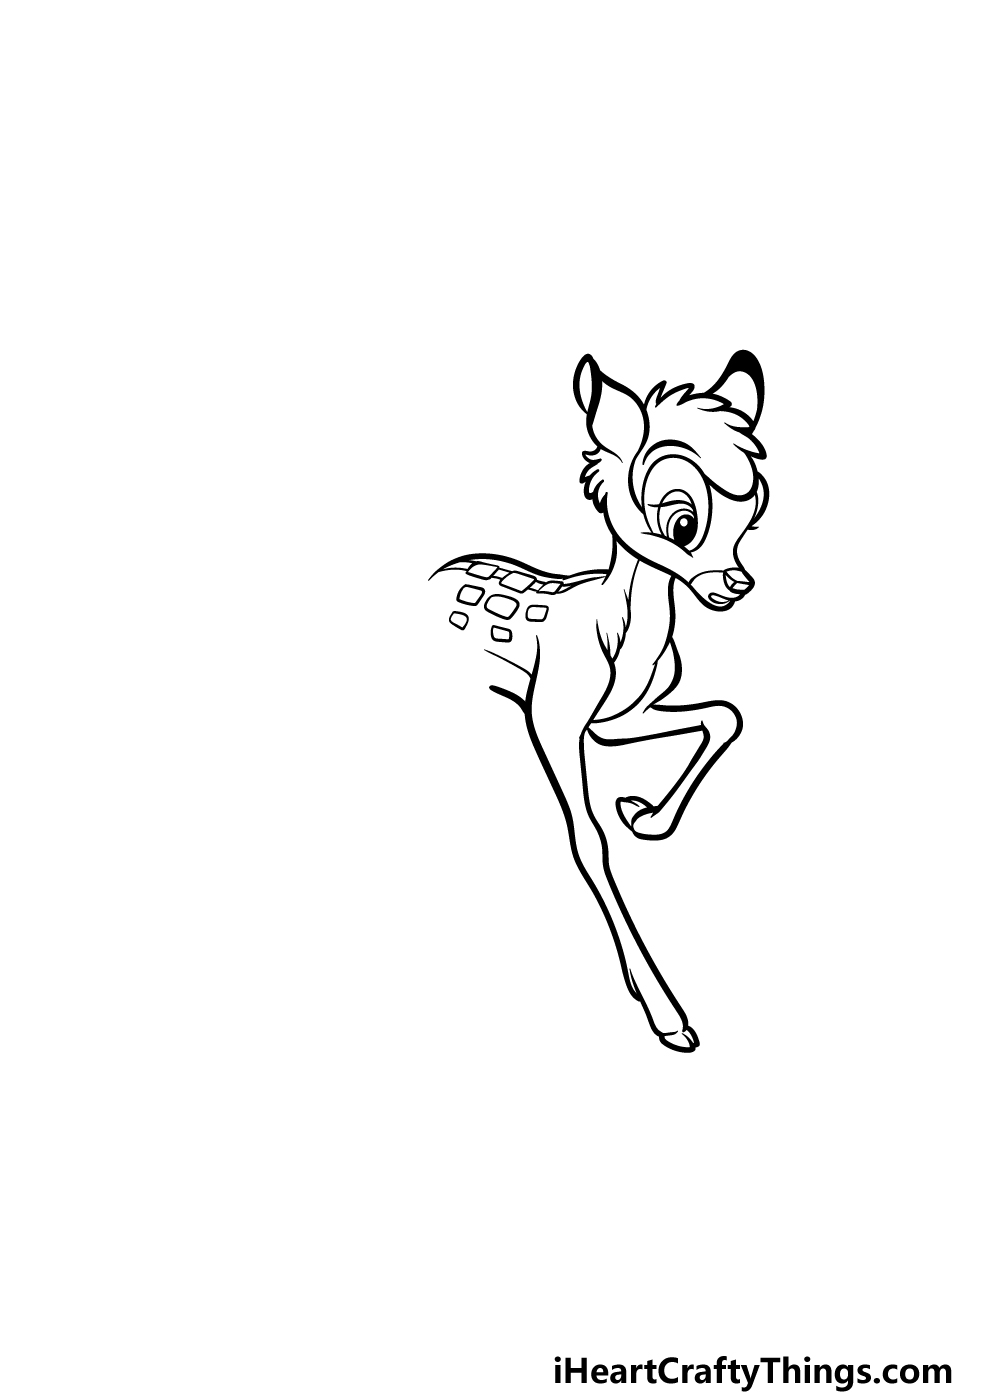
Step 1
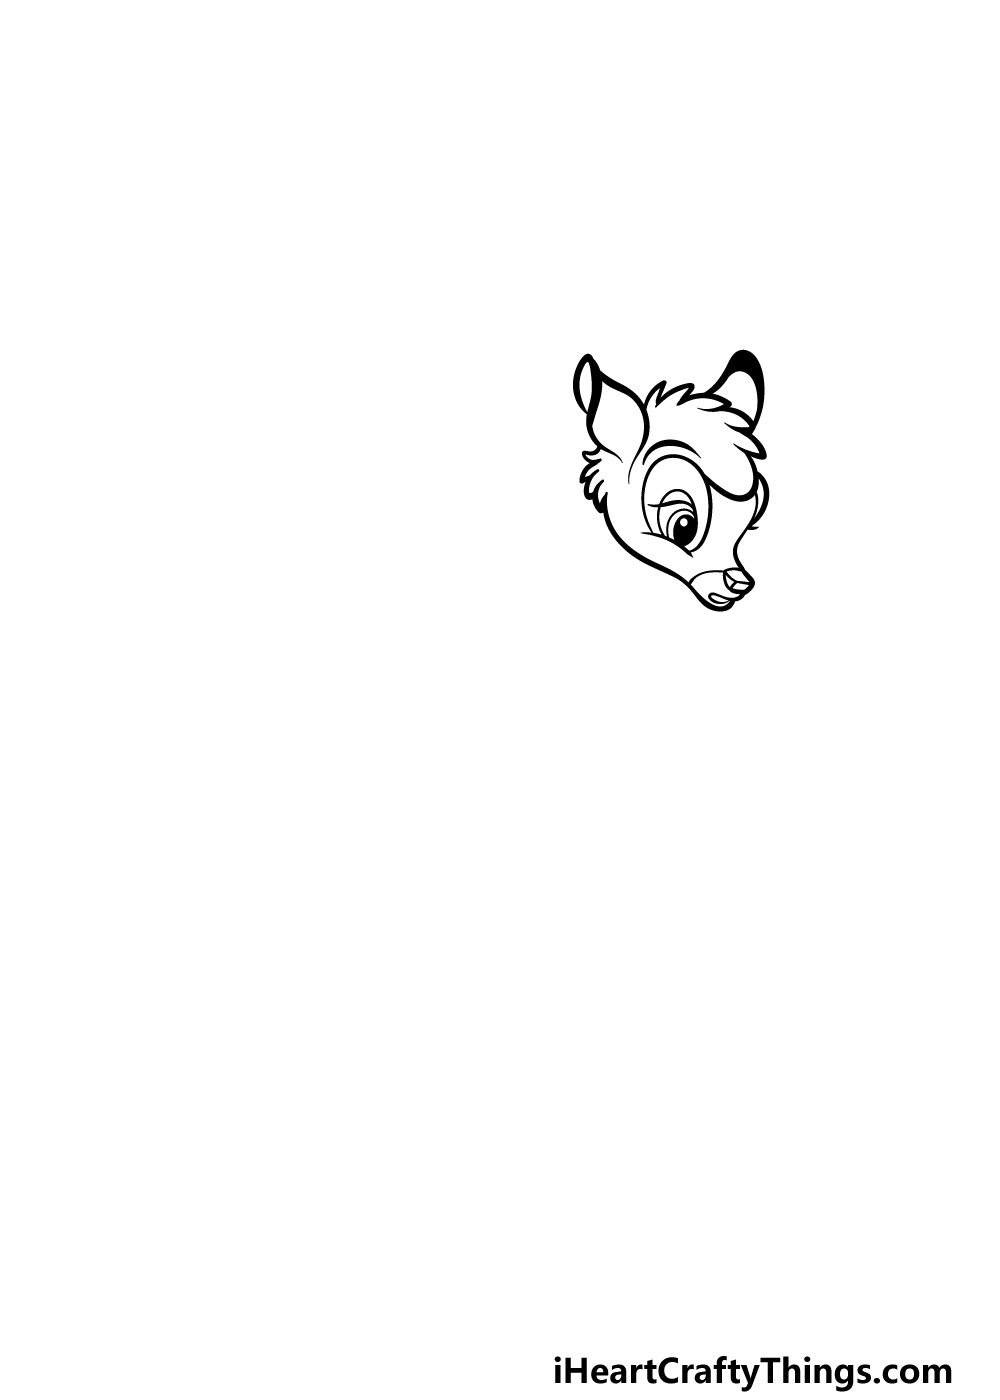
To get started with this guide on how to draw Bambi, we will begin by drawing his head.
Bambi is drawn in the typical classic Disney style, and despite being a cartoon he is pretty realistically proportioned.
For his head, we shall start by drawing his eyes. Start these by drawing an oval shape. This oval will have an eyelid covering the top of it, and you can then draw his large pupil inside of the outline.
The eye will then have a round line surrounding it, and then you can use another rounded line for the front of his face that leads into his thin muzzle and mouth.
Then, use some bumpy lines for the top of his head, and this will make it look like his head is furry.
Use some more rounded lines to create his ear shapes, and then finish off with the rest of the outline for his head.
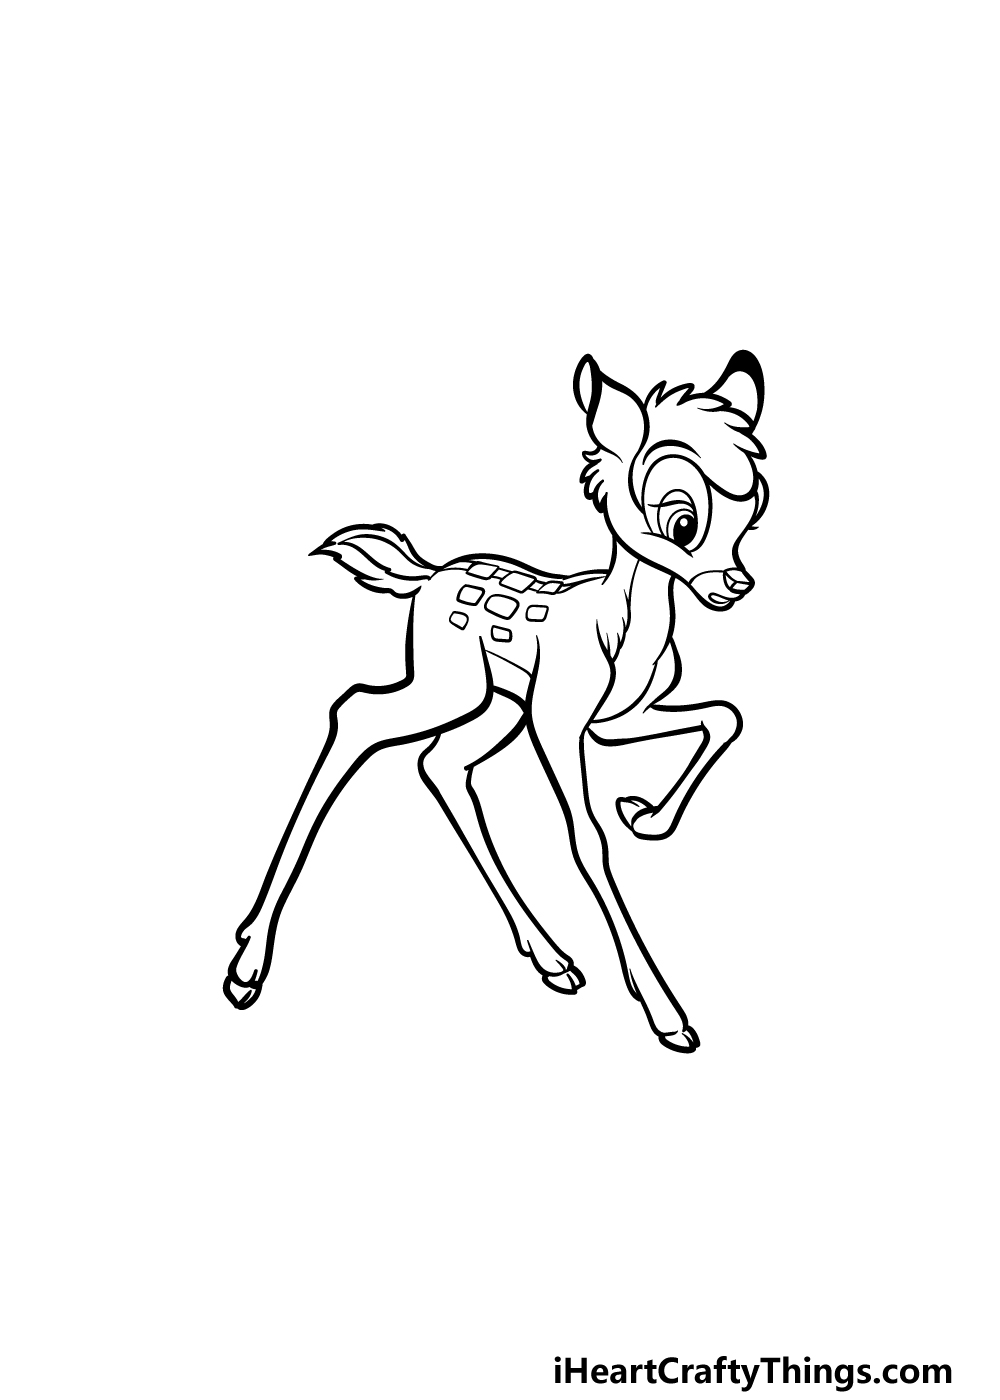
Step 2 – Now, draw the start of his legs and chest
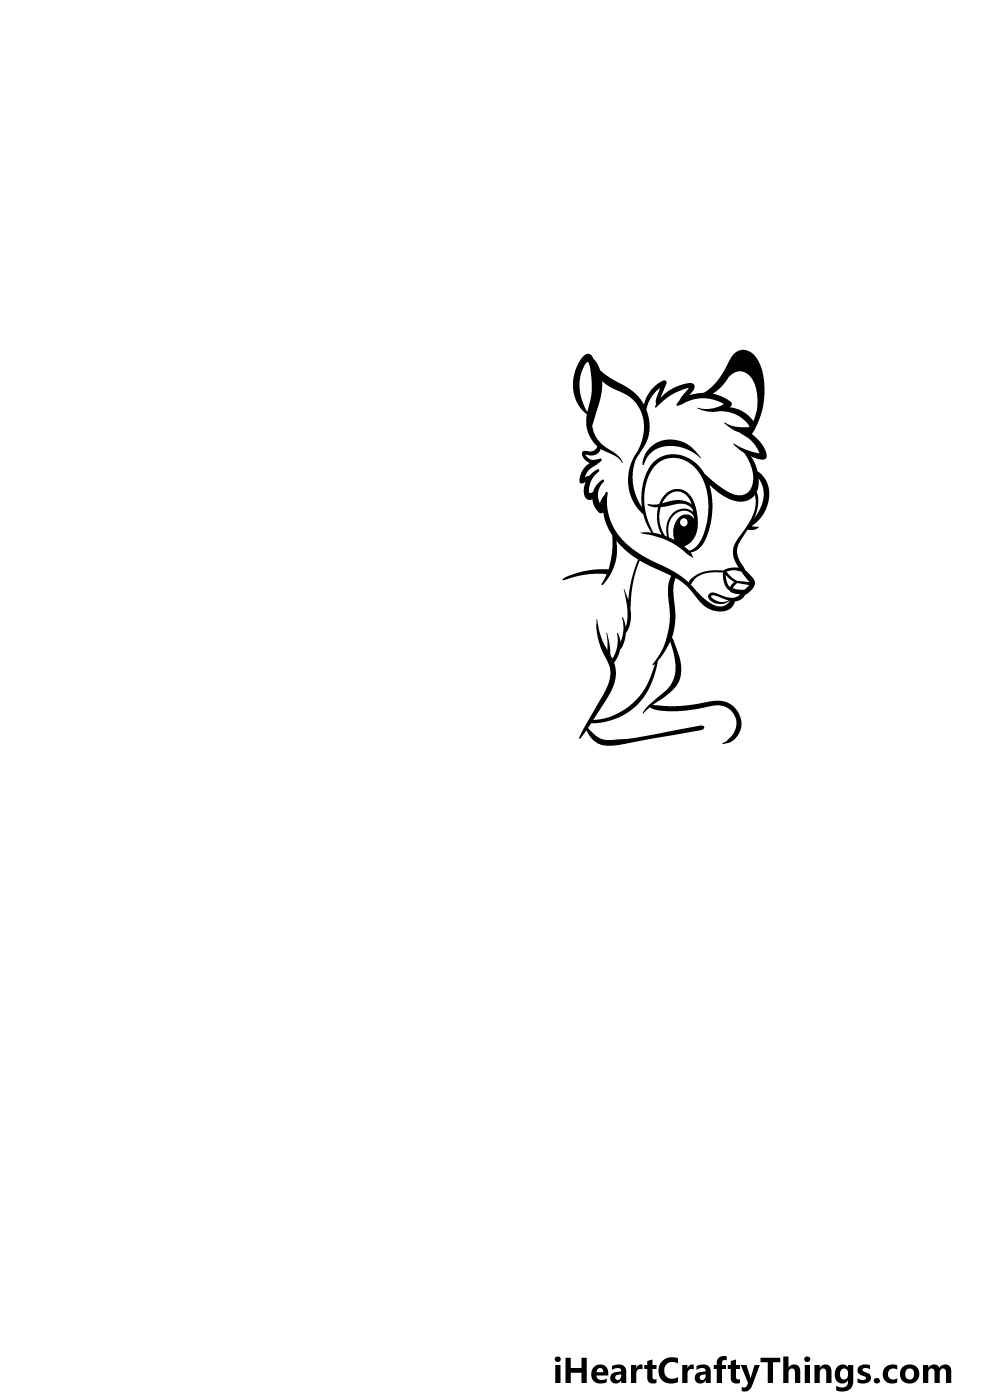
Now that you have completed his head, you can now move on to the start of his legs and chest for this part of your Bambi drawing.
Use some lines for his neck, and then extend the back line horizontally for the start of his back, the one on the front will extend into the start of his furry chest.
To finish off this step, we will use some more curved lines to begin the start of his legs.
It may not be apparent here, but later on the leg on the right will be raised while the other will be straight down. With this step done, we can then proceed to step 3!
Step 3 – Draw his back and more of his legs
Continuing with this guide on how to draw Bambi, you will now be drawing his back as well as more of his front legs.
We will start with the legs, and you can start by extending the front leg on the left down. This leg will be thin with some curved sections, so when drawing it you should try your best to follow the reference image closely.
Then, we will draw the leg on the right. As we mentioned earlier, this one will be raised and bent over. Both of them will also end in some little hooves.
Finally, we will expand the back a bit more. Once it has been expanded, draw a series of small square shapes onto the back to show how his fur is patterned.
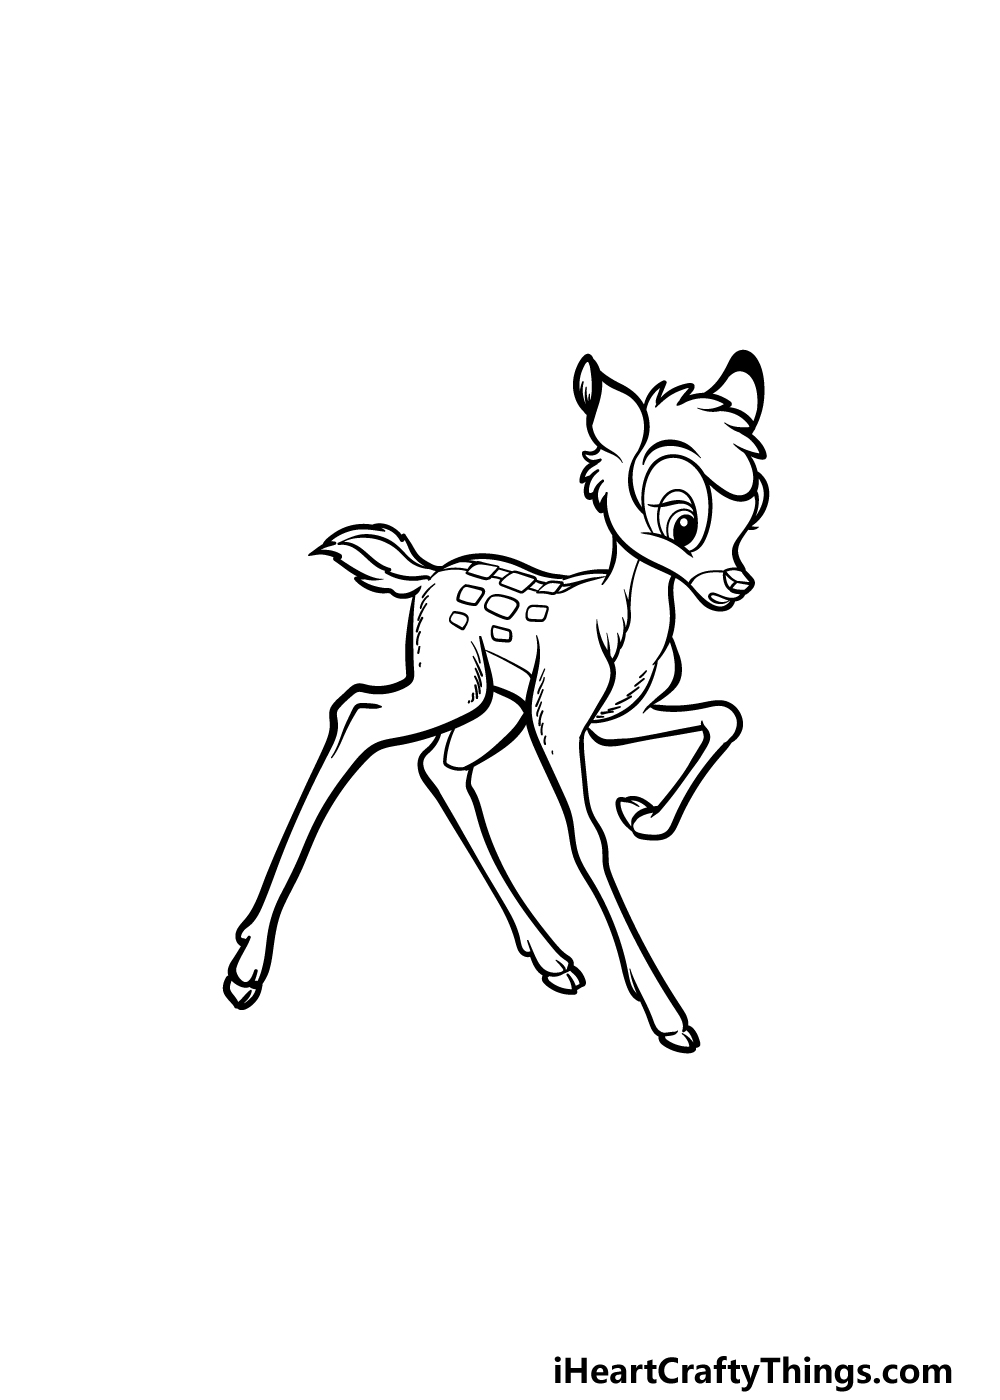
Step 4 – Next, finish off the outline for Bambi
In this part of your Bambi drawing, we will finish off the rest of the outline before you add some final details in the next step.
First, draw his rounded tail, and make sure the outline for the tail has little sharp points to make it look furry.
Then, finish off by drawing his long, thin back legs. These will be at quite a jaunty angle, so this is another step where you may want to closely copy the reference image.
Make sure you finish off the outline by drawing his belly. That will complete the outline, and then you can add some final touches in the next step.
Step 5 – Add the final details to your Bambi drawing
It’s almost time to color in your creation, but first we will add some final details in this step of our guide on how to draw Bambi.
These details will be small, and they will mainly consist of rows of small lines all throughout his body to make him look even furrier.
Once you have added these small details, you should also feel free to add any details of your own!
You could also draw a background to recreate your favorite scene from the movie. What kinds of extra details can you think of that would finish off this image?
Step 6 – Finish off your Bambi drawing with color
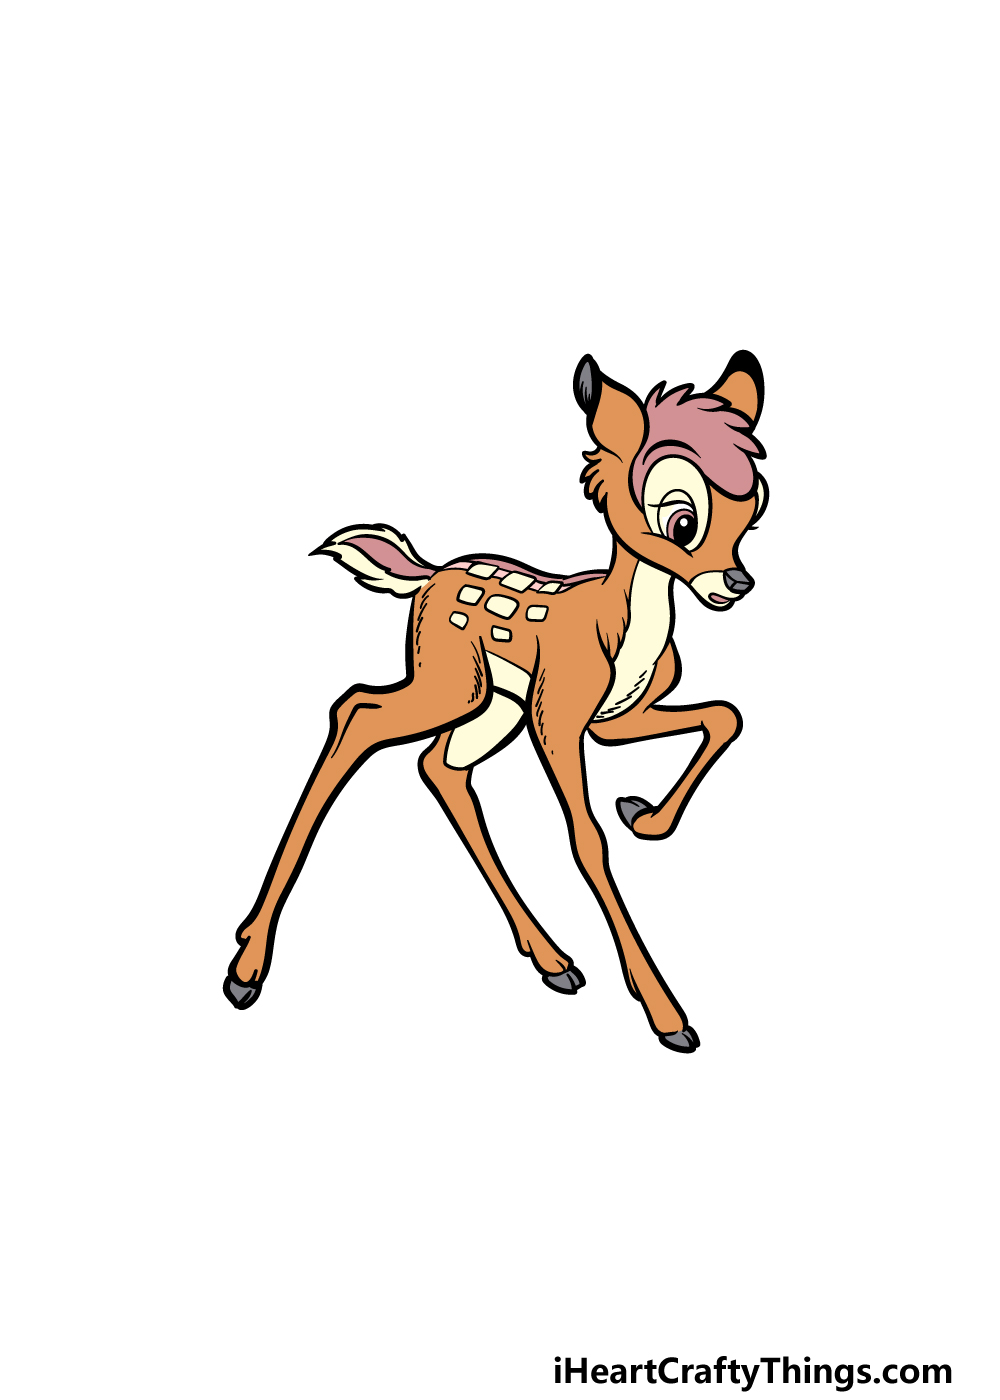
This final step of your Bambi drawing will be all about finishing it up with some color!
In our reference image, we replicated the colors that he appears with in the film, so you can follow this image if you would like him to look as he does in the movie.
We used shades of light browns for most of his fur, and we used some beige colors for the fur on his chest, stomach and tail.
When you know which colors you would like to use for the image, you can also decide on the art mediums you will use for them.
This is your chance to really show off your creativity, so have fun with it and see what you can do!
5 Tips To Make Your Bambi Drawing Even Better!
Celebrate this iconic film with these tips for your Bambi sketch!
While Bambi may be the main character of the film, he is joined by many other iconic characters. These would be fun to add to your drawing of Bambi!
There are many that you could choose from, and you could use the film itself to help you as you draw. There is Thumper the rabbit, Flower the skunk or Friend Owl.
These are a few characters, but who else could you add to the scene?
In the movie, we see Bambi from a baby to a full-grown deer. This would be a fun way to add to this image, as you could draw different stages of his life.
Maybe you could draw the baby version of Bambi to the left and then the adult version to the right.
Classic Disney films are known for their gorgeous, lush backgrounds. You could add an incredible background to this Bambi drawing!
The backgrounds usually had a hand-painted feel to them, so you could use some of your favorite paint mediums to create a wonderful background.
Start by picking your favorite scenes from the film and then try to replicate them in this image. What is a background setting you love from the film that you could use?
The Bambi film has many famous lines, quotes and lyrics that fans love to reference. If you have some favorite lines from the film, you could add them to your artwork.
First, pick the text you would like to include, and then you can pick what kind of font you would like to use. Once you add it to the image, it will look like a lovely poster!
Bambi is one of many iconic Disney characters, and it could be fun to add some of these characters to your Bambi sketch! You would have hundreds of characters to choose from.
They could be classic characters such as Snow White, Dumbo or Mickey Mouse or more modern ones like Elsa or Remy from Ratatouille. Who would you choose?
Your Bambi Drawing is Complete!
In this guide on how to draw Bambi, we learned how to recreate this classic character, and we hope that it was a fun and easy experience for you to work on!
If you follow the steps and do your best then you’ll know how to do it in no time. What extra details, ideas and color choices will you add to it to personalize it even more?
Once you have finished this guide, you’ll want to check out our website for more awesome drawing guides. We have many more on the way soon, so keep checking in for those!
We would be thrilled to see how your Bambi drawing turned out, so please do share it on our Facebook and Pinterest pages for us to see.
It will be awesome to see your incredible creativity on display!