


At one point, the bow and arrow was the most sophisticated weaponry available in the world!
They aren’t used as often anymore these days, but many people still enjoy using them for sport or even just to collect.
Fans of the bow and arrow may also like to create their own custom versions of the weapon, so learning how to draw an arrow is a great way to do that.
By the end of the guide, you will be able to design your own awesome arrow variation.
We hope you have lots of fun on this step-by-step guide on how to draw an arrow in 6 steps!![]()
How to Draw An Arrow – Let’s Get Started!
Step 1
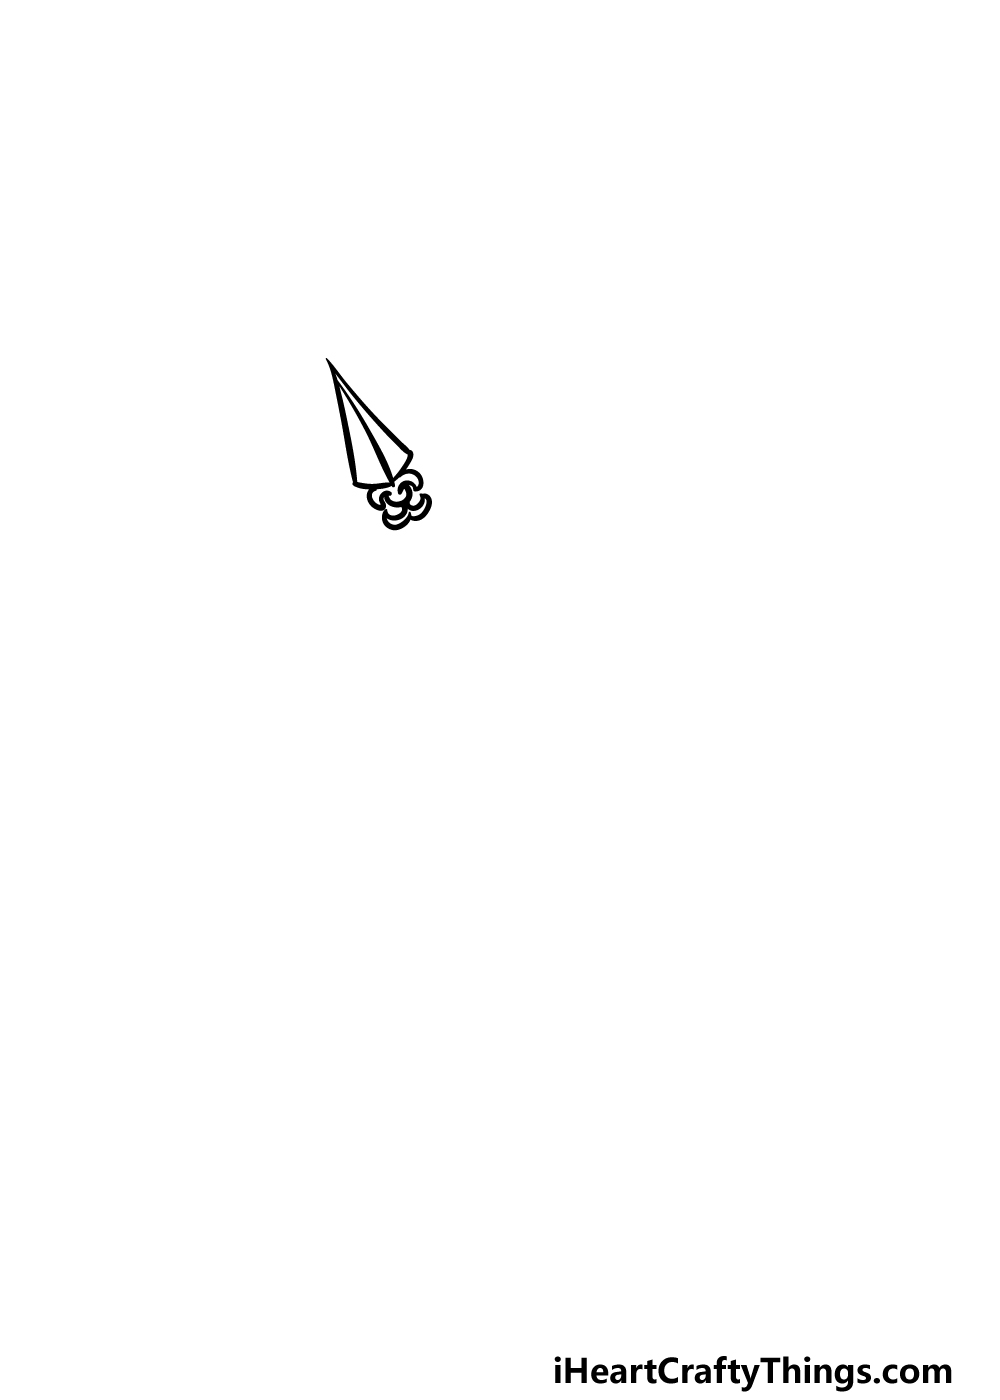
For this guide on how to draw an arrow, we will be drawing a really cool ornate design for it. To start with, we will draw the tip of the arrow.
For this and some upcoming steps of the guide, you may want to have a ruler on hand as we will be drawing lots of straight lines. Start off by drawing two lines that connect at a very sharp point that move slightly outward.
Then, use two shorter lines to connect them at the base of the tip. These shorter lines will also form a less sharp point at the bottom.
Next, draw a line down the center of the arrowhead, and then use some short and curved lines for the detailing at the base of the arrowhead. If any of this sounds confusing, the reference picture will guide you as to how it should look!
Step 2 – Next, start drawing the center of the arrow
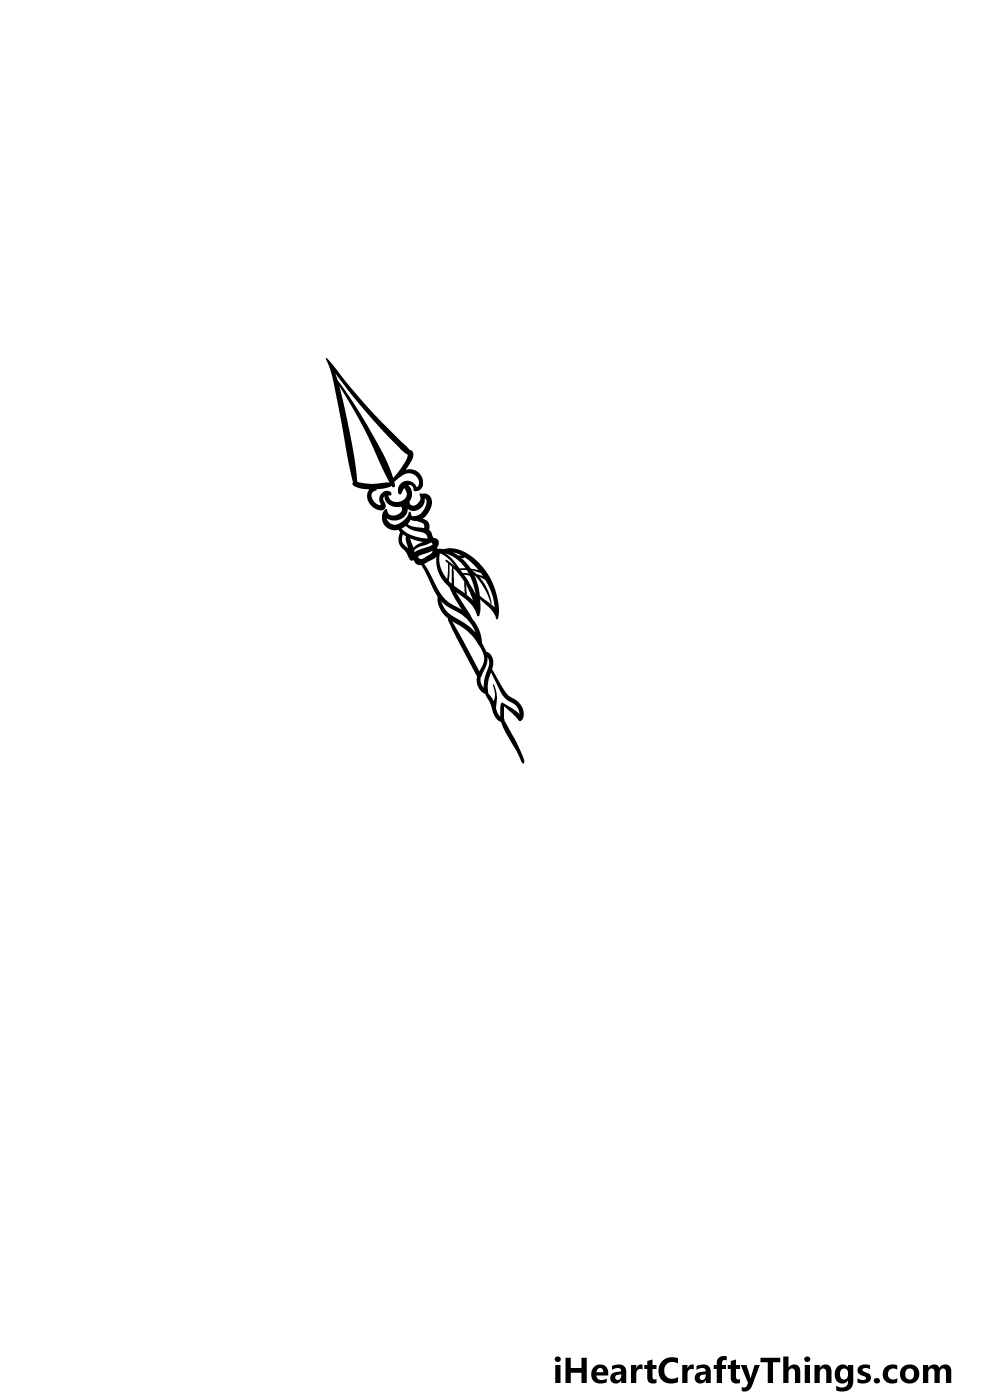
In this part of your arrow drawing, we will be drawing the central body or ‘shaft’ of the arrow. For this design, we will be adding more ornate detail to this part of the arrow as well.
To make things easier on yourself, you could use a pencil to draw the lines of the shaft to give you a reference as you draw.
Then, draw some string details tied under the head of the arrow, and then add a small leaf onto those details.
Finally, we will draw some more thin rope snaking down the shaft of the arrow, and then you can draw the straight lines of the shaft between them. Then it’s on to step 3!
Step 3 – Draw some more of the shaft
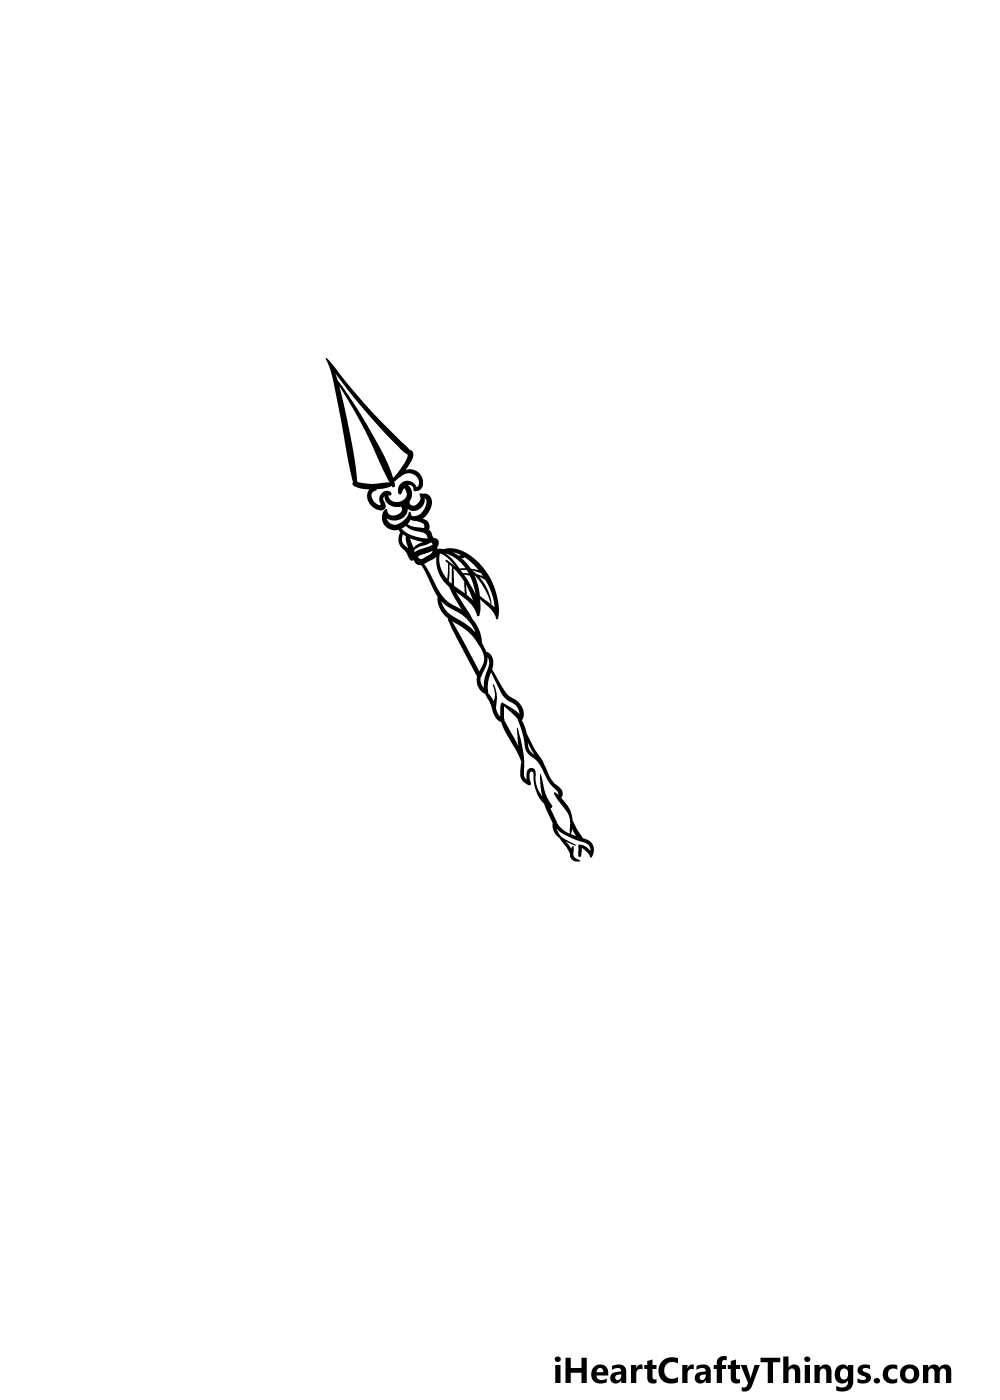
For this third step of our guide on how to draw an arrow, we will be drawing some more of the shaft.
This part of it will also be decorated with some detailing that you can draw with some curved lines along the straight edge of the shaft.
The reference image will guide you on how to replicate our design, and once you’re happy with it we can go to step 4.
Step 4 – Now, draw the end of the arrow shaft
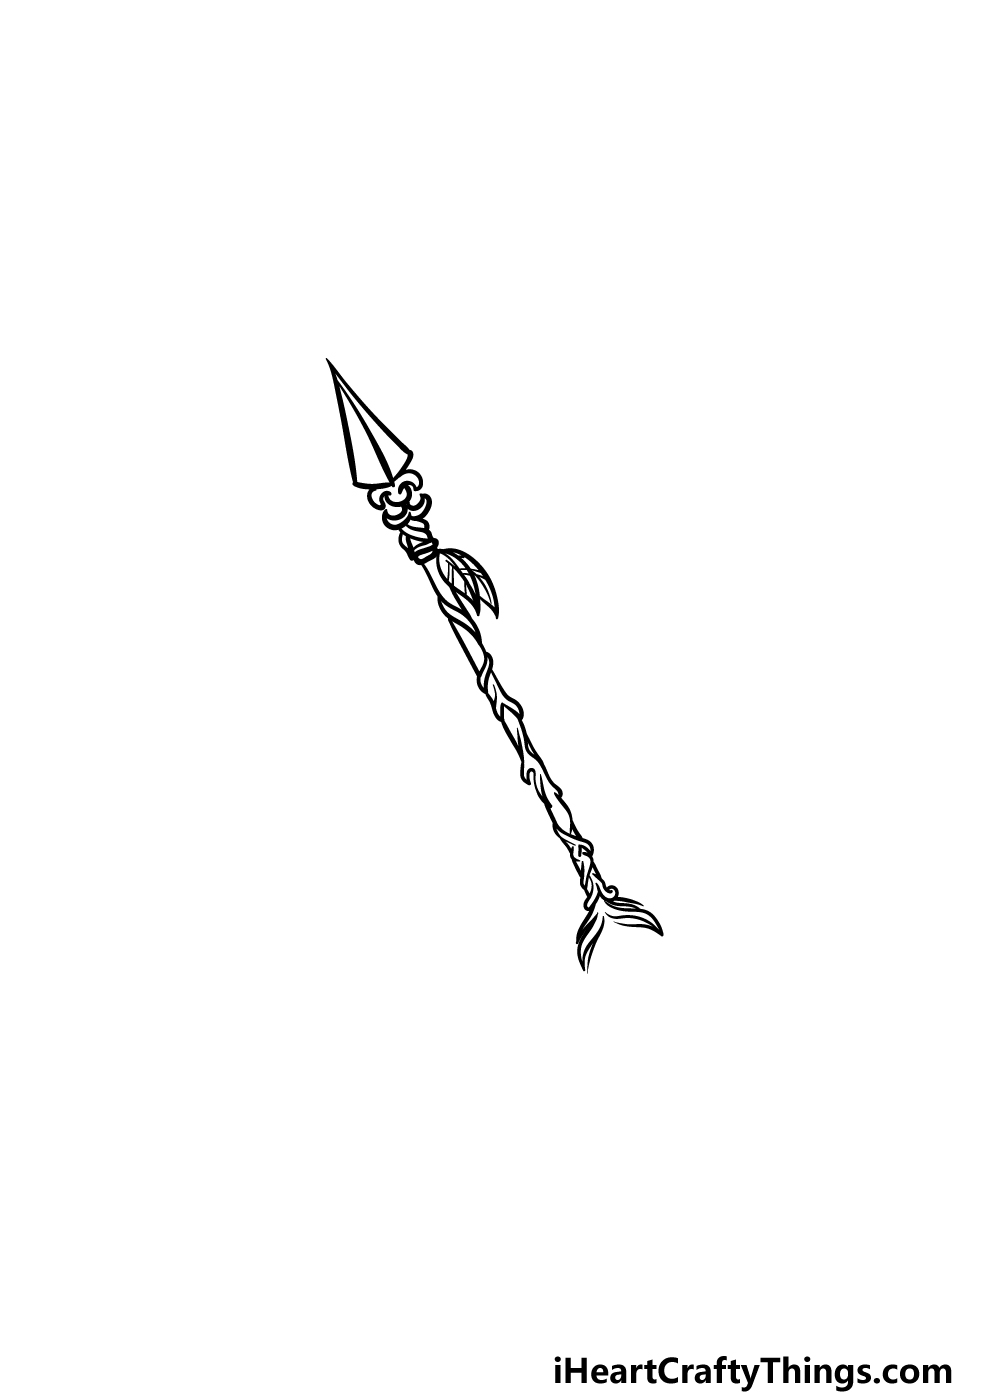
Before we draw the feathery fletching of the arrow drawing, we will be drawing some more of the shaft in this step.
Simply draw some more of the detailing that we have started in previous steps to create the rest of this shaft.
You will also be adding some curved lines for the start of the fletching, but we will continue that in step 5 as we add some final details.
Step 5 – Finish off the fletching of the arrow
This step of our guide on how to draw an arrow will see you drawing the fletching of the arrow.
This is a feathery part at the end of an arrow that helps to improve accuracy and stability for the arrow as it flies through the air.
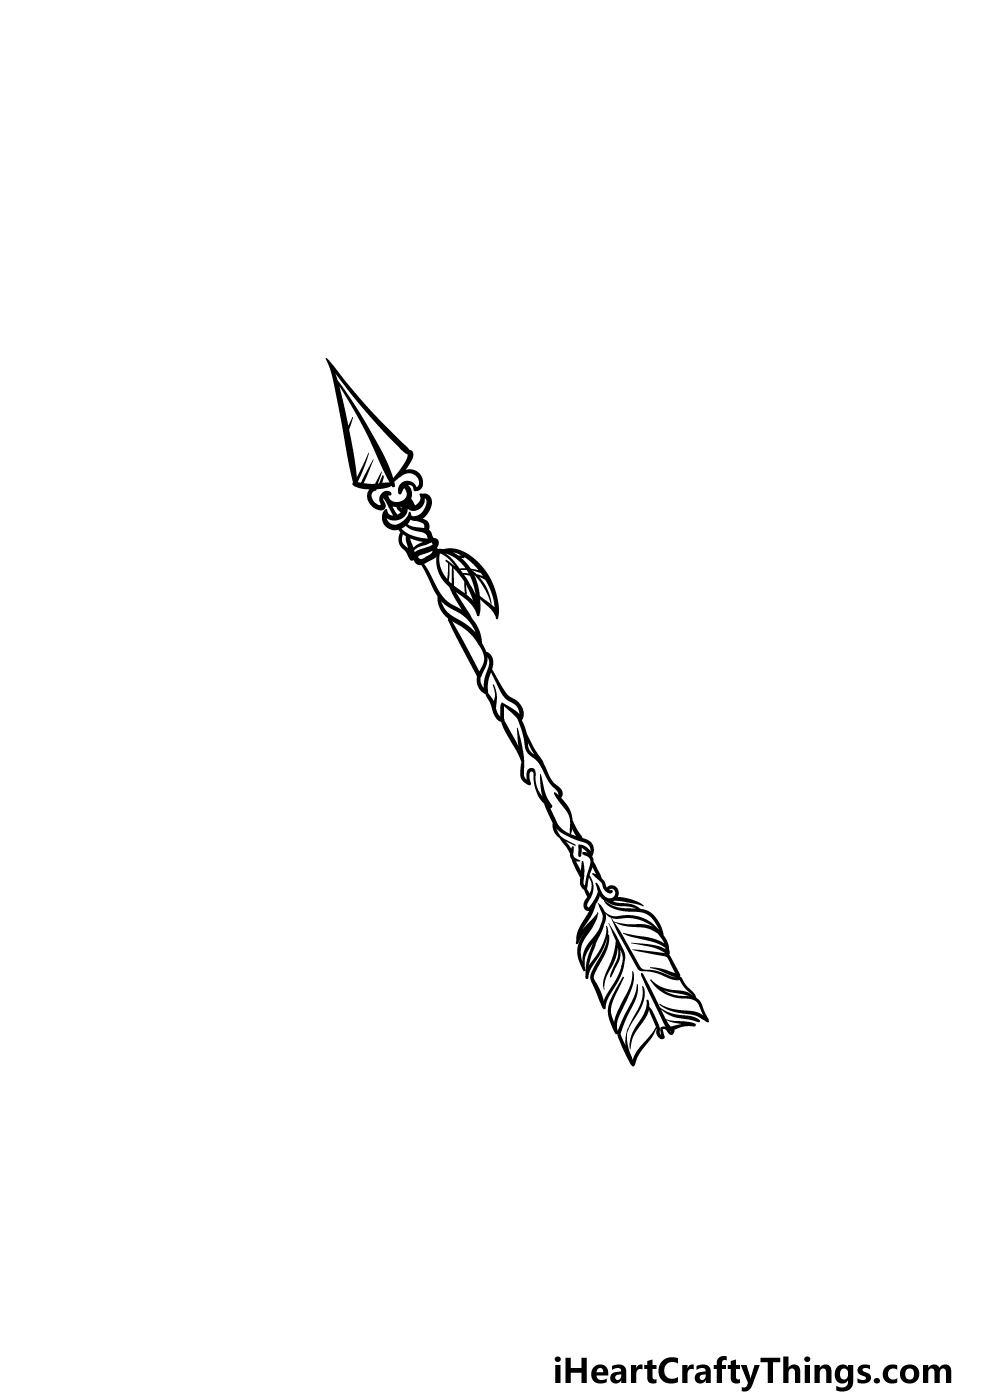
To draw this, we will be using some curved lines that end in points to create the feather-like look of the fletching. Then, you can add some line detailing to the tip and the shaft of the arrow to finish iff the texture details.
That will finish off this drawing, but now you can add some details of your own to put your own spin on it!
One cool idea would be to draw a bow that has similar detailing on it to the arrow. You could look up some pictures of bows to use as inspiration as you adapt it to this style.
You could also draw some arrows to go with it or a background, so what else can you think of to finish off this drawing?
Step 6 – Finish off your arrow drawing with some color
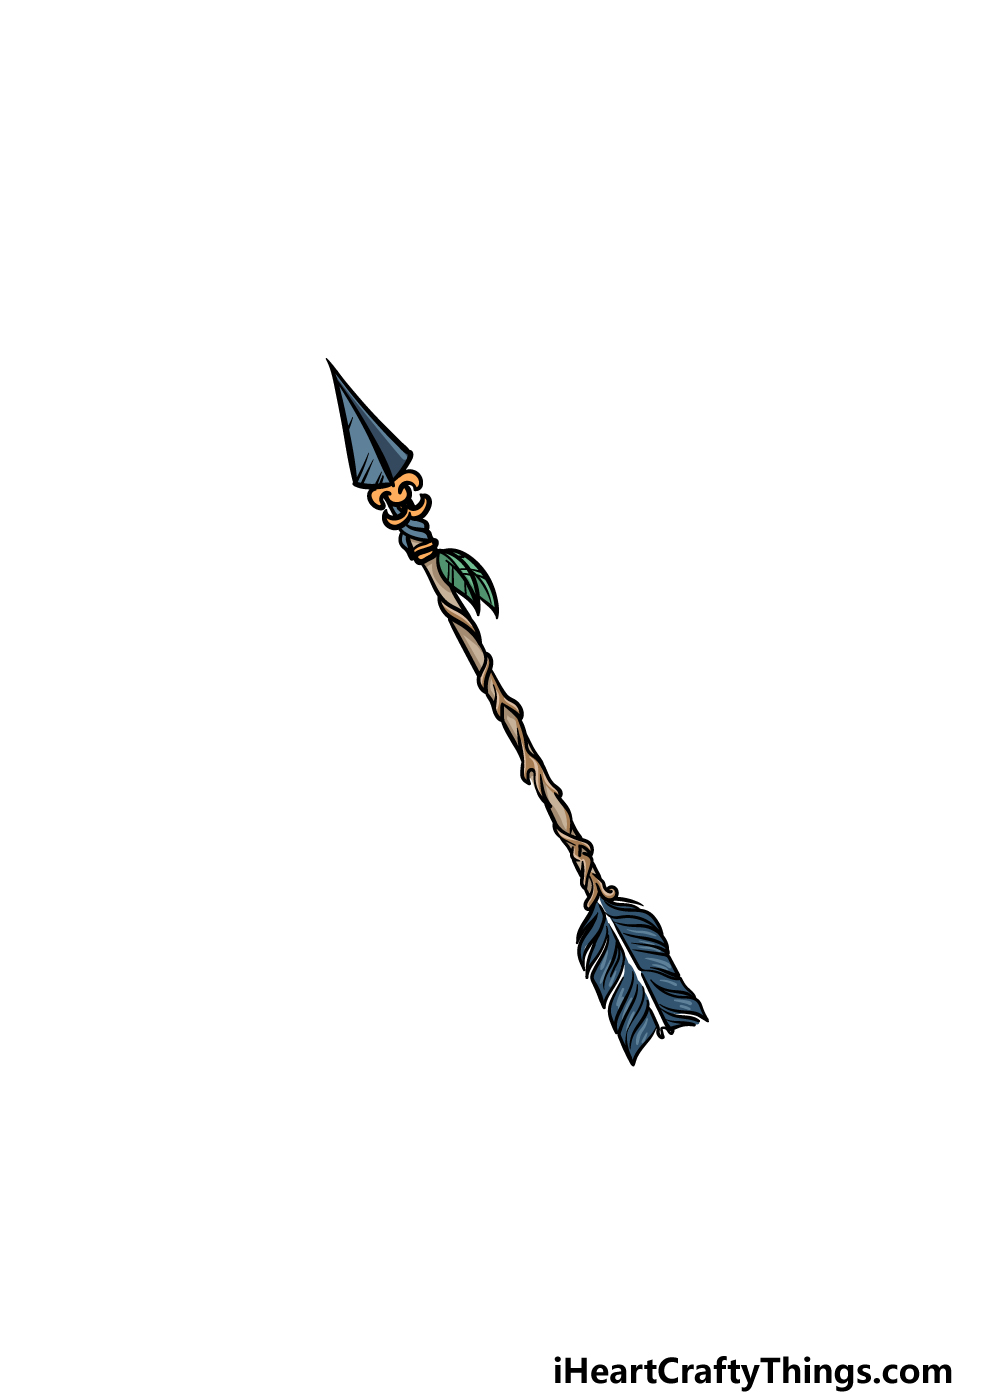
Your arrow drawing is almost complete, and the last thing to do is add some amazing color to it! That’s what we will be doing in this final step.
Our reference image shows you one way that you could go about coloring in the image, and we used some blue, green and brown for it. These colors are just a suggestion, however, and you should feel free to use any colors you like for the picture!
When coloring it in, you may want to use art mediums that allow for more precise coloring. Colored pens, pencils and markers are great for intricate details like this.
If you would prefer a painterly look, you can get paintbrushes with thin tips to give you more control.
These are just a few mediums and colors you could use, but what will you choose to finish off your arrow drawing?
5 Tips To Make Your Arrow Drawing Even Better!
We’re aiming for some drawing fun as we make your arrow sketch even better!
This drawing of an arrow that we created in this guide has a really cool and elaborate design. While it looks great, you could also go for different arrow designs.
For example, you could keep it simple and functional by removing the decorative elements. Or, you could go in the other direction and make the arrow look even more elaborate.
This could be based on real arrow designs, or you could make your own one.
Of course, every arrow needs a bow to fire it. That is an element that you could add to this picture. The type of bow you add could be drawn in a similar style to whatever you ended up depicting for the arrow style.
Once you have decided on the style for the arrow and potential bow, there are a few ways you could depict the arrow in the scene. One would be to show the arrow flying through the air.
This could be just as it has left the bow, or it could be flying far away from whoever fired it. You could make some interesting scenes this way!
Another way you could make this arrow drawing into a scene would be by showing the arrow once it has hit its mark. There are a few targets that the arrow could be embedded in.
One would be a literal target. Maybe the arrow could be right at the center! For another approach, the arrow could have just hit an apple or another more unconventional target.
What else could the arrow have been aimed at?
Finally, it could be fun to add a human character to your arrow sketch. This is something that would work especially well if you added the bow as well.
That way, the person could be holding the bow and arrow as if they are about to fire it. For a fun touch, maybe the archer could be based on yourself or someone you know!
Your Arrow Drawing is Complete!
All the details are added and the colors filled in, so now you have finished off this guide on how to draw an arrow!
We hope that you had a great time working on this beautiful arrow, and that the steps made it easy for you to work through the process.
Then, be sure to add your own details and elements to this drawing that you may want!
By changing the background, details, colors and art mediums you can really put your own creative spin on the picture. We can’t wait to see what you do!
Don’t forget to check out our website for more drawing guides. We upload new ones often, so be sure to keep checking in to never miss out!
Once your arrow drawing is complete we hope that you will share it on our Facebook and Pinterest pages. We will look forward to seeing your creative artwork!![]()