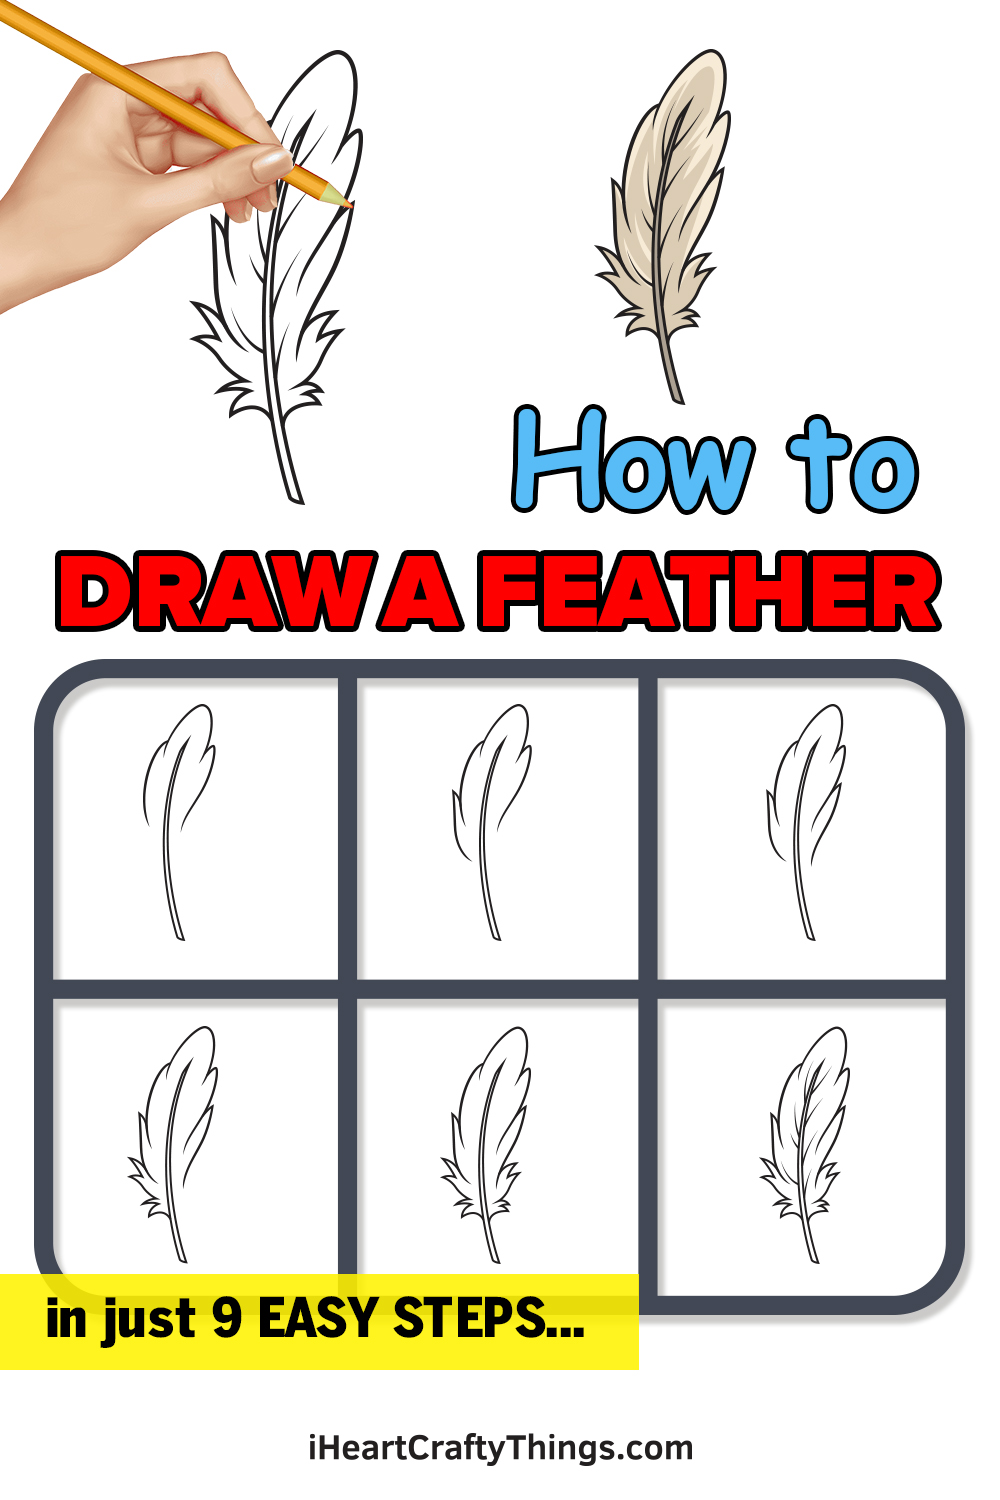
You’re about to find out how to draw a feather by watching this guide for kids! It will be so fun and easy when you follow these steps.
Feathers come in all sorts of shapes and sizes. They can also be pretty much any color you can imagine.
This makes them popular to use in art and crafts, and many people like to know the best way to draw them. It can be surprisingly difficult to learn though, as getting the shame right can be quite tricky.
The aim of this guide is to make it a lot easier for you, as I will walk you through all of the steps you need to know. By the end, you will not only be able to make this feather drawing but also customize the design to make your very own feathers.
Let’s begin the first step and see how it’s done!
Find Out How To Make Your Feather Drawing
How to Draw a Feather – Let’s get started!
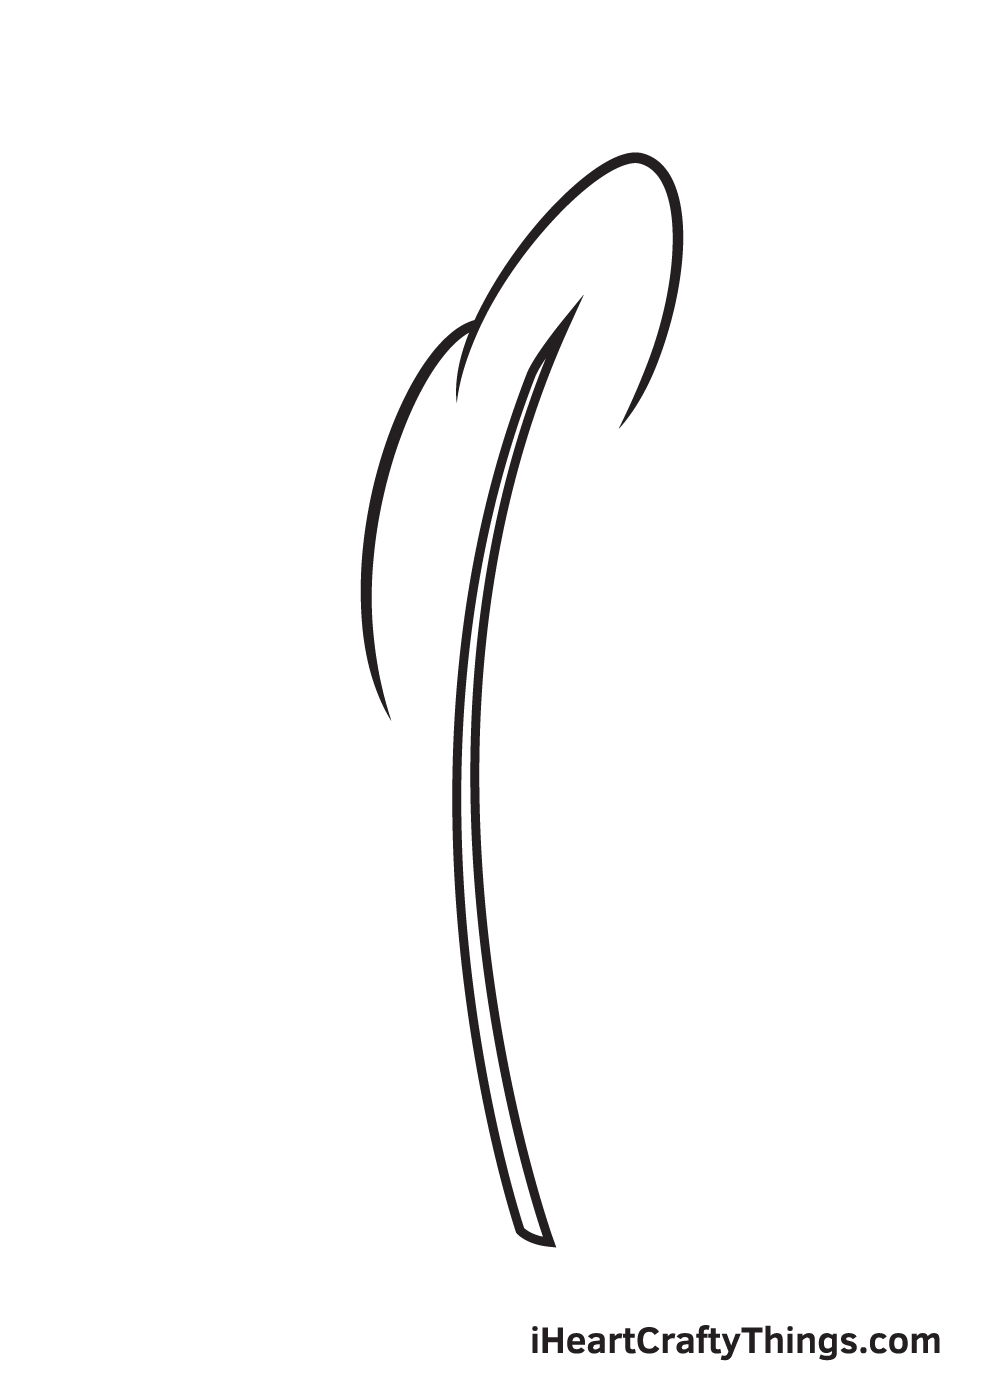
Step 1
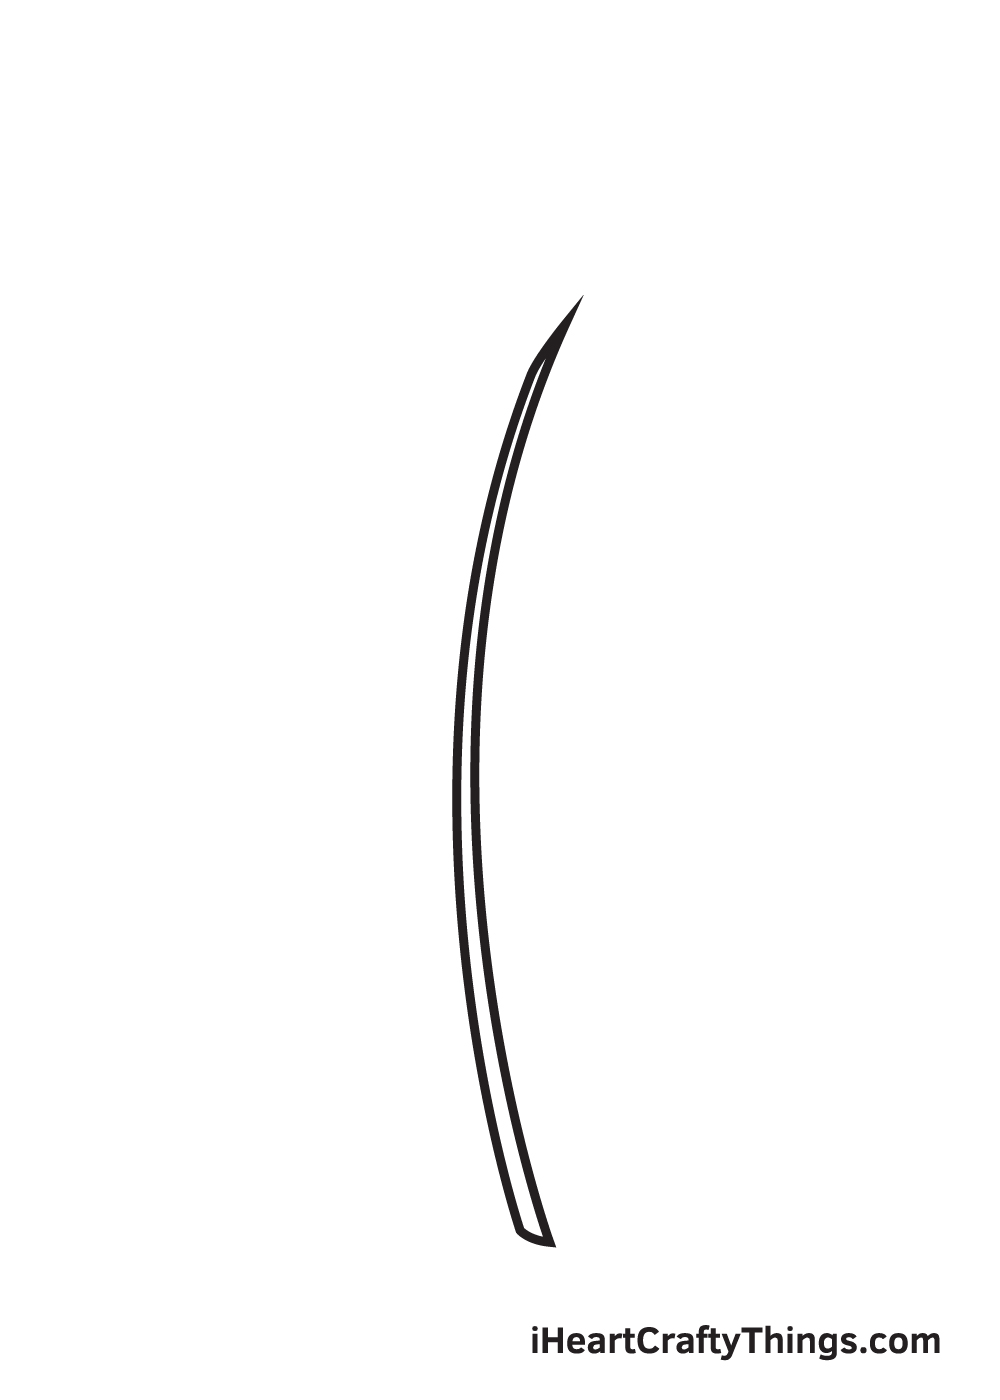
Draw a thin line figure with a sharp, pointed top. This forms the hollow shaft where all the feathers are attached to.
Make sure that the line is slightly curved. Also, the bottom part of the shaft should be relatively thicker than its top part, which should be pointed.
Step 2 – Draw the Topmost Part of the Feather
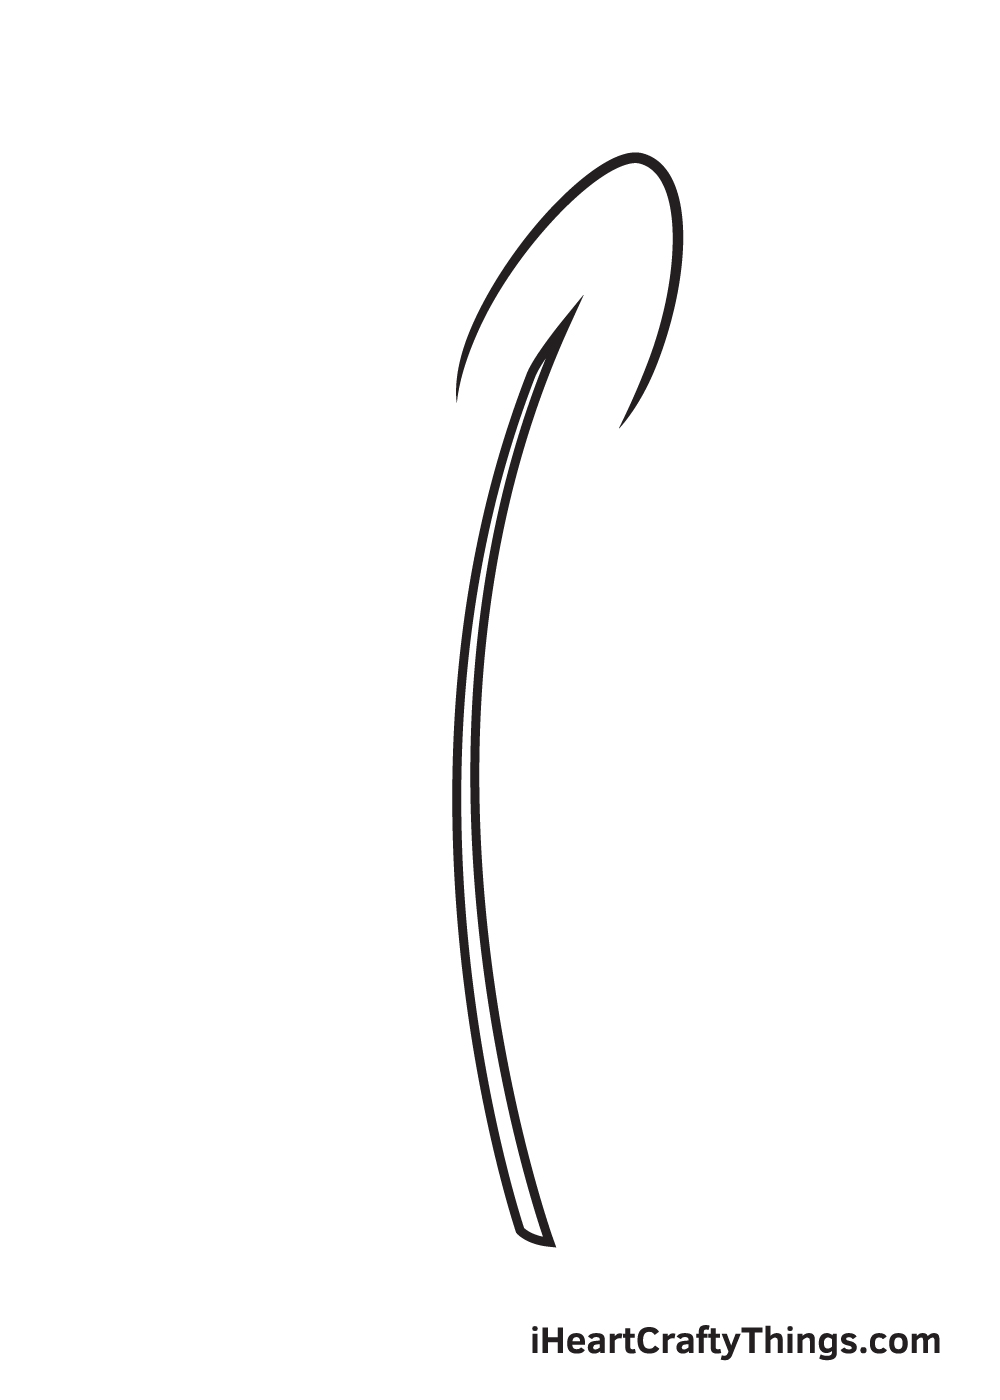
Draw an inverted U-shaped line right above the pointed tip of the feather.
This forms the feather at the very top. After finishing this step, the topmost portion of the feather is now complete.
Step 3 – Draw the Feather’s Upper Left Side
Draw a curved line on the left side of the shaft beginning from the left endpoint of the inverted U-shaped line.
This creates the upper left side of the feather.
Step 4 – Complete the Feather’s Upper Half
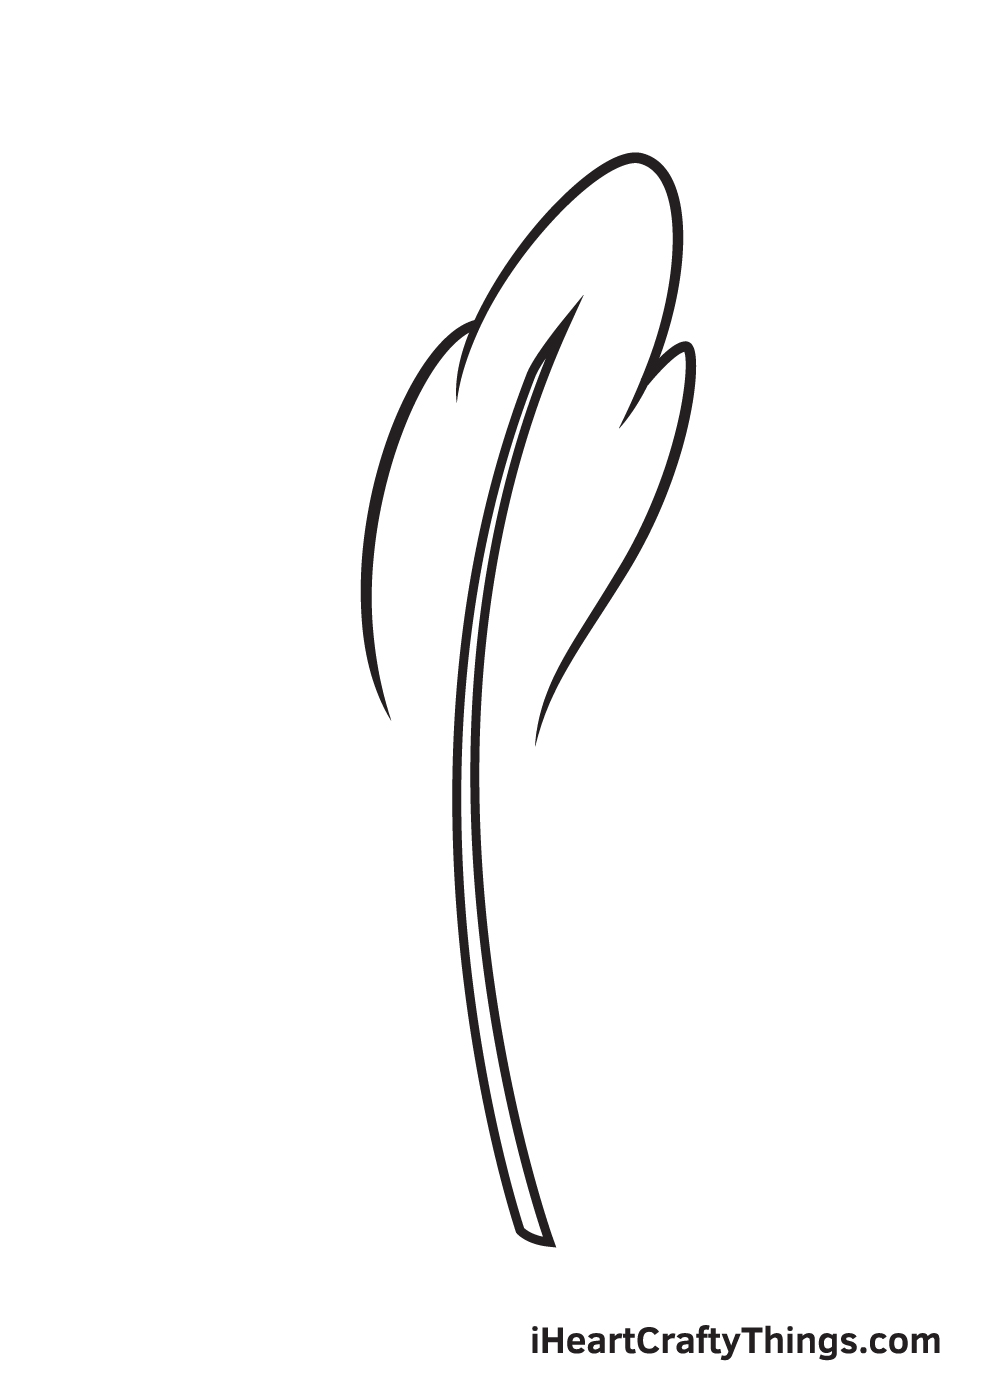
From the opposite endpoint of the inverted U-shaped line, draw another curve going downwards.
This forms the upper right side of the feather. At this point, the upper half of the feather is now complete.
Don’t worry if this feather isn’t identical to the first one we drew previously. The feathers we’re drawing one by one don’t necessarily have to be uniform.
As a matter of fact, the more uneven they are, the more realistic the feather looks!
Step 5 – Draw the Feather’s Bottom Left Side
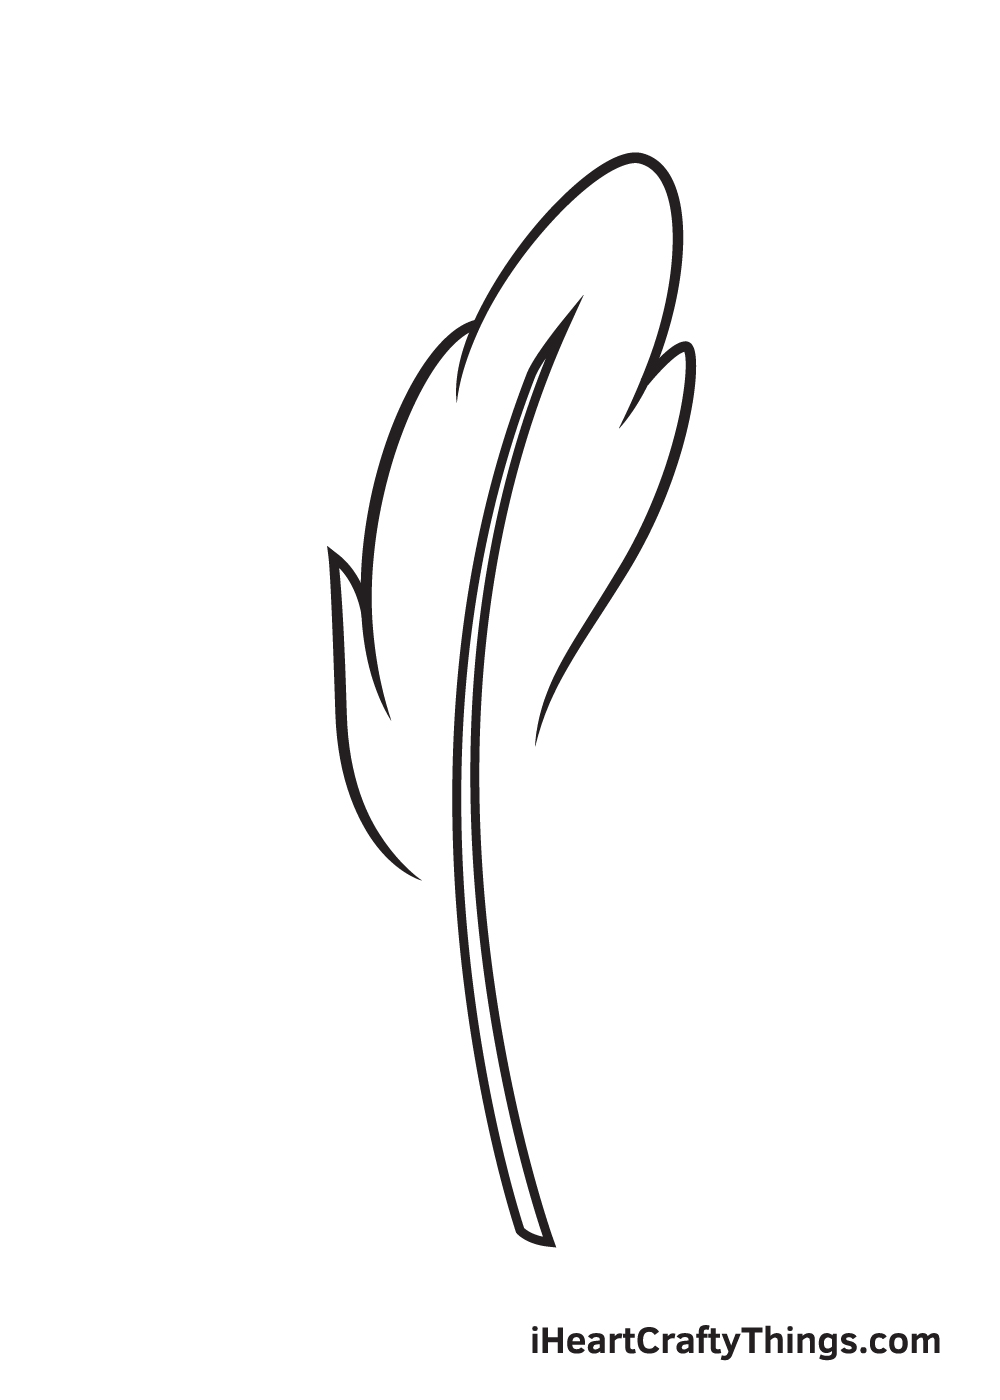
In this step, we’re going back to the left side of the shaft. Proceed by drawing an upside down pointed curve shape right underneath the feather we drew previously on the third step.
The form of this feather should be pointed at the top and round at the bottom, as shown in the illustration above.
Step 6 – Draw the Feather’s Bottom Right Side
Repeat the previous step on the opposite side. This creates another single feather on the bottom right side of the shaft.
At this point, the structure of the feather is almost done. Only one another layer of feather and this will be complete! Keep going—you’re almost there!
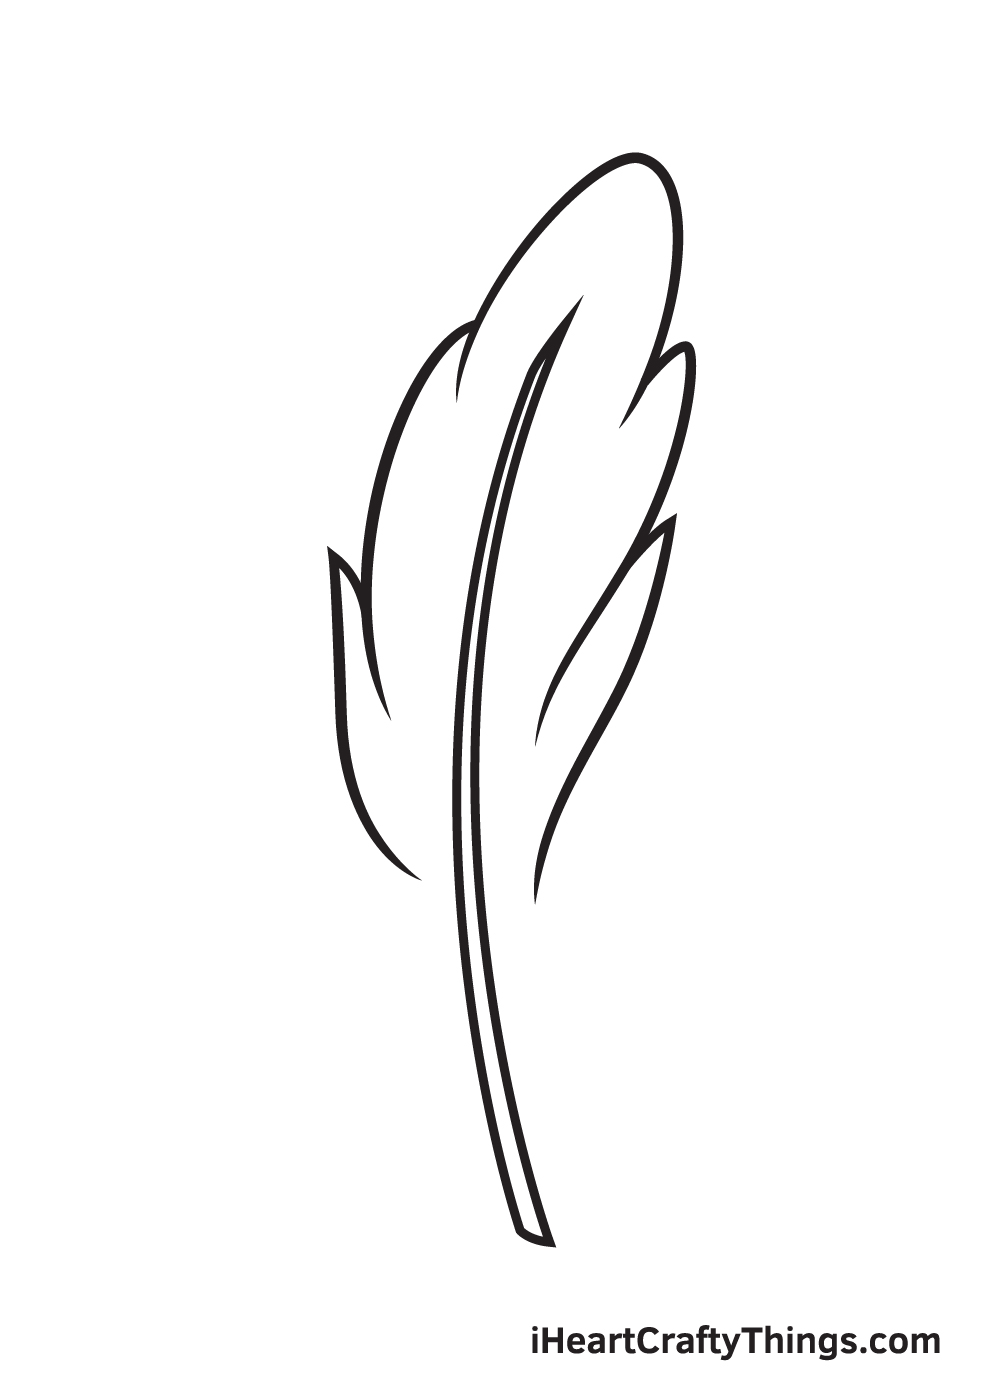
Step 7 – Draw the Bottom Part of the Feather
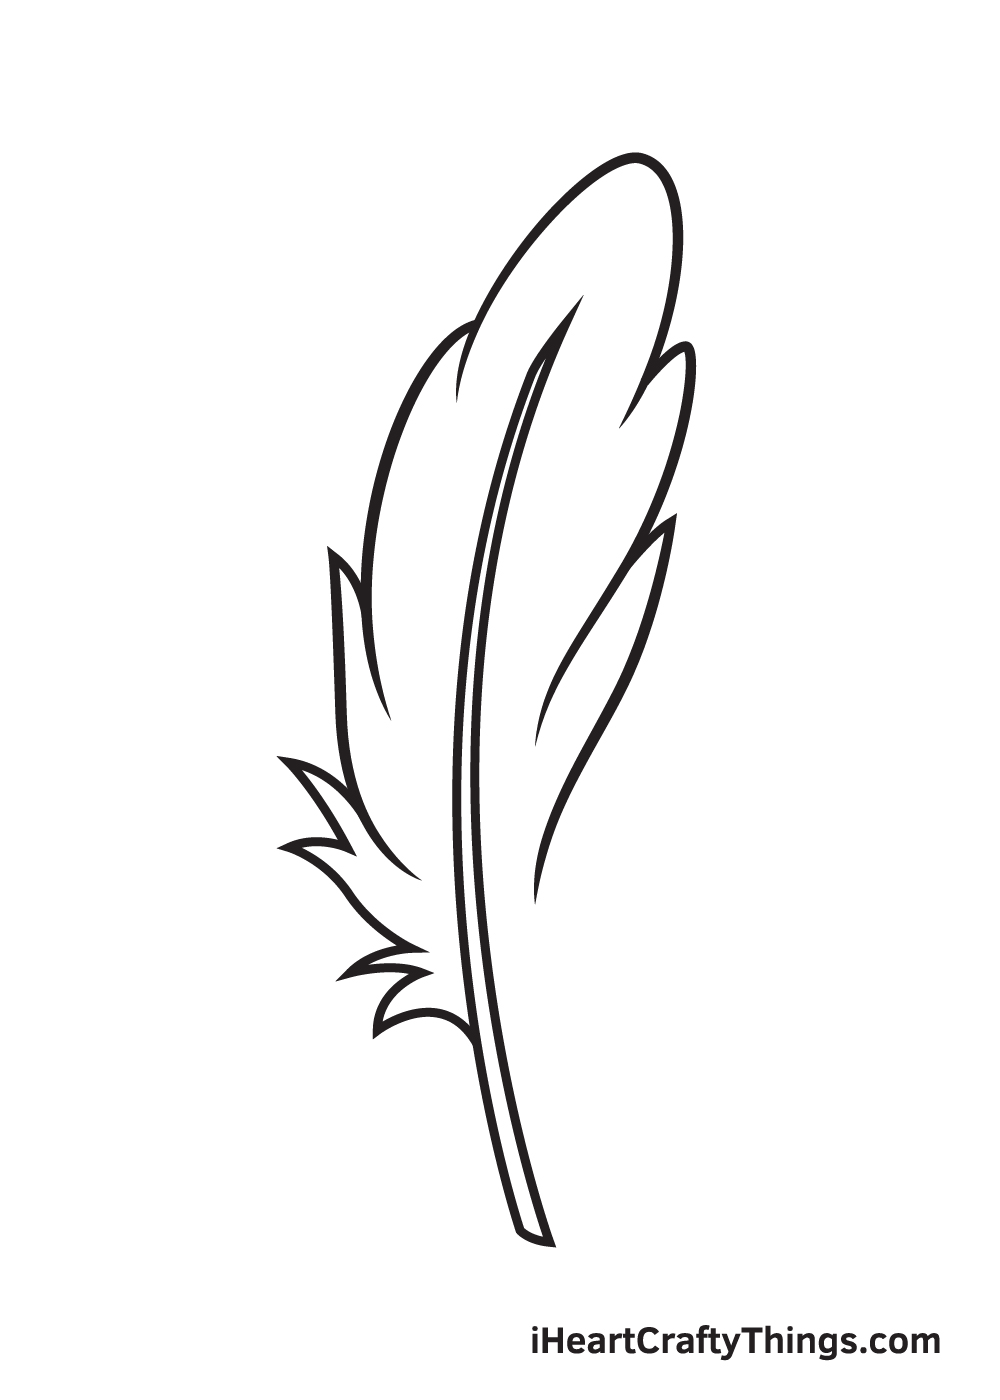
Draw multiple connected pointed shapes on the bottom left part. The top endpoint of this figure should be connected to the feather above while the bottom endpoint is attached to the shaft.
This completes the feathers on the left side of the shaft.
Step 8 – Now, Finalize the Form of the Feather
Moving on to the right side of the shaft, repeat the previous step until the feather is fully formed. Again, don’t worry about keeping the feathers identical.
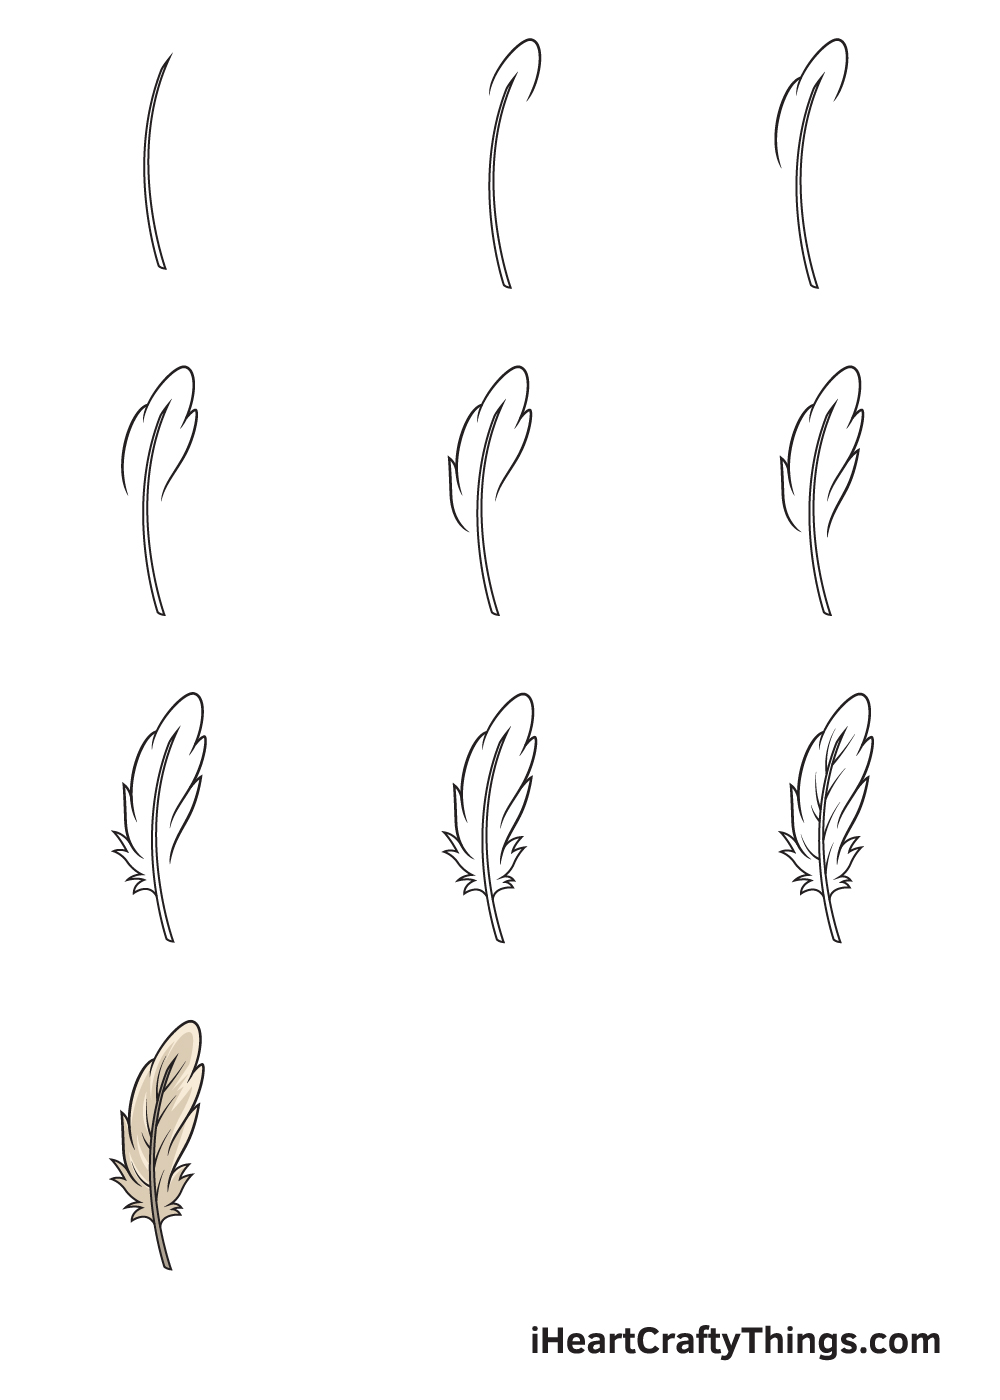
As you can see in the illustration, the feather is gradually coming together. Now, all it’s missing are some details to finally complete the feather!
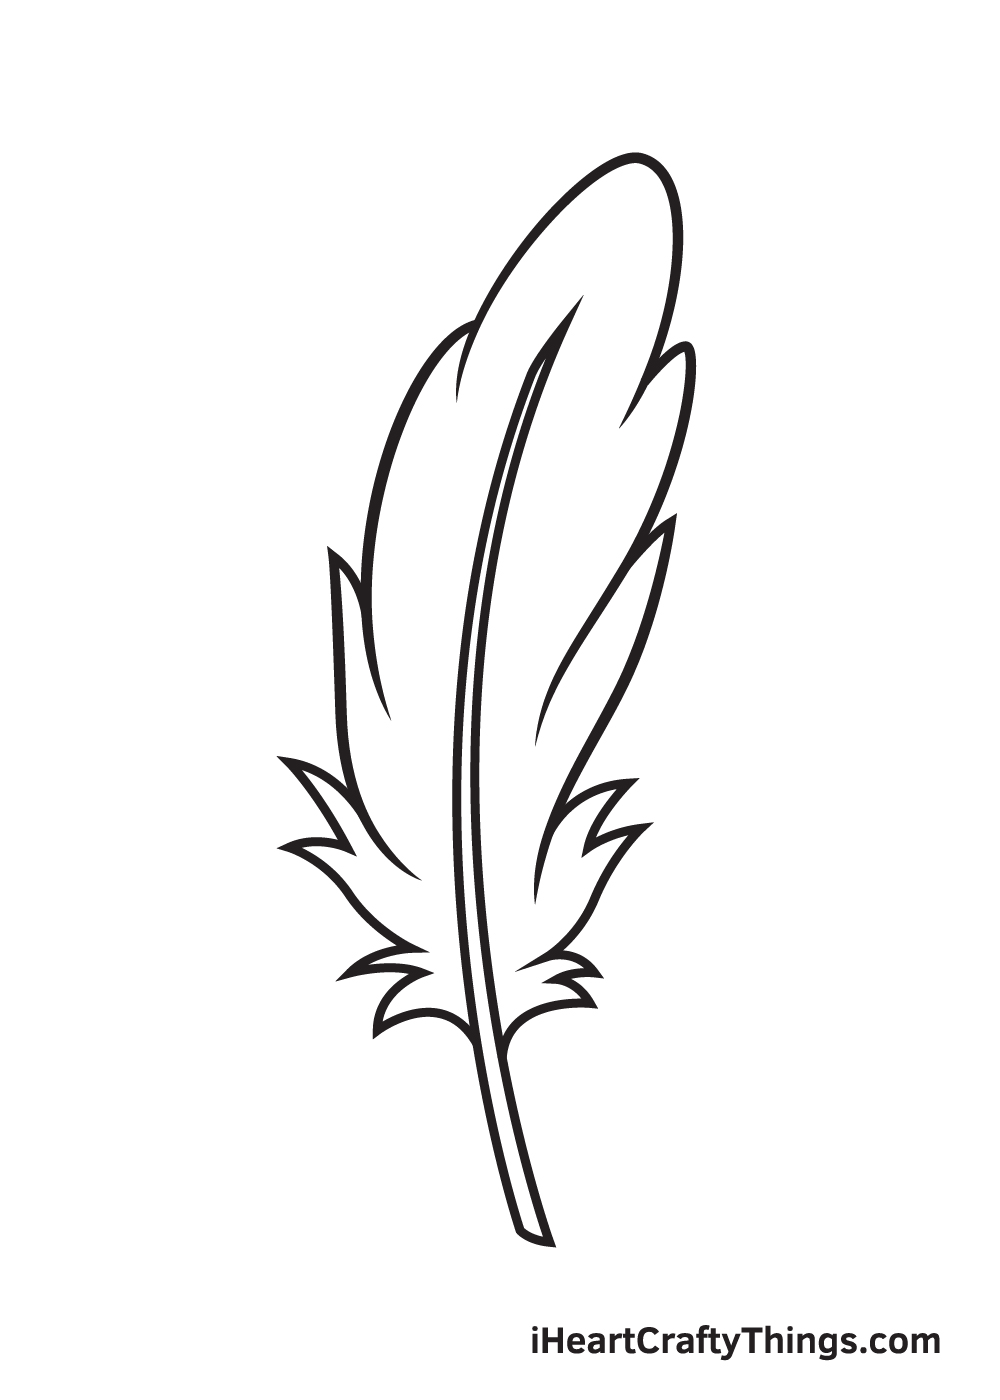
Step 9 – Add Details and Texture on the Feather
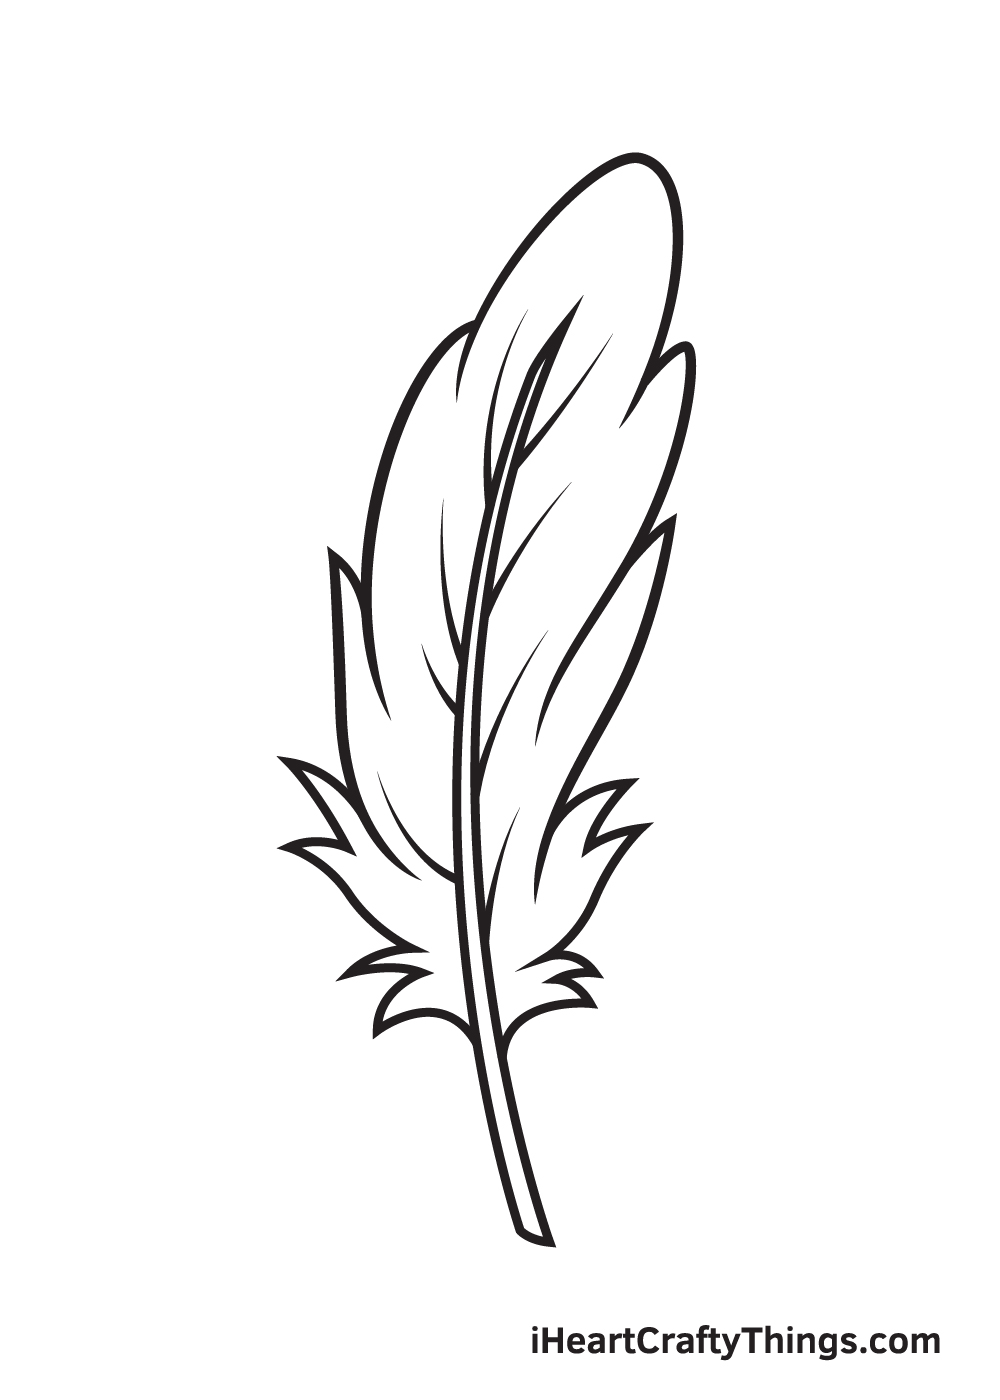
Draw multiple diagonal lines emerging from the shaft. Make sure to add lines on the feathers on both the left and right side. This adds texture on the feather, making it appear soft and realistic!
Keep in mind that these lines should be drawn with light strokes. Don’t down too hard with your pencil to avoid creating harsh, unrealistic details.
There you have it—you have successfully drawn a realistic looking feather! Now, it’s finally time for the most exciting part, which is choosing the colors and coloring the feather.
Feathers exist in a wide range of colors, which largely depends what kind of feather it is. The colors of non-iridescent feathers come from natural pigment on the feathers itself, while the colors of iridescent feathers come from light refraction.
Feel free to color the feather using any color you like! You can also use more than one color to create a one-of-a-kind, multi-colored feather!
Have fun playing with colors and watch as the feather ultimately comes to life!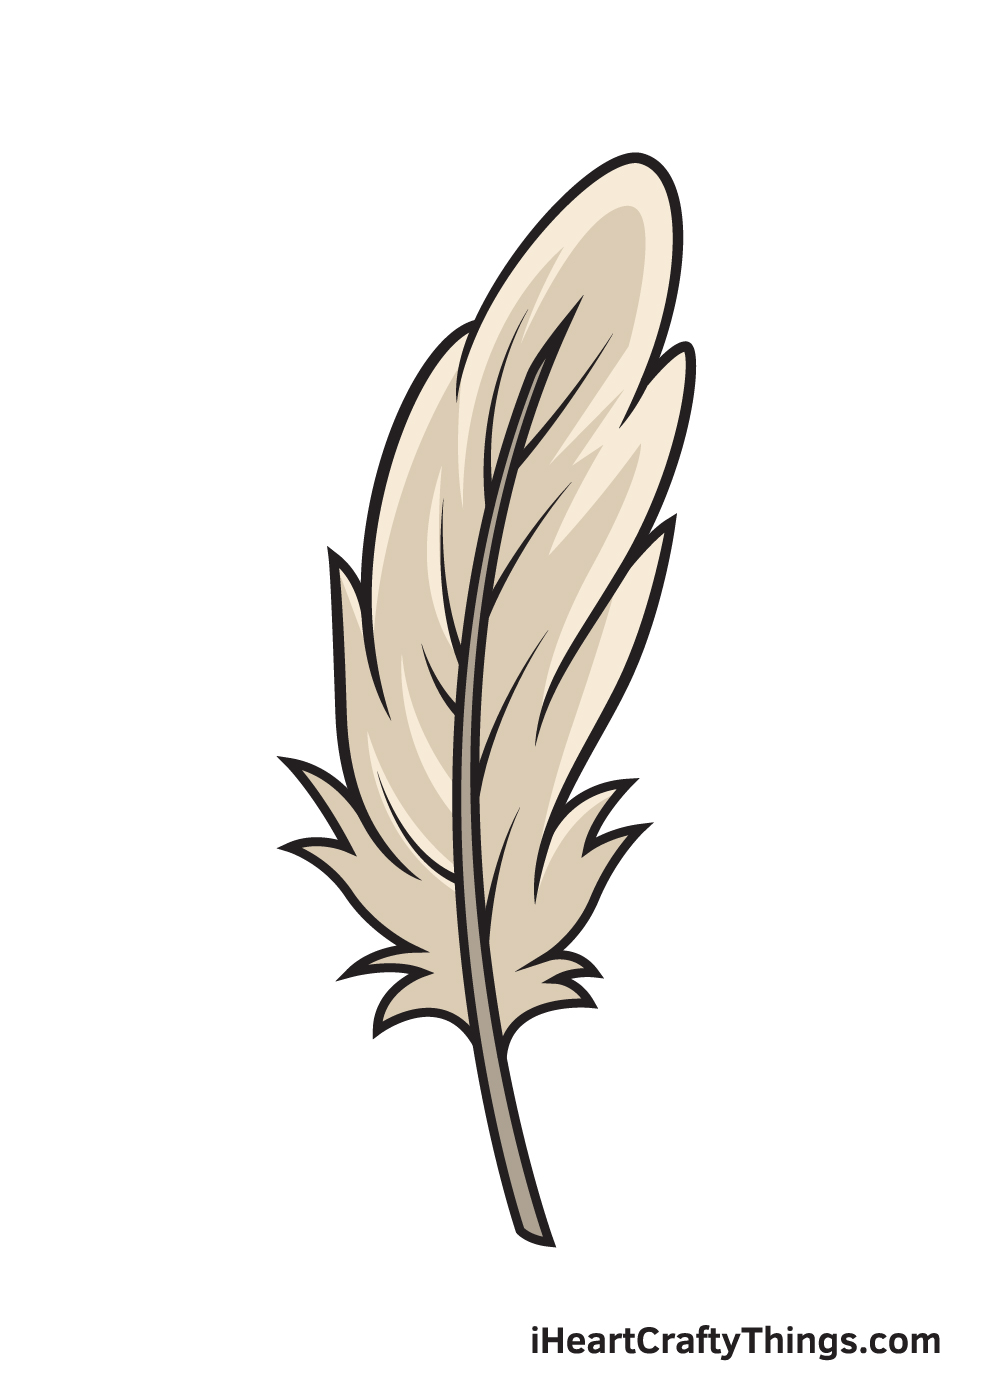
Here’s how you can make your feather drawing even better…
These tips we have for you will show you how to make this feather drawing look amazing
We went for a pretty standard feather for this feather sketch we created, and it looks great! There are so many different types of feathers, though, and you could also create some of these.
These feathers can be big and bold such as the ones you could find on an ostrich. Or, they could be small and delicate as the tiny feathers of a hummingbird.
If you have some feathers in your house then you could use these. Otherwise, you can find many pictures online to help you!
This drawing of a feather looks nice with just the one, but it would look really cool if you added some more! Just adding even a few could be great, but it would also be fun to fill the page with dozens of feathers.
This second approach could take some patience, but it would be worth it for the amazing sight it would create. Maybe you could also use the feathers to make some patterns as well.
This feather drawing would be perfect to try out some fun art tools and techniques on. Feathers are really soft, so we would recommend using some softer art tools and mediums.
Some great ones to use would be some watercolor paints or colored pencils. That’s not to say that brighter colors wouldn’t look great as well!
If you portrayed some bright colors with colored pens and markers then this feather would really pop.
Finally, another fun idea would be to show what kind of bird this feather came from. As we mentioned in the first tip, this could be any bird you love both great and small!
For another spin on this idea, you could even draw the feather amongst others on the bird’s body.
You could also take a more creative approach and draw the feather coming from a mythical creature such as a griffin.
What creature do you think this feather comes from?
Your Feather Drawing is Complete!
We hope you enjoy this step-by-step feather drawing tutorial. Now that you can draw a feather, perhaps you can draw a bird with beautiful, detailed feathers next?
We have a lot of drawing tutorials of different kinds of birds. So, go ahead and check out our “How to Draw” catalog to explore exciting drawing tutorials! What kind of bird would you like to draw?
Don’t forget to show off your masterpiece once you’re done drawing and coloring a feather! Take a photo of your colored drawing and post it on our Facebook page and Pinterest.
Don’t be embarrassed about your artwork, we’re sure it looks impressive! Also, you’ve worked hard for it, so it’s absolutely worth sharing!
We can’t wait to see your stunning feather drawing!
Here Is A Feather Drawing For Kids To Inspire You!
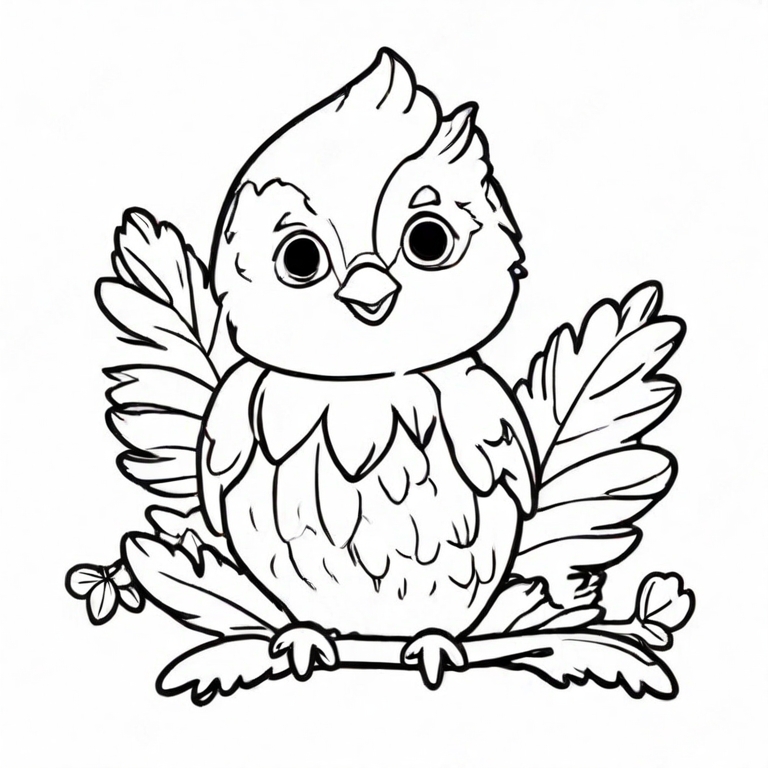 Drawing feathers on a bird can be a rather challenging task, as there are so many of them and they create a complex texture. Our artist Amanda has made it easier for you with this feather drawing for kids.
She shows us a cute owl that has a lot of feather details that makes it easier to see the textures of the feathers. Now that you have this example, it could be used to make your drawing easier.
You could even adapt these feather details to other birds that you love. The way the feathers look may change a bit, but the idea will be similar with any you draw.
Or, you could keep the drawing as it is and try to make it as close as you can to Amanda’s drawing. How will you go about making this drawing?