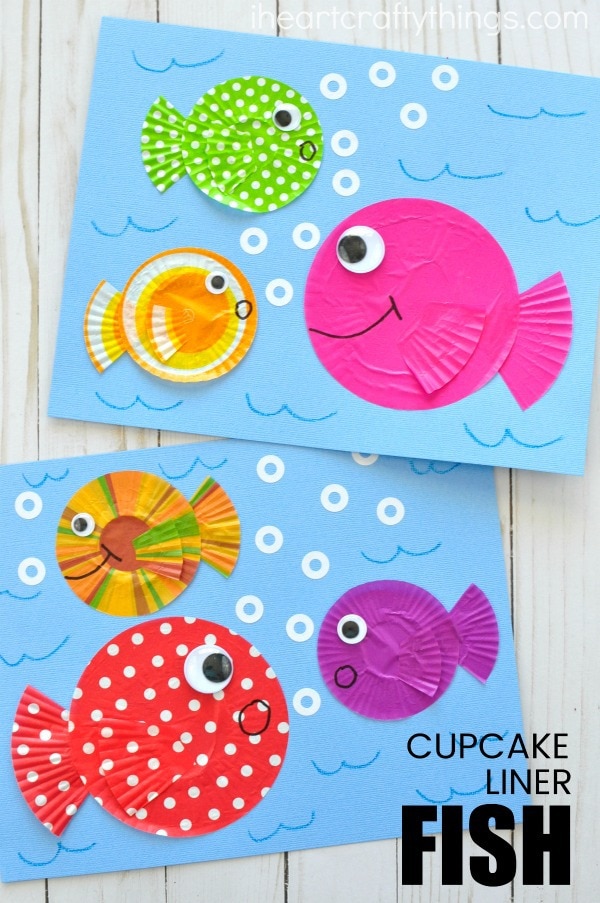
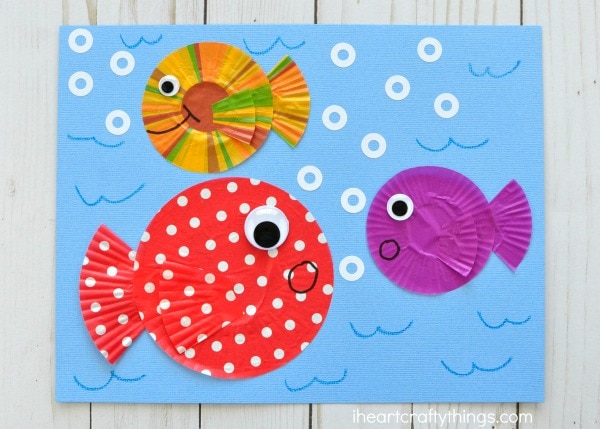
Did you know cupcake liners make the perfect base for a fish kids craft? No matter if they are solid colored or patterned, regular-sized or mini-sized, you can create the most adorable ocean fish scene out of cupcake liners. This adorable fish kids craft is a great craft for any time of the year but especially on those hot summer afternoons when you need to take a break inside.
This post contains affiliate links to the products mentioned. Read our disclosure policy for more information.
Supplies:
- Blue sheet of cardstock paper
- cupcake liners (can use a variety of standard and mini size)
- Varying colors of paper triangles for the fish tail fins (optional)
- glue stick
- black marker
- blue crayon
- For the bubbles: Either white paint and a paper straw -OR- blue sequins -OR- white binder reinforcement labels
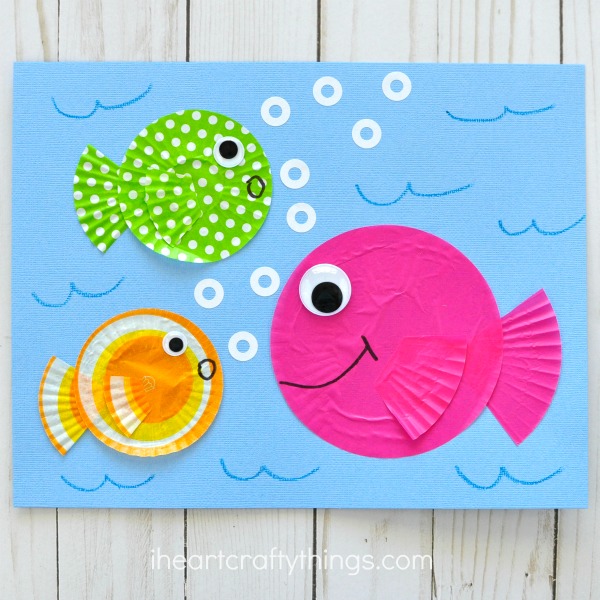
One of my favorite things about fun fish kids craft is how many different ways you can customize it. Today I’ll share two different ways for kids to make their cupcake liner fish and three different ways you can make the fish bubbles so kids will have a blast customizing it however they like.
Instructions:
1. Glue fish pieces onto blue background paper
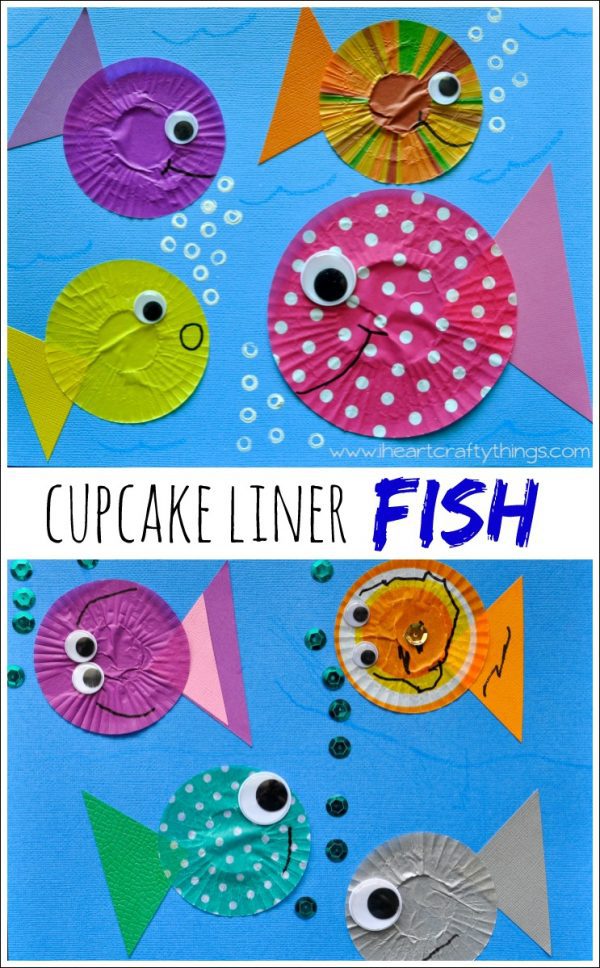
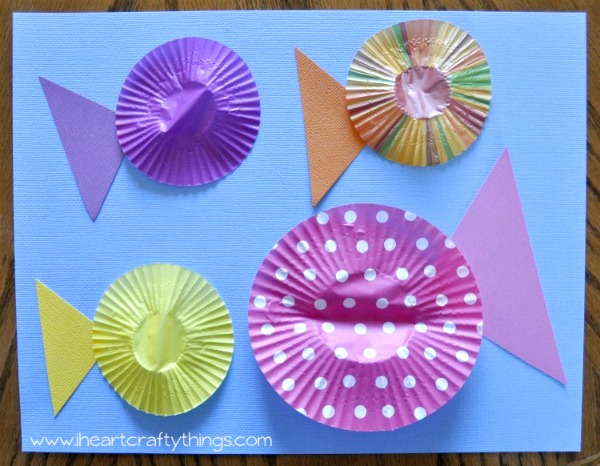
If you want to use paper triangle tails for the fish: Arrange the cupcake liners and fish tails where you would like them on your blue background paper. Use a glue stick to glue them down onto your paper.
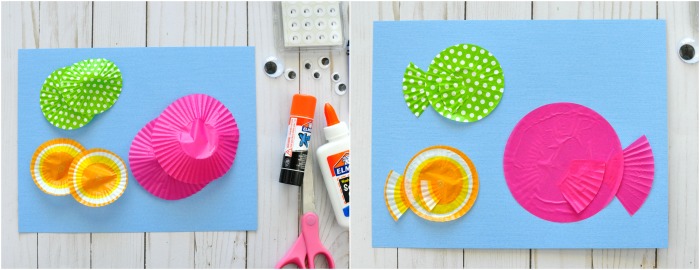
If you would like to use only cupcake liners for your fish: Use one whole cupcake liner for each fish body. Cut your other cupcake liner in half and one of those pieces in half again. One of those pieces will be your back tail fin. For the side tail fin, cut a small amount off the other quarter piece of cupcake liner and cut off the triangle tip. Glue all of the pieces together on your paper to make your fish.
2. Glue eye and draw a mouth
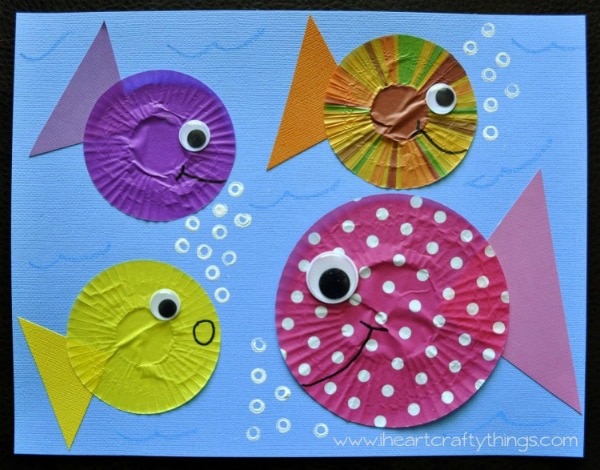
Glue a wiggly eye on each fish and use the black marker to draw a mouth on each fish.
3. Add fish bubbles
To make the white bubbles with paint: Pour a small amount of white paint onto a small paper plate or piece of paper. Dip the end of the paper straw into the white paint and then blow out the bubble that covers the straw hole you just dipped. Press the end of the straw onto your blue background. Repeat as many times as you desire. (If you don’t blow the bubble out at the end of the straw, you will just get a solid circle on your paper when you press it down.)
To make blue bubbles with sequins: Glue blue sequins onto your paper for bubbles.
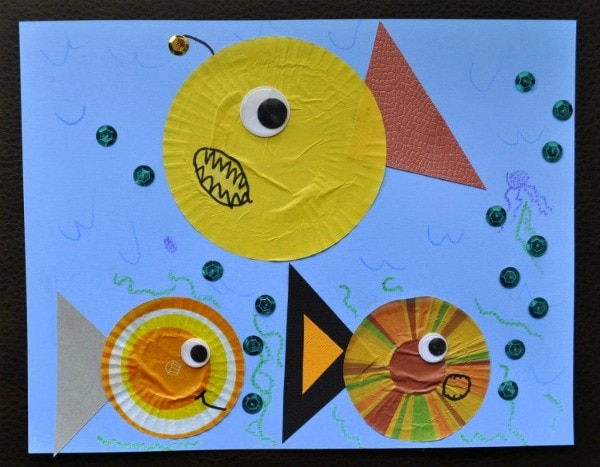
Below is my three year old’s artwork. She decided to put two eyes on a couple of her fish. Other than me cutting out the triangles for her fish tail’s she completed the entire project on her own so this really is a simple and perfect project for a toddler and preschooler.
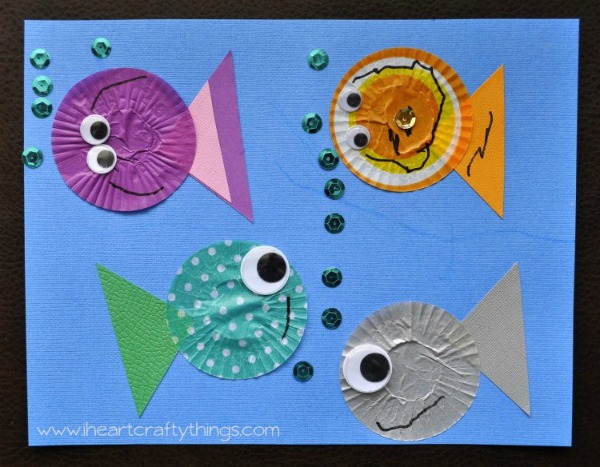
To make the bubbles with binder reinforcement labels: Simply peel and stick the white hole stickers around your fish to look like fish bubbles.
4. Draw water squiggles and other details
Use your blue crayon to draw water squiggles on your paper. You could also use other colored crayons to add more details to your fish scene like plants or other creatures.
Here is my 1st graders artwork. This project is simple enough for a preschooler, but just as fun for a 7-year old. I loved how my son mixed up his colors making some really unique looking fish. He also had the idea to make his big fish into an Angler fish with the light hanging off his head. Totally awesome!! You can see he drew a little jellyfish in his scene too.
