In comic book history, there have been so many iconic heroes that people young and old have looked up to.
Heroes need villains to face off against, however, and there is an equally rich history of terrifying villains.
In the Spider-Man comics and films, few villains are as cool or intimidating as Carnage. His origins are similar to that of Venom, another iconic villain, but he is even more ferocious and deadly.
Carnage also stands out with his bright red design and imposing physique. It’s no wonder that many fans would like to know how to draw Carnage to create their own stories featuring this character.
Drawing any comic book character is harder than it looks, and that’s certainly true for Carnage.
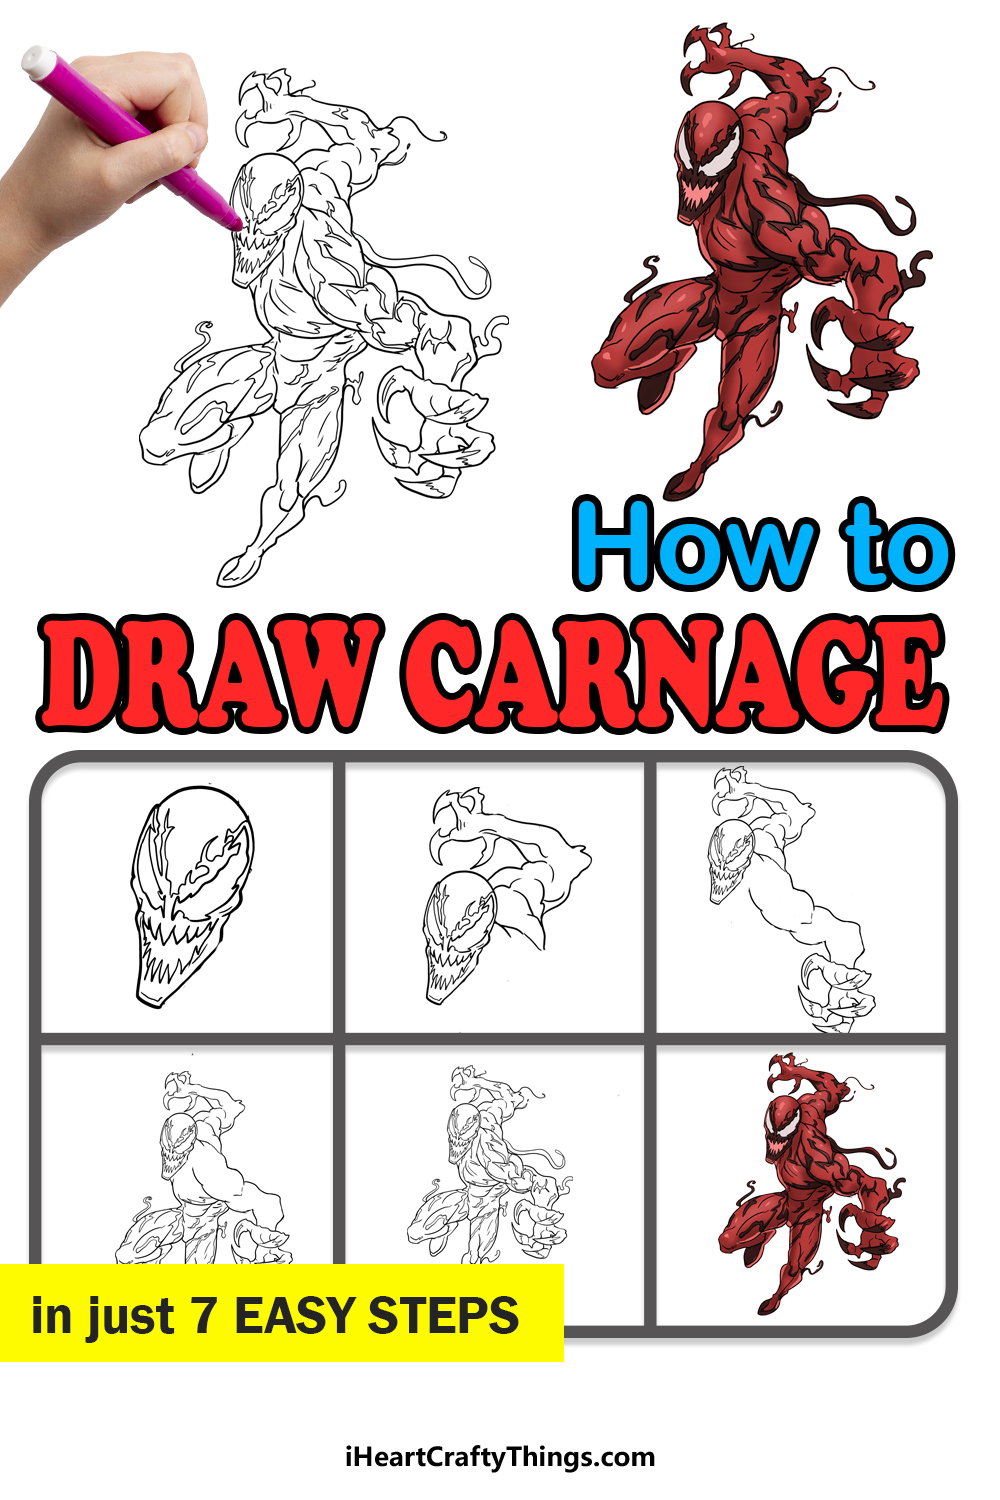
That’s why we created this guide, as we will aim to show you how you can create your own Carnage drawing in just 7 steps.
By the end of the guide, you will not only be able to draw this villain, but you will also be able to add your own ideas and additions to the drawing.
So get ready to have some villainous drawing fun as we begin the first step of the guide.

How to Draw Carnage – Let’s Get Started!
Step 1

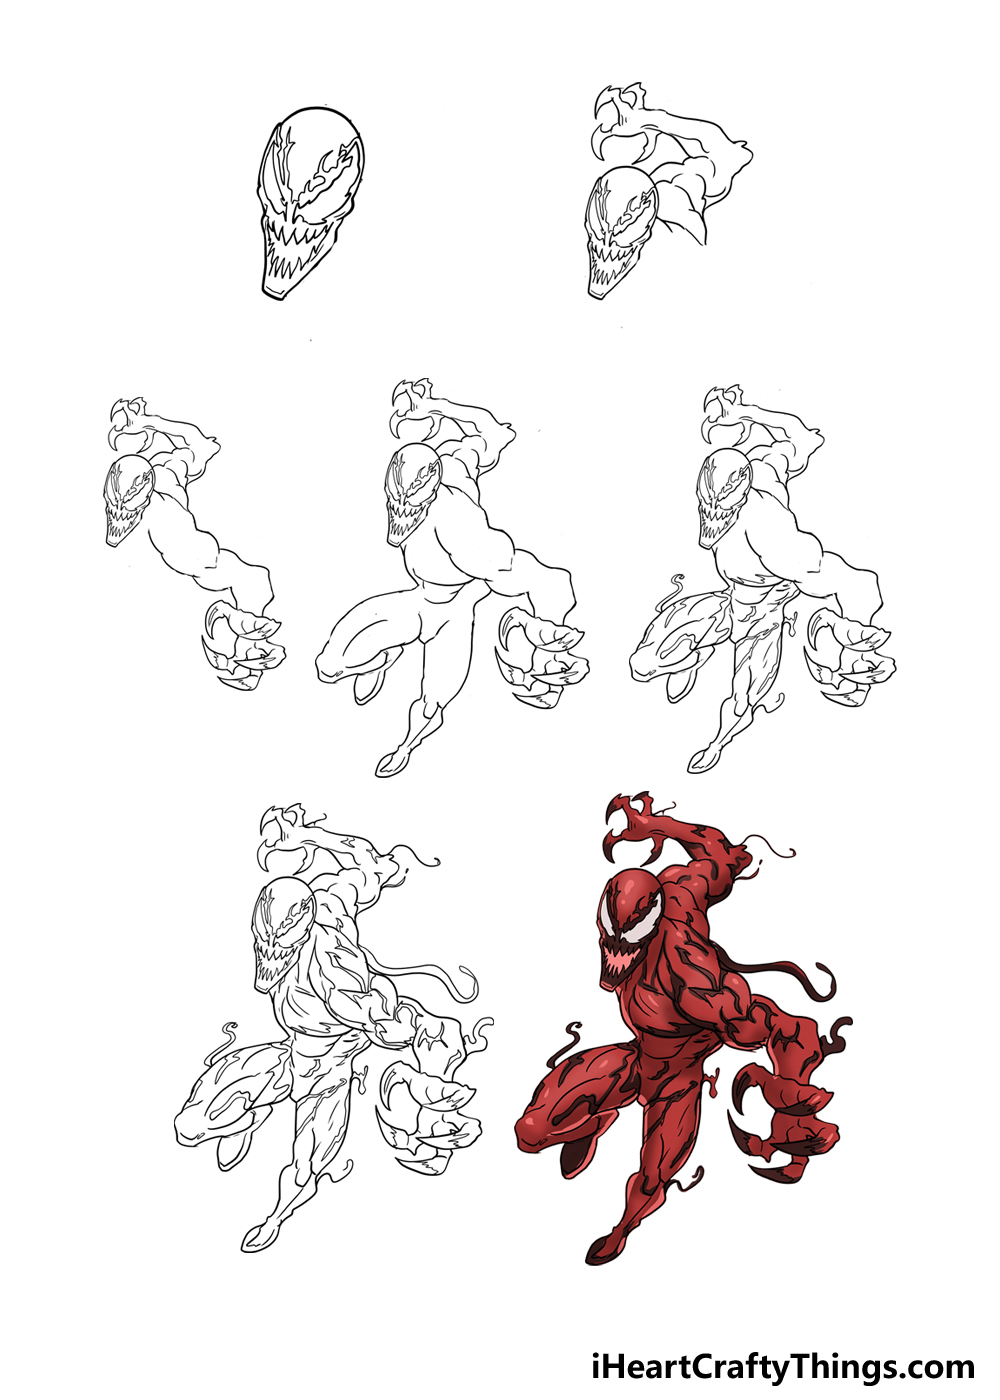
In this guide, we will not only be drawing a very detailed version of Carnage, but we will also be drawing him in a rather dynamic pose.
This could make it intimidating, but there are ways to make it easier on yourself!
It’s always a good idea to plan for and prepare your drawing. This is something you can do with a pencil, as you can then erase the lines later on.
We would recommend using a pencil to lightly draw a very rough version of the drawing. It can be made up of very basic shapes and lines, and it doesn’t have to be perfect.
These pencil lines will help you to keep the proportions in mind as you draw, and they will make it easier when you start adding more details.
For now, we will draw his face. You will see in the reference image that it’s thinner and longer than any face you would see in real life.
The head will be rounded at the top, and then it gets thinner the lower you get on the face. Then, we need to add his eyes and mouth.
Both are drawn with some rather jagged lines to give Carnage a more visceral look to his facial expression.
When drawing the details around his eyes and mouth, try to follow the reference image closely.
These details should look a bit like flames, and they add a lot of character to the drawing. Then, we can move on to step 2.
Step 2: Draw the first arm for Carnage

Now that we have the head for Carnage drawn, we can add the first arm. Specifically, we will be drawing his right arm, which will be extended behind his head.
There are a lot of details for his arm as we use some curved lines for his muscles. It’s also bent at quite an angle, and it will get smaller the further away it gets, and this will show perspective.
We will add a lot of smaller lines inside the outline of the arm to create tone for his muscles. Then, it will end in a large hand that has long, sharp fingers.
As mentioned earlier, the hand will look a bit smaller to show that perspective. In this step, we will also be drawing the beginning of his shoulder for his left arm.
This will be added to in the next step when we draw that left arm. So, when you’re ready, let’s head to that third step of the guide and draw the next arm.
Step 3: Add the second arm for Carnage

In this third step of our guide on how to draw Carnage, we will be adding the second arm. As mentioned in the previous step, this arm will connect to that curved line we drew for his shoulder.
This arm will be extending towards us as the viewer. For that reason, we will do the opposite of what we did in the previous step.
That means that the arm and the hand will get larger the further out it gets. This will again show perspective, as if we’re closer to the arm, even though it’s a 2D image.
You will notice that with this arm, it is bent and twisted at some unnatural angles. It’s still fairly similar to what a real arm would look like, but it’s just exaggerated enough to make the design unsettling.
His arm also has a lot of curvy lines for the outline, as these will show his muscles. It also ends in another hand that has some long, sharp fingers.
We will get a better look at this arm, as it is closer to us as the viewer. Once we have drawn the outline, we can leave it for now and add more to the outline.
There will be some more details to add to this arm later, but that will have to wait for now.
Step 4: Now draw the rest of the outline for Carnage’s body

The arms are done, and in this step we will be adding the rest of the outline for the body of your Carnage drawing. This will include his chest and his legs.
His chest can be drawn with some fairly simple curved lines that have some more muscle details added inside. The chest will be quite wide, but it will get narrower the lower you go toward his waist.
Then, you can draw his legs. His right leg will be raised and bent at the knee, to show him leaping through the air.
It can be drawn using some more curved lines that end in a somewhat squared knee.
Then, it will connect to his foot, barely visible beneath the bent leg. His leg on the right will be a lot straighter and extended out, which will again help to show that he is leaping through the air.
His calves are drawn with some sharply curved lines, and then it will end in his other foot. Once you have drawn both of these legs, we will have the complete outline!
If you used some pencil lines and shapes to prepare the drawing, then you can erase them now, as we won’t need them anymore.
Then, in the next steps we can add some details to really bring this drawing to life.
Step 5: Draw the symbiote details for Carnage

In the comics, Carnage is covered with an alien symbiote that covers his body and gives him powers.
We will represent that in this step, where we will draw some lines all over the lower half of his body.
This will show the symbiote swirling around him, and it will almost look like veins covering his body.
You can represent these details by drawing some thin shapes snaking around his lower body.
These can be quite intricate and tricky to draw, but you don’t have to make them perfect. In fact, if they’re a bit chaotic then that could work for the character to represent his nature.
There are even a few strands of the symbiote swirling off of his body, and you can draw those details now as well. Once you have added these details, we will be ready for step 6!
Make sure you’re happy with this area of the drawing so far. In the next step, we will finish off not only the final details of the design but also any additional details and ideas you have for this drawing.
Step 6: Now, draw some final details for this Carnage drawing

Now, we are ready to add some final details to your drawing. In this step, we will essentially be doing what you did in the previous step, only this time it will be for the upper half of the drawing.
That means that we will be adding those intricate symbiote details snaking around his arms and chest. Once again, we will also be adding some symbiote strands extending off the outline.
This will finish off the classic Carnage look, and it will make it look like the symbiote on Carnage is alive and moving.
These are the final details of this design, but before you move on you can add some of your own details.
There are so many ways that you could make this drawing even more unique! One way would be to draw a background.
If you were to do that, you could go for a common comic book setting like a city or a dark alleyway.
If you have a favorite Carnage scene from a comic, movie or other kind of media then you could represent it with a background as well.
Another way to make it more interesting would be to add some more characters. For example, maybe Carnage could be facing off against Spider-Man.
Carnage is also known for his rivalry against the villain Venom, so he could be added to the image as well. Or you could add any other characters you would like to see facing off against Carnage.
It’s up to you, so what kinds of details can you think of that would make this drawing even better?
Step 7: Now, finish off with some color for Carnage

You’ve done a great job portraying Carnage here, but now it’s time to add some color to your creation. You may think this is easy, as Carnage has a simple red color scheme.
It’s true that red is the main color scheme, but it gets a bit more complicated than that. First, you will see that the intricate symbiote details we drew all over his body are colored a darker red.
This can get tricky to color in, so you would be best off using some art tools and mediums that allow for precision. Some examples would be some colored pens, pencils or paintbrushes with thin tips.
If you use these to carefully color these small lines, you can then use bolder mediums for the rest of hs body.
The rest of his body has lighter reds, but even there you will see that there are many tones used.
These tones can be used to add shading and other elements to the design. You could also make the colors even brighter in order to make this look more like a classic comic book illustration.
While Carnage is known for being red, you could create a different feel for the image by using a more unique color scheme for him.
Even if you do wish to keep the classic color scheme, you can make it more unique by changing up the art tools you use.
Whatever you do, we’re sure it will look incredible! What colors will you choose to finish off your villainous artwork?
Your Carnage Drawing is Complete!
Carnage may be a terrifying villain, but hopefully this guide on how to draw Carnage was anything but scary to take on! If you follow the steps of the guide, then you will definitely be able to do it.
Soon, you will not only be drawing this design but creating your own variations by adding some awesome extra details.
When you have finished your Carnage drawing, you can share the mayhem by sharing your drawing on our Facebook and Pinterest pages.
This way, we can see how you went about portraying this classic comic villain. We can’t wait to be terrified by your awesome portrayal of Carnage!


