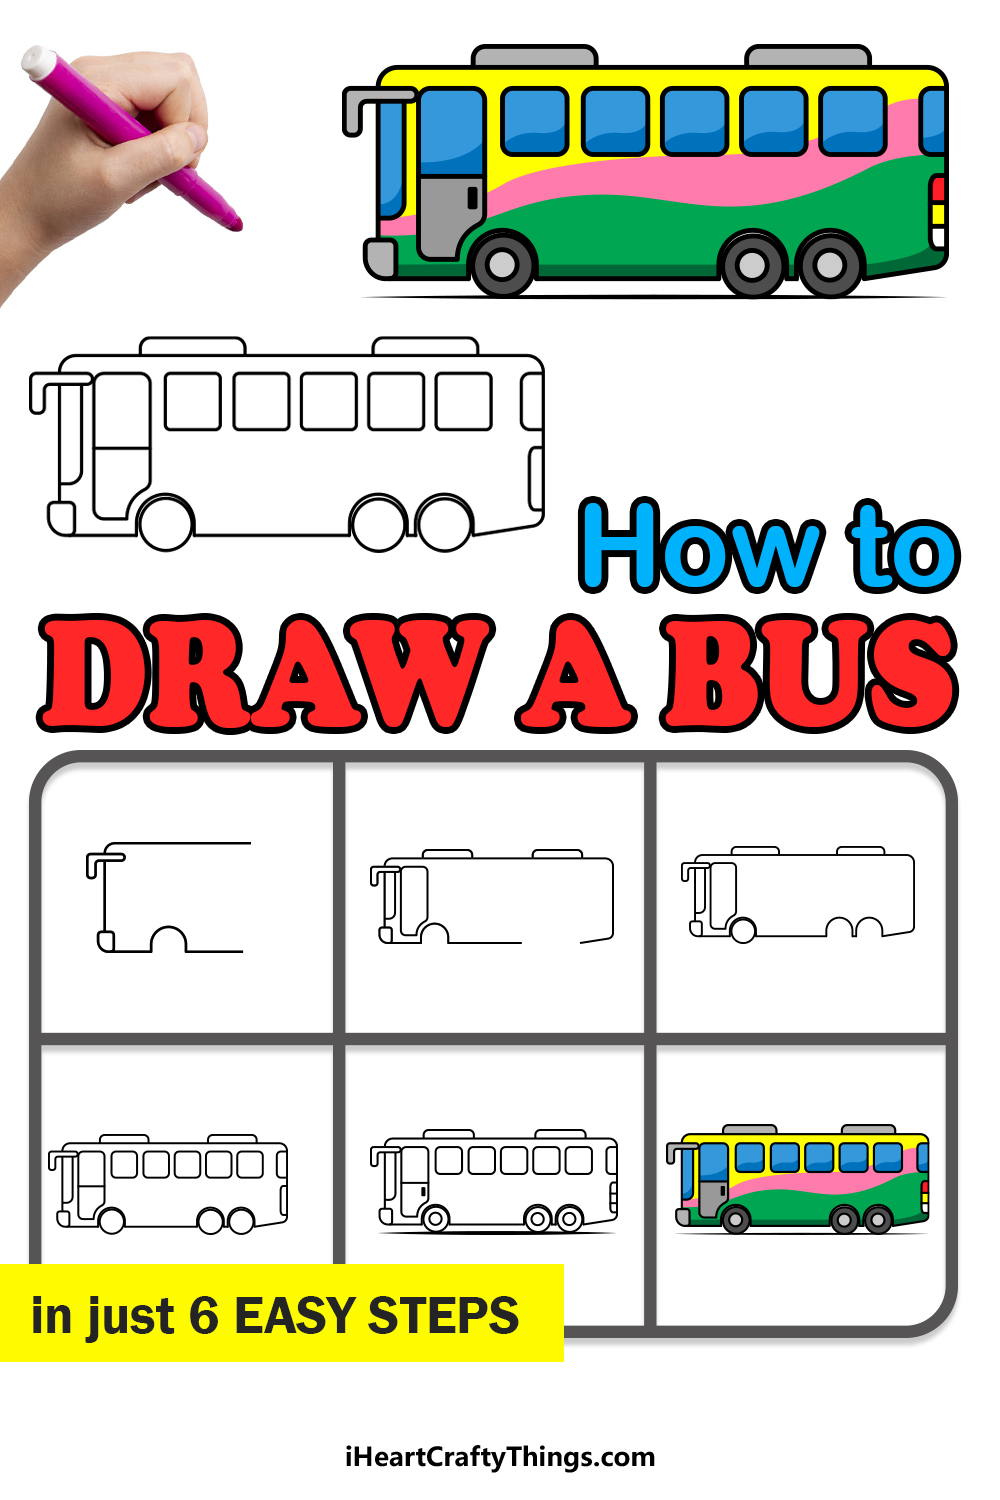
A bus is a vehicle that can serve many different purposes in society! From taking kids to school to carrying people to work, they can take people to wherever they need to go!
Buses can come in all manner of different shapes and sizes, and it can be fun to learn how to draw a bus so that you can create your own bus designs!
By the end of the guide you’re about to do you’ll be able to draw your own awesome buses with ease!
We hope that you have lots of fun working through this guide on how to draw a bus in just 6 steps!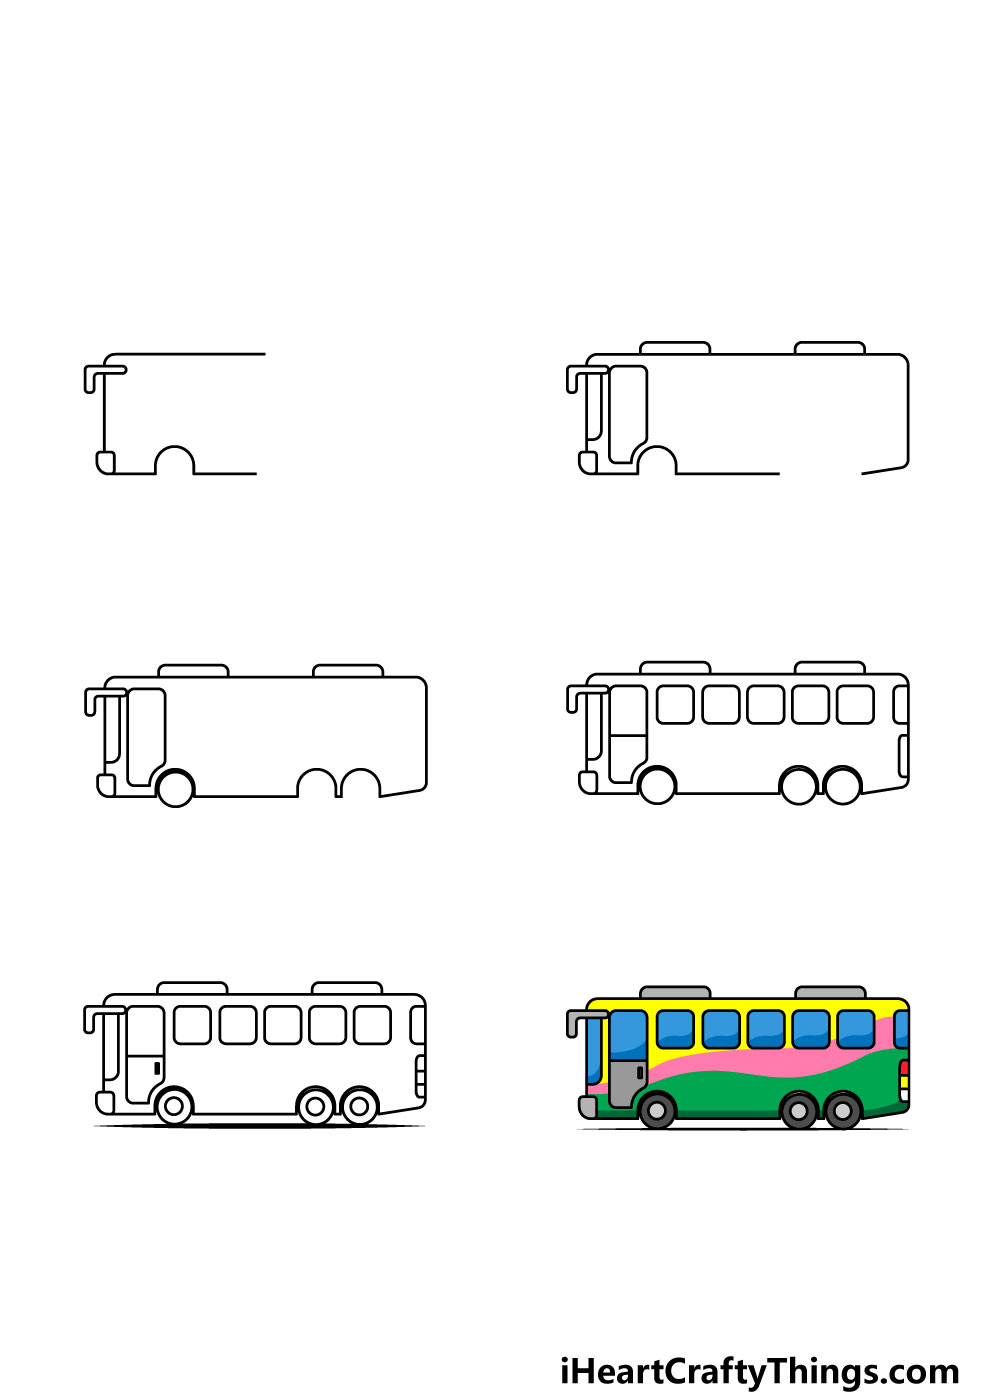
How to Draw A Bus – Let’s Get Started!
Step 1
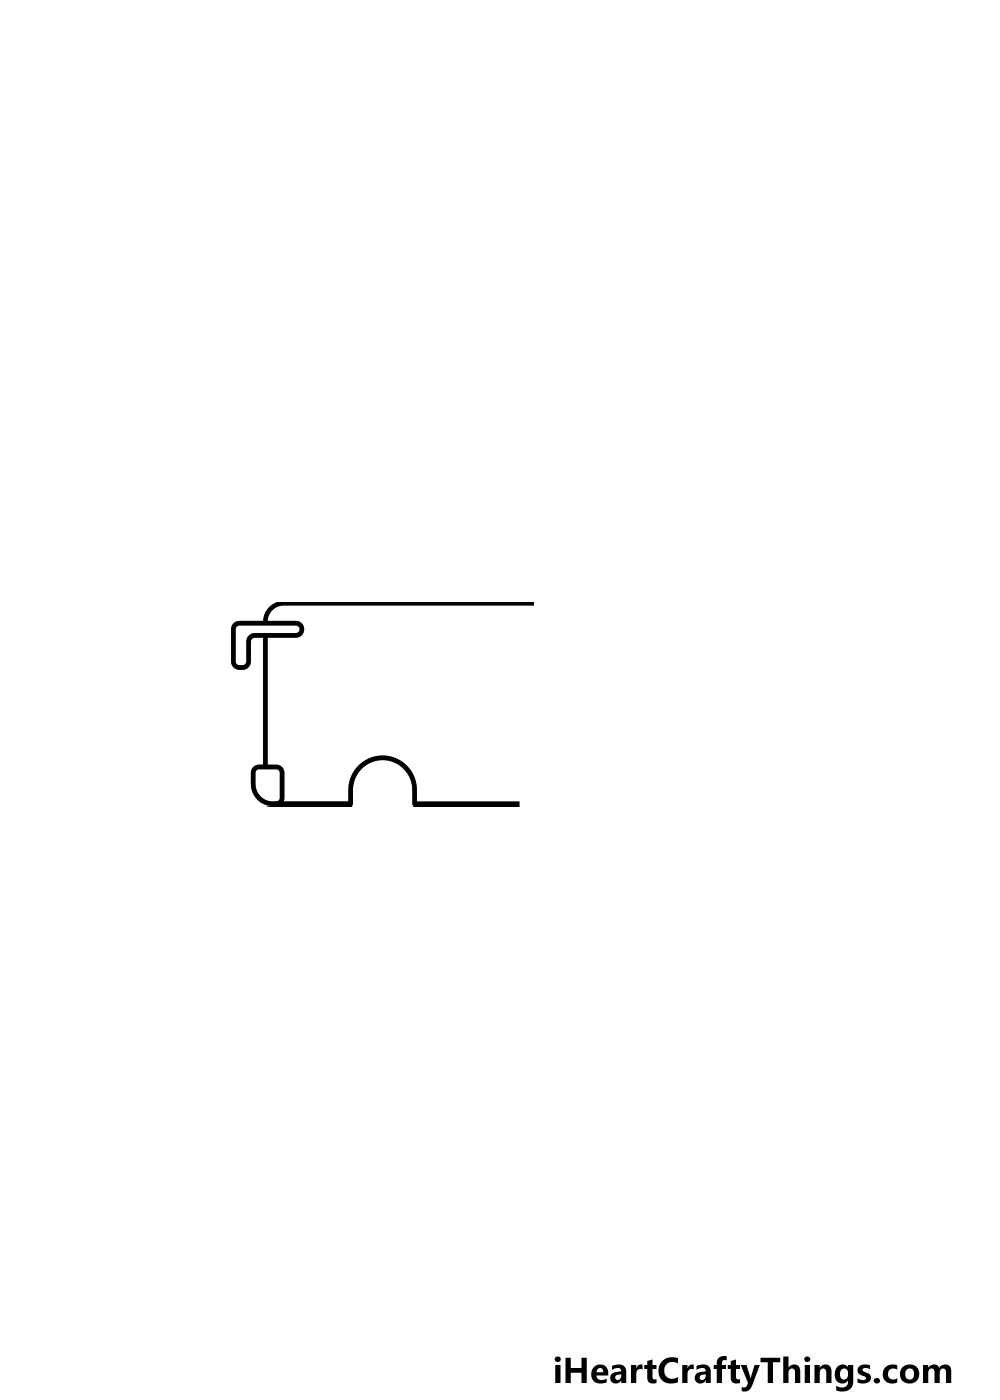
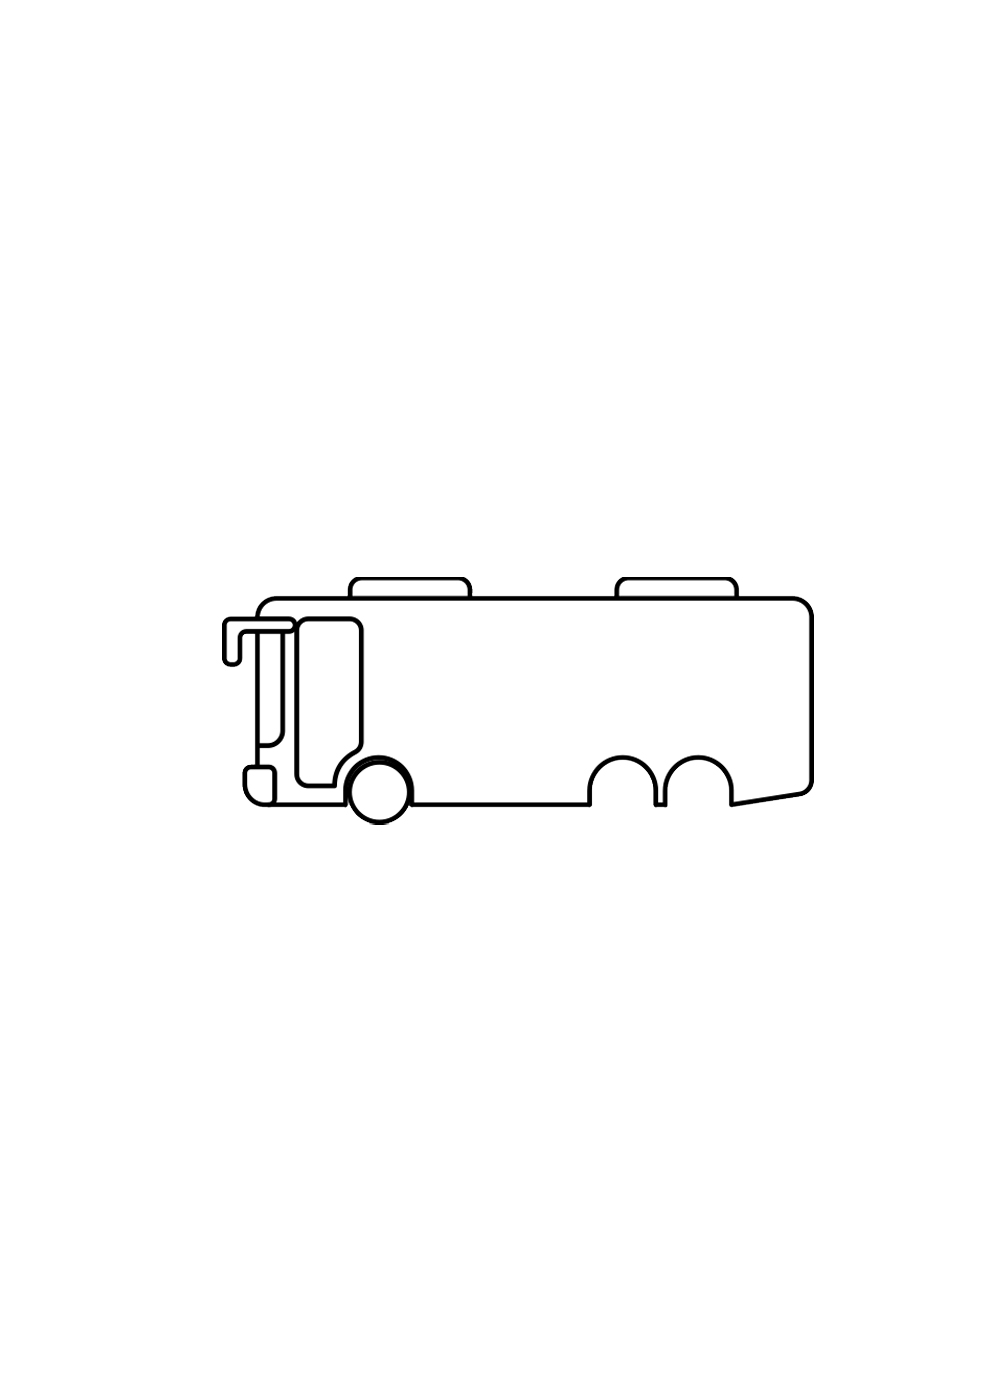
For this first step of our guide on how to draw a bus, you will be needing a pencil and a ruler. We will be using a pencil in this step in order to plan out the shape of the bus in future steps.
Using your pencil and ruler, you can use a flat line for the top and the bottom of the bus. Then, you can draw a vertical line on either end in order to make a rectangle.
Then, using your eraser you can take out the corners of the rectangle and then redraw them as rounded edges.
You can also erase a small section to the right of the bottom line, and then erase a bigger section to the right.
For the smaller hole you made on the left, you can draw a rounded shape from it for the wheel that you’ll be drawing later on.
Then, you can finish off this step by drawing a small shape at the bottom left of the bus. Finally, there will be one more shape on the top left with two more flat shapes on top of the bus.
It may sound complicated but it will be very clear when you refer to the reference image.
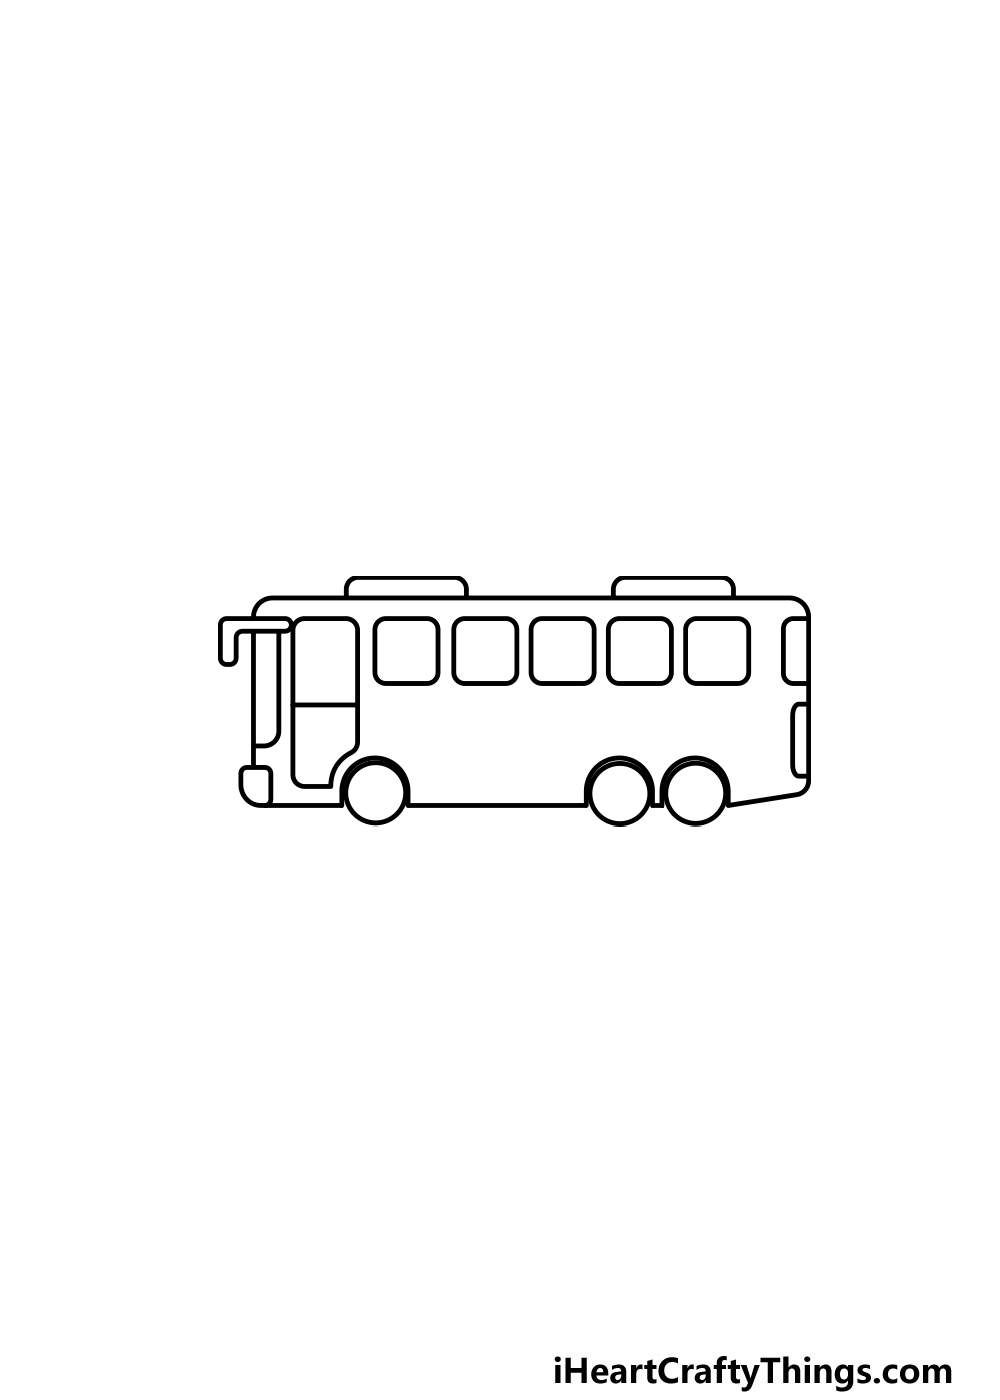
Step 2 – Next, draw some more of the bus outline
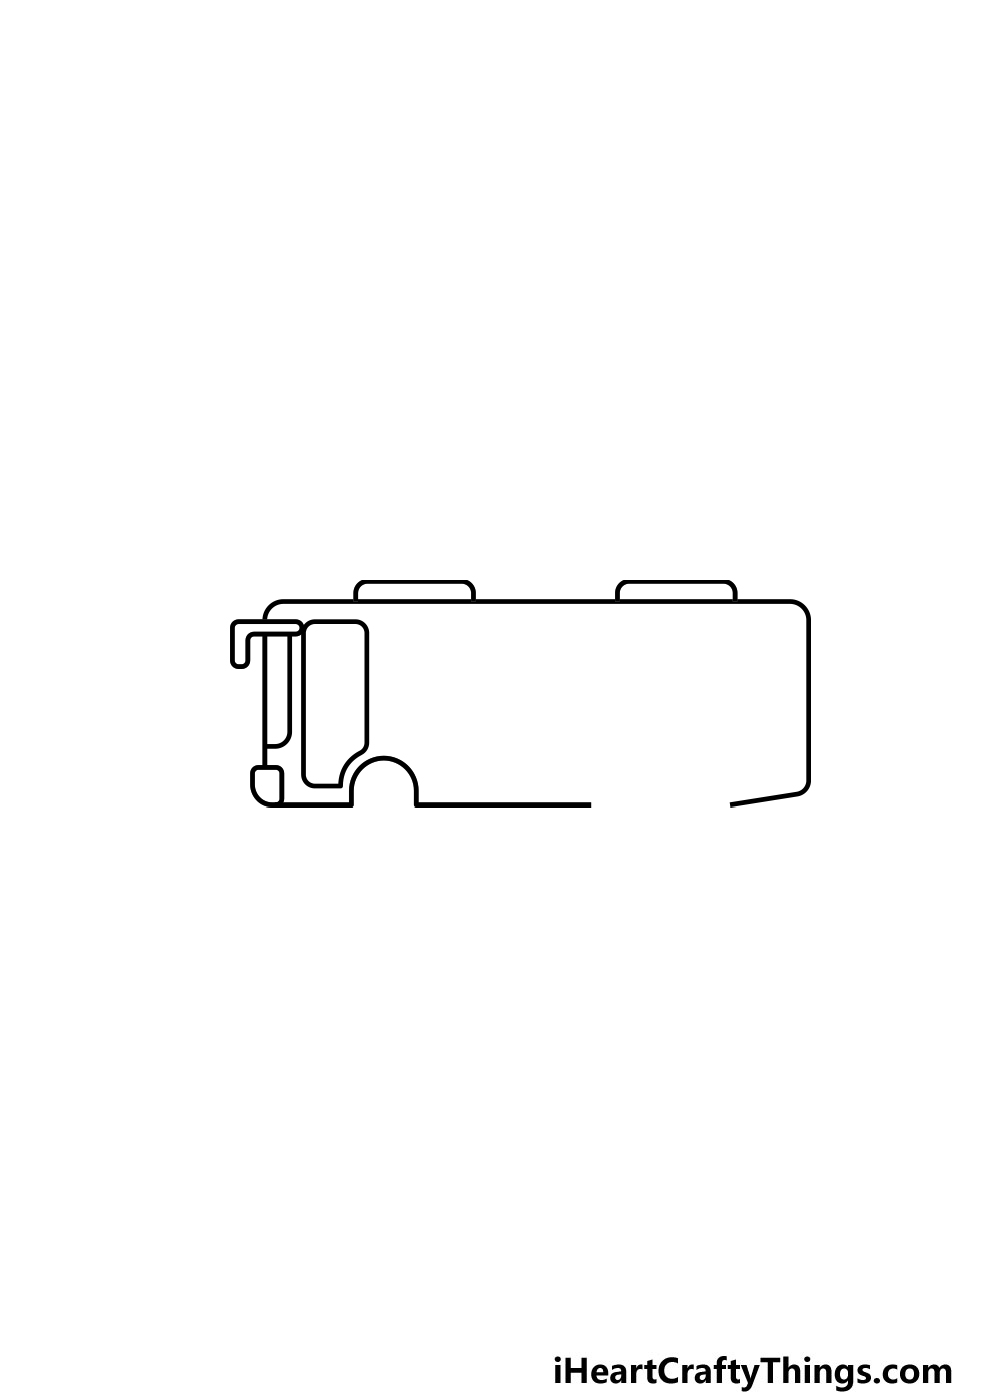
You can draw two more round wheel holes near the back of your bus drawing in this step.
Once those are drawn, you can then use your pen to go over the pencil lines once you’re happy with how it all looks.
Then, you can draw a large door shape near the front of the bus. Then, finish off this step by drawing the windshield of the bus at the front of it.
Step 3 – Next, draw some wheels and windows for the bus drawing
In this third step of our guide on how to draw a bus, we will be adding some wheels and windows to your bus.
These should be quite simple for you to add, and it will be made even more simple if you have your ruler ready for the windows.
Simply draw a circle within each wheel hole that you’ve left to make the wheel outlines.
Then, using your ruler you can draw a series of small squares in a row for the windows of the bus.
Step 4 – Keep adding some smaller details to your bus drawing
We have another simple step for you in this part of your bus drawing! All you need to do for this step is add a line halfway down the door of the bus.
Then, you can draw a small round shape at the back of the bus. That’s all there is to it for this step, and you’re ready for some final details.
Step 5 – Now, finish off the final details for your bus
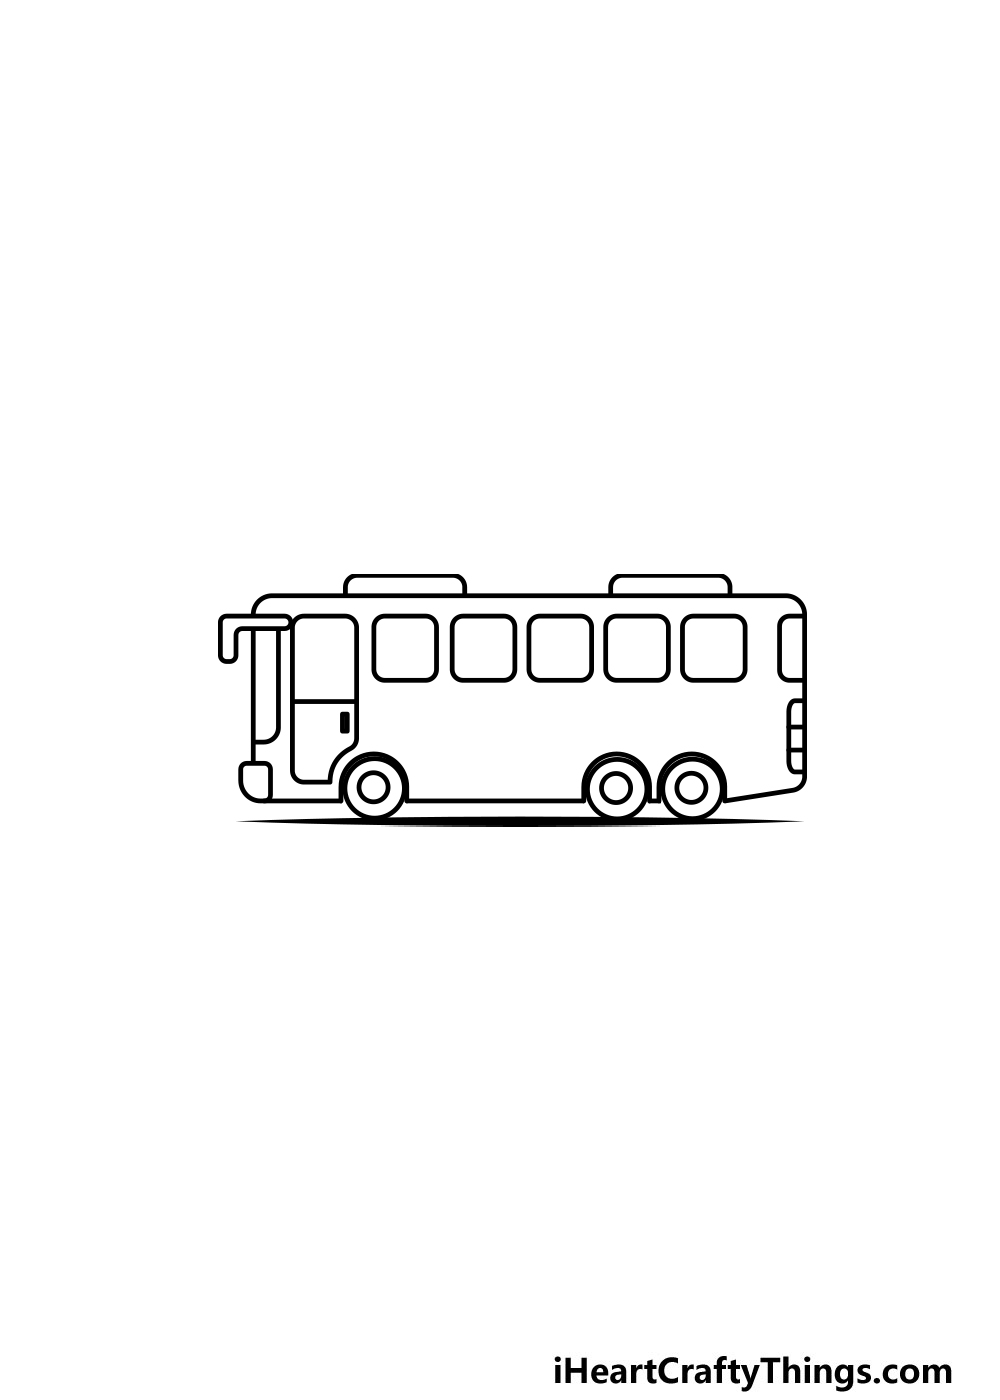
Before you bring some color to your bus, we have a few final details to add in this guide on how to draw a bus.
These details are mainly within the wheels, and you can finish these off by adding a small circle within each wheel.
Then, you can add a handle to the door of the bus and then a line beneath it to show the road this bus is driving on.
These are the details that we would add, but you should feel free to add any extra details that you would like! Maybe you could draw a logo on the side of the bus or draw a face in each window.
You could also create a background for the drawing to show where the bus is driving. These are just a few ideas, but what can you think of to finish off this drawing?
Step 6 – Finish off your bus drawing with some color
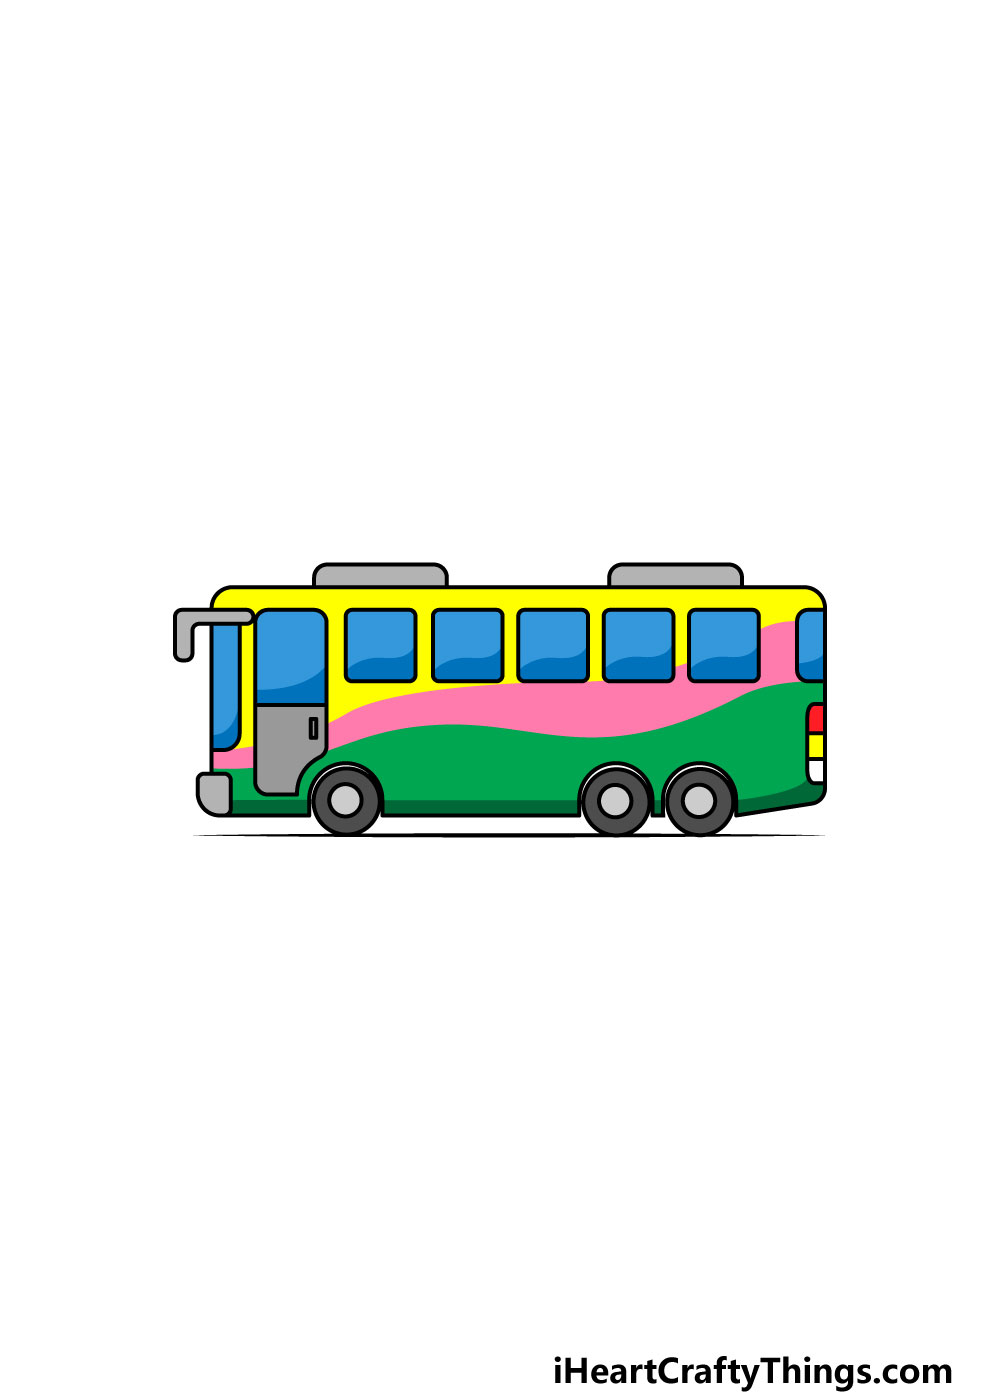
This final step of your bus drawing is where you get to take over and show us how creative you can be with your colors!
We used some bright yellow, pink and green for our example, but you should use any colors that you love for your picture.
A bus can be any color you can imagine, so you have lots of options for how you can finish off this one with your colors.
If you added any extra details or drew a background then you can color those in as well!
For a bus that has more vibrant colors, you could use some mediums such as acrylic paint or colored pens for colors that pop.
If you prefer a more muted, classic look then you could use watercolor paints, colored pencils or crayons for a softer look. Which of your favorite colors and art mediums will you use?
5 Tips To Make Your Bus Drawing Even Better!
Get this bus sketch ready for the road with these 5 fun and easy tips!
We kept the decorative elements of this bus drawing airly limited, keeping it mainly to colors on the side. This looks really cool, but you could also decorate the bus in other ways!
Buses will sometimes have pictures or advertisements on the side, so you could put pretty much anything you like there.
How would you like to customize the side of this bus?
With the windows of this drawing of a bus, we colored them solid blue. If you wanted to, you could make it look like people are sitting in the bus.
You could do this by removing the color in the windows and then draw some faces. It might be fun to model the faces after you and your friends for one idea!
There are also some simple details you could add to the picture that would make a huge difference. For instance, you could draw smoke coming from the exhaust.
Or, maybe you could draw some cones of light coming from the headlights. These are a few simple ideas, but there are many other ways you could make the image a bit more dynamic.
Once you have added all of the final touches to your bus sketch, you could also draw a background. There are so many kinds of environments the bus could be driving through!
It could be driving through a city, a small town or maybe some picturesque country. These are just a few places you could use, but what ideas do you have for some backgrounds?
Finally, you can finish off this bus drawing with some great colors. You can use your colors and art tools for the bus and any extra details you added.
The colors can also make the bus look like it’s something more specific. For example, you could use some bright yellows to make it look like a school bus.
What are some colors you could use to enhance this bus?
Your Bus Drawing is Complete!
That brings us to the end of our step-by-step guide on how to draw a bus! We hope that this guide was very helpful and easy for you to use, and we also hope that it was lots of fun!
We created this guide to make it easy for you to learn, but we also wanted to leave room for you to add your own touches and ideas.
Now you can take it further by adding some extra details, by drawing a background or with some creative color choices. The possibilities are endless and we can’t wait to see what you come up with!
Our website is full of awesome drawing guides like this one for you to enjoy. We hope that you will visit us there, and we upload new guides often so make sure to visit frequently!
Once your bus drawing is done we would love to see your artwork, so please feel free to share it on our Facebook and Pinterest pages for us to enjoy!