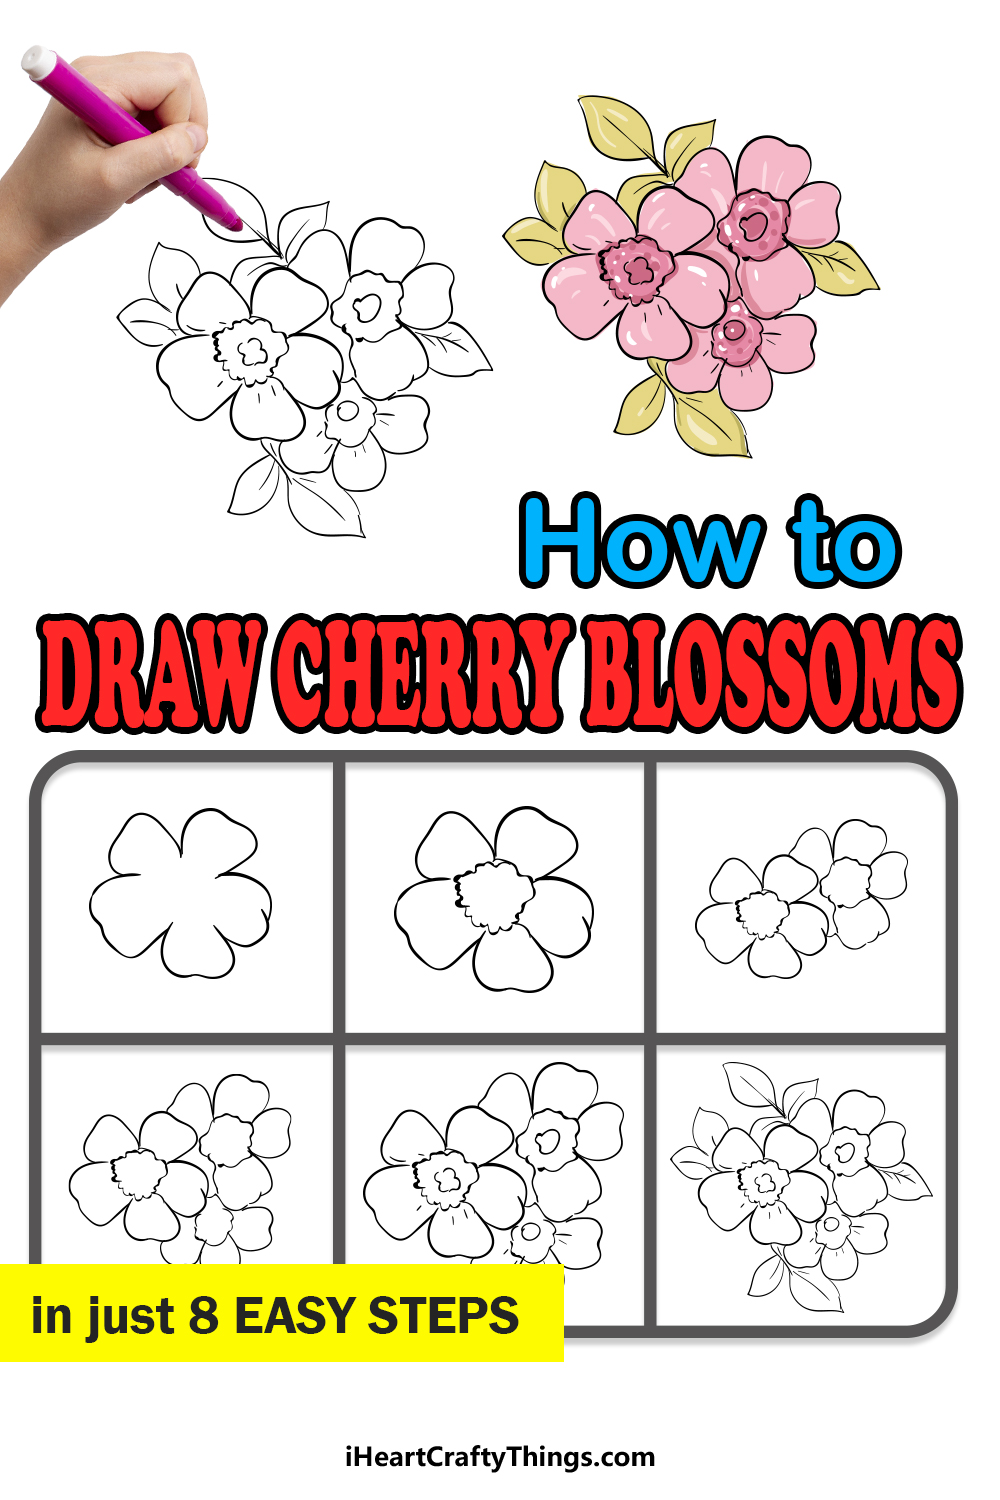
Anyone wanting to learn how to cherry blossoms has just found a guide for kids that will make it easier than ever! Keep reading to see how you can create some beautiful cherry blossom art.
When most people see cherry blossoms, they will probably think of Japan as they are closely associated with that amazing country.
Cherry blossoms are beautiful in any setting or context though, and that beauty makes it popular to depict them in art. I wouldn’t want anyone to get frustrated while trying to draw cherry blossoms, and that’s why I made this guide!
By going through the steps, you will find the easiest way to draw these stunning flowers. Once you really have the hang of it, you could fill the page with them and create a stunning piece.
It all starts with the first step, so allow me to guide you through and see how it’s done.

Learn How To Make A Cherry Blossoms Drawing Here
How to Draw Cherry Blossoms – Let’s get Started!
Step 1

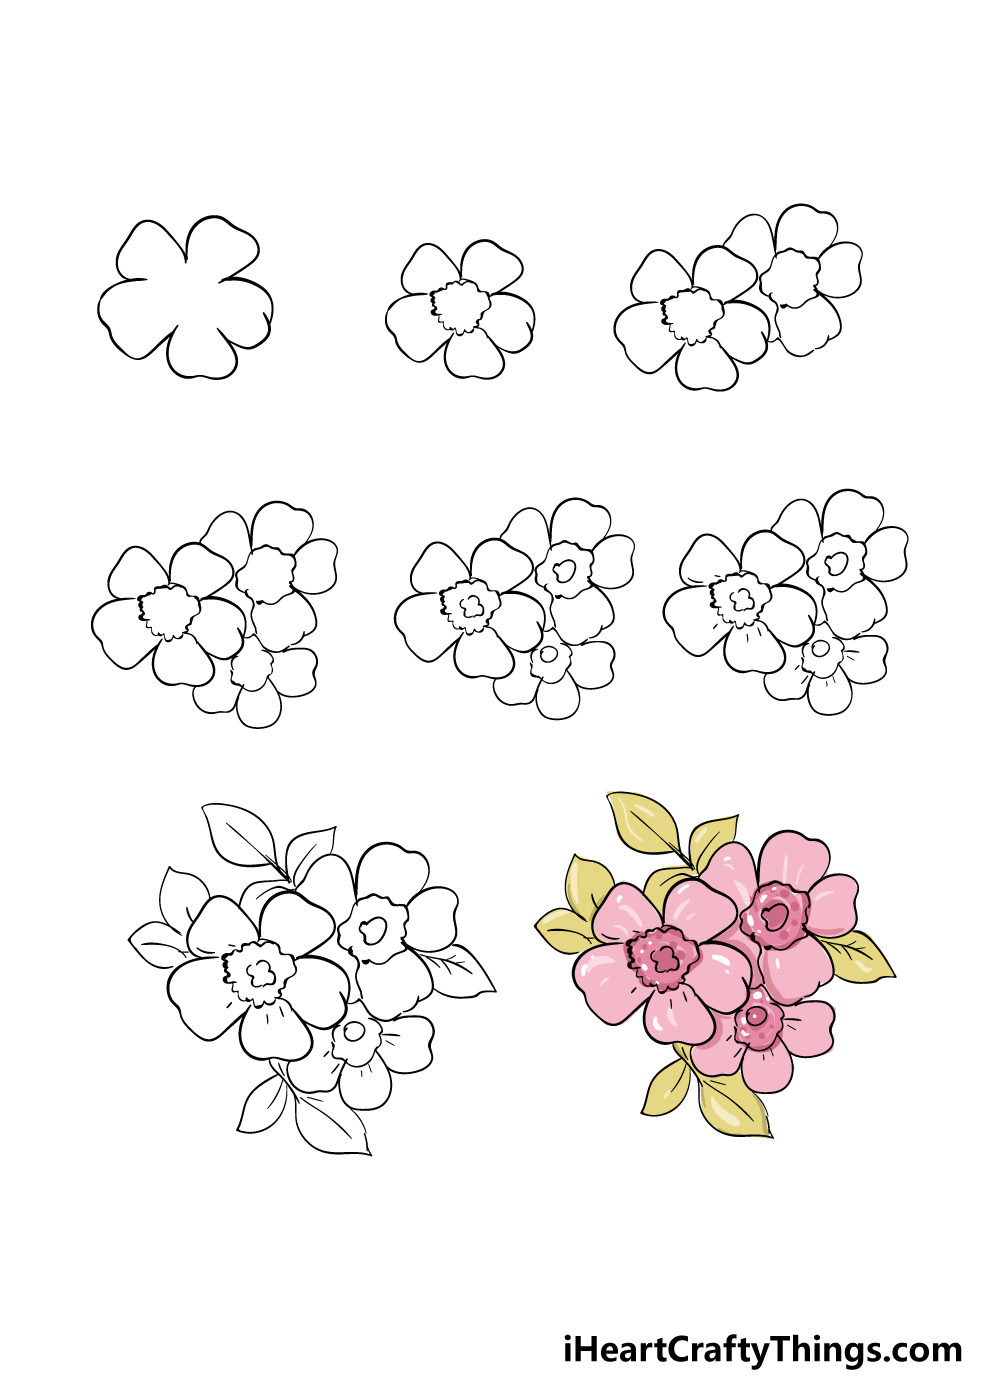
To get this guide on how to draw cherry blossoms started, we will begin with the flower outline.
The flower has five petals, and each one is quite square in shape. Each one also has a slight dip in the center of the outer line, so you can draw that as well.
The reference image will be a great help as you draw this first flower!
Step 2 – Next, draw the inner details of the flower

For this part of your cherry blossoms drawing, we shall be adding some inner details to the flower.
To do this, you can add some wavy lines along the inner perimeter of the flower. That’s all there is to it for this step, and you’re ready to move on!
Step 3 – Now, draw another flower

You did a great job drawing the first flower by following the first two steps of this guide on how to draw cherry blossoms!
Now that you have the hang of it, you can repeat everything you learned and did in the previous steps for this part of our guide on how to draw cherry blossoms.
Simply draw another flower that looks like the one you just drew, except this time it will be a little bit behind the first flower.
Step 4 – Next, draw the third flower

This fourth step of your cherry blossoms drawing will see you adding one more flower to the arrangement.
Once again, you can repeat the steps from the first two parts of this guide and add a third flower underneath the other two.
We will be drawing just these three in this guide, but you could also draw more if you would like!
Cherry blossom trees have many flowers covering them, so you could draw many more flowers for this drawing.
Step 5 – Draw some more details for the flowers

In this part of our guide on how to draw cherry blossoms, we shall be adding some detail to the center of the flowers.
To do this, simply draw a rough circular shape in the center of each flower that you drew in the previous steps.
Once you have those circles added, you’re ready for the final few details in the remaining steps!
Step 6 – Now, draw some petal details

The details you will be adding in this part of your cherry blossoms drawing will be simple yet effective!
All you need to do for this step is add some lines in the petals that go towards the center of each flower.
These lines will help to provide a bit of texture detail to these petals, and this will help these flowers look even better!
Step 7 – Next, draw some leaves

We will be adding some beautiful colors to your drawing very soon, but first we have a few more things to add in this guide on how to draw cherry blossoms.
For this part, you can finish off by adding some leaves to the surroundings of the flowers.
These leaves will be fairly close to the flowers, and some will be on some thin stems as you can see in the reference image.
Before you move on, be sure to add any extra details that you would like! Maybe there could be some bees buzzing around the flowers, or you could fill the page with cherry blossoms!
Bonus: Make This Cherry Blossom Drawing Easier With These Tips
Before we get to the final step of this guide on how to draw cherry blossoms, we wanted to give a few tips on how you can make this drawing a bit easier if you’re struggling.
If you got to this point with no issues, then you won’t need these tips! Some people may generally struggle to draw intricate flowers, however, and there’s nothing wrong with that!
These tips can help you to make it a bit easier on yourself, and they could be good to keep in mind in general. One way to make it easier is by using more references.
The images in this guide help to create this drawing, but it never hurts to use additional references. Looking up pictures or consulting real cherry blossoms is a great way to do this.
While it takes more work, consistent and diligent practice can also help to make a drawing easier. You can do some practice sketches using your pencil on some spare pieces of paper.
These can be quick sketches where you get the hang of the shapes and details we are creating for this drawing. They could even get progressively more detailed as you work towards the final drawing.
If you really are struggling with it, then you could also change the style to one that you find more comfortable. For example, you may like drawing in a simple cartoon style.
This can look amazing, and it would be easy to adapt the drawing in the guide to suit such a style. It’s just one example, and you could go for others if you prefer.
Take it slow and don’t be afraid to mess up here and there as you get the hang of the drawing!
Step 8 – Now finish off your cherry blossoms drawing with some color

In this final step of your cherry blossoms drawing, you get to express yourself with some amazing colors to finish it off!
Cherry blossoms are known for their beautiful pink color, and that is the color that we went with for our example image.
You could also use any other colors you like for a more stylistic approach, but even if you keep it more realistic there are ways to change things up.
One of the best ways to do this is with the art mediums that you use. For an image like this, I would use watercolor paints to color in.
Cherry blossoms have a lovely sublet color scheme, so a nice soft medium like watercolors would look great! That’s just one of many mediums you could use, however, and anything you choose will look amazing!
Which colors and art mediums will you choose to finish off your amazing cherry blossoms drawing?
4 More Ways To Make Your Cherry Blossoms Drawing Unique
Make your beautiful cherry blossoms sketch even more stunning with these ideas.
A cherry blossom tree is an amazing sight, and you could depict this sight in this cherry blossoms drawing. We focused on a few petals from the tree for this drawing, but you can take it a step further.
Unless you have a cherry blossom tree growing nearby, you can find some pictures of the full tree online.
You could use this to help you draw more of the tree, or you could stick to a single branch to keep it simpler.
Many people love this flower, but there are many others that people adore as well. If you love some other flowers, then you could add them to this drawing of cherry blossoms!
Whether it’s roses, lilies, carnations or anything in between, you could create a stunning bouquet of flowers.
You could use real flowers in your yard, take some pictures at a botanical garden or find some images online for a few examples of inspiration.
What flowers would you add to this bouquet?
Cherry blossoms typically have a soft pink coloring to their petals, but there can be some variations as well. This cherry blossoms sketch would be the perfect opportunity for you to create your own perfect cherry blossom variation!
To do this, you could really use any colors you love to create a stunning flower. This is just about creating your ideal one, so you can even use colors that maybe wouldn’t be seen in nature.
What are some colors that you think would look great on this beautiful flower?
We have depicted these flowers in their natural state for this drawing of cherry blossoms, but you could also go more stylistic with it. For example, you could remove the leaves and keep the petals.
Then, keep drawing the flower in this way until it fills the page. Doing this would create a stunning cherry blossom pattern that you can then color in.
That would really catch the eye, and there are tons of other ideas you could try out too!
Your Cherry Blossoms Drawing is Complete!
That brings us to the end of this guide on how to draw cherry blossoms! We hope that by following this guide you found that it is not only easier than you thought to draw these beautiful flowers but that it was also a lot of fun!
When you have some steps to follow and take it slow it always helps when taking on a new drawing subject.
Now you can put your own spin on this drawing by creating your own elements, by adding details or by drawing a beautiful background.
These are just a few of the many things you can do to bring your picture to life, so be sure to let your creativity flow!
When you’re ready for more drawing fun, we hope that you will visit our website, as we have tons of amazing drawing guides like this one for you!
These guides cover a large range of subjects and skill levels, so there’s something for everyone. We also upload new guides all the time, so be sure to visit often!
Once you have finished your cherry blossoms drawing, we would love to see your pretty artwork! You can show us your drawing by sharing it on our Facebook and Pinterest pages.
Here Is A Cherry Blossoms Drawing To Inspire You!

Cherry blossoms are some of the most beautifully delicate flowers we have in nature. For that reason, they are common to see portrayed in art, and now you can make your own depiction!
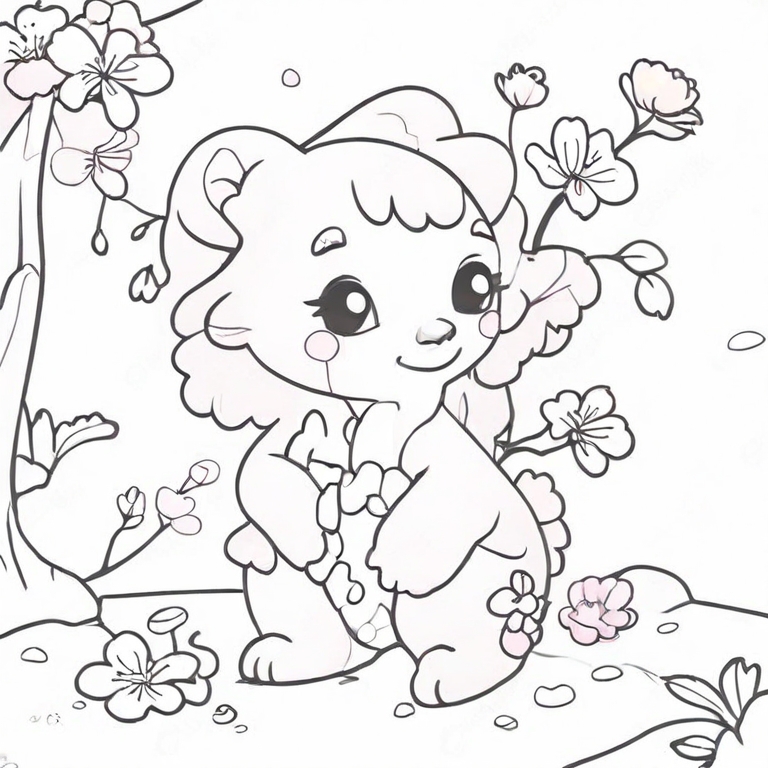
Our artist Amanda has created this cherry blossoms drawing for kids as a final example for you to use as inspiration.
You can see that there is a cute little cherry blossom character included in the image as well.
The design of this character feels right when compared to this pretty tree, and you could use similar pink colors for this character as you would for the flowers.
You could also have the focus on the flowers if you prefer, which could be done easily by making a version without the character.
It’s up to you to decide, so how will you depict these iconic cherry blossoms?


