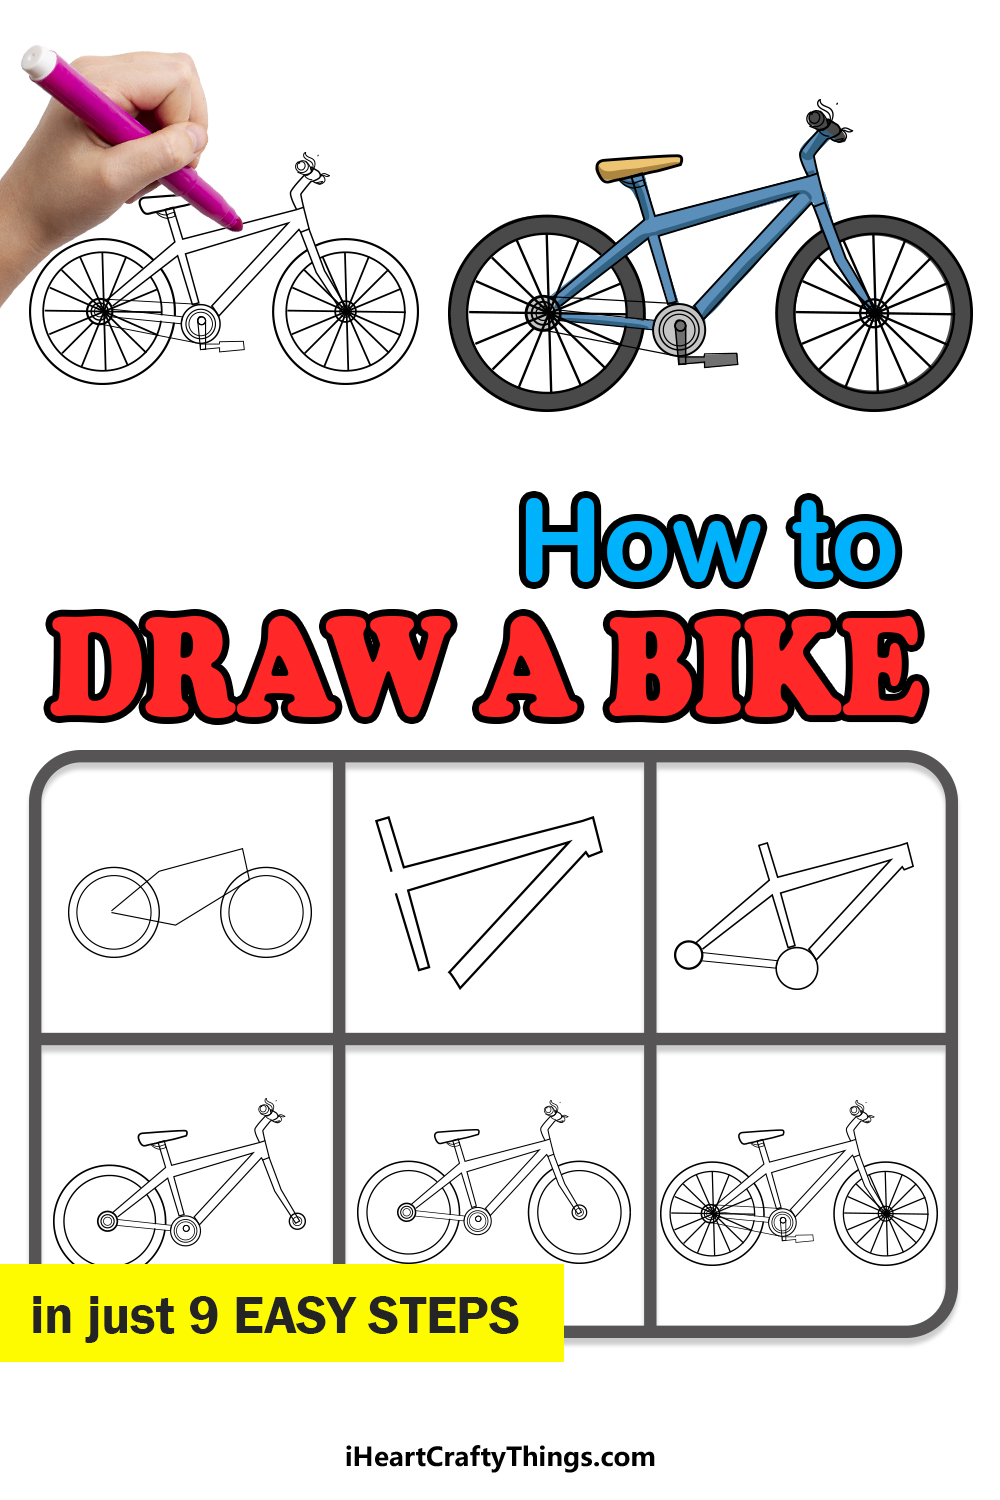
Anyone wanting to learn how to draw a bike has found the guide for them! You may be surprised how simple it is when you know how it’s done.
Bikes are a big part of many childhoods around the world. Learning how to ride a bike is a real accomplishment, and many people have a fondness for these foot-propelled vehicles.
When someone sits down to draw one though, they may find that portraying them in a drawing is easier said than done. The goal of this guide is to break it down to each individual element so that you can see exactly how it’s done.
Once you have the basics down, it will become intuitive for you and you will be able to easily portray the wheels, pedals and frame of the bike.
You could even add a character riding the bike once you have the hang of it!
Watch These Steps On How To Make Your Bike Drawing
How to Draw A Bike – Let’s Get Started!
Step 1
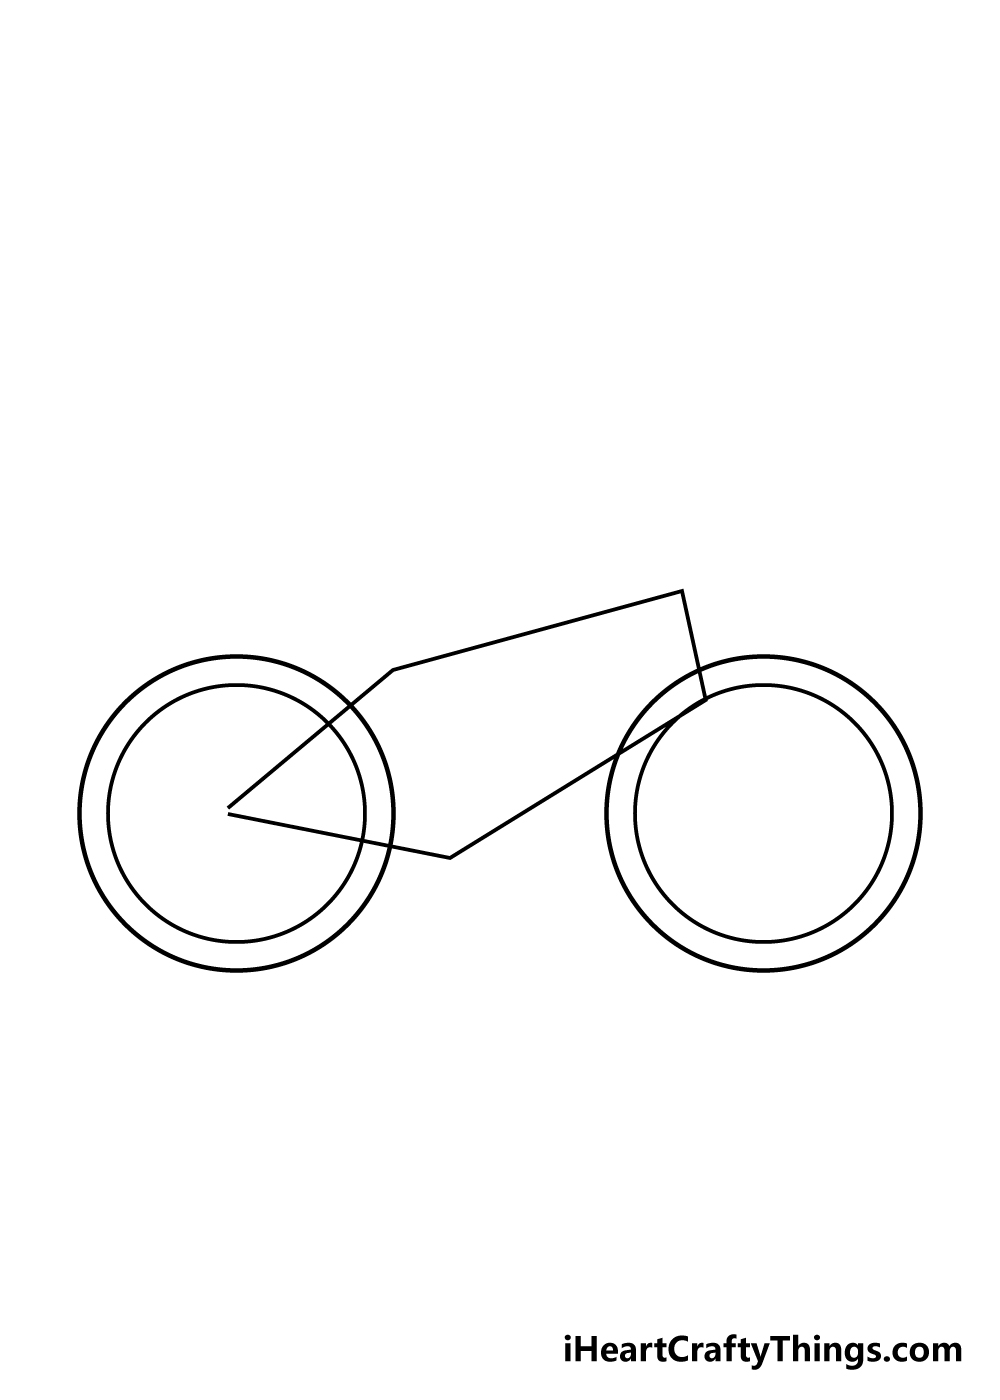
To begin this guide on how to draw a bike, we shall use a pencil to draw some shapes that will help you out later. We’re using a pencil for now, as these shapes won’t appear in the final image.
You can start off by drawing a circle near the left-hand side of the page. This would be made much easier with a drawing tool like a drawing compass.
Then, simply draw another circle surrounding it with only a small gap between them.
Then, using a ruler, draw the shape that you can see in the reference image before drawing more circles on the right-hand side.
Step 2 – Start drawing the frame of the bike
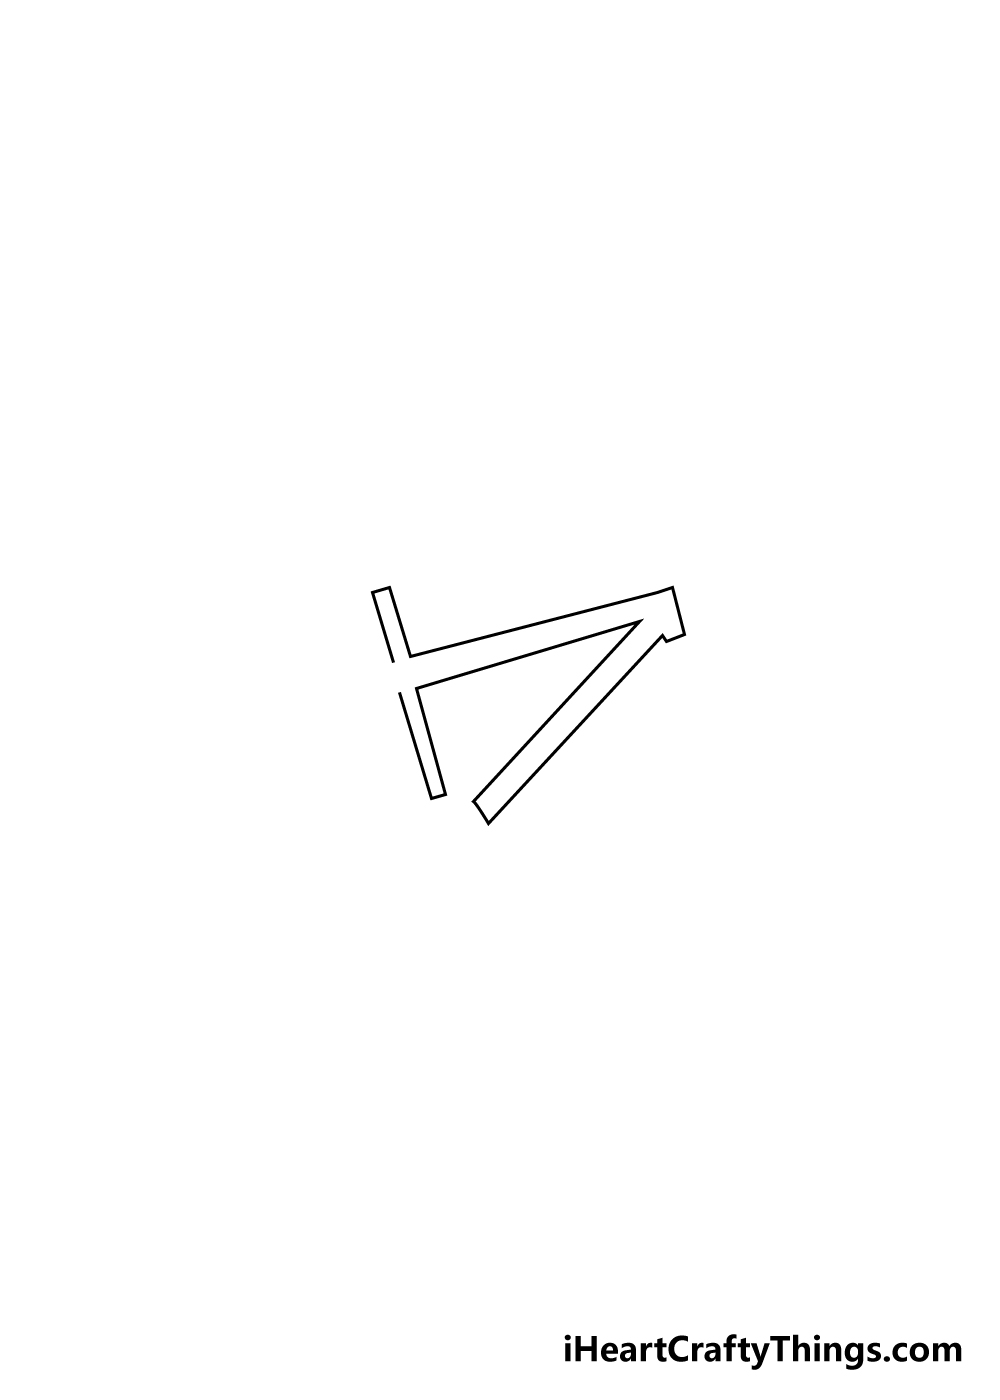
It would be highly recommended to keep the pencil guides that you drew in the previous step right until the end of your bike drawing.
Using those guide shapes, you can use a pen and ruler to start drawing the frame of the bike.
The shape you’re drawing may look complicated, but if you use the shape from the previous step along with the guide image, you’ll easily do it!
Step 3 – Now, keep drawing the frame of your bike
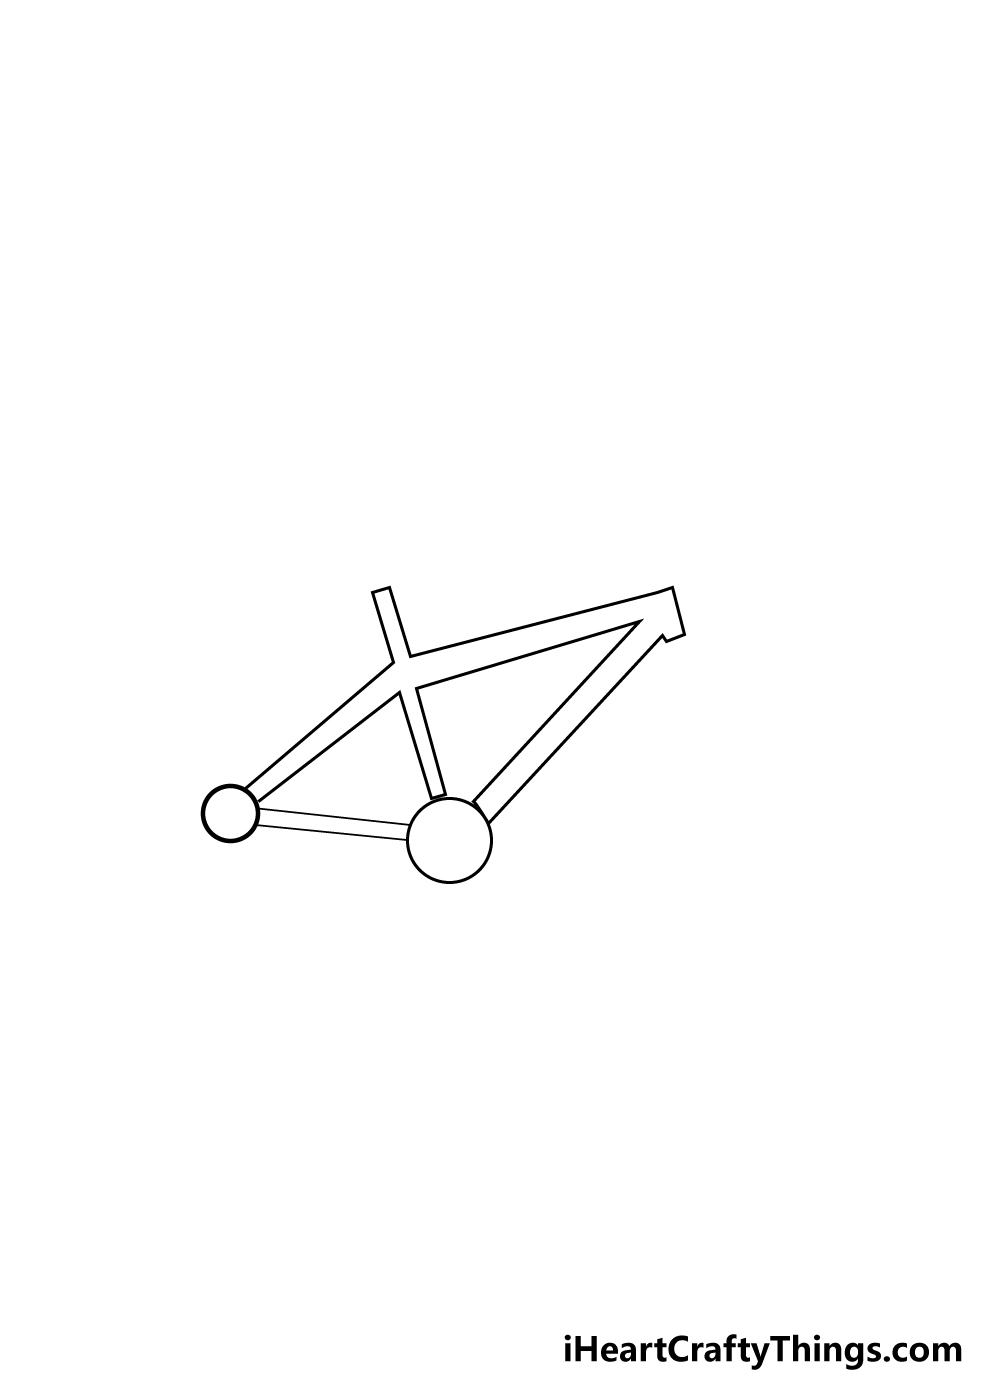
We will keep adding to the frame in this step of this guide on how to draw a bike. The back of the frame should fit nicely over the left-hand side of the shape that you drew in step 1.
There will also be some small circles at the bottom and left-most sides of the bike.
Step 4 – Next, draw the handlebars of the bike
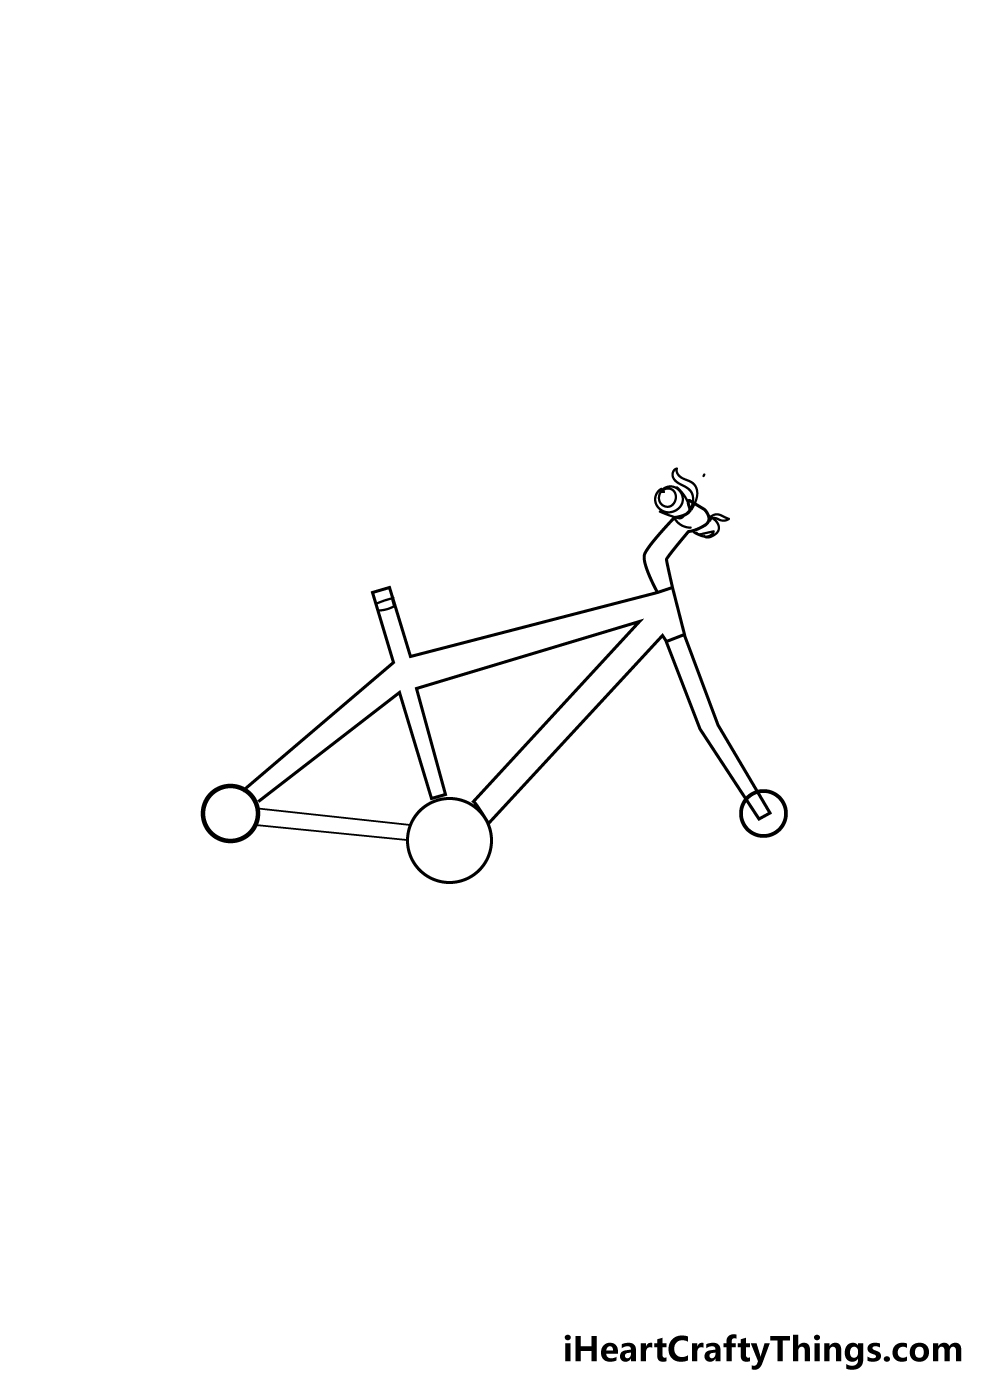
You can add the handlebars and front of your bike drawing in this step. Using your ruler, carefully draw the thin section near the front of the bike.
As you can see in the reference image, the handlebar is on a short bar. Then, draw a much longer bar coming down that the wheel will attach to later.
Once you have replicated the reference picture, then we can move on to the next step!
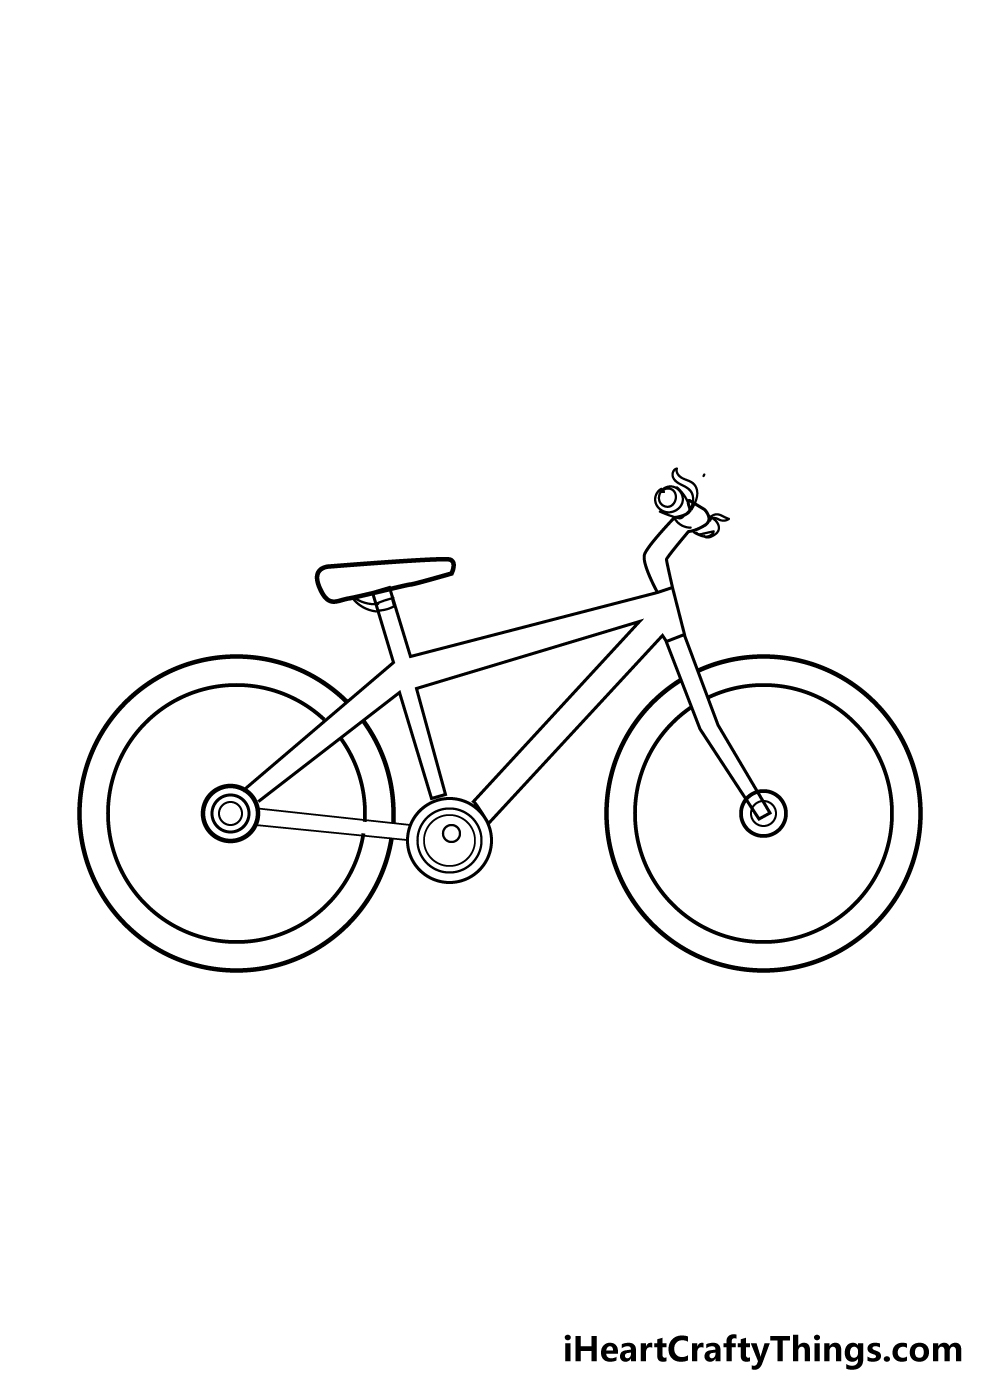
Step 5 – Draw some details and a bike seat
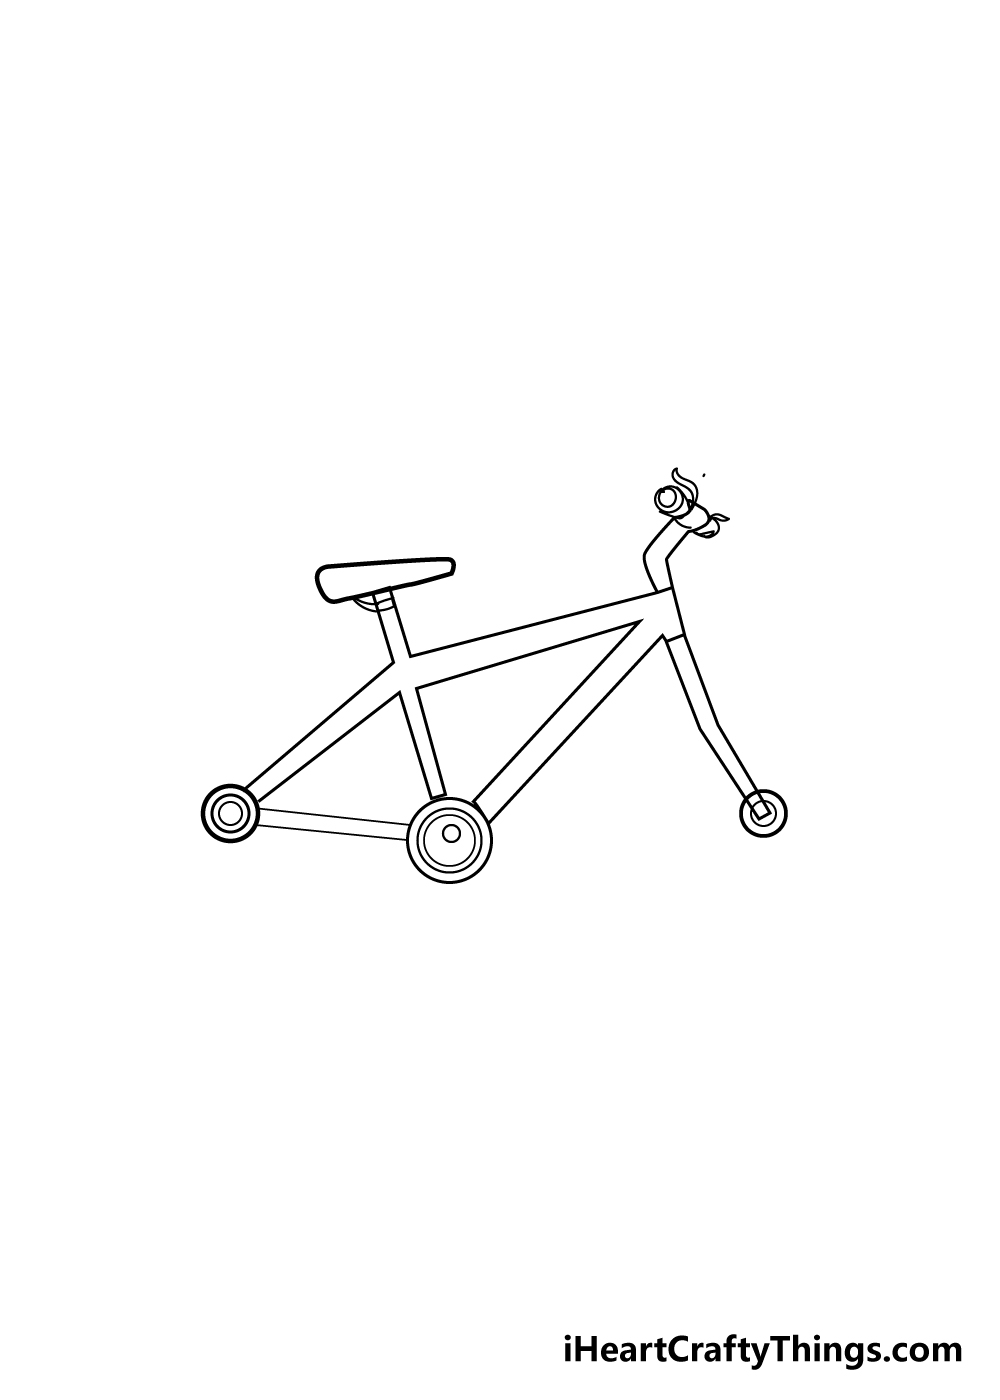
Let’s add some details and a bike seat to your bike drawing in this step. For the details, simply draw some small circles within the circles that you have drawn on the bike frame.
Then, create a flat, angular triangle shape for the bike seat onto the top of the frame.
Step 6 – Next, draw the first wheel of your bike
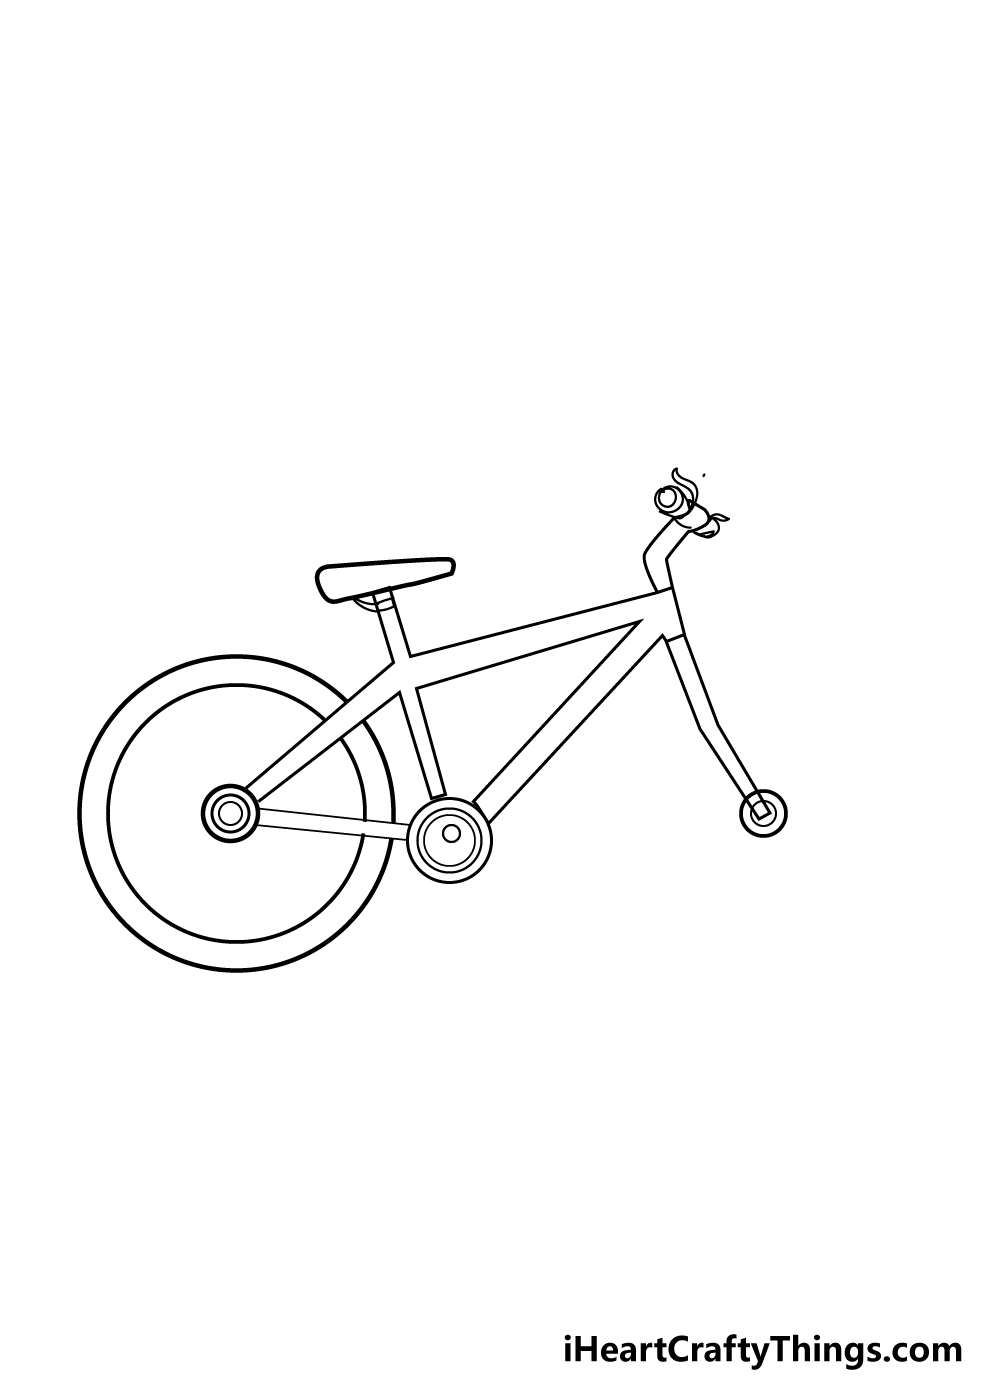
Using the pencil drawings from the very first step, you can draw the left-hand wheel of the bike.
The pen lines will go directly over the pencil ones to form the wheel as it appears in the reference picture.
Step 7 – Draw the other wheel
You can do exactly what you did in the last step for this part of our guide on how to draw a bike.
Simply draw over the circles on the right-hand side as you did in the previous step to create the front wheel.
Step 8 – Next, draw the spokes of the wheels
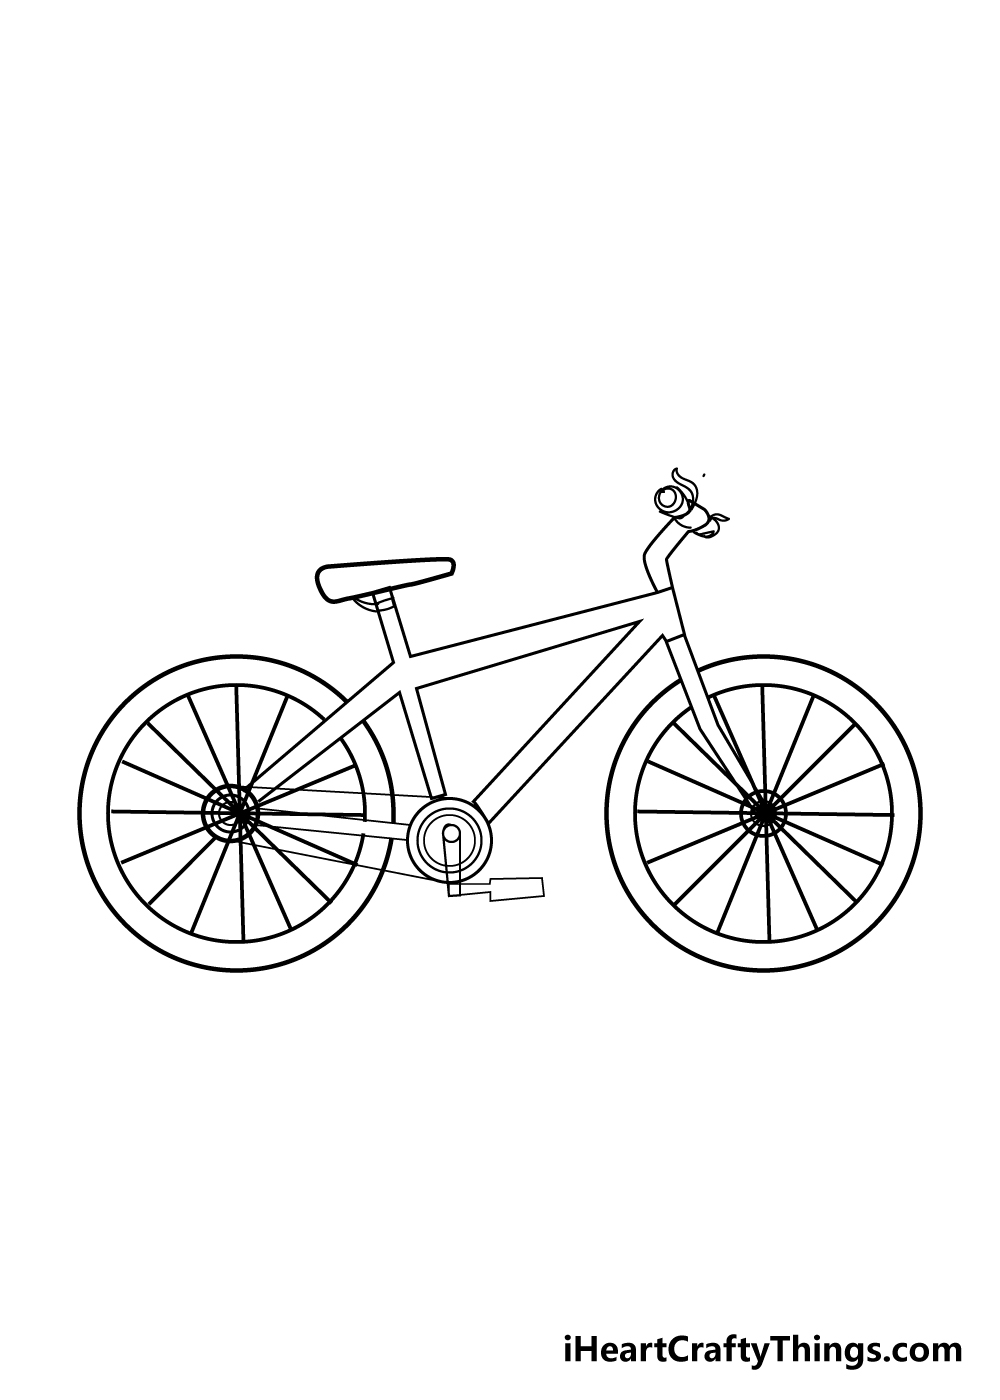
It’s almost time to finish your bike drawing with some color! For this step, simply use your ruler to draw lines coming out from the center of each wheel and out towards the rim.
Once you’ve drawn all the spokes, you can finish off the final details. Once you’ve let the pen ink dry, then be sure to erase any leftover pencil marks.
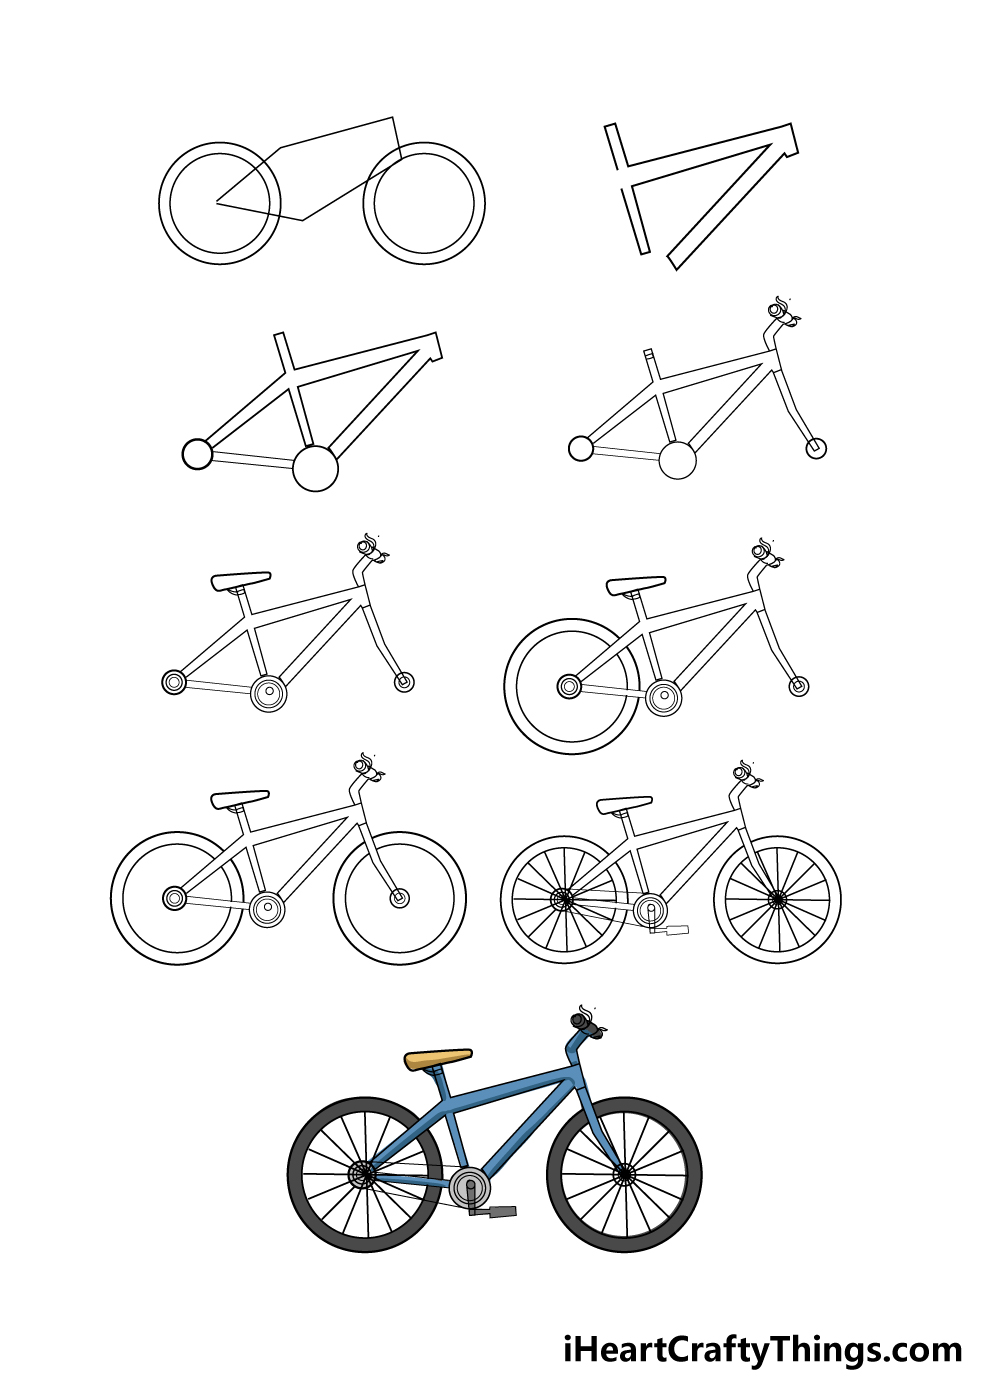
Step 9 – Now finish off your bike drawing with some color
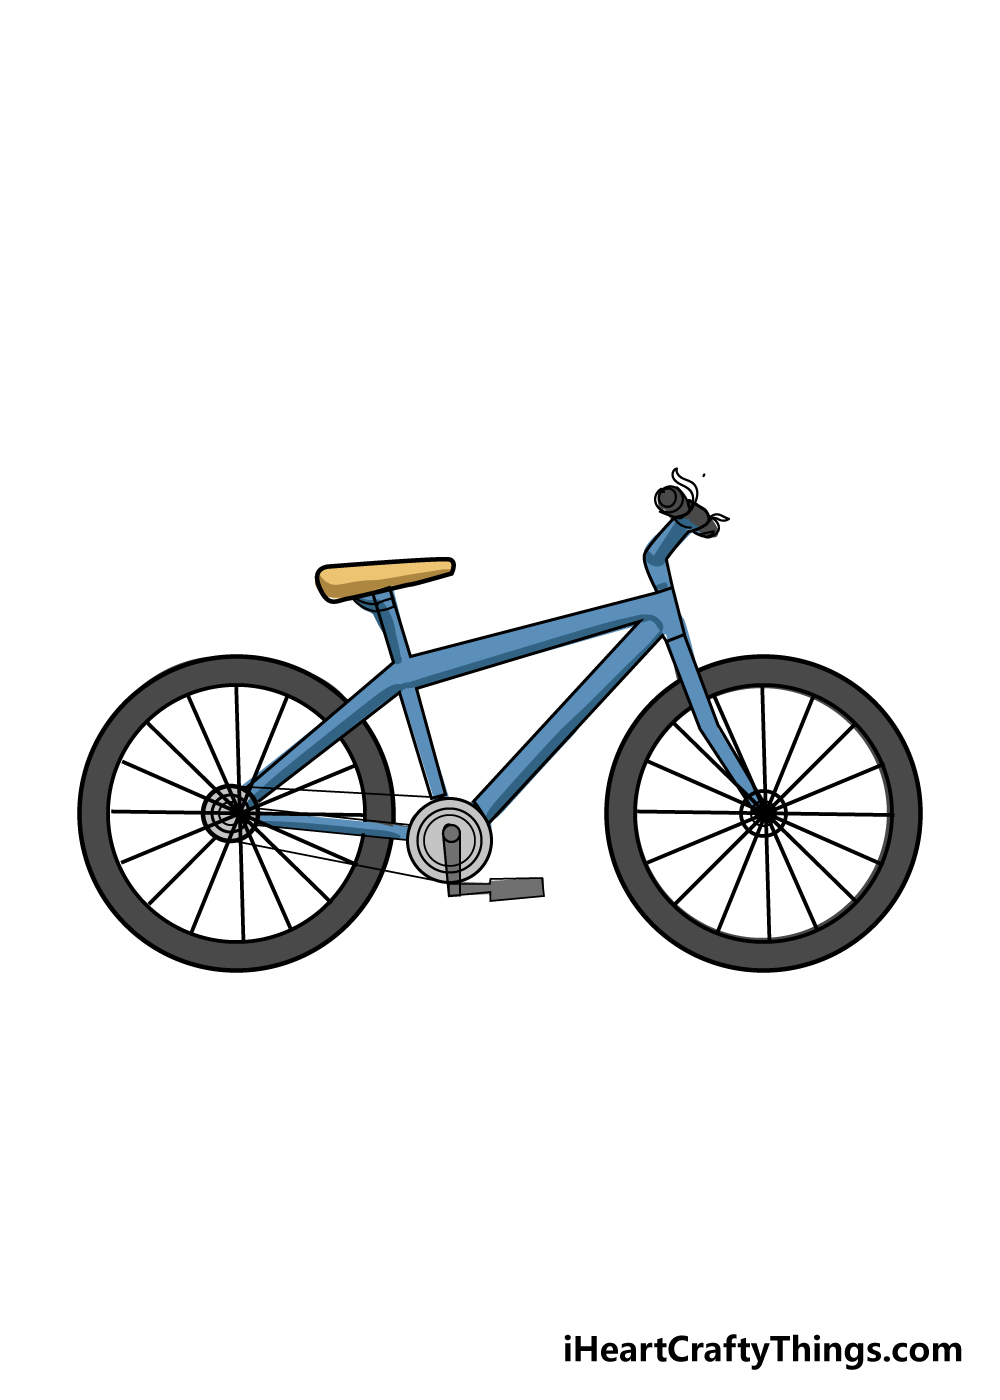
That brings us to the end of this guide on how to draw a bike! Before you’re totally complete, though, you can finish off this drawing with some beautiful colors.
We used a classic blue and black color scheme for our image, but this is a step where you should feel free to use any bright and beautiful colors that you love!
You can also have some fun choosing which art mediums would best suit your bike drawing.
There are a lot of thin, intricate parts to a bike, so for that reason, I would use some colored pens or pencils to color it in.
I would use these mediums because they allow for a great deal of color precision. While I think they would look really good, I also think that any other mediums you decide on will look amazing!
4 More Ways To Make Your Bike Drawing Unique
Take a creative ride as we show you how to make this bike sketch unique to you!
If you own a real bike, you will have many options for ways you could customize it. One of the best ways to do this would be by adding accessories, and you could add some of these to your bike drawing.
You would have many options for this! For some common examples, you could add a bike bell or maybe a small basket.
These are just a few examples, but what other accessories could you add to this particular bike?
A bike is pretty useless without someone to ride it, so you could add a human character to this drawing of a bike! Perhaps you could draw yourself to show that you are with the dream bike you are designing here.
Or you could draw a professional biker you admire or even a friend or family member. What kind of drawing style would you choose if you were to add a human to this picture?
Once you have decided whether to add a human and any accessories to this picture, it could also be fun to draw a background. Different bikes can be used to ride through any environment you can think of, so you would have many options!
Drawing a background environment can be a challenge, so you may want to look up some images online.
If you live in a picturesque location then you could have an adult take you to some nice spots for inspiration!
One of the best ways to customize a bike in real life would be by changing the color. That is the final way you could personalize your bike sketch!
We went for a pretty blue color in our drawing, but you could go for any others you like. This bike is quite thin, so you may want to use an art medium that allows for greater precision.
These could include some colored pens or markers. What colors and mediums will you choose to finish off this bike?
Your Bike Drawing is Complete!
You have successfully completed all 9 steps of this guide on how to draw a bike, and you should be
very pleased with your amazing drawing!
The intricate design of a bike can make it a bit challenging to draw, so we created this guide to break it down into steps so that you can see how easy it is when you know what to do.
Now that you have completed your bike drawing, it’s up to you to really make it your own with some final details and colors!
You could raw some fun patterns or stickers onto your bike as an example of some cool details to personalize your drawing.
If you’re feeling extra creative, then you could also draw and color a beautiful background for your image. Where do you think that you would like to ride this bike if you could?
We hope you had lots of fun with this guide, and we have plenty more drawing guides for you to enjoy!
Please be sure to frequently check out our site to catch each new step-by-step tutorial as they come out.
We would also love to see your incredible bike drawing, so please be sure to upload it on our Facebook and Pinterest pages for us to admire!