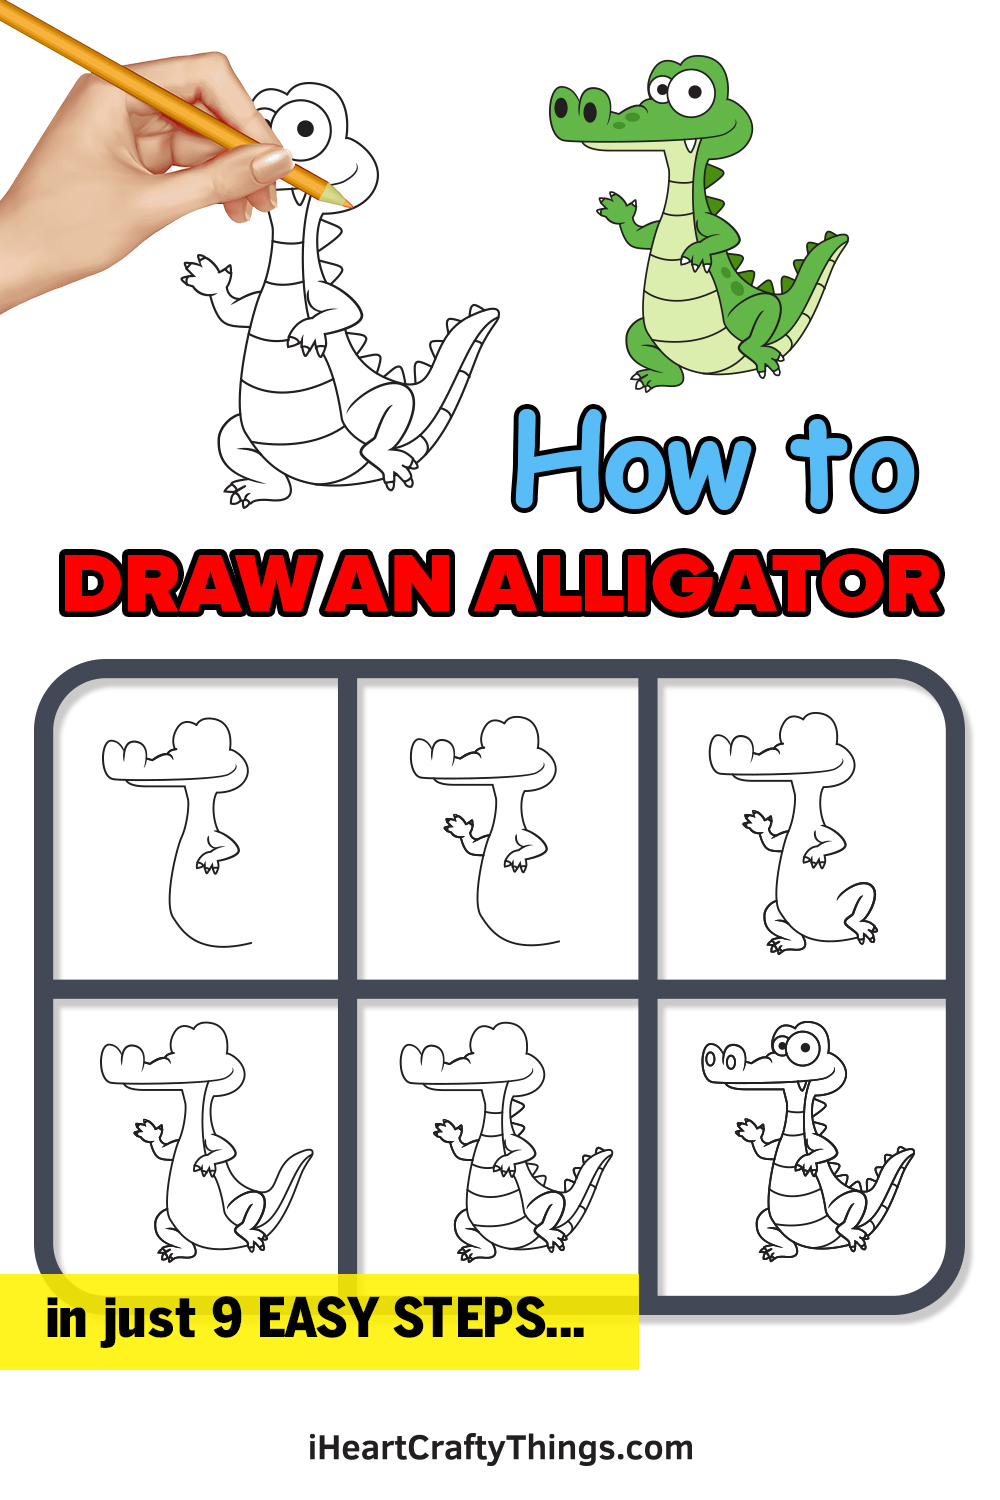
It doesn’t have to be hard to learn how to draw an alligator when you follow this guide for kids! Keep reading to see just how easy it can be.
Alligators are a little scary in real life, let’s be honest! Even so, I think that they are really great as they always make me think of living dinosaurs.
They also just happen to look really cool, and that’s why they are often turned into cartoon characters. If you have ever wanted to draw an alligator character of your own, then I’m about to show you how.
I’ve broken it down into a few simple steps that anyone can follow in order to create a fun cartoon alligator. I think it would be so much fun to draw a background for this character once you have finished this guide!
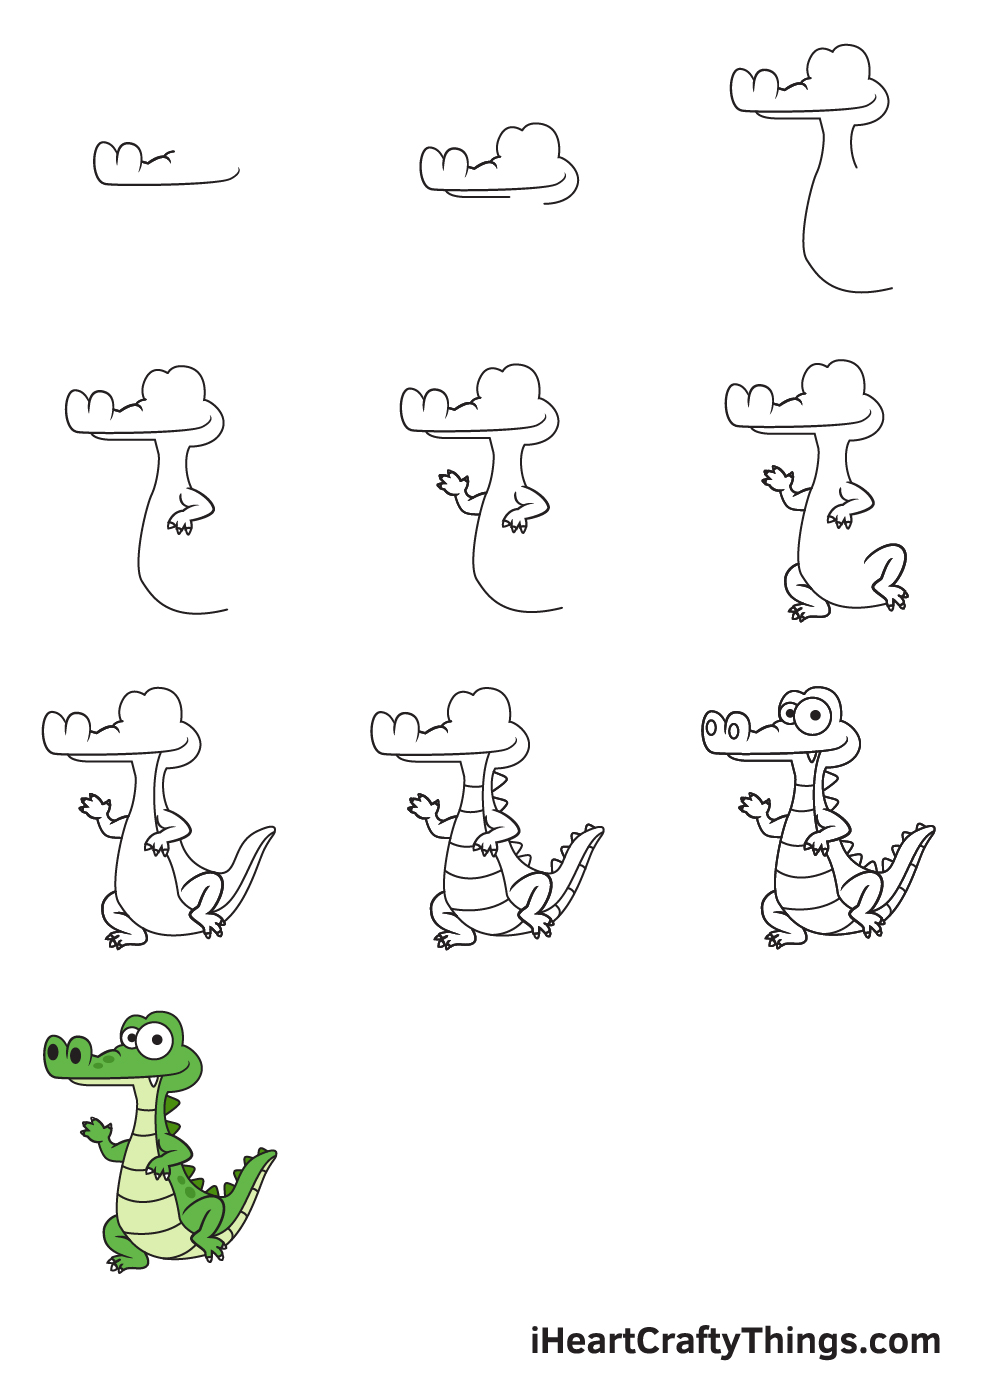
It’s Easy To Create An Alligator Drawing When You Watch This
How to Draw an Alligator – Let’s get started!
Step 1
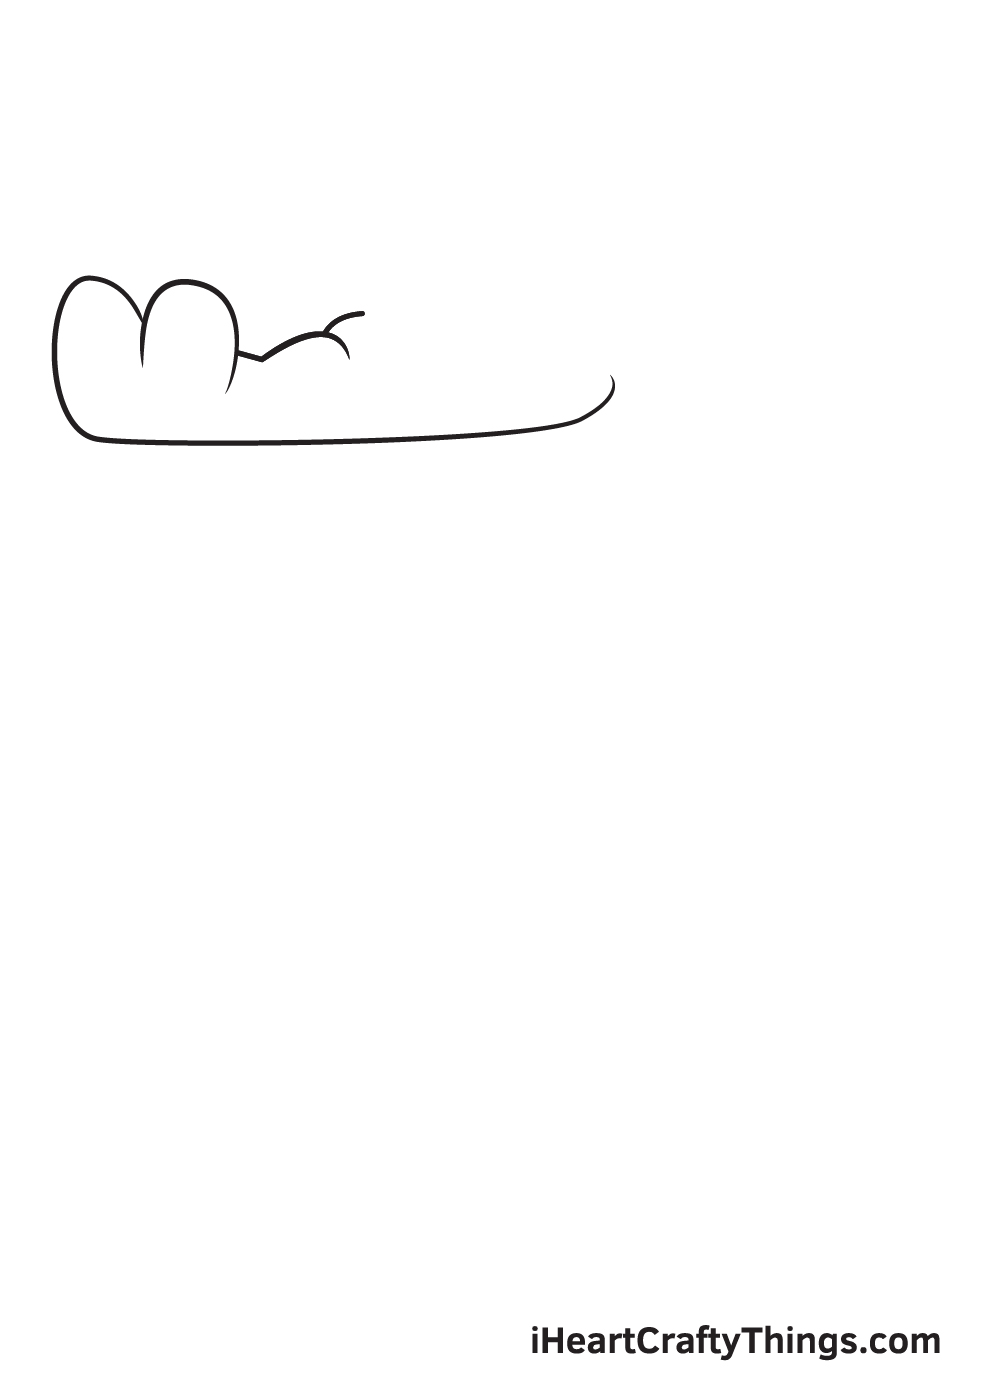
Starting from the upper left corner of your paper, draw an outline of the alligator’s face. Alligators naturally have enormous snouts, so don’t forget to put emphasis on that when drawing the outline.
In order to make sure that your drawing is positioned correctly, draw a horizontal and a vertical line across your paper to create reference lines. The two lines should meet in the very middle and the paper should be divided into four square spaces. The face of the alligator must be drawn within the space in the upper left corner.
Step 2 – Create an Outline of the Alligator’s Face
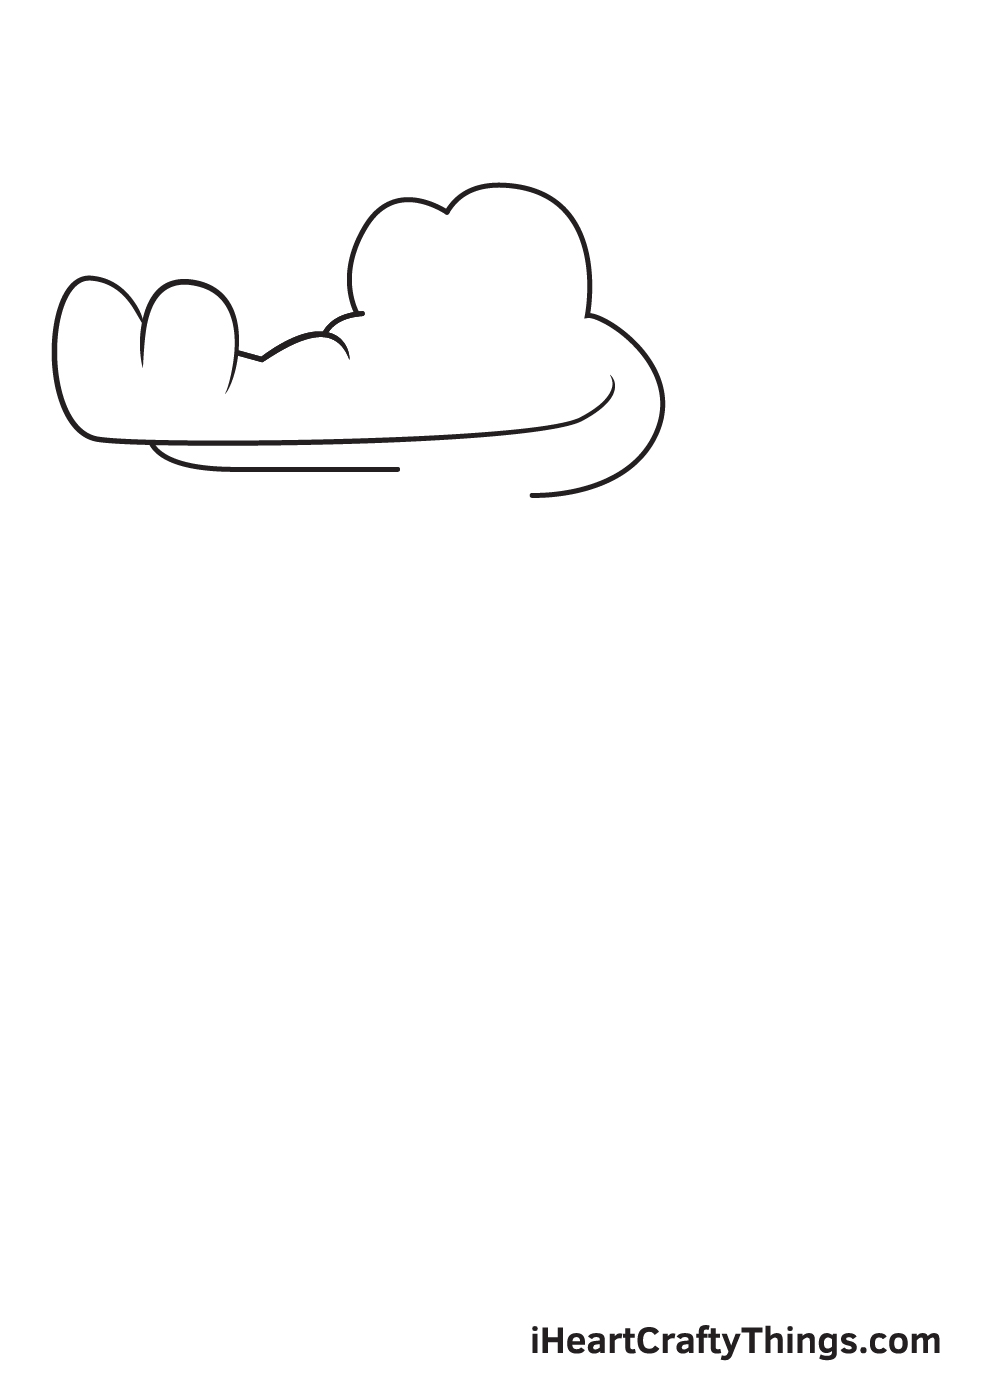
Extend the lines and draw the outline where the eyes would be positioned.
Similar to the snout, alligators have wide, rounded eye sockets. When drawn correctly, the space for the eyes must be quite similar to that of the snout.
Step 3 – Next, Draw the Body of the Alligator
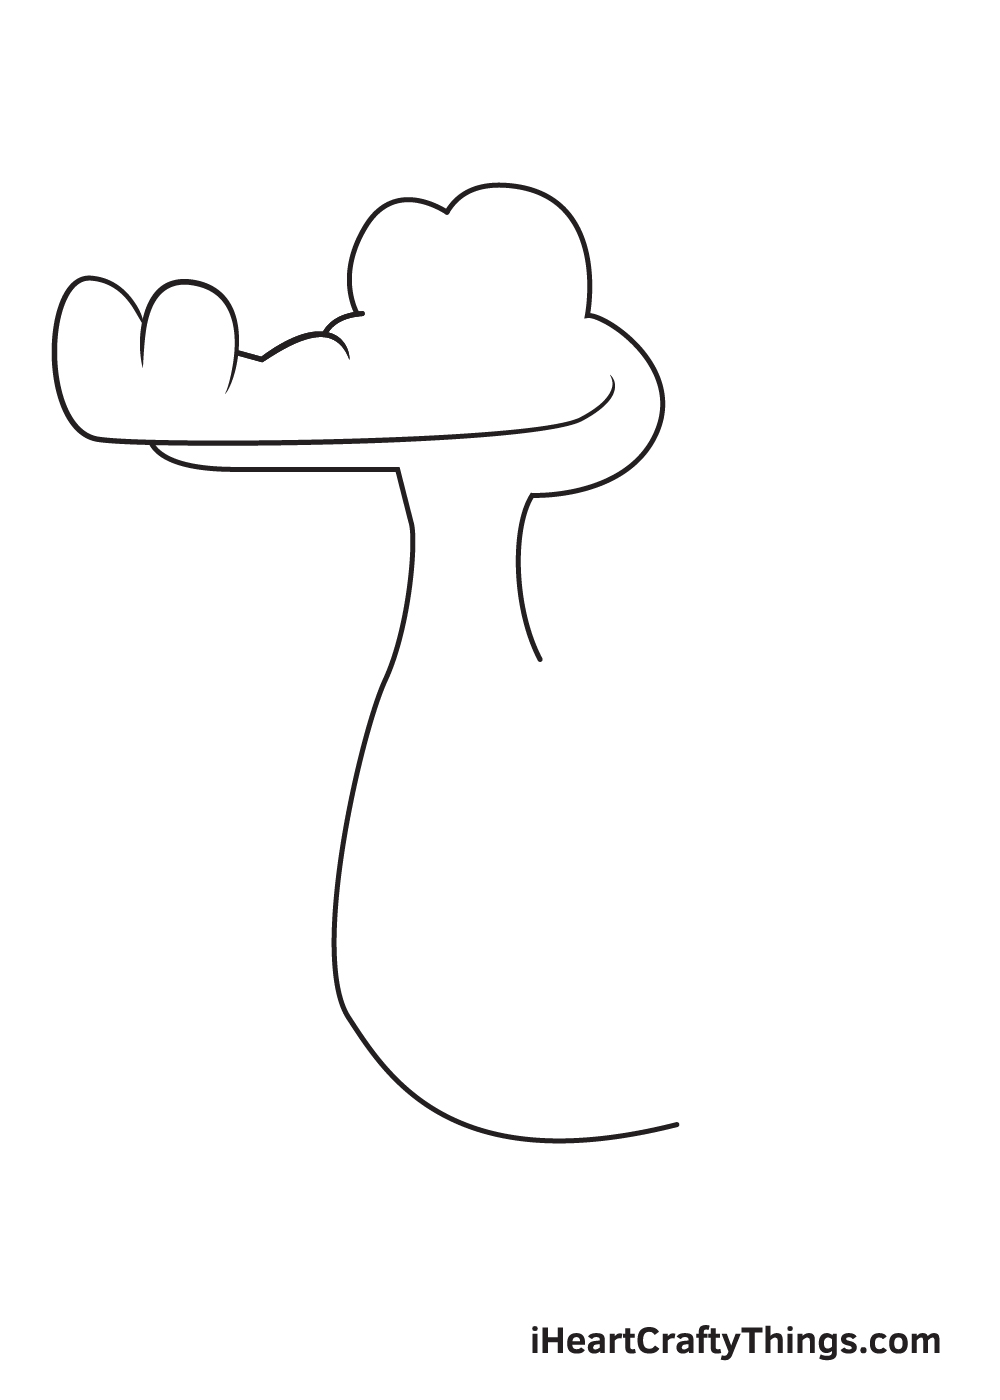
Starting from the chin or the bottom of the face, extend the lines to create the alligator’s body. Make sure to draw a long neck and a rounded tummy.
Step 4 – Attach One Arm to the Alligator’s Body
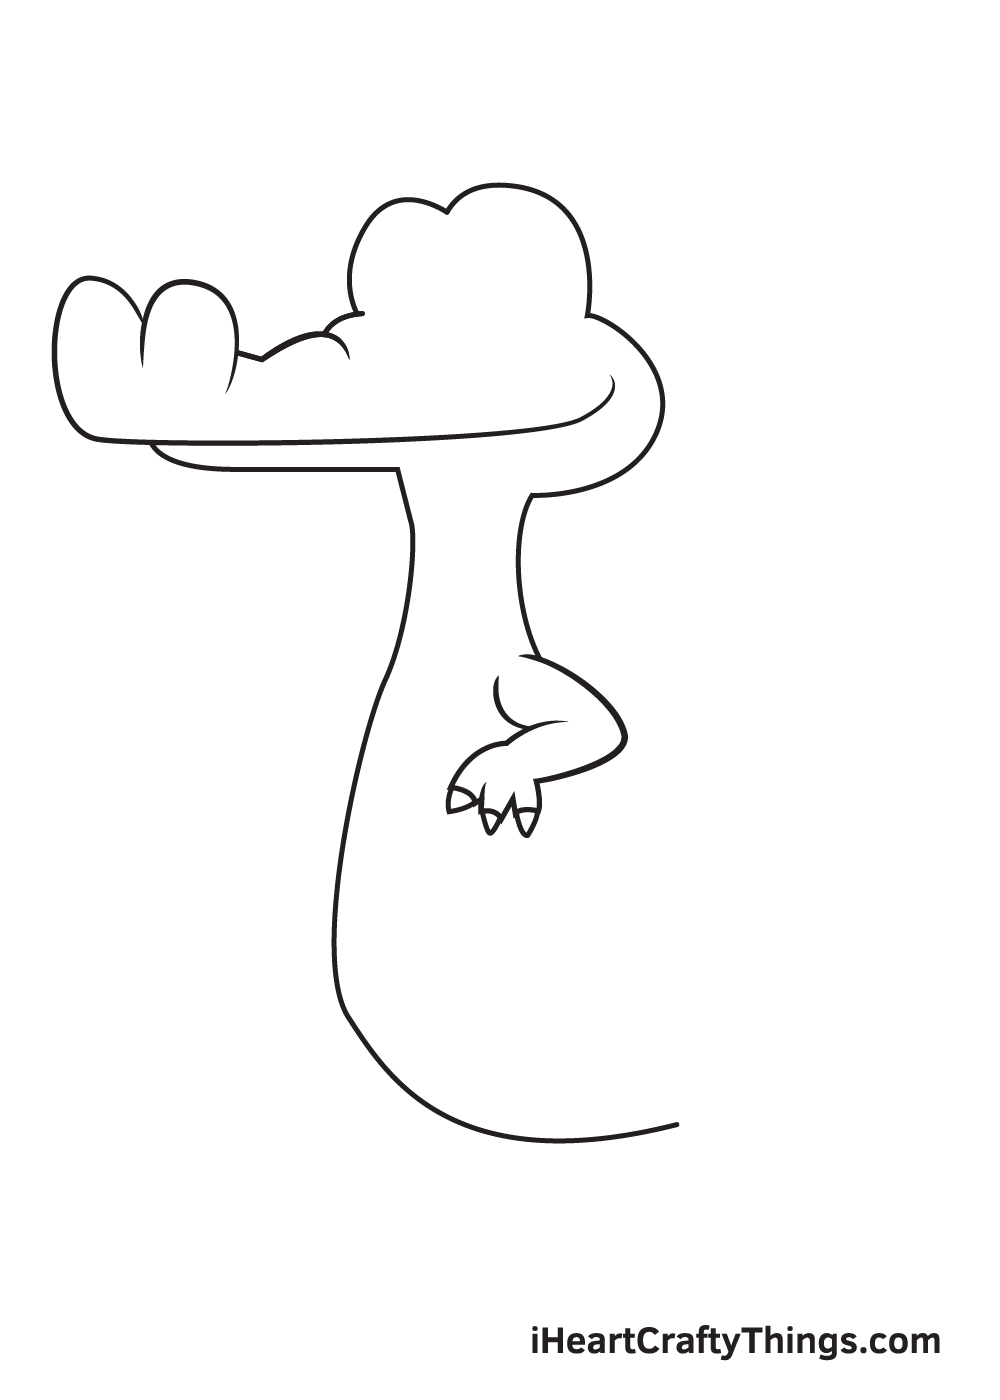
On the left side of the alligator’s upper body, draw an arm with three fingers.
Alligators naturally have a muscular and brawny build, so their arms must be on the beefier side. Also, don’t forget to make its nails sharp and pointed!
Step 5 – Then, Draw the Alligator’s Second Arm
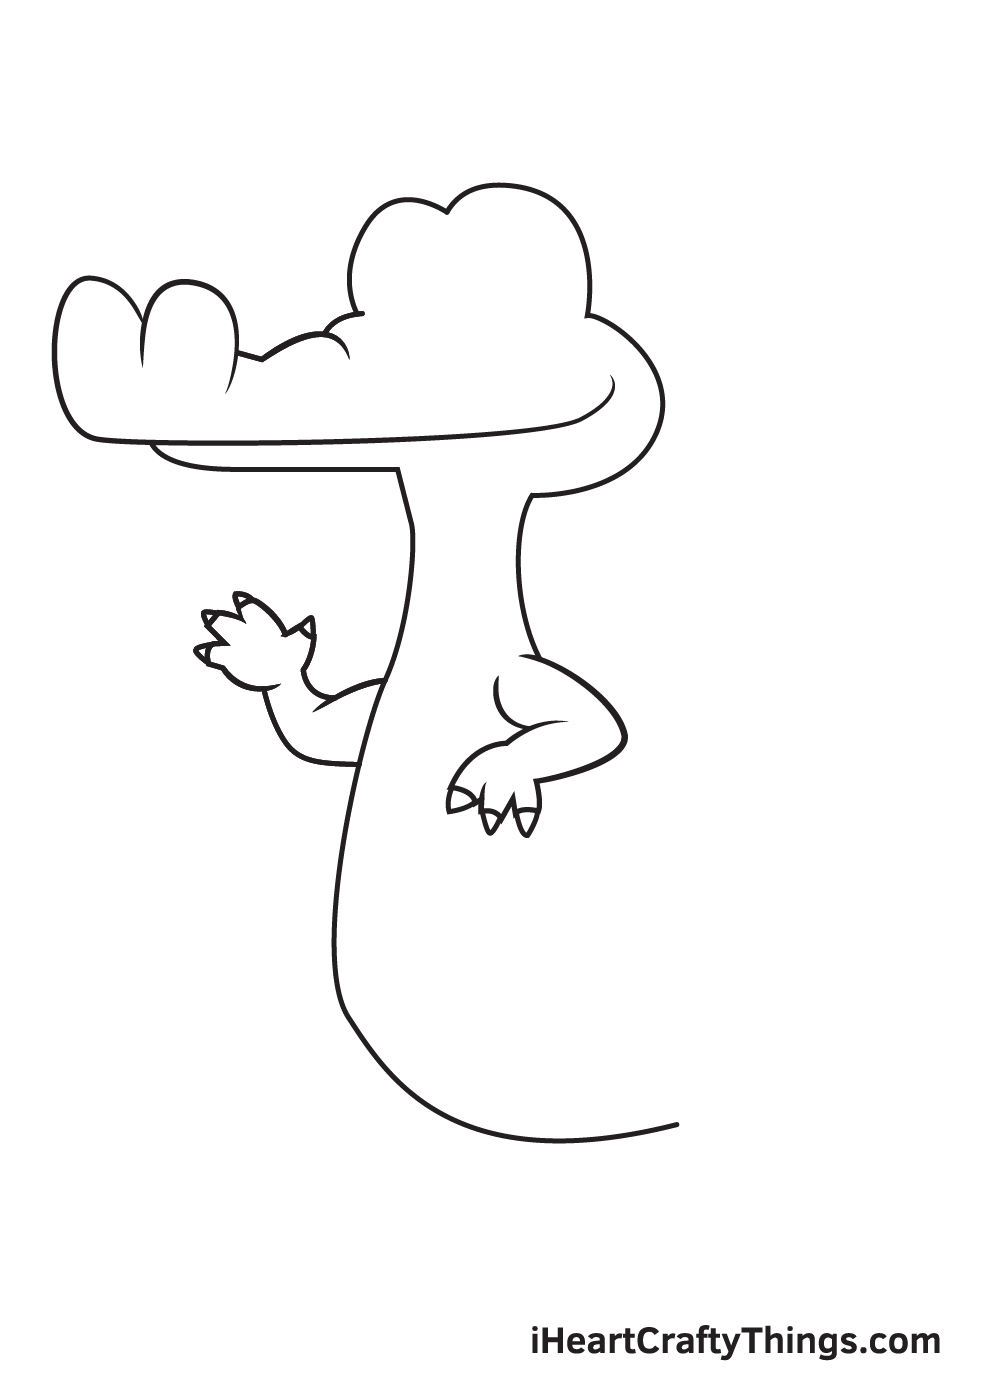
Now that we have drawn the left arm, it’s time to draw the right arms to complete the alligator’s front limbs. On the right side of the alligator’s upper body, draw another arm similar to the previous step.
As you can see in this illustration, the left arm is on its side while the right arm is raised upright. You can opt to follow this illustration exactly as how it is or position the arms however you like.
Either way, we’re certain it will look awesome!
Step 6 – Draw the Alligator’s Hind Legs
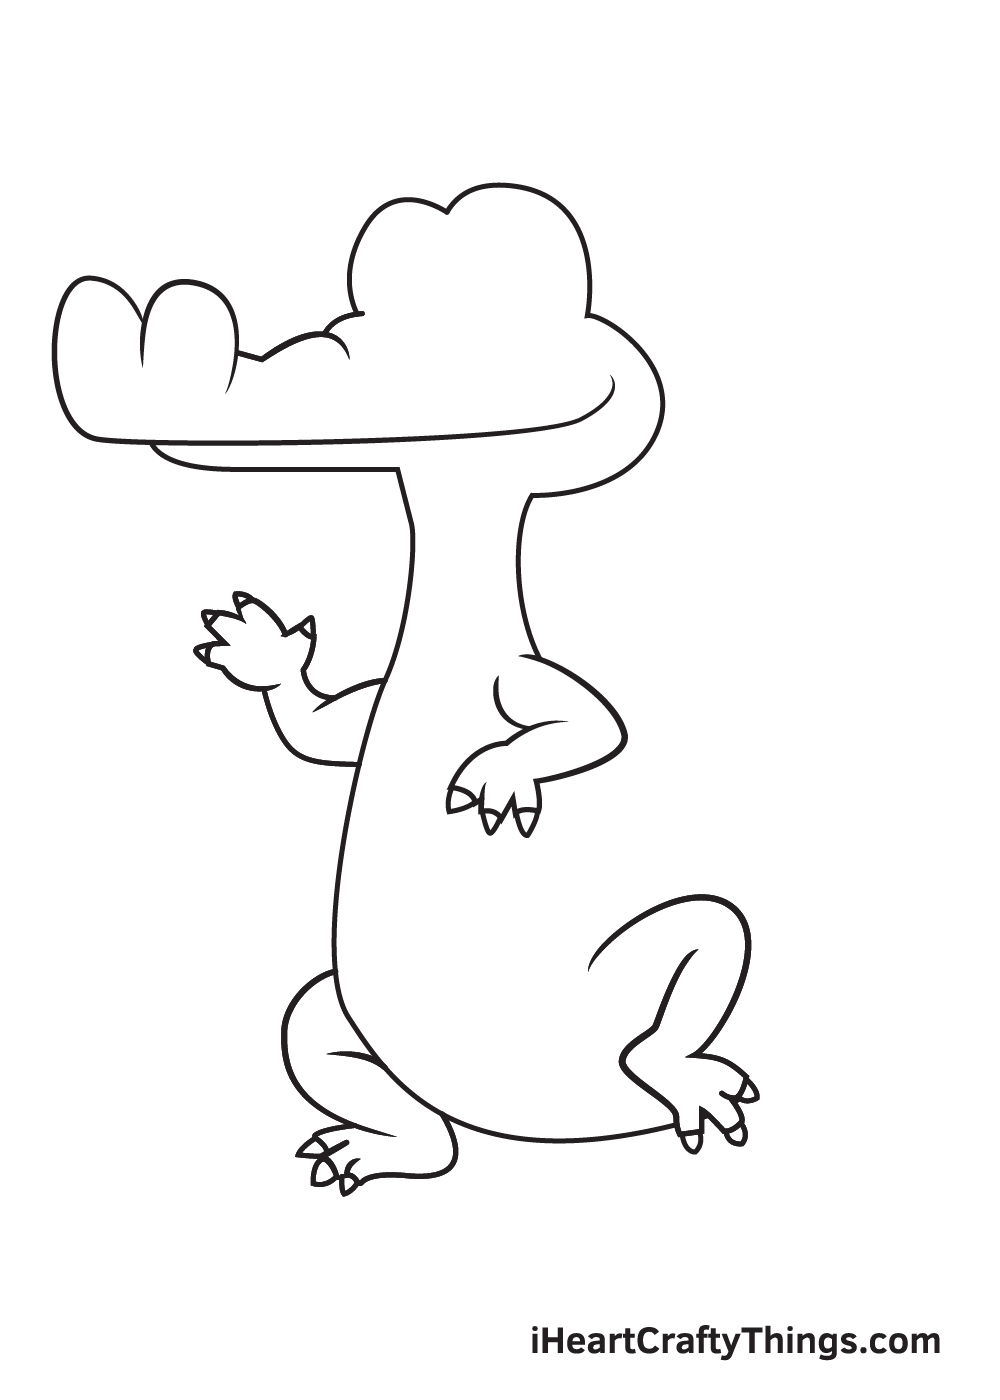
Here, we will now be working on the alligator’s hind legs to finally complete its set of four legs.
On both sides of the alligator’s body, draw the legs with three toes each. Make sure that the hind legs are drawn evenly.
Step 7 – Now, Draw the Alligator’s Tail
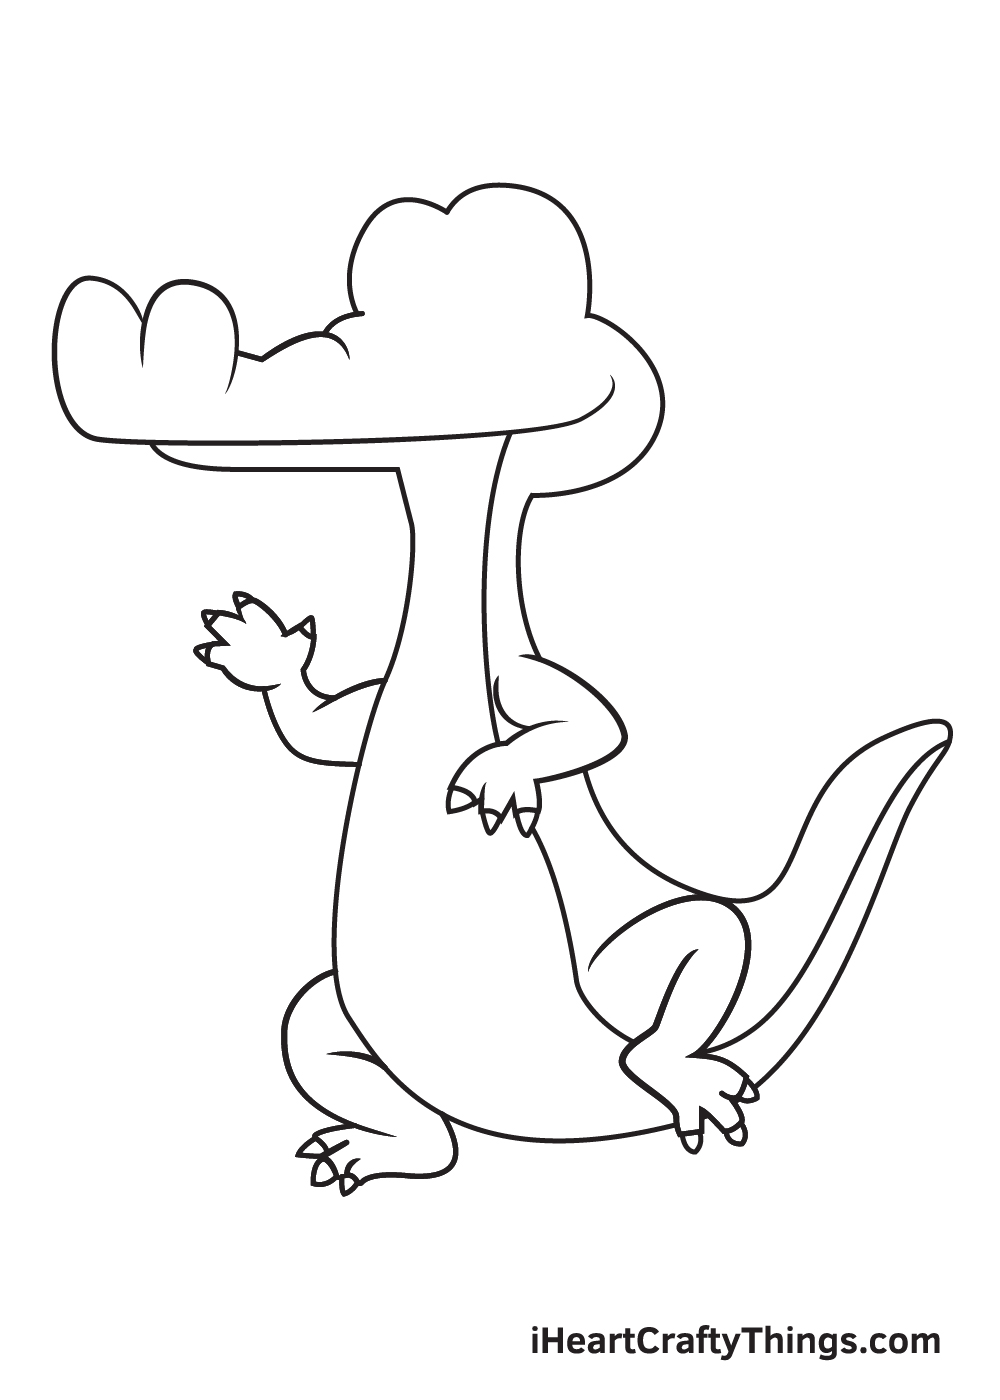
Extend the lines on the alligator’s lower body and draw a line going upwards. This will outline the shape of the tail. The alligator’s tail on your drawing should be about an inch long.
In this step, we will also be outlining the alligator’s underside. Starting below the chin, draw a line following the outline of the alligator’s body up to the tail.
Step 8 – Add Patterns and Textures All Over the Body
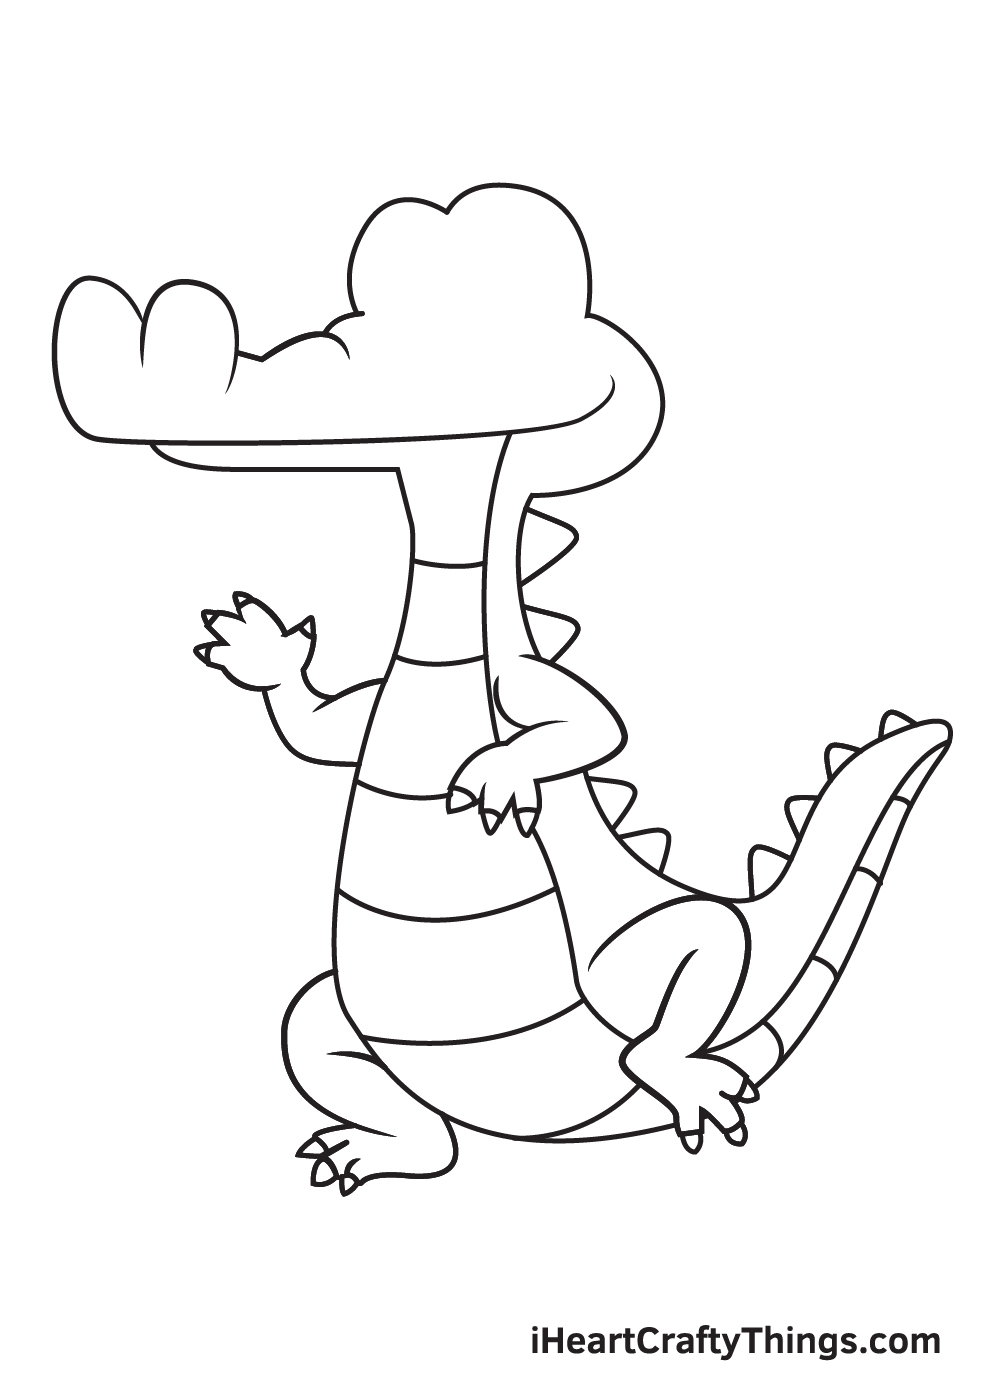
Now, it’s time to make your alligator drawing appear more realistic. What better way to make a drawing more realistic than adding patterns and textures?
Draw multiple horizontal lines across the length of the alligator’s underside, starting from underneath the chin all the way to the tail. The lines should be a little bit apart from each other.
Afterwards, draw several triangular spikes on the entire back of the alligator. This will be the alligator’s “scutes”, a set of bony plates on their back that shields and protects them.
Step 9 – Draw the Alligator’s Facial Features
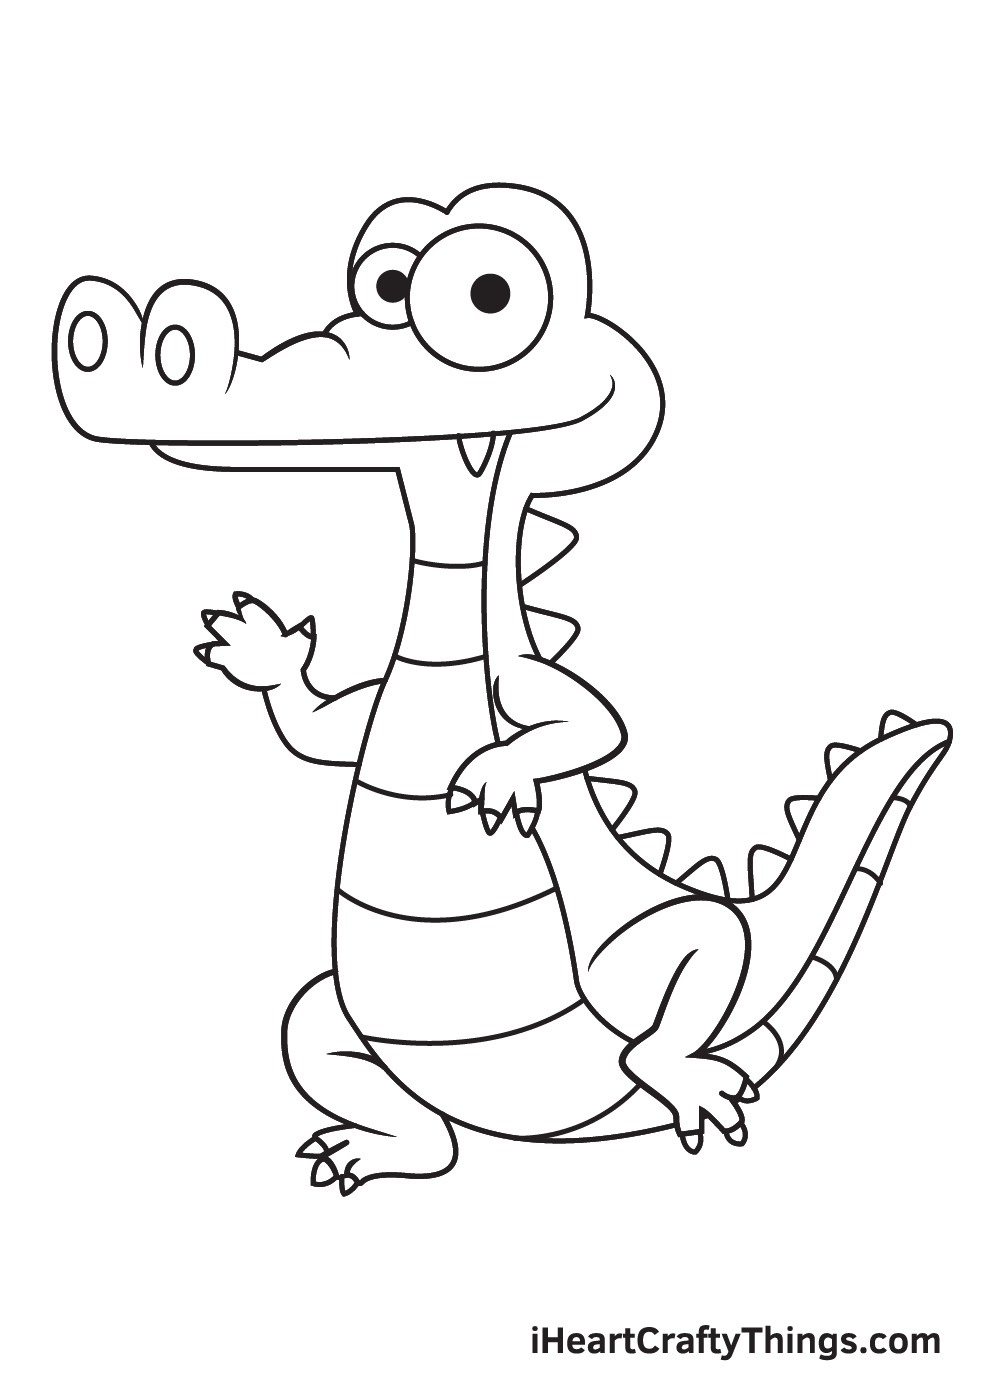
Going back to the alligator’s face, draw two overlapping perfect circles to outline the eyes. Then, inside each of the circles, draw another tiny circle and shade it. The tiny shaded circles inside the eyes will serve as the iris.
Then, draw two upright ovals in the snouts. This outlines the alligator’s nose. Also, don’t forget that emerging single pointed fang!
And there you have it; you have successfully drawn an alligator. Now, all it’s missing is a splash of vivid and vibrant colors to finally complete your artwork!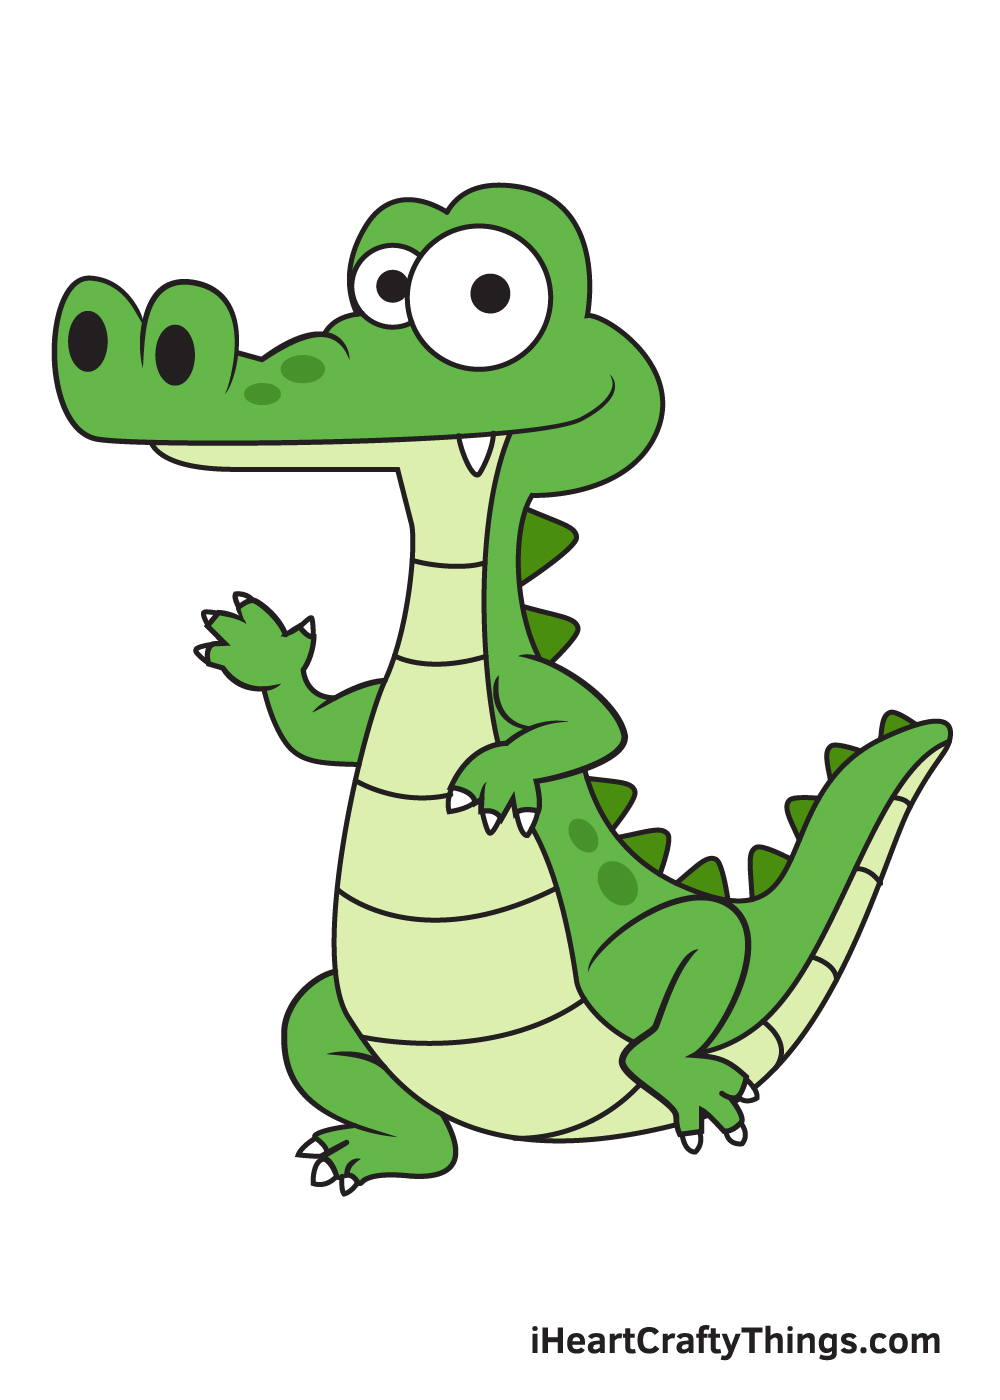
Finally, here is the most exciting part—filling in the colors for your awesome drawing! This is the part where you can show off your artistic skills and your ability to mix and match various colors.
The colors of an adult alligator varies depending on its habitat. Their color ranges from olive and brown to gray and nearly black. Their underside, however, are always creamy in color.
Feel free to color your alligator drawing however you like and use any colors you prefer! And while you’re at it, why not try experimenting with different coloring materials as well?
Create A Comic Featuring This Cartoon Alligator!
You did an amazing job on this guide on how to draw a cartoon alligator! We have a few more tips on ways you can make this drawing even more fantastic, but first we had another idea for you to try out.
If you had a great time creating this drawing, you could make a whole comic featuring this character. This may sound like a bit of an undertaking, but it could be easier than you think.
First, you can begin by thinking of a scenario to depict. It could be simple, or it could be complicated.
Maybe the alligator is hungry and needs to venture out to find some food. That would be a simple premise, but it’s something to start with.
Next, think of where the comic will take place. Will it be in a jungle or maybe in an everyday neighborhood where animals live?
These are questions that will depend on you and your preference, so give it a think. Then, you can sketch out a rough draft of the comic.
If it’s going to spread out over 6 panels on a page, then you could roughly sketch the squares and then do very rough sketches in each one.
Then, draw out the speech bubbles and fit in the text and dialogue you will need. You can also add other characters to join this one!
When you have the planning done, you can then start drawing the final one with more care. You can use a ruler to make the panels of the comic straighter to make it look neater.
If you want to add some color, then that would finish it off nicely and you will have your very own comic! This would be fun to try, but we have a few more ideas coming up, so let’s go ahead and take a look.
5 Tips To Make Your Alligator Drawing Even Better!
See how to make your alligator sketch even more amazing with these tips!
Your alligator drawing is already looking great, but a background would make it look even greater! You would have many options for the kinds of backgrounds you could go for here.
The alligator could be in a swamp or maybe in a river for a few typical settings. You could also go for a crazier background setting for a fun touch!
What settings can you think of for this alligator?
An alligator in the wild would be surrounded by tons of different animals. You could make your drawing of an alligator even more interesting by adding some of these animals!
You would have many options to go for, and it would be fun to look up the animals to depict in the same cartoony style.
Speaking of the style, as much as we love the style of this alligator sketch, you could also change it up. For example, you could look up some pictures of real alligators and use them to make this one more realistic.
That’s one way to try, but you could also make the drawing look even more cartoony and stylized! Adding some fun accessories would be a great way to do that.
We went for a bright green color scheme for our example of this alligator drawing, but you could try out some different colors.
This is all about creating your own ideal artwork, so you should definitely use any colors you love.
Once you have chosen your colors, you could also try out some fun and unique art tools and mediums to bring the colors to life!
When you’re confident about creating this drawing of an alligator, you could try and depict it in some different positions. For instance, you could have it resting on its stomach like a real alligator.
You could change the look and position of this alligator by changing just a few details! It’s really a great way to drastically change the design quite easily.
Your Alligator Drawing is Complete!
We hope you enjoy this step-by-step tutorial on how to draw an alligator. With this guide, you can surely draw and color an alligator along with its complex features and elaborate details in no time.
And the most fun part is, you can customize its physical attributes and play with various colors as much as you like!
We are always updating our “How to Draw” catalog, so make sure to keep checking back on our website to take advantage of newly-uploaded tutorials.
All you need is a pen and paper and you’re all set to start drawing! We are excited to see what you will draw next. We’re sure it will be just as amazing as this one!
Once you’ve finished your masterpiece, we’re certain you must be feeling very proud of yourself—as you should be! Completing this alligator drawing is definitely fulfilling.
Make sure to show off your work of art and share it on our Facebook page and on Pinterest. We’re sure it looks amazing! We can’t wait to see your colorful alligator drawing!