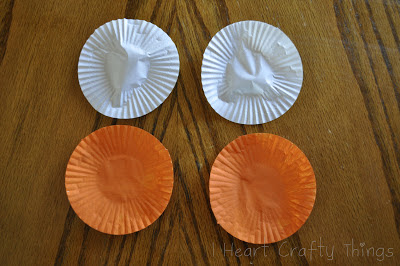
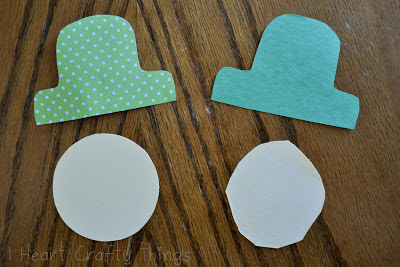
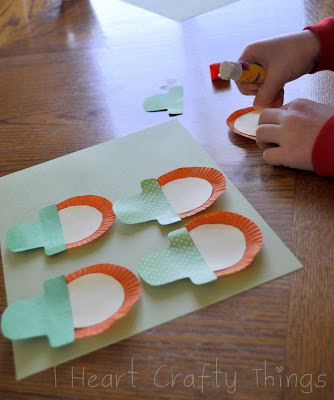
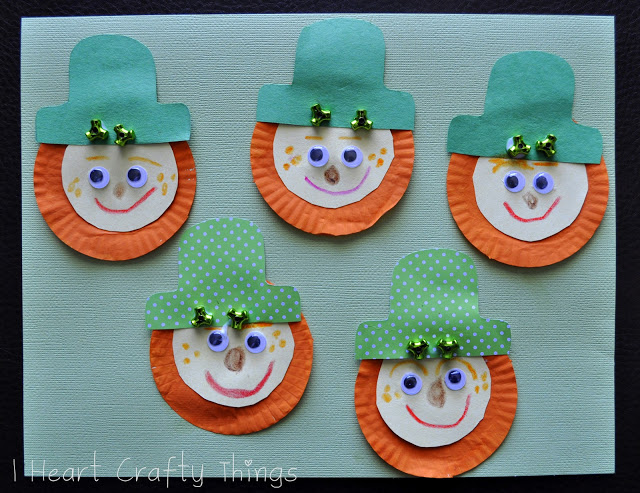
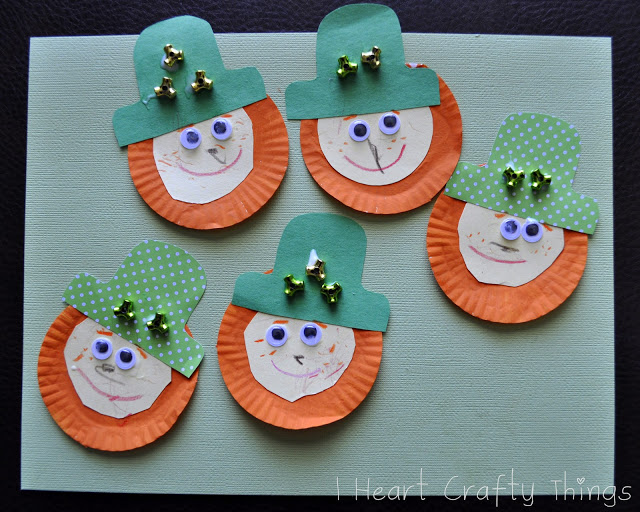
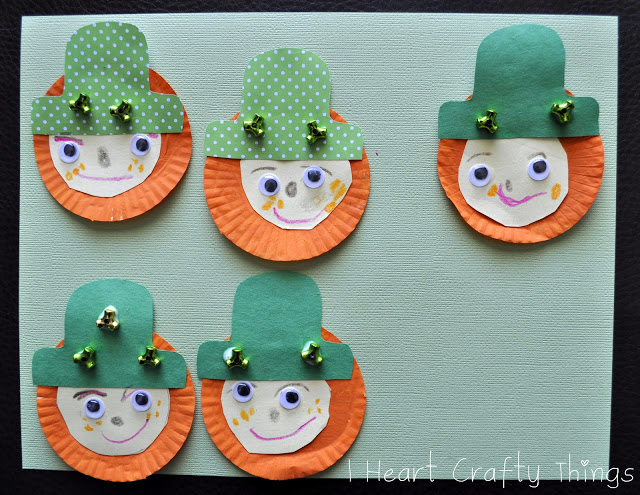
While the cupcake liners dried, I cut out little Leprechaun hats from green construction paper and green polka-dot scrapbook paper and my boys helped cut out circles from a manila folder for the faces. The manila folders are the perfect Leprechaun skin tone color, eliminating the need for paint.
Once the cupcake liners are dry, glue the faces onto them, and then the hats.
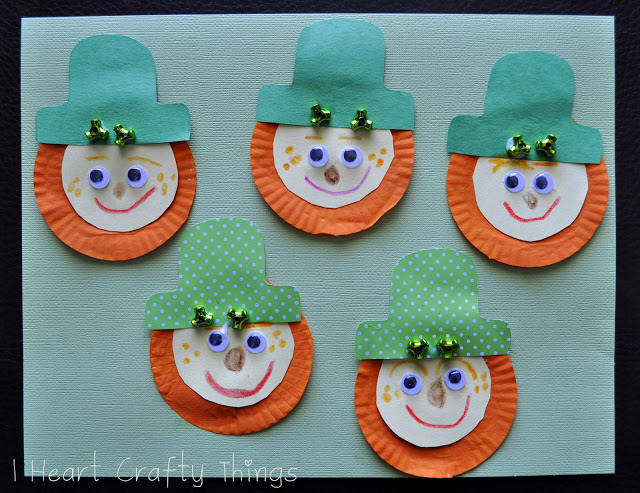
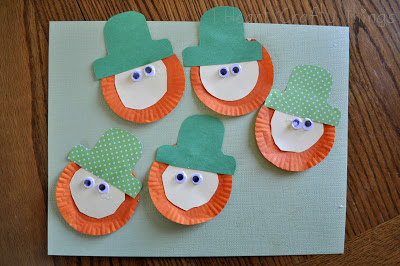
Next, glue the Leprechauns all over a sheet of cardstock paper. We chose to use a light mint colored sheet for our background. Once the Leprechauns are glued to your background, use school glue to add small wiggly eyes to your Leprechauns.
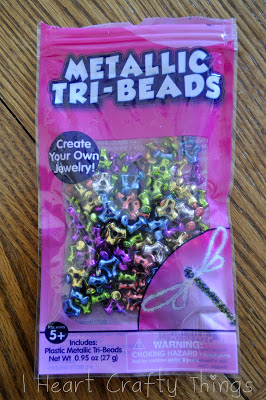
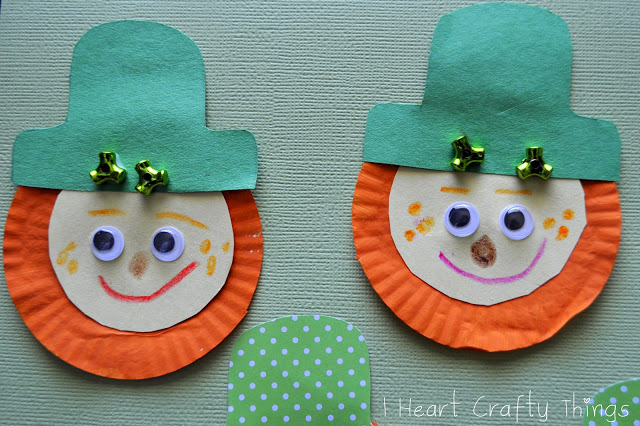
At this point I thought our little Leprechaun’s looked like they were missing something (other than facial features). I searched through my craft supplies and saw these Metallic Tri-Beads that I received from CraftProjectIdeas.com. I took a green bead out of the package and realized that their three sides made them look just like little shamrocks. Perfect!! We glued a couple little shamrocks onto each Leprechaun’s hat. If you can’t find the Metallic kind, their Tri-Beads Rainbow assortment also has green beads in them.
My kids’ favorite part was adding the facial features to their Leprechauns. Little freckles and eyebrows are a must!!
Here is my oldest son’s collection of Leprechauns.
Stop by on Monday to see what books we are reading for St. Patrick’s Day.
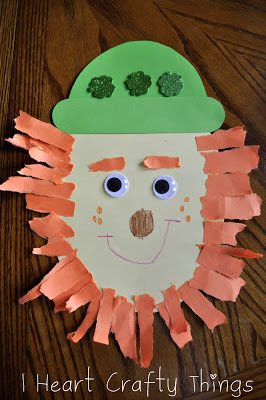
In case you missed our Leprechaun craft from last year, you can check it out HERE.


