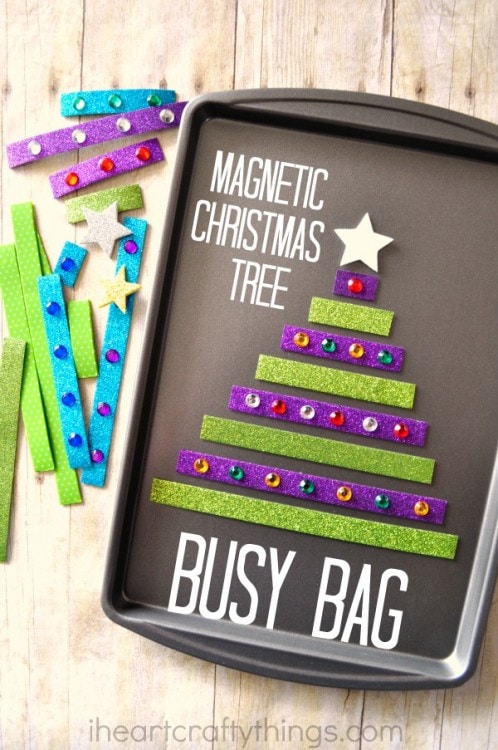
Lets face it…Holidays are a busy time for Mom! Trying to tackle all the prep for the holiday all while keeping the kids busy and entertained during the day can be a daunting task. On those days that my to-do list is longer than I can imagine, I love to set out a variety of busy bags that my preschooler can play with while I’m busily working. This gives me some free time to get things done and crossed off my list. Last week I used expressions tapes to help me create this stunning Magnetic Christmas Tree Busy Bag. Although it’s intended for kids to play with, I have to admit I’ve already had quite a bit of fun with it also.
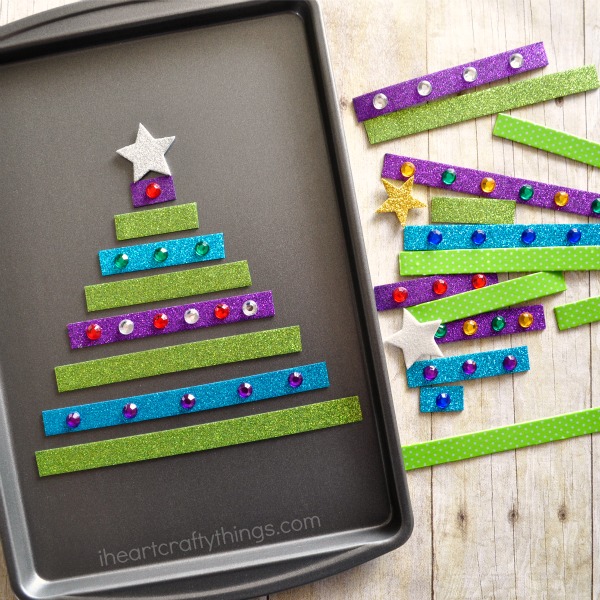
There are so many reasons to adore this simple magnetic Christmas tree busy bag. Not only do the bright and vibrant colors of the Expressions Tape make it stunning, but there are some fabulous learning aspects to the activity. Toddlers and preschoolers get to use those oh so important muscles in their fingers and hands to move the pieces around working their fine motor skills. They also practice sorting objects from small to large to make their Christmas tree and can work on forming patterns as they lay their pieces out. Go grab your supplies and get ready to make this fun holiday-themed activity for your kids!
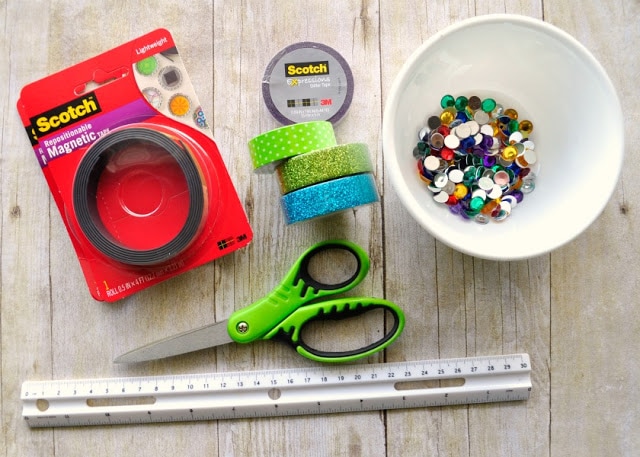
Supplies needed:
- Expressions Tapes (choose a variety of colors and patterns including green)
- Magnetic Tape (2 rolls)
- small craft gems
- star foam stickers
- tacky glue
- ruler
- scissors
- small metal baking sheet (or you can use any magnetic surface like a refrigerator)
Tutorial:
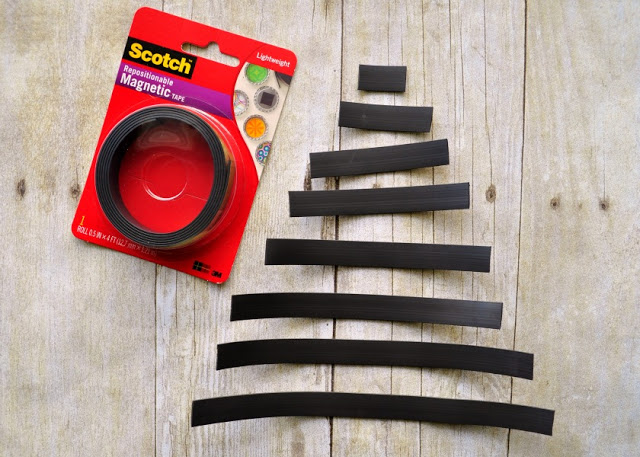
1. Cut tape in pieces
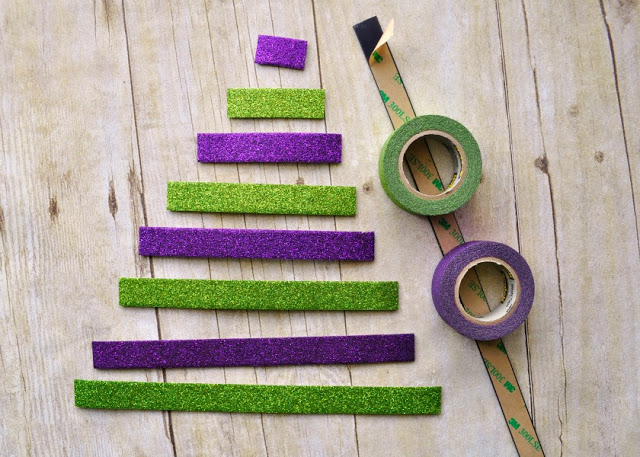
Gather all of your supplies. Open up your Magnetic Tape and using your ruler and scissors, cut a section that is 8 inches, 7, inches, 6 inches, 5 inches, 4 inches, 3 inches, 2 inches and 1 inch. These are the pieces you need to make one tree. I cut enough pieces to make 2 trees, plus a few extra pieces, so I used two rolls of the magnetic tape.
2. Glue tapes together
Now you need to add the Expressions Tapes to the Repositionable Magnetic Tape strips. Do this by peeling the backing off the magnetic tape and then place the Expressions Tape on the sticky side of the magnetic tape.
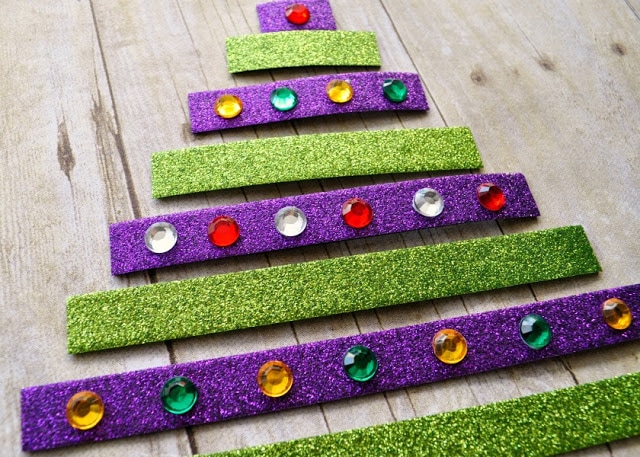
I found it was easiest if I laid my Christmas tree pattern out and made every other piece green. Then I used another color or pattern on the rest of the Christmas tree pieces.
3. Add gems
Use tacky glue to glue small craft gems onto the pieces that aren’t green. The gems are a perfect touch since they look like bright and shiny ornaments on the tree.
4. Add tape to the star stickers
Attach a small piece of Repositionable Magnetic Tape onto the back of a few star felt stickers. Now all of your prep work is finished.
5. Store till ready to play
Put all of the pieces into a plastic baggie until your child is ready to play. When you want to play with the busy bag, lay all of the pieces out next to a small baking tray (or any magnetic surface such as the refrigerator) and your kids will have fun using the pieces to build a Christmas tree.
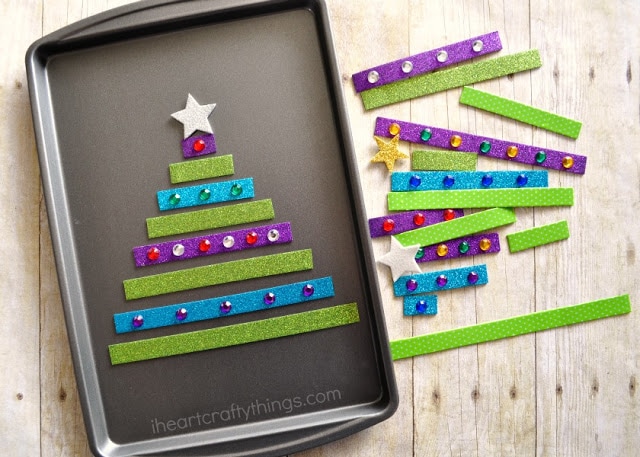
Since there are so many different pieces, your child can design a tree and then swap out pieces to create a new tree with a different design. The design possibilities are endless! Every time I made a different Christmas tree design I was in awe of the bright and bold colors of the Expressions Tapes. They are so fun and versatile and bring such great inspiration for every day projects and creations.
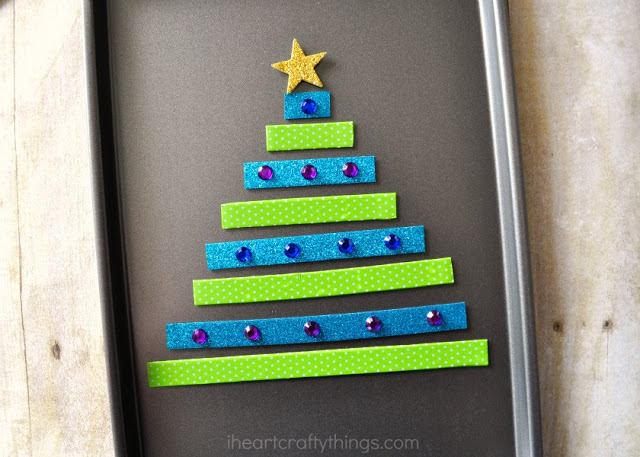
One of my favorite parts about this activity is that it is small enough that we can bring along our bag of pieces and baking sheet while we are traveling to Grandma’s house and other relatives over the holidays so we have a fun activity on hand to keep the kids entertained.
