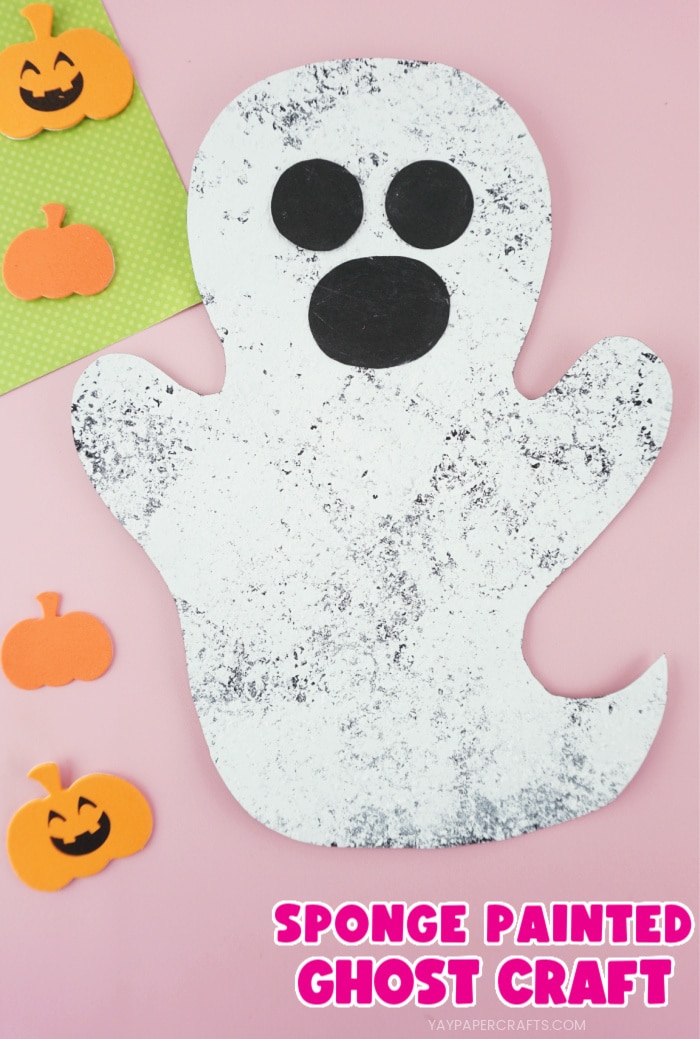
This sponge painted ghost craft is a super simple and fun craft for little ones to make and it makes a festive addition to your Halloween decor in your home or classroom.
Halloween is a perfect time to get crafty with your kids. There are so many fun kids books and cute characters which makes for lots and lots of fun Halloween Craft ideas. We are starting our crafting a little early for the holiday at our house, but with so much that we want to get in, we couldn’t help ourselves!
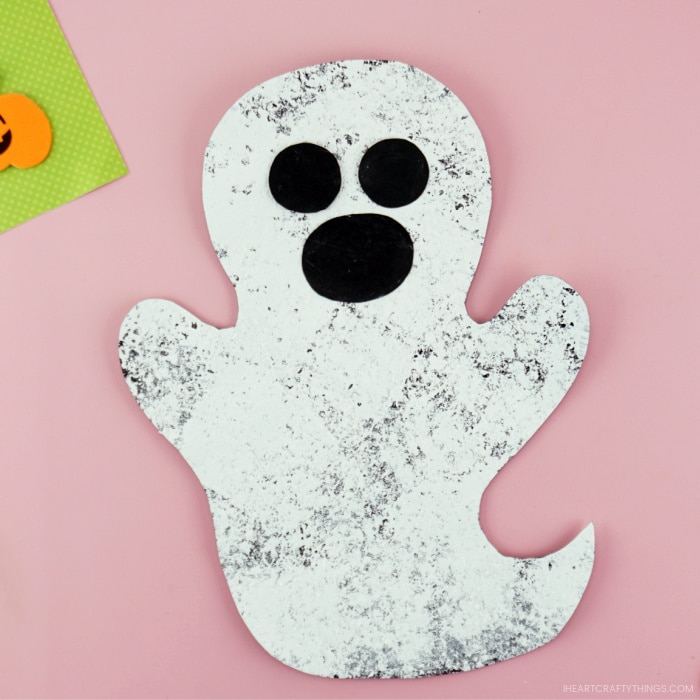
Supplies you will need:
- Ghost template<—– Get the craft template HERE
- black cardstock paper
- white paint
- white colored pencil (for tracing)
- small sponge
- paper plate (to pour your paint on)
- scissors
- glue stick
Instructions for creating this easy Ghost Craft
1. Cut out ghost pattern and trace it onto cardstock paper
Download and print out the ghost template. Cut out the ghost pattern and use a white colored pencil to trace it onto a black piece of cardstock paper. Turn your black cardstock paper over so the traced ghost is face down.
2. Prepare sponge and paint
Cut a small rectangle shape off of a normal sized kitchen sponge to use for painting. Pour white paint onto your paper plate.
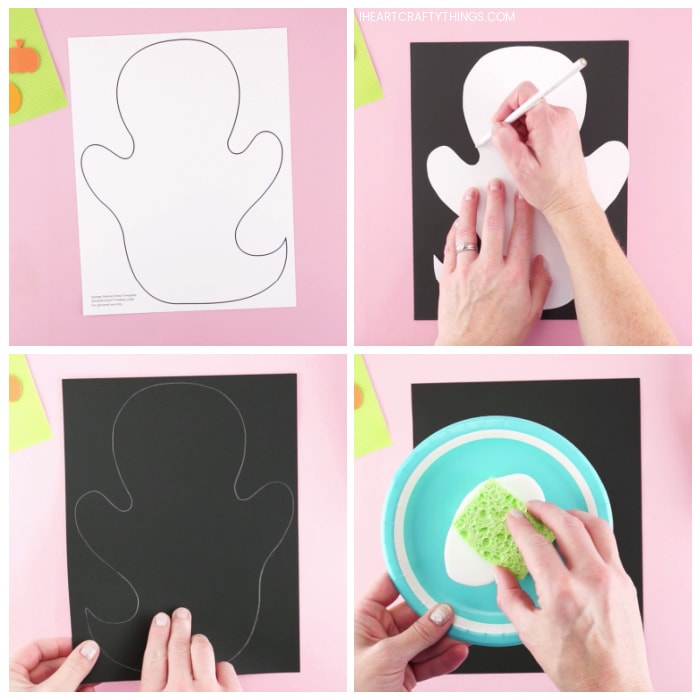
3. Use sponge to paint ghost
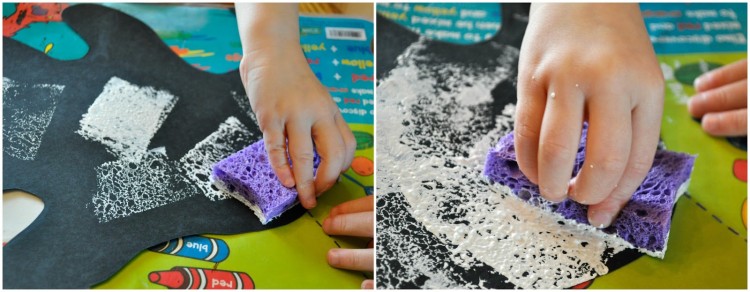
Dab your sponge into the paint several times to coat it all over and then dab it onto your black cardstock paper. It’s ok for some of the black to show through. It’s supposed to look that way to give it more of a translucent ghost appearance. Continue dabbing into the white paint and then onto your black cardstock paper until it is covered. Set it aside to dry completely.
4. Cut out eyes and mouth
While your white paint is drying, cut out two eyes and a mouth for your ghost from black cardstock or construction paper. We found it helpful to draw the shapes with our white colored pencil and then cut them out.
5. Cut out the ghost image
After your white paint has finished drying, cut out the ghost image traced on the back of the black cardstock paper.
6. Glue eyes and mouth
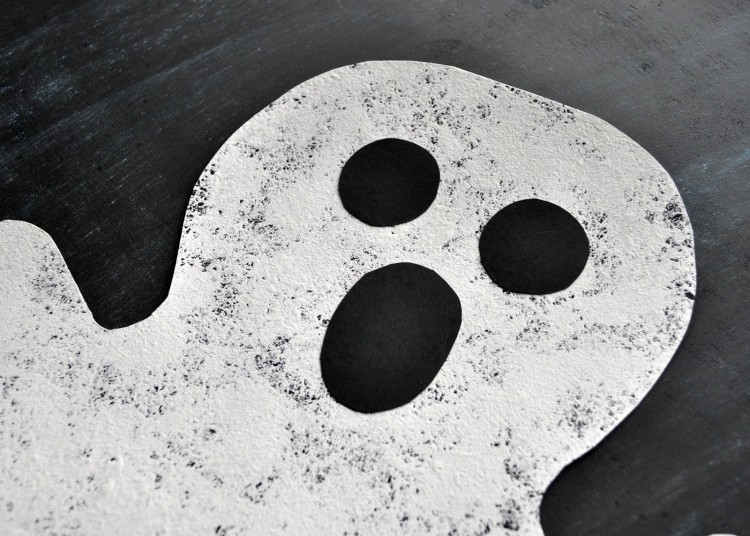
Use a glue stick or school glue to glue your eyes and mouth onto your sponge painted ghost.
Boo! Your easy peasy ghost craft is ready to hang up for Halloween at home or school.
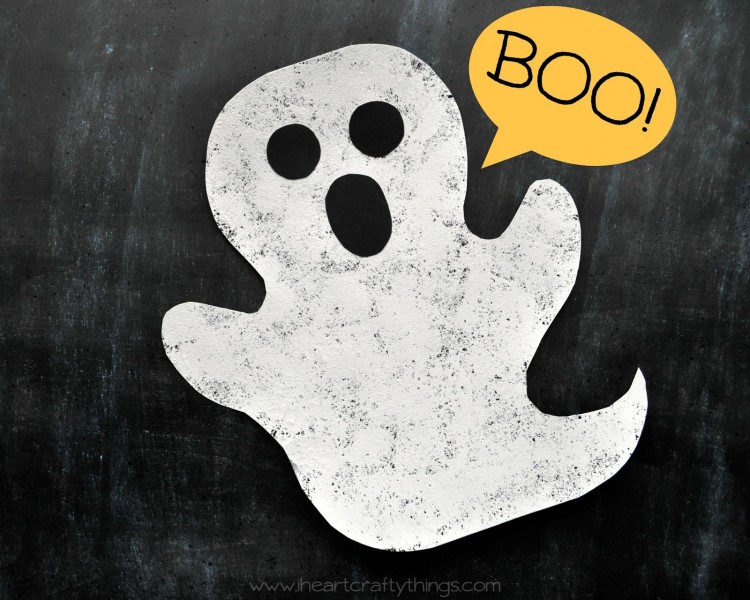
Here is my 4-year old’s ghost below. I love incorporating skills into our crafts that help my preschooler prepare for Kindergarten. In this particular craft, cutting out the eyes and mouth shapes was excellent scissor practice.
Having children design and cut out their own eyes and mouth for their ghost is a perfect way to add some personalization to this craft. It makes it a great Halloween class art project since each child’s ghost will have it own unique look hung up on a classroom bulletin board.
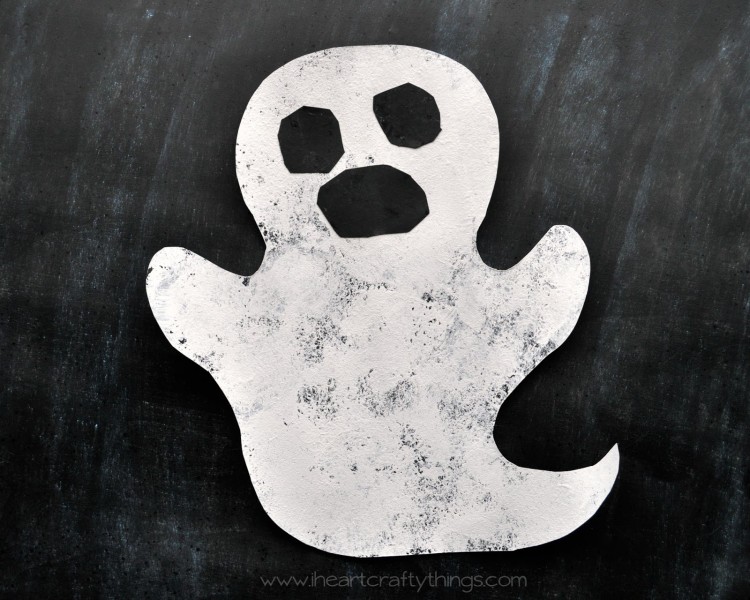
If you want to hang your ghost from a mantle or a chandelier as some spooky Halloween decor, punch a hole at the top of your ghost and tie some white string to it.
