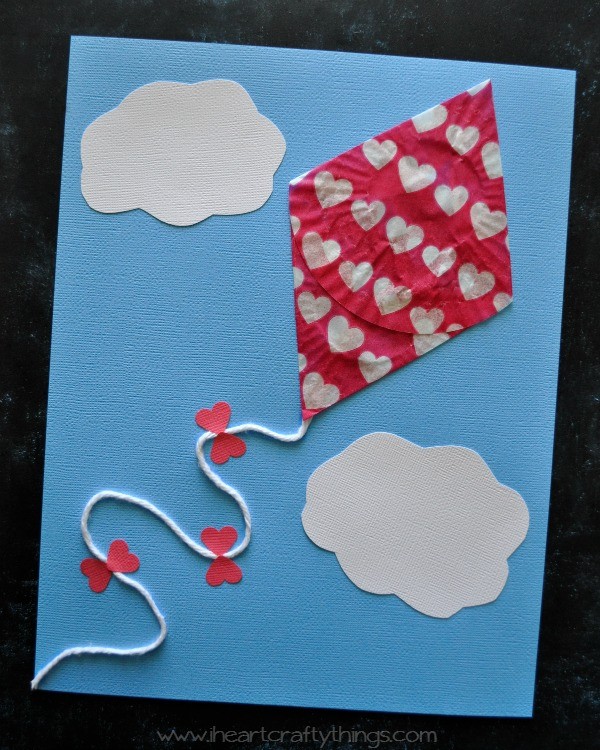
We have had a couple of windy days this week, perfect for flying a kite. The weather has been fabulous for time of the year too. It’s the beginning of February and we’ve already taken two trips to the park because it already feels like spring. It’s been heavenly! Our windy days inspired me to come up with this fun Cupcake Liner Kite Craft. A perfect craft for a lovely spring day.
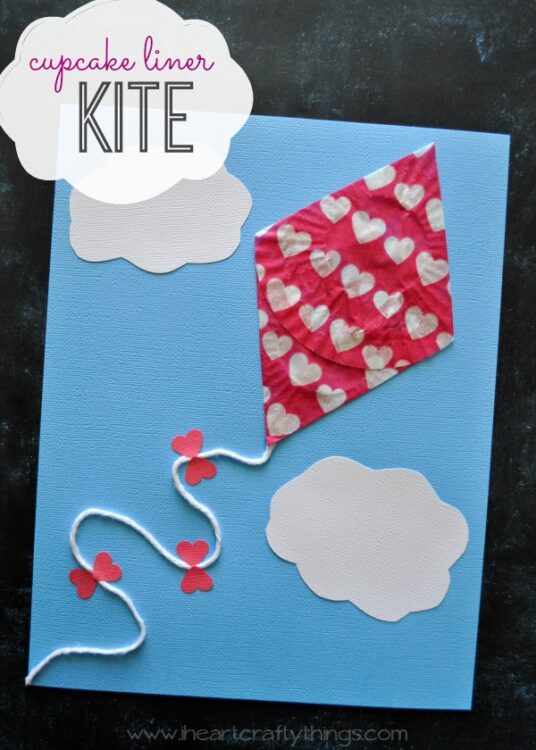
This post contains affiliate links for your convenience. Read our Disclosure Policy for more information.
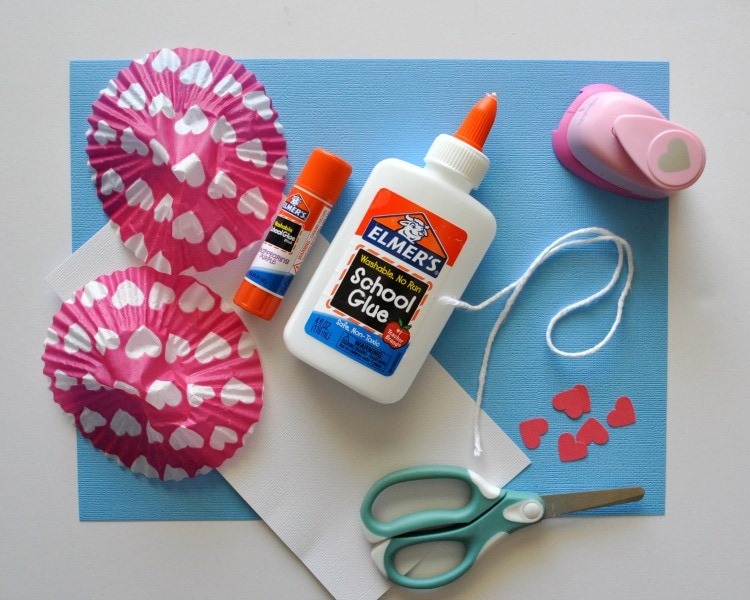
Supplies you will need:
- 2 regular-sized cupcake liners
- blue, white and color cardstock paper (to match your cupcake liners)
- white string
- small heart punch (optional)
- glue stick
- School Glue
Directions:
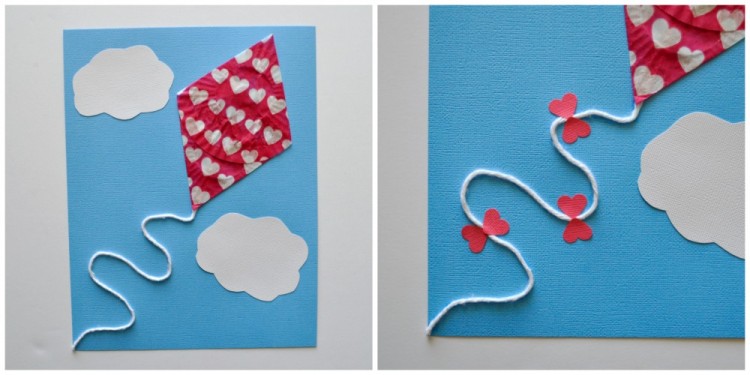
1. Cut out two clouds and glue them onto cardstock paper
Start by cutting out 2 cloud shapes from your white cardstock paper and glue them onto your blue sheet of cardstock paper.

2. Fold two cupcake liners
Fold in two sides of your cupcake liners to create a point. Use a glue stick to put some glue under the little folded flaps to hold them in place.
3. Glue cupcake liners together
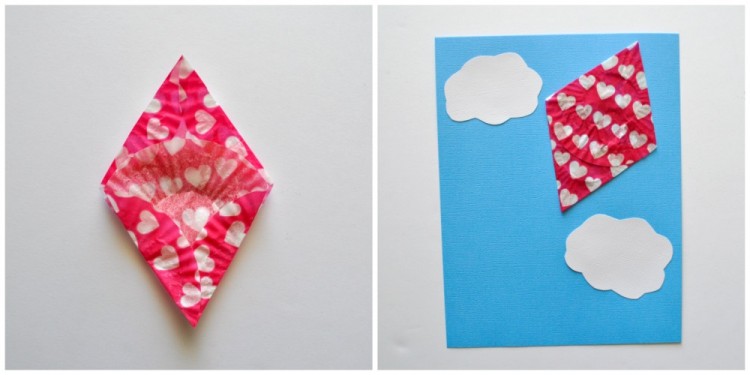
Glue your 2 cupcake liners together, making a diamond shape with a point on each end. Below is a picture of the back of the cupcake liners after gluing them together.
4. Glue kite onto cardstock paper
Glue your kite onto your blue sheet of cardstock paper.
5. Add white string
Make a line of school glue from the bottom of your kite to the end of your paper, and add your white string onto the line of glue.
6. Create and add small bows
Cut six small hearts out form your heart punch. Glue them onto your white string with 2 heart points facing each other to make a small bow.
