{This post contains affiliate links for your convenience, read our Disclosure Policy for more information.}
Supplies needed:
-
- paper plate
- white tissue paper
- school glue
- white cardstock paper
- empty plastic fruit cup
- white acrylic paint
- black marker
- large black pom-pom
- glue gun (adult use only)
- craft knife (adult use only)
- scisors
Tutorial:
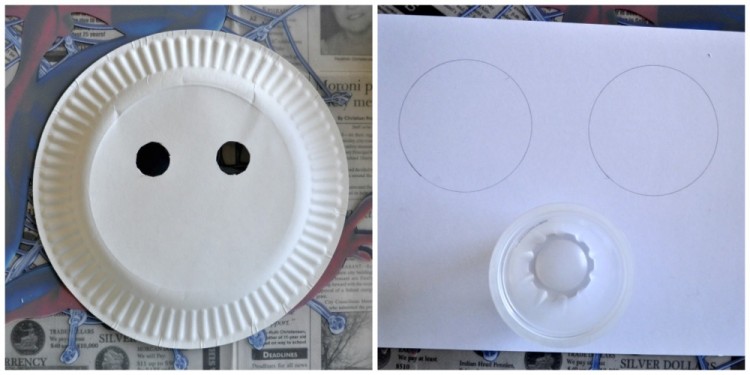
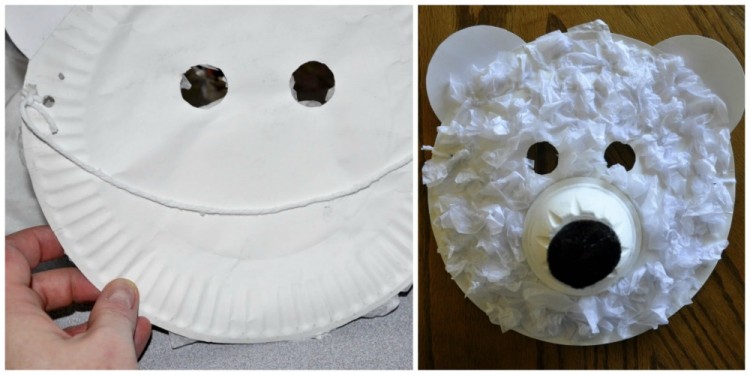
1. Make two holes in the plate
2. Cut out ears
For the snout we used an empty plastic fruit cup. I also used it to make the ears by tracing it onto a piece of white card stock paper, cutting it out and then cutting the circle in half. This makes the two ears.
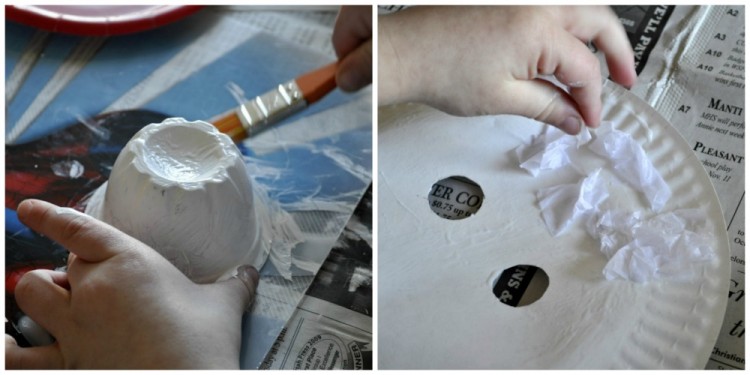
3. Paint fruit cup
4. Glue tissue paper to the plate
While the snout was drying, we put school glue onto a section of our paper plate and then placed white crumpled tissue paper squares all over the glue. Do this on every section until the paper plate is covered. We opted to not put tissue paper where the snout was going to go, but I don’t think it matters which way you do it.
5. Add ears
Next glue the ears to the back of the paper plate.
6. Draw a mouth
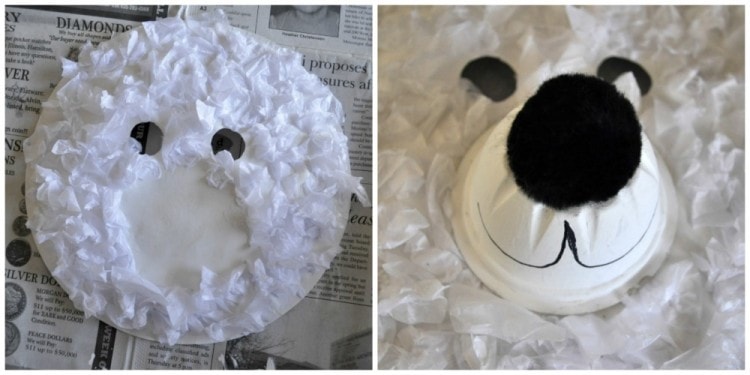
Once the snout is dry, draw a bear mouth on the bottom of the cup with a black permanent marker.
7. Glue snout to the plate
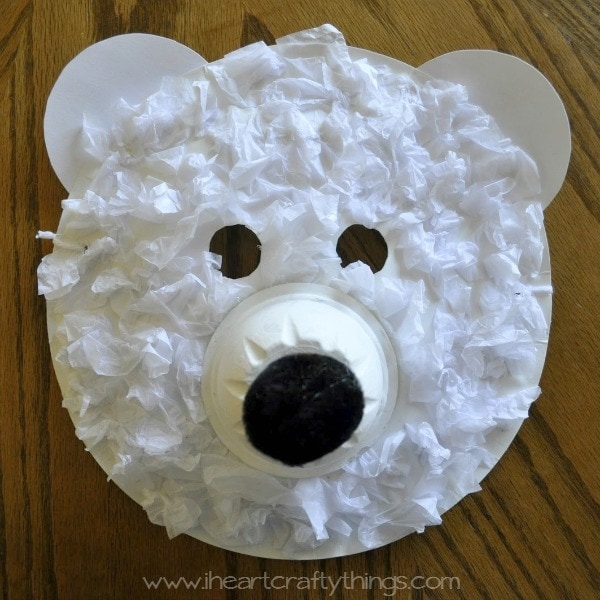
Use a glue gun to run glue around the bottom rim of the cup and glue it down onto the polar bear face. Also use the hot glue gun to glue on the black pom nose. (Adult supervision required with use of a hot glue gun.)
8. Ties piece of strings on the sides
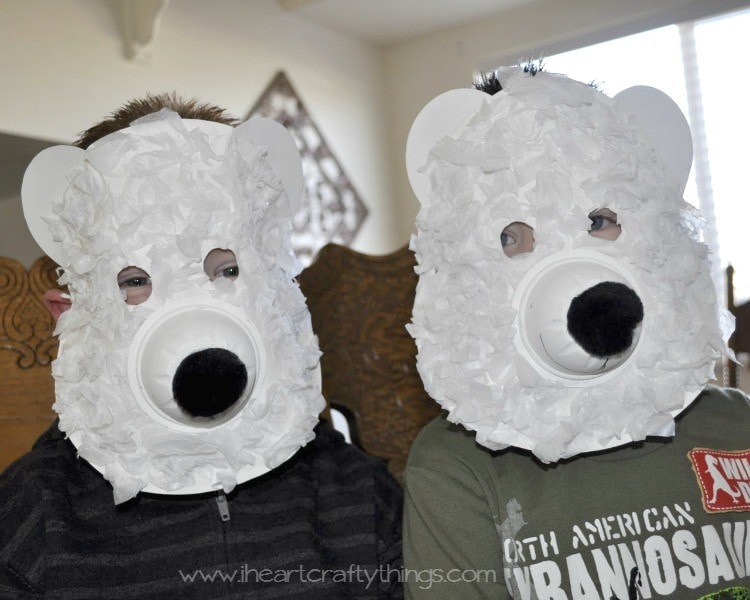
To finish the mask, simply punch holes onto the sides of the paper plate and tie a knot on each end with a piece of string or yarn. They turned out so cute and my boys gave them a thumbs up!


