The fantasy genre is one that has been popular with audiences for generations.
Stemming from ancient folklore and myths, series like The Lord of the Rings brought worldwide love for fantasy, and people can’t get enough of magic, wizards, elves and other tropes.
Wizards are one of the most popular fantasy classes, and they feature in many classics of the genre. Learning how to draw a wizard can be a great way to create your own fantasy scenes!
We have the perfect guide for you if this sounds like something you would like to do!
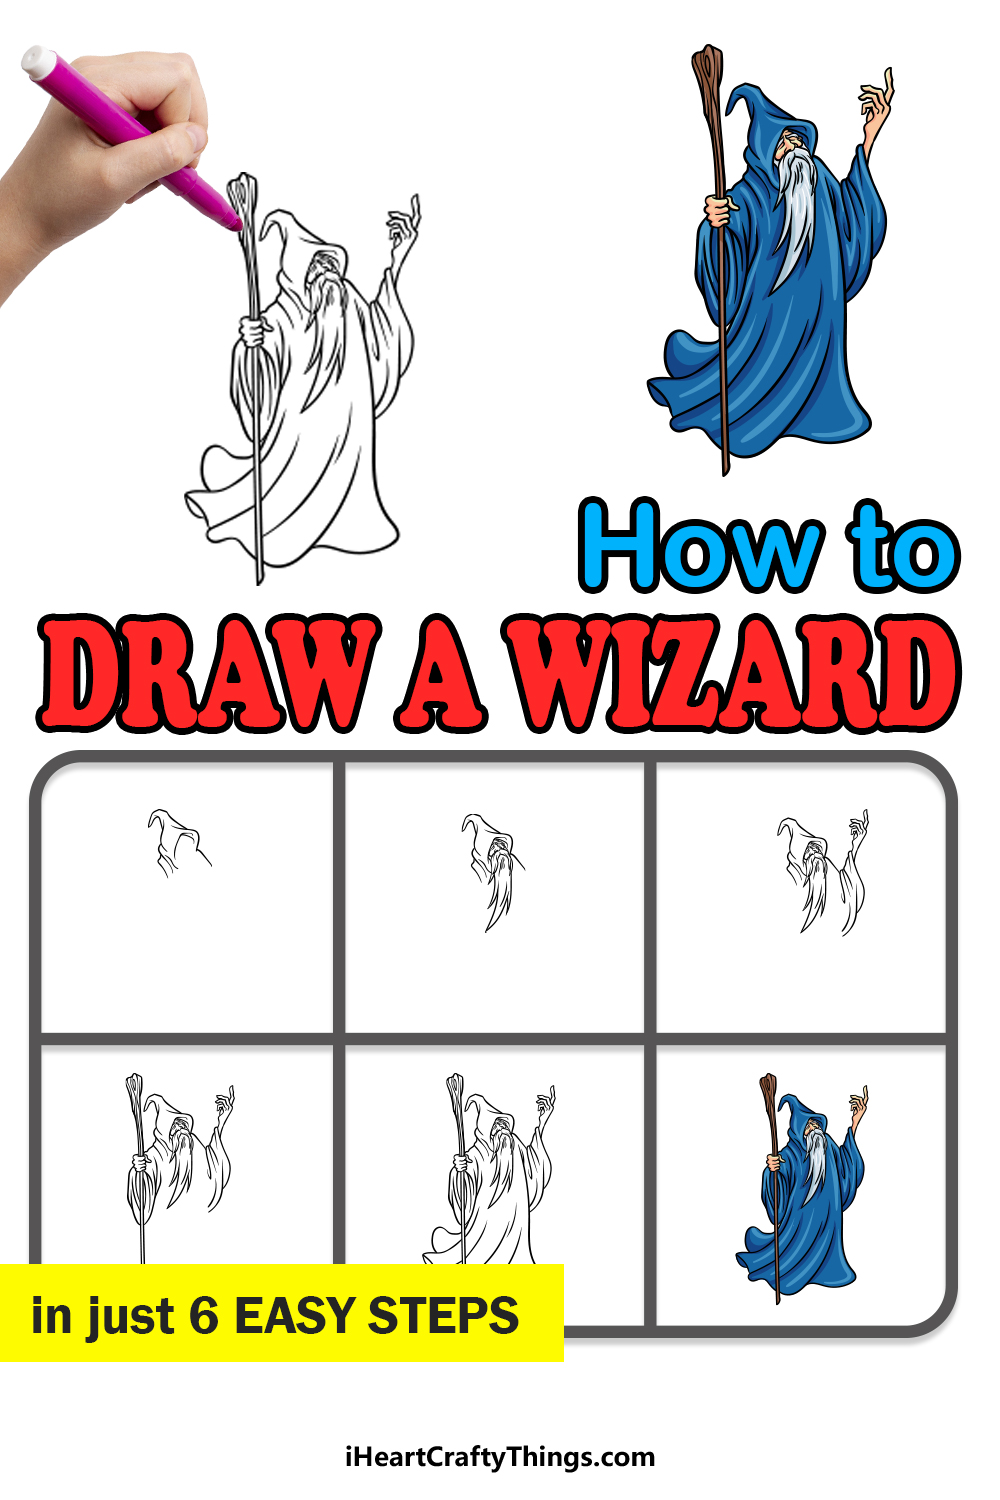
Our step-by-step guide on how to draw a wizard in 6 steps will show you how to create a wise and powerful magic expert!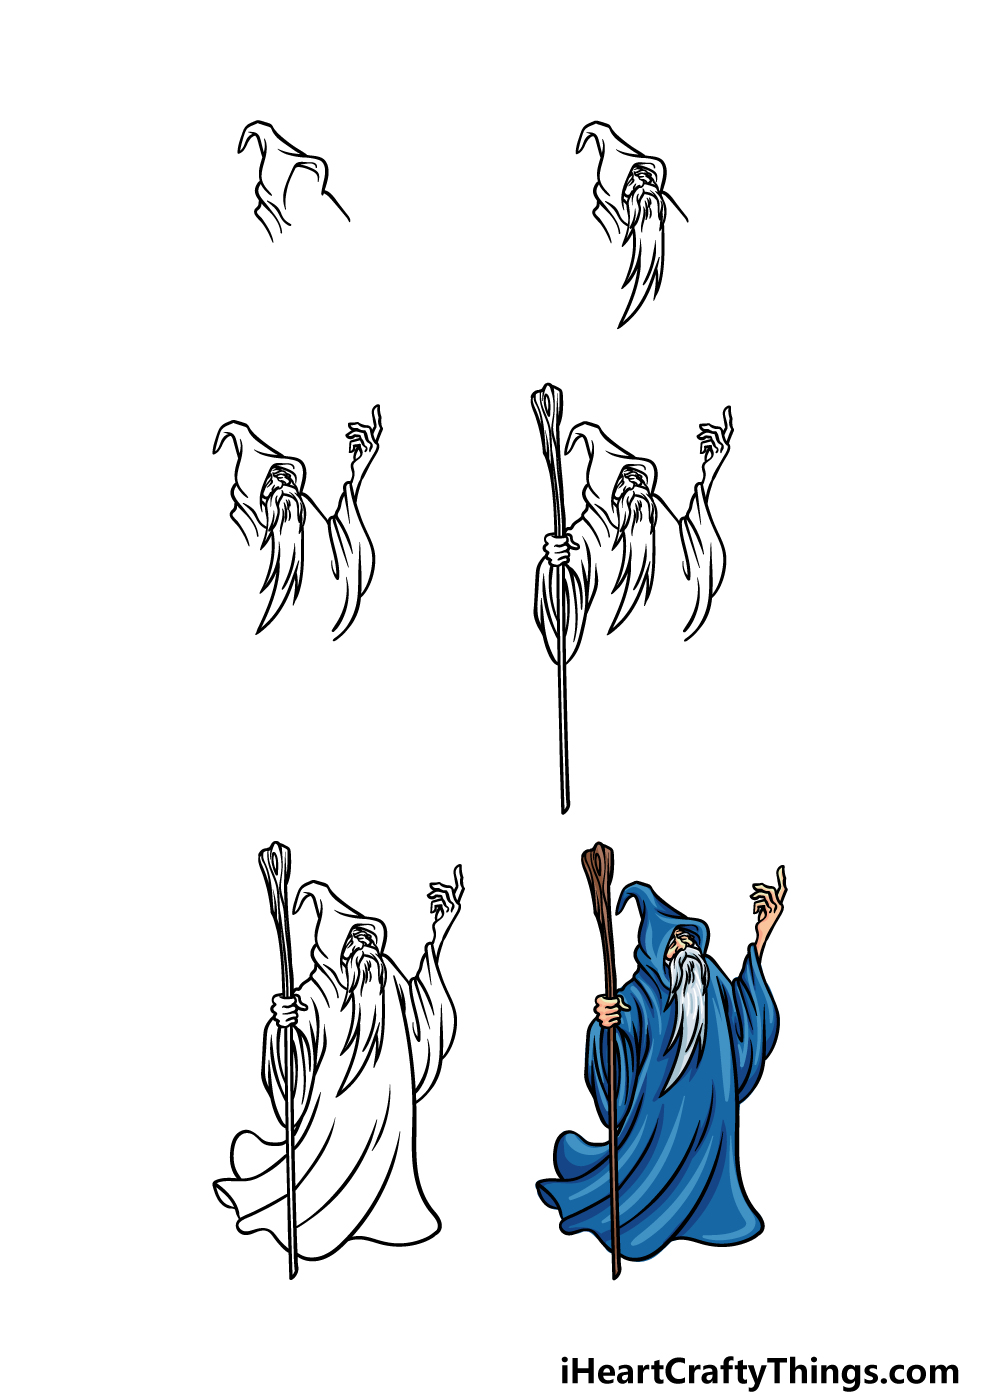
How to Draw A Wizard – Let’s Get Started!
Step 1
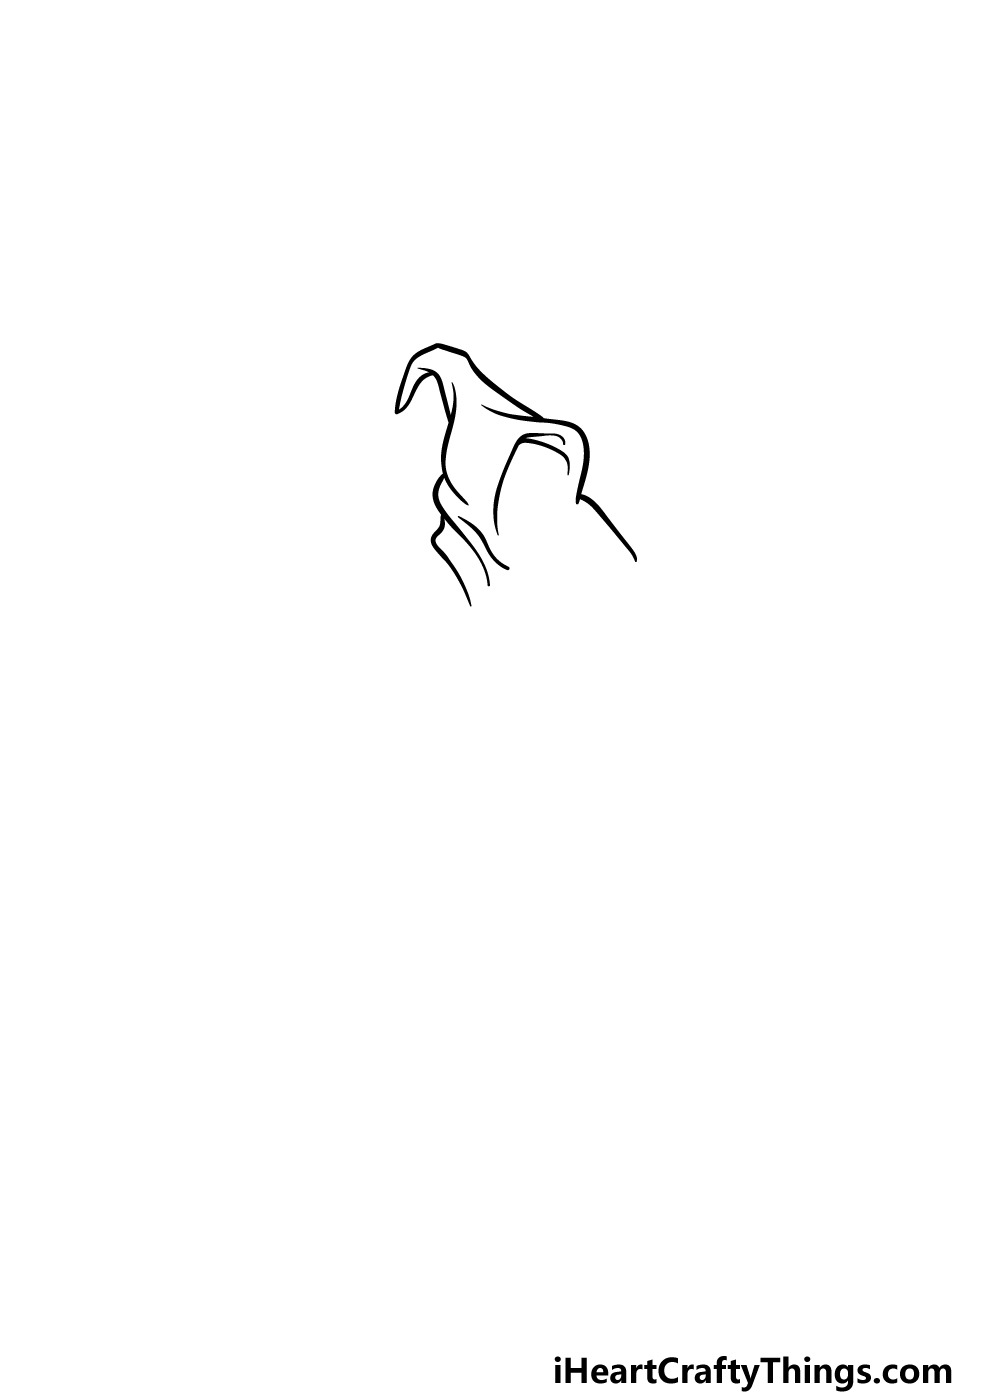
The character we will be drawing in this guide on how to draw a wizard has a long flowing cloak with a pointy hood.
This is a pretty recognizable look for a classic wizard, so we thought it would be perfect for this picture!
To get started, we will first be drawing the pointy hood over his head. We will be using some curved lines to create a rounded portion for the bottom of the hood, and then it will get thinner the further it goes up.
This hood will culminate with a tip at the top of it that is flopping down a bit. Once the hood is drawn, we will use some more curved lines for the start of his shoulders.
We will finish those off in the next few steps, so let’s move on!
Step 2 – Next, draw his face and beard
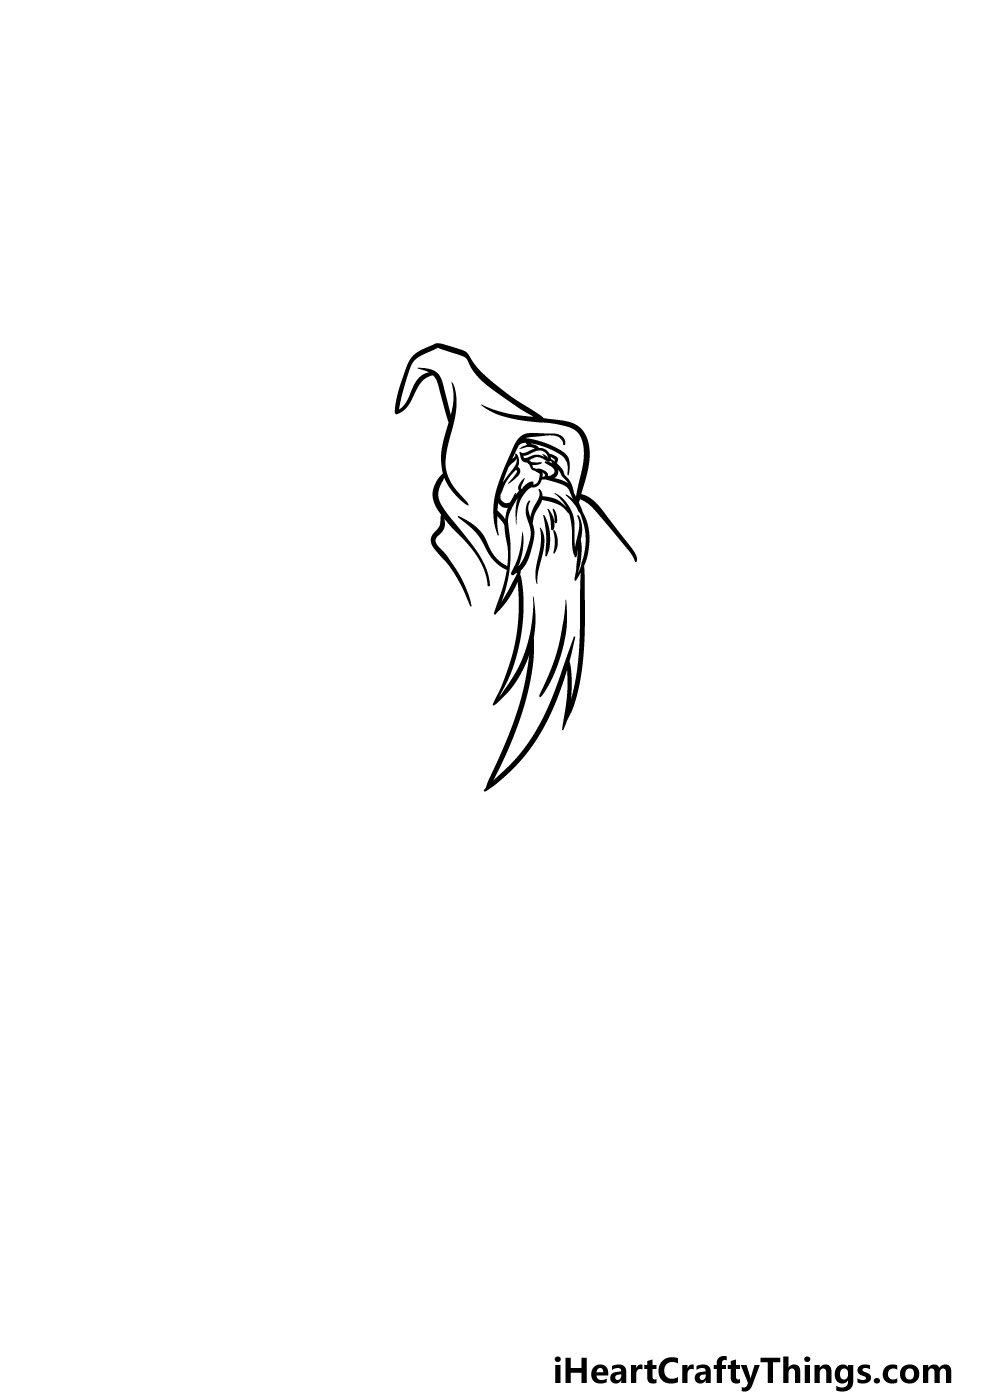
Wizards are often depicted with a long, flowing beard to show that they are old and wise. The one depicted in this wizard drawing is no different, and we will draw the face and beard for him now.
We will be using some simple, curved lines to create his closed eyes, nose and other facial details.
Then, beneath his nose we will be drawing the two sides of his mustache, and once that is drawn then we can use some jagged curved lines for his long beard dropping down.
Then, you can finish off with some line details on it to give it some more texture.
Step 3 – Draw his first arm in this step
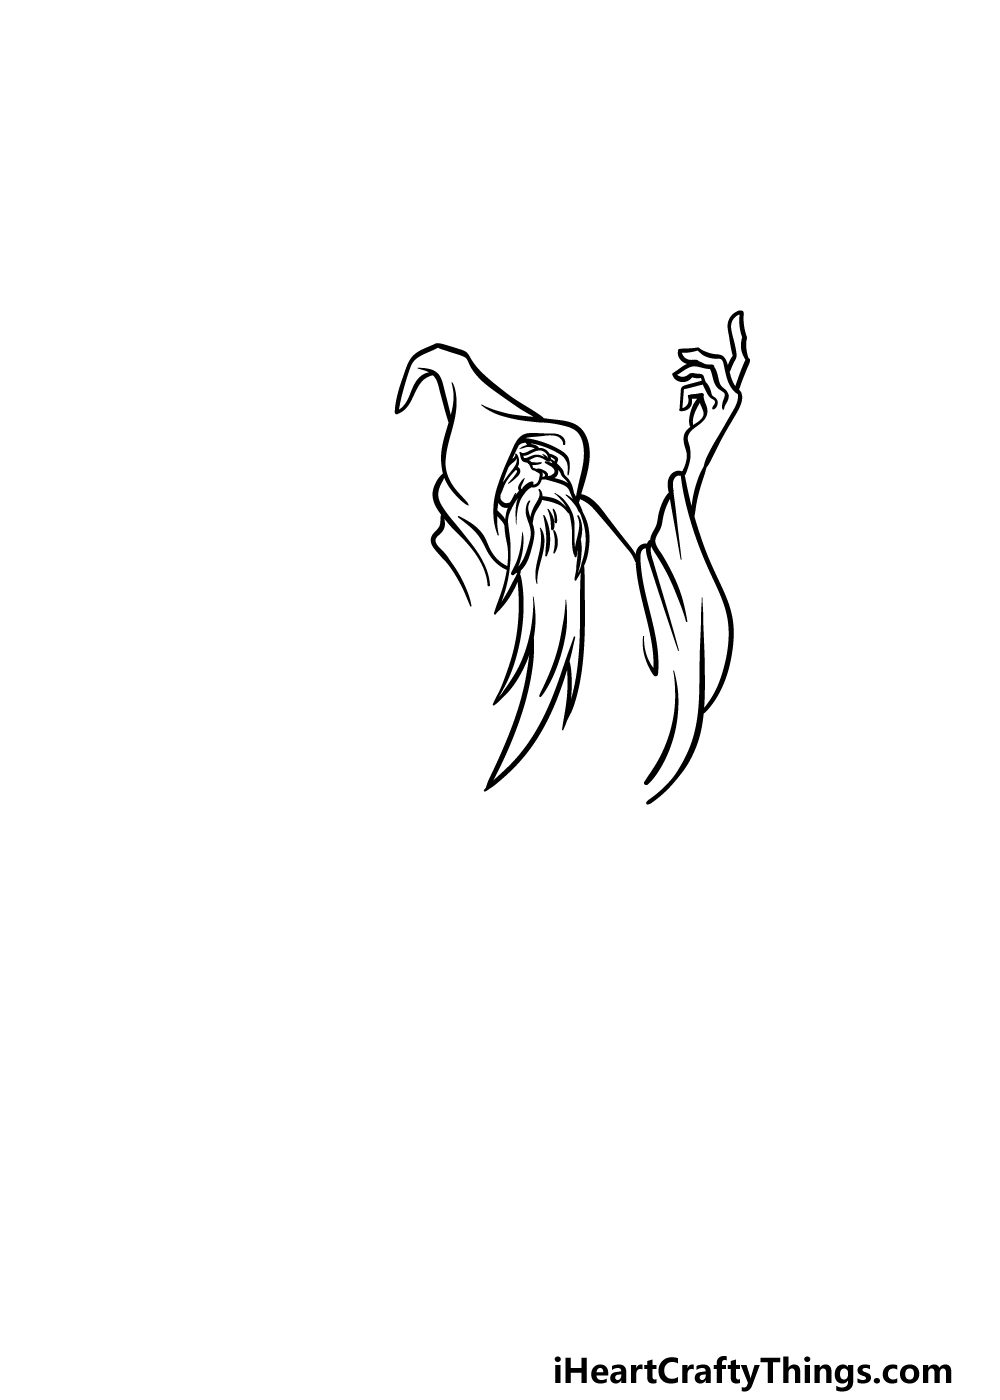
In this step of our guide on how to draw a wizard, we will be drawing his first arm. This arm will have a hand pointing into the air, and it will be clad in a loose, flowy sleeve.
We will start with this sleeve, and you can draw it with lots of curved lines connecting to one another and dropping down.
Then, his hand will have a very thin wrist, and his fingers will be thin and long as they point up into the air. Some of his fingers will be curled over, and once this hand is drawn you will be ready for the next part.
Step 4 – Now, draw his other arm and staff
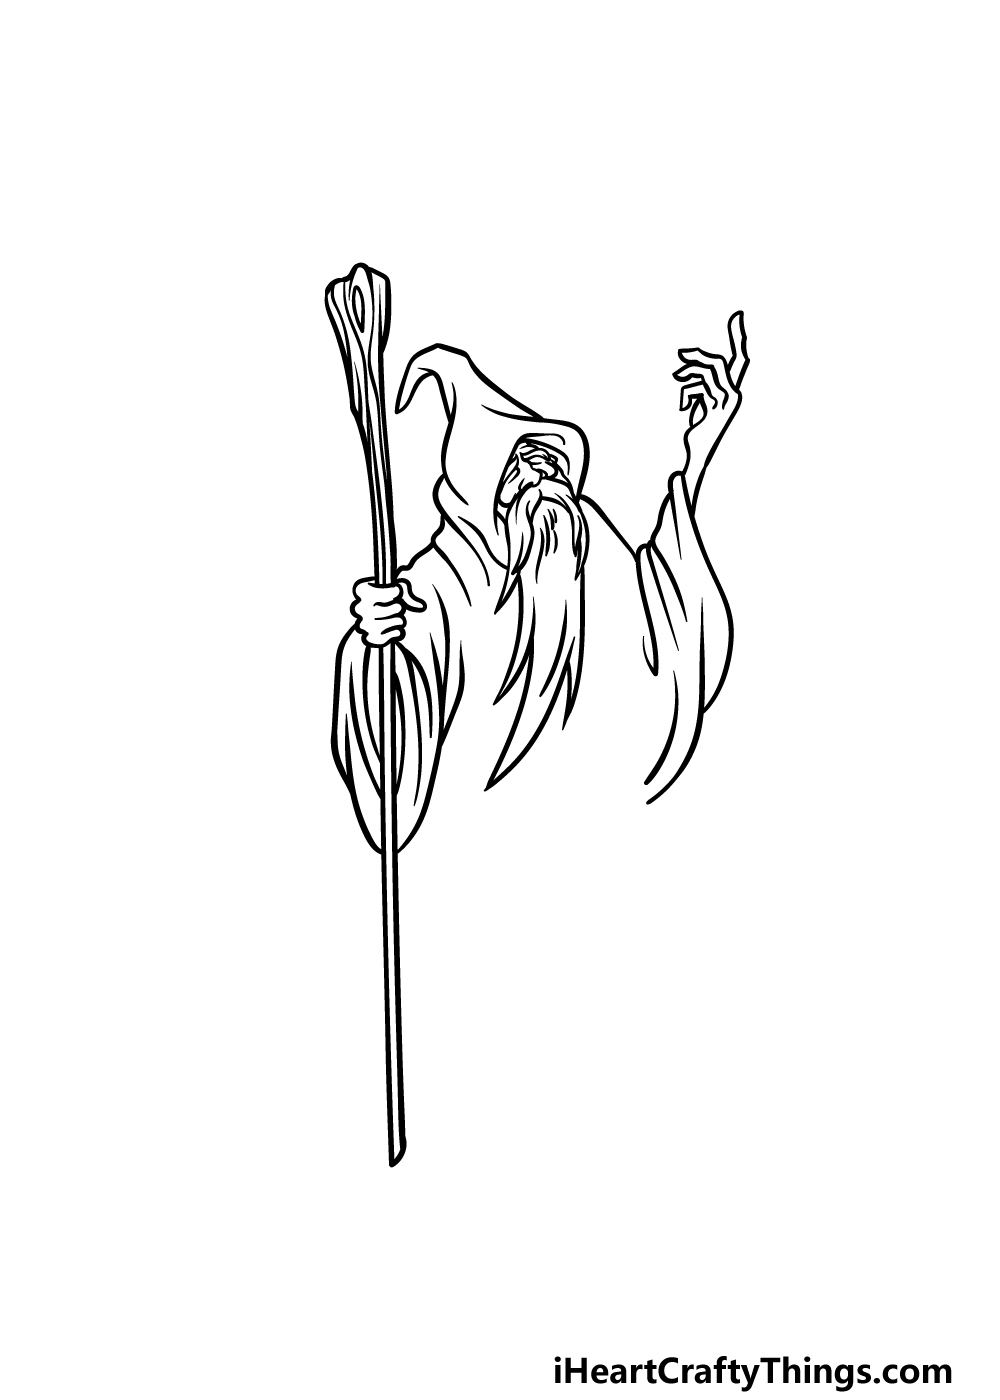
Another common feature associated with wizards is that they will often carry a long wooden staff.
These staffs usually have some magical properties, and we will draw one for this wizard drawing now!
First, use some curved lines for the side of his fist that will be holding the staff. Then, we will use some straight lines for the staff extending below his fist and above.
Below the fist, the staff will be very thin while it will be thicker for the part above the fist.
Even when drawing the straight bottom half, you may want to draw it freehand instead of using a ruler, as we don’t want it to be perfectly straight.
Step 5 – Add some final details to your wizard drawing

We’re almost ready to start having some coloring fun, but first we will be finishing off by drawing the rest of his cloak in this step of our guide on how to draw a wizard.
We will be drawing the rest of this cloak by using some curved lines extending downward. These lines will bend to the left a bit to show that the wind is blowing it to the side a bit.
Once you have drawn all of these lines for the bottom of his cloak, you will be ready for the final step! Before you move on, it could be fun to draw a background to create a cool fantasy scene for this wizard to be in.
You could also add some more characters or fantasy creatures to really finish off the scene, so be sure to have fun getting creative with it!
Step 6 – Finish off your wizard drawing with some color
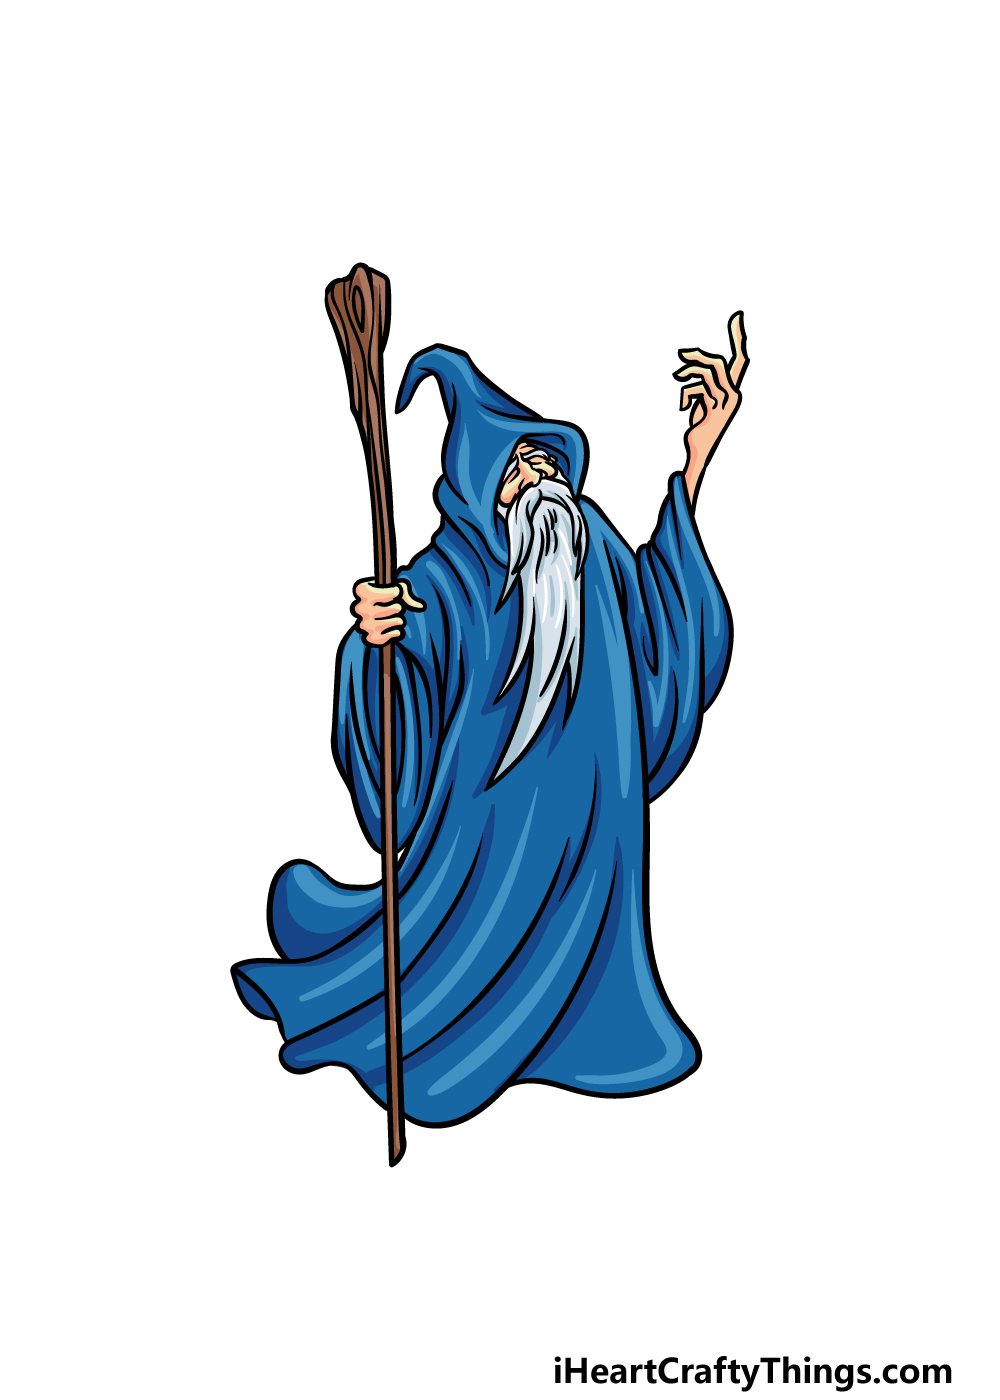
In this final part of your wizard drawing, we will finish him off with some color! We kept the colors a bit more muted in our reference image, and we used some varying shades of blue for his cloak.
Then, we finished off by using some shades of grey for the beard with some browns for his staff.
These are definitely some colors that you could use for your own drawing, but don’t be put off from using whichever unique colors you may like for it!
You can also experiment with varying art mediums and styles, so there is a lot of fun to be had!
4 More Ways To Make Your Wizard Drawing Unique
Create a magical artwork with these tips for your wizard sketch!
When it comes to wizards, one of the things they are most well known for is their skills in magic. You could add some really cool magic effects to your wizard drawing!
Magic can take many forms, so you could really use your imagination when portraying it. It could be swirling around his hand or around him in general.
You could even theme the magic to certain elements such as ice or fire. How do you think you would like to portray magic in this image?
Wizards will often use some magical items to aid them in their magic, and you could add some of these to your drawing of a wizard. One of the easiest ones to add would be a magic wand in his hand.
While that is one option, you could also add something like a staff, a crystal ball or maybe a big magic book. We’re sure you can think of all kinds of awesome magical objects for him to have!
In stories featuring wizards, they will often have animal familiars by their sides. Adding one to this wizard sketch would be a really cool addition!
This could be anything from a toad or a cat to something bigger like a unicorn or a dragon. These are just a few examples, but you have a lot of choices for what animals you can add for him to interact with!
Lastly, it would really finish off this wizard drawing if you were to add a background. This would be a tip where you can really let your creativity run wild!
He could be in his home surrounded by all kinds of fun objects and details. Or, maybe he could be in a cave fighting some kind of magical enemy.
These are just two of many ideas, but you can really use your imagination here! Do you have any ideas for some background locations to use for this image to really finish it off in style?
Your Wizard Drawing is Complete!
We hope that you had a magical time working on this guide on how to draw a wizard! In this guide, we aimed to break it down into smaller steps so that even though there are lots of details it would still be fun and easy to work on.
The best part of this drawing is that there is a lot of room left for you to add to it!
We spoke a bit about how you could draw a background and add some more fantasy characters, so what do you think would turn this into the perfect fantasy setting?
There are many more drawing guides to be enjoyed on our website, so when you’re ready for more you can visit us there. We have tons of guides waiting for you with many more on the way, so keep checking in!
It would be great to see how your wizard drawing turns out, so please do share it on our Facebook and Pinterest pages for us to admire.