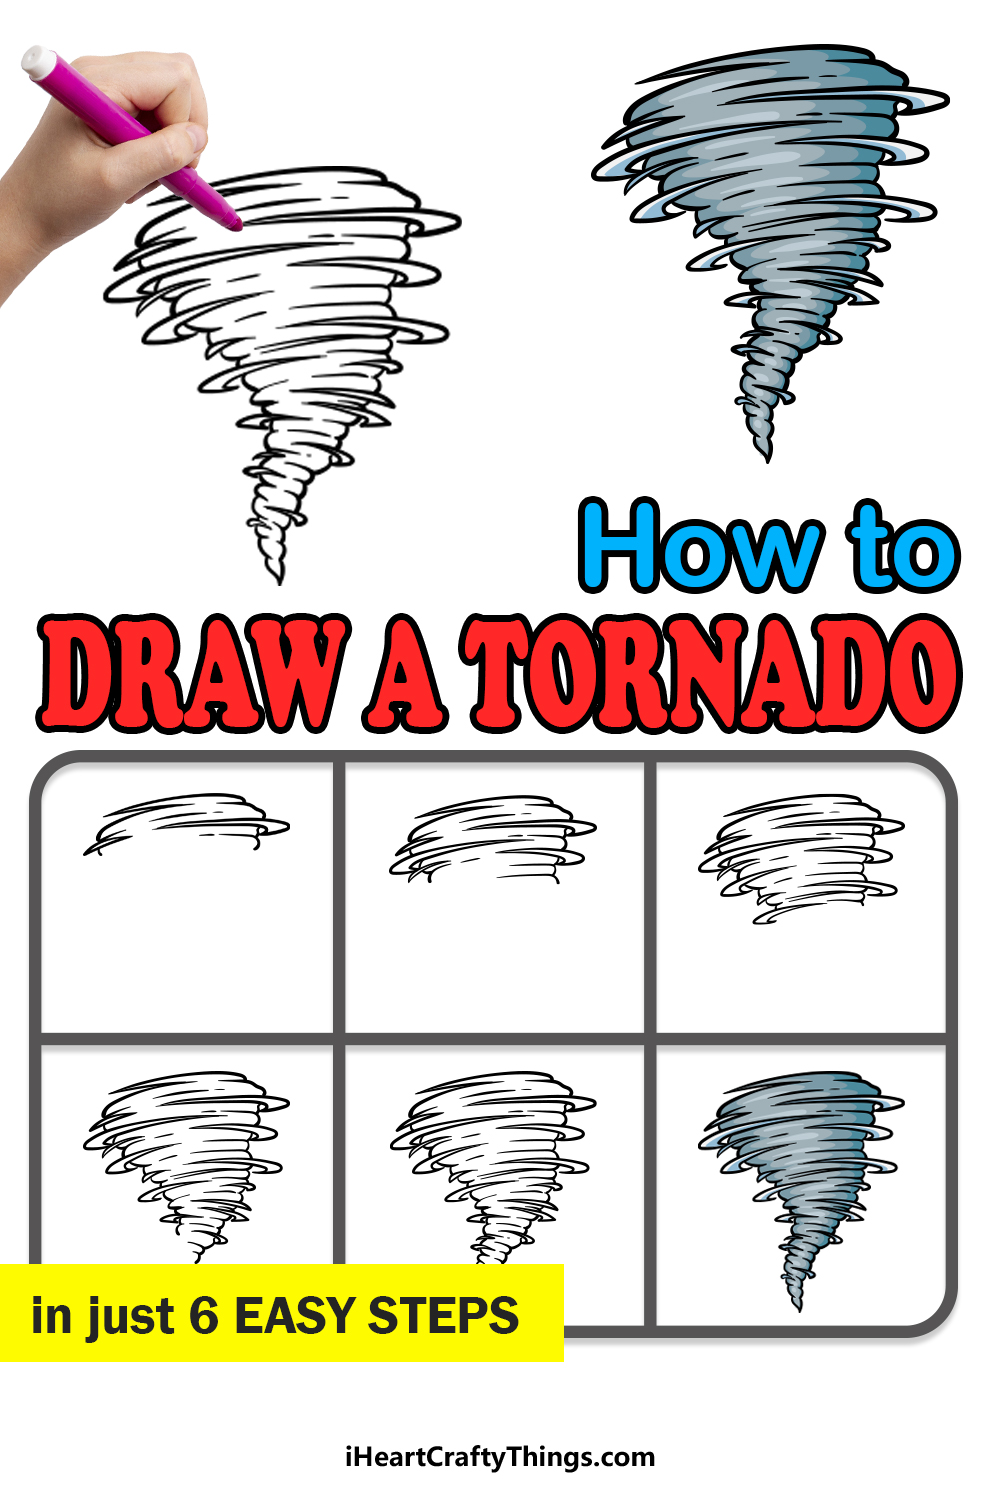
Learning how to draw a tornado is easier than you thought thanks to this guide for kids! Follow along and see how to recreate this force of nature.
Tornadoes are as terrifying as they are awe-inspiring. There is something about the power of a tornado that reminds humanity of their place in the world.
People are rightfully terrified of them, but it’s also popular to create artwork featuring them. Despite the fact that we are so familiar with them, drawing a tornado isn’t as easy as you may think.
The goal of this guide is to break it down so that you can see the simplest way to make this drawing. Once you have finished the drawing, you could then add a background and create some incredible scenes.
So let’s begin and see how to depict this incredible natural phenomenon.
Watch How To Make Your Tornado Drawing
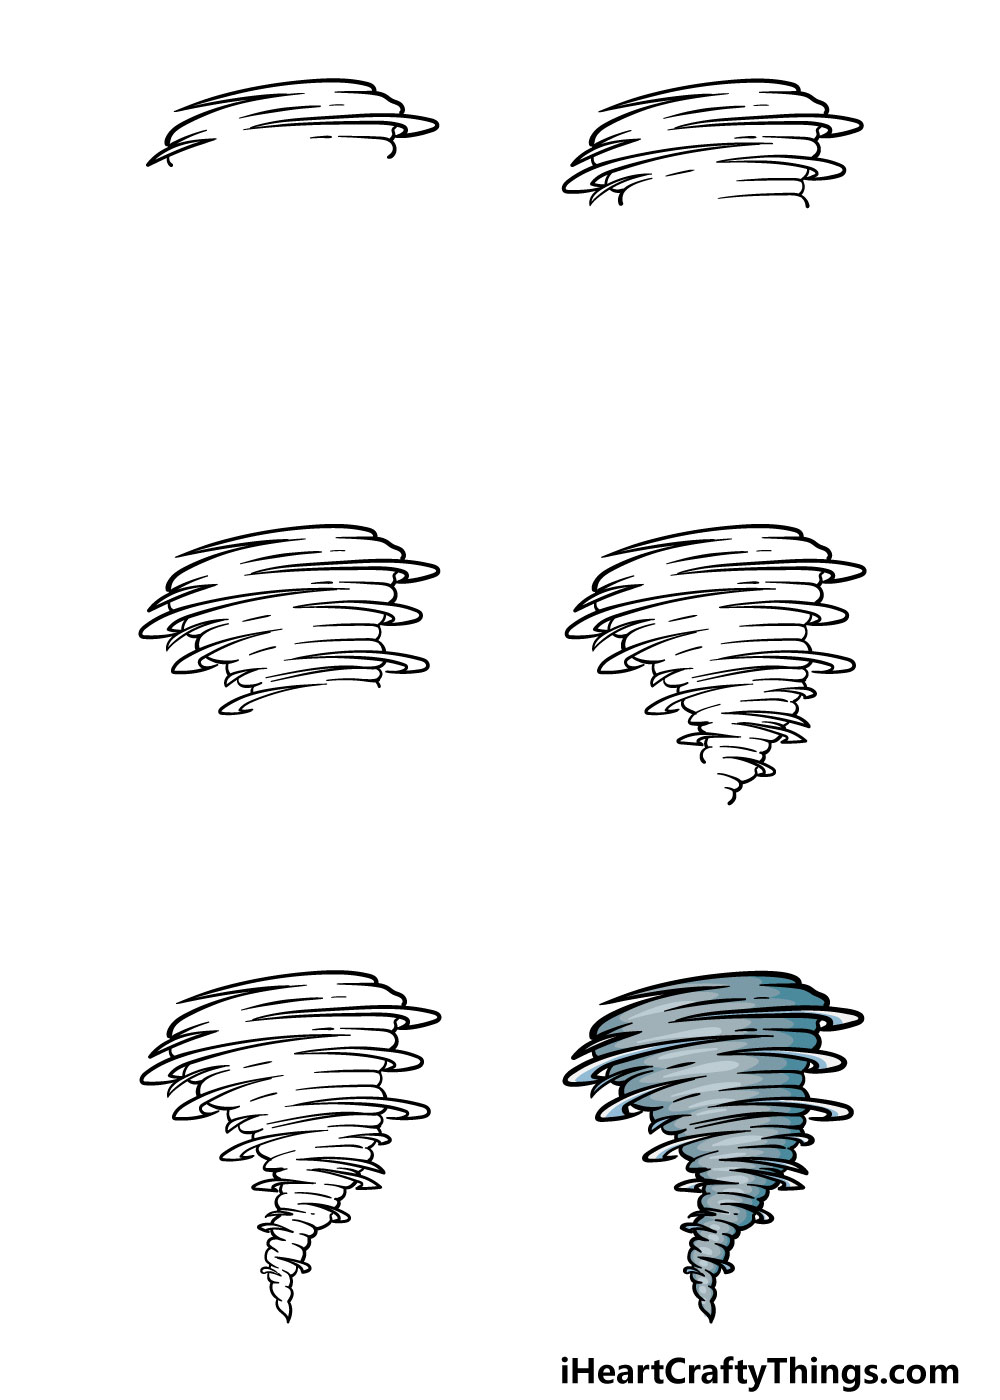
How to Draw A Tornado – Let’s get Started!
Step 1
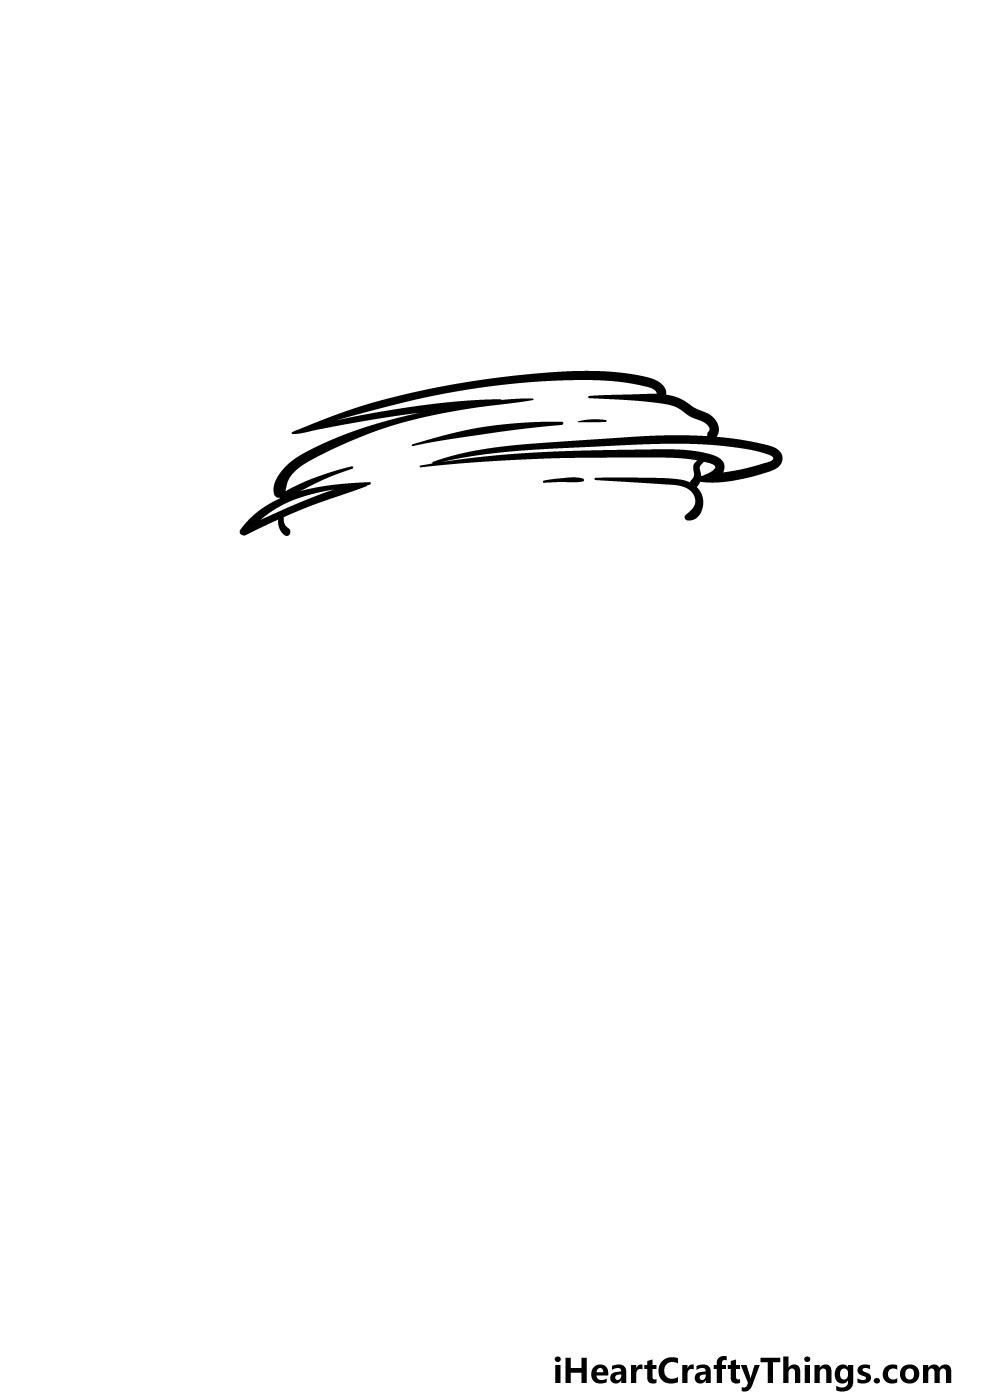
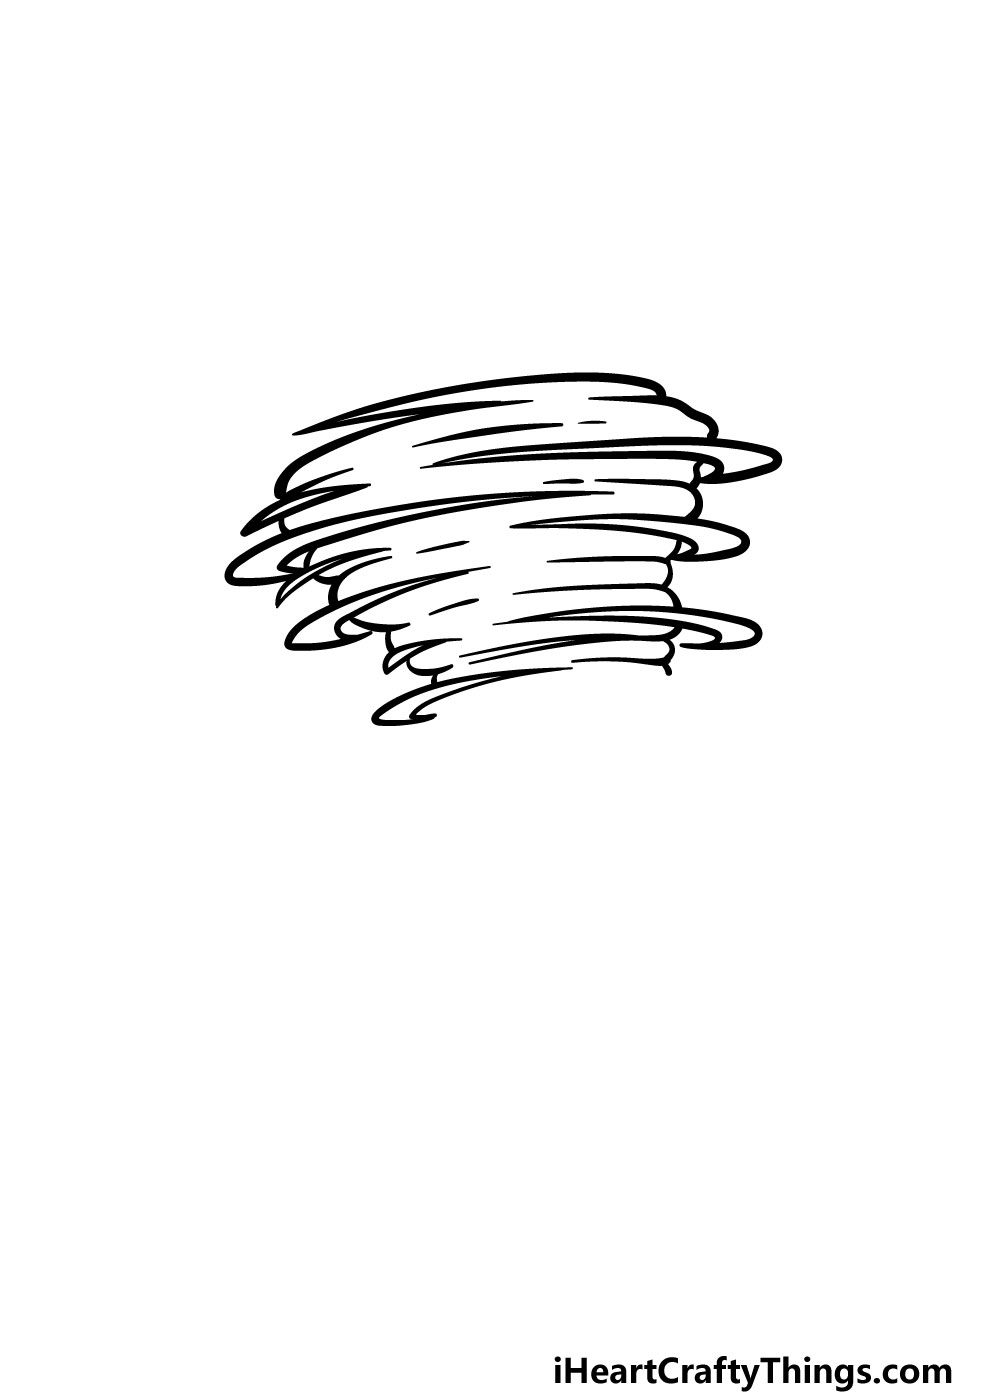
To get this guide on how to draw a tornado started, we will be starting by drawing different sections of the tornado.
To do this, we will be using a lot of curved, rounded and sharp lines to form the twisty top of the tornado, as shown in the reference image.
The top left-hand side of the tornado will be drawn with a sharp shape to suggest the twistiness of the tornado. Once you have the top of the tornado drawn then you’re ready for step 2!
Step 2 – Draw the next section of the tornado
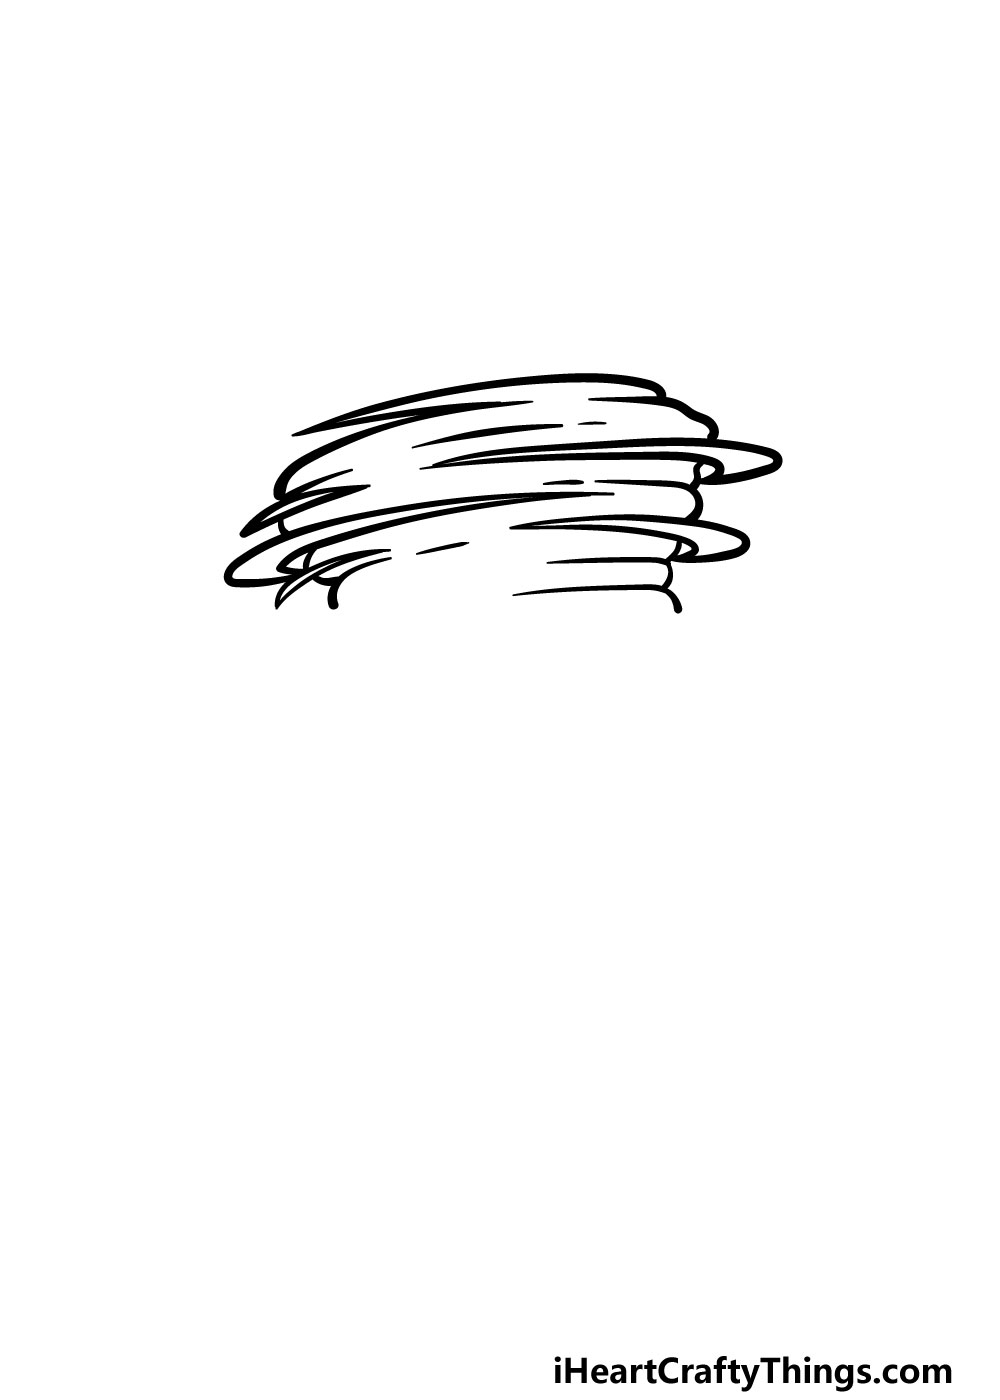
You’ve drawn one part of your tornado drawing so far, and this next step will be about adding the next section of the tornado.
This one will look very similar to the one in the first step, but it will be a bit thinner this time. The tornado will get thinner and thinner the further it goes down, so that’s worth keeping in mind as you proceed onto the next steps.
Step 3 – Now, draw some more of the tornado

You’re really getting the hang of it now! The next few steps of this guide on how to draw a tornado will be aimed at extending the tornado cone even further down.
As we mentioned, it will keep getting thinner the more you go down. This step will form the midsection of the tornado, and we will start to finish it off in the next few parts before we start coloring it in.
Step 4 – Start drawing the narrow base of the tornado
The main body of your tornado drawing is pretty much done at this point, so for the next few steps we will be making it much more narrow as we draw the base of it.
To do this part, simply keep extending the tornado down, but now you will make the width of it drastically more narrow.
All that will remain will be the very tip of the tornado, but we will take care of that in the next step!
Step 5 – Now, you can finish off the tip of the tornado
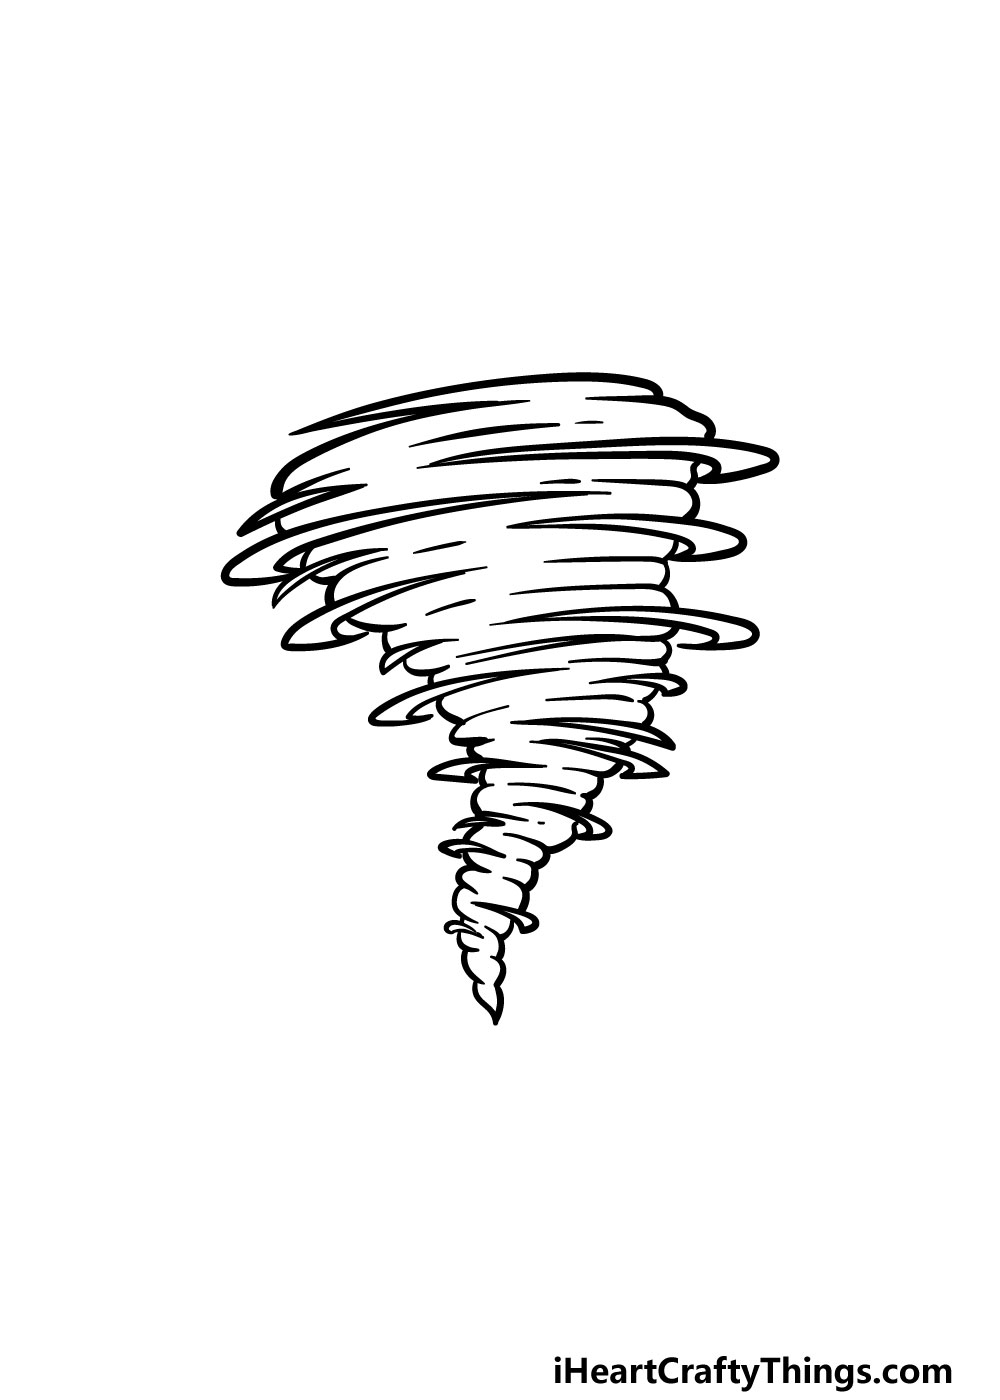
We will soon be adding some amazing color to your picture, but first we have a few more details to add in this fifth step of our guide on how to draw a tornado.
The main thing to do in this step will be adding the final portion of the tornado. This will culminate in a tip, as shown in the reference image.
Once you have drawn this tip then you’re ready for the final coloring step! Before you move on, however, you can also add some details and elements of your own to really finish it off nicely!
We will go over a few ideas you could try before we proceed.
If you would like to suggest even more movement, you could draw some curved and twisted lines around the tornado.
You could also draw some of the scenery that the tornado is interacting with. This could be achieved using some background details like some buildings or maybe some trees and mountains.
These are just a few ideas, however, and you should let your creativity flow!
What fun details and additions can you think of to finish off this amazing drawing of yours?
Step 6 – Finish off your tornado drawing with some color
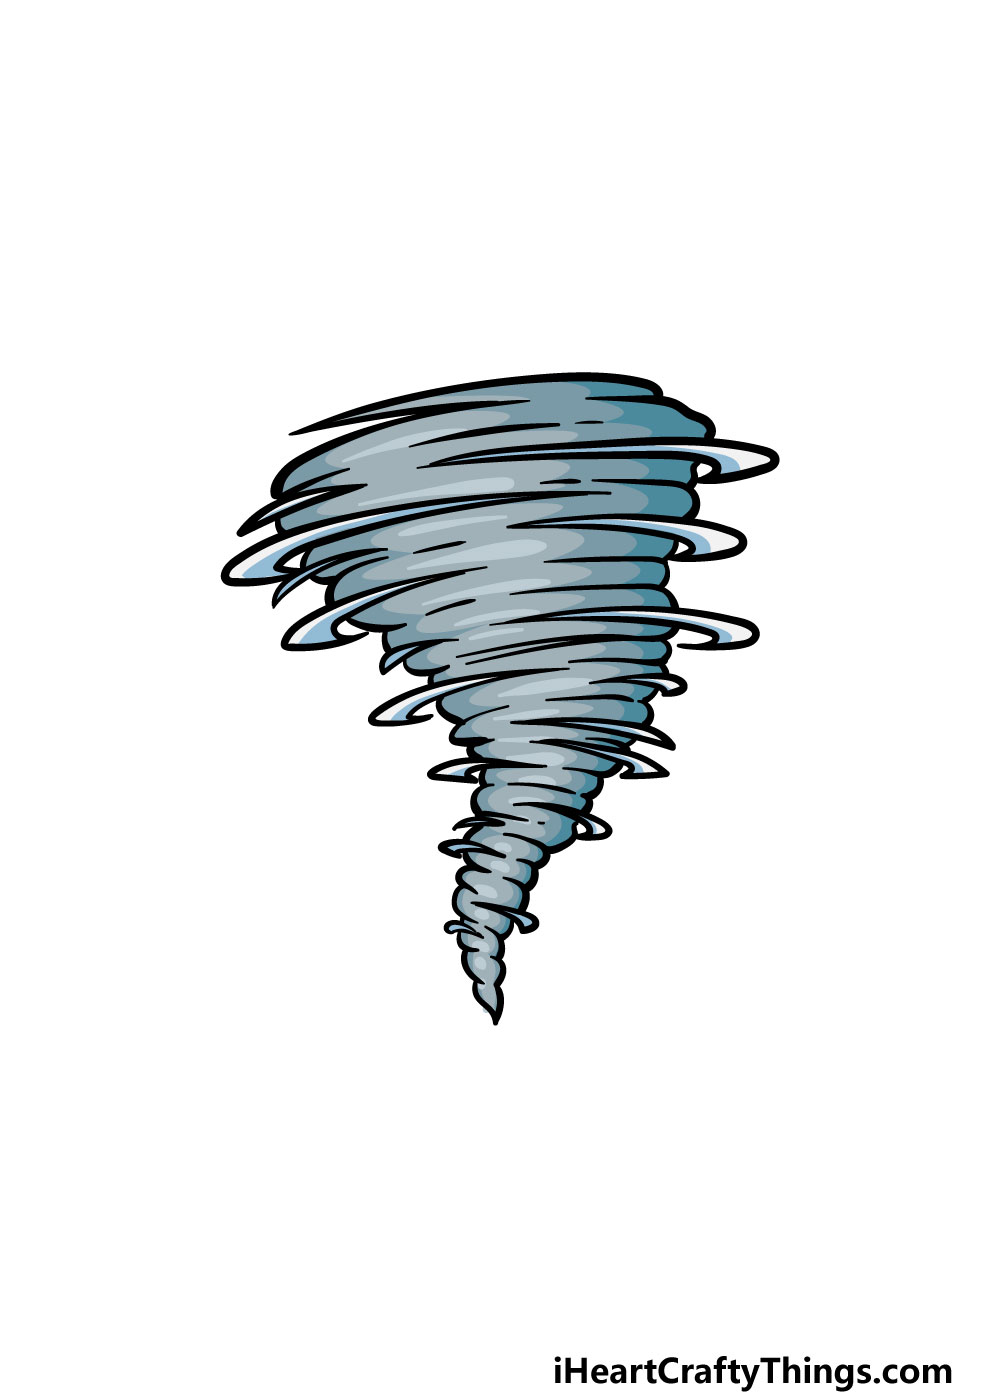
You’ve worked hard on this tornado drawing, so now you can kick back with some coloring fun to finish it off!
We went for a combination of dark blues and greys for our image, but much like the final details in the last step, this is just a suggestion. You should feel free to use any colors that you love to bring this image to life!
You could incorporate blues and greens along with any other colors to suggest the chaos of the tornado.
If you would like a more stylistic appearance for it, then you could also incorporate your favorite bright and vibrant colors.
Then it’s just a matter of choosing which art mediums and tools you would like to use to bring the colors to life!
For brighter colors you could use something like colored pens, markers or acrylic paints to really bring them to life.
It would also look great to make a more muted scene by using mediums such as watercolor paints and colored pencils.
Which colors and art mediums are you thinking of to finish off your tornado drawing?
5 Tips To Make Your Tornado Drawing Even Better!
Take this tornado sketch to the next level with these 5 fun tips and tricks!
A tornado is certainly a sight to behold, and they can show up in all kinds of places. One way you can make this tornado drawing even better would be by creating a background.
That would be a great way to create a whole scene out of this image! You could choose any kind of setting you like, so what do you think you may go for?
When a tornado comes by, it will often pick up all kinds of debris. These could include big things such as cars or even small buildings, but it can also be smaller rocks and structures.
You could make this drawing of a tornado even more interesting by adding some debris inside of it. We gave you a few ideas, but what else can you think of?
The sky will always change when a tornado forms, and you could draw the sky around this one. The clouds will be dark and heavy, and there will be heavy winds as well.
Adding these kinds of details would make this tornado sketch even more incredible to behold! What other weather effects can you add?
A tornado is very twisty, and we showed you how you can create this effect in your drawing. You could also make this tornado look even twistier if you use certain art tools and mediums.
For instance, using some paints with long, curved brushstrokes would help you to capture the form of this tornado. This is one medium you could try out, but be sure to experiment with different tools!
Tornadoes will usually have a muted color scheme of browns and greys, and you could use these for your tornado drawing. While these would be great for a more realistic look, you can also make it more stylistic!
You could use any colors you like for this tornado, as it doesn’t have to be realistic. When coloring, you should let your creativity take over and see what happens!
Your Tornado Drawing is Complete!
With that, you have successfully completed this step-by-step guide on how to draw a tornado! This wasn’t a super easy drawing, as there were many small and twisty details to add to it.
For that reason, you should be extra proud of yourself for completing this guide! Remember that whenever you take on a new drawing challenge that it can be made so much easier and more fun when you break it down into smaller and more manageable steps.
Now that you have completed this guide, you have a few ways to take it even further with your own details.
This is where you get to take charge and show us how creative you can be! We mentioned drawing a background or some other scenery objects as ideas, but you should let your creativity flow and see what happens!
When you’re ready for more drawing good times, you will want to visit our website! We have many amazing guides there for you to enjoy, and we upload new ones frequently as well.
We would also love to see your amazing tornado drawing once it’s done! You can show us your artwork by sharing it on our Facebook and Pinterest pages for us to enjoy.