Tennis is one of the most popular sports in the world, and every year millions of people either tune in to watch their favorite stars or pick up a racket and ball themselves.
The sport is renowned for its intense and fast-paced gameplay, typically between two opponents.
Perhaps the most famous tennis tournament event in the world is Wimbledon, which many fans tune in to enjoy each year.
Learning how to draw a tennis racket is a great way to show your love for this sport from the comfort of your own home.
That’s what this tutorial is here to show you, so you’ll want to read all the way to the end of it!
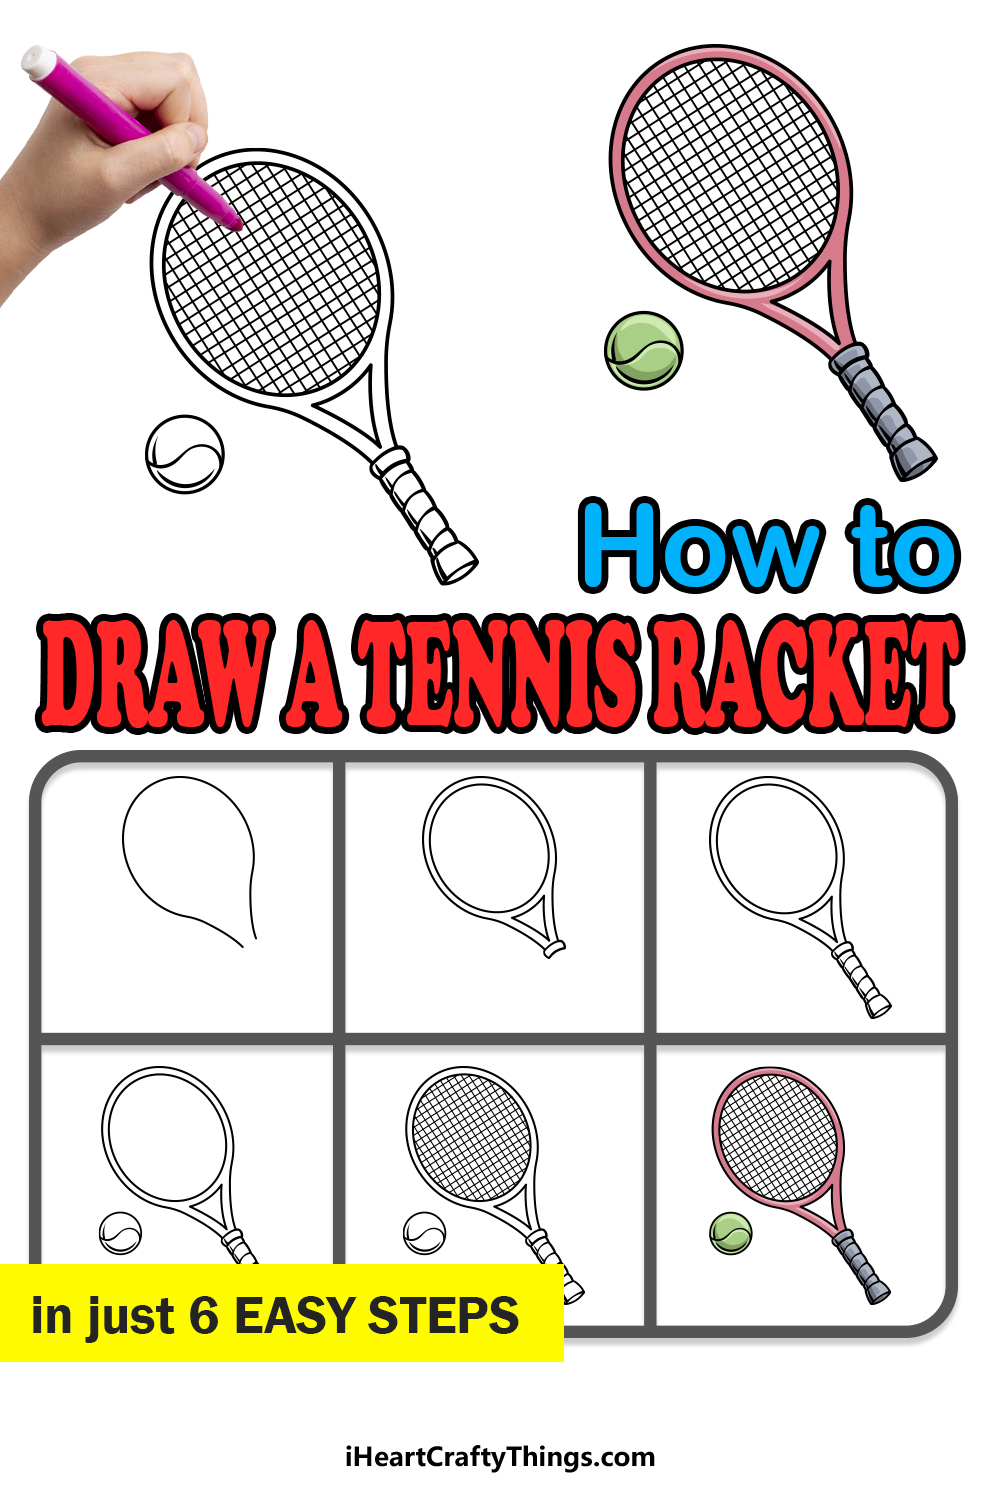
Please enjoy this fun and easy step-by-step guide on how to draw a tennis racket in 6 steps.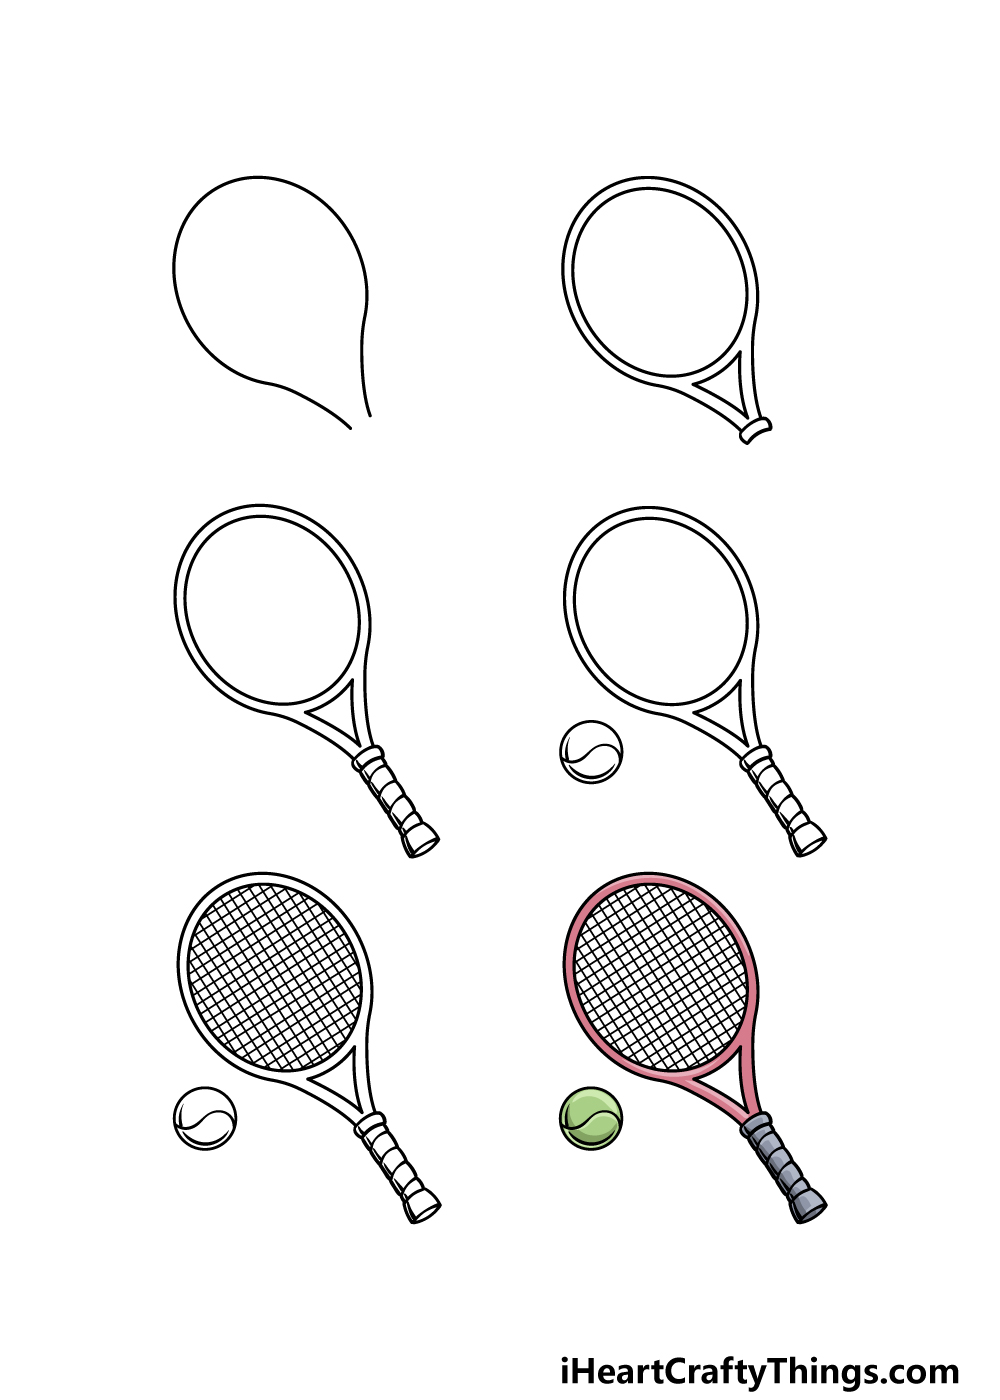
How to Draw A Tennis Racket – Let’s Get Started!
Step 1
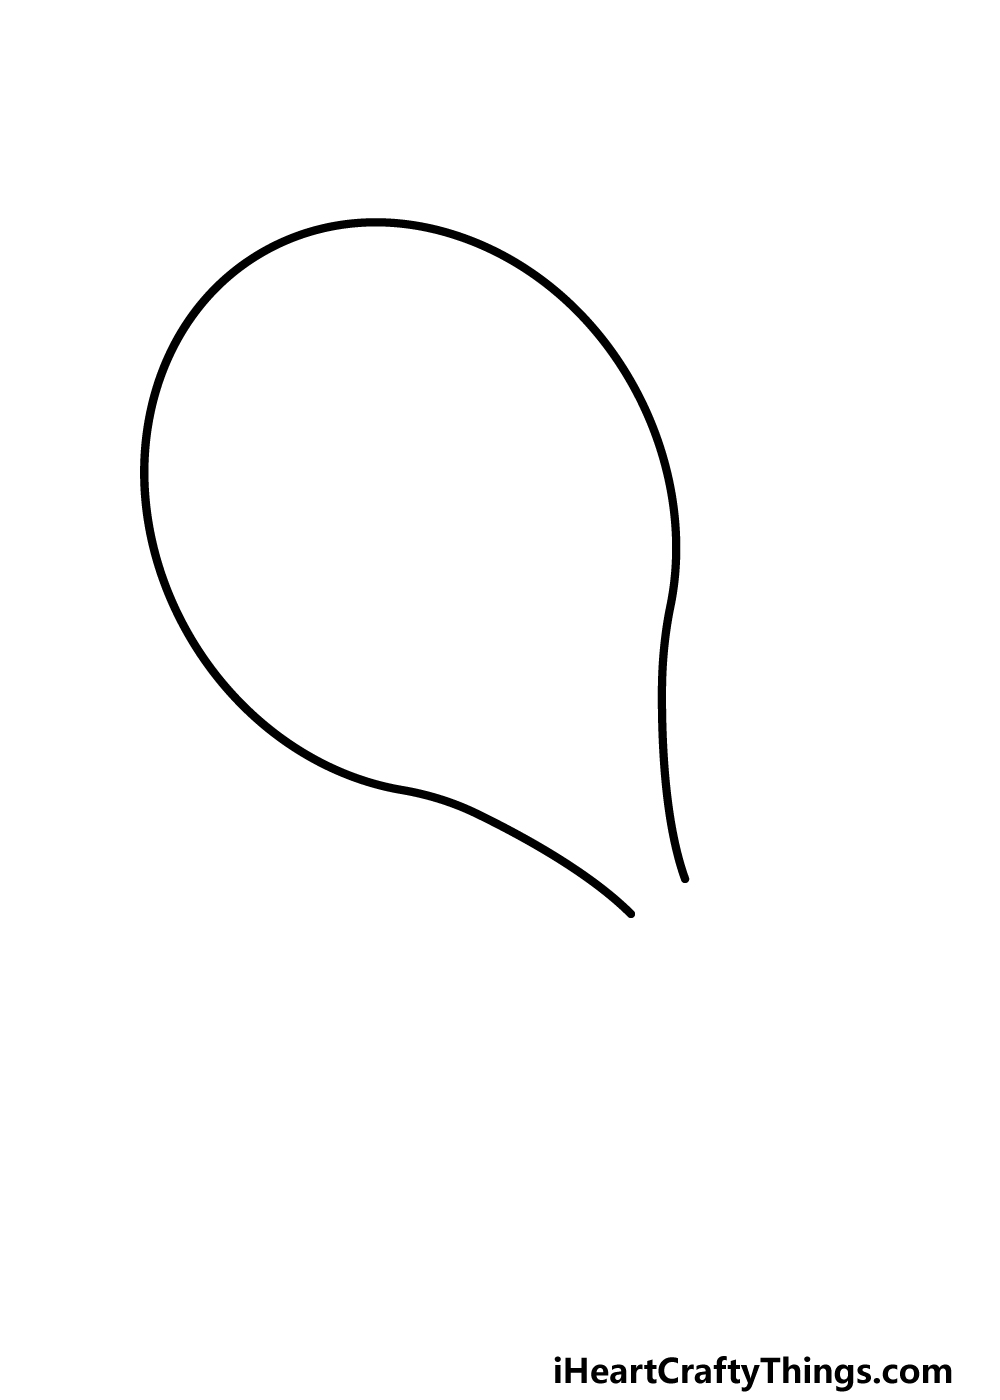
For this first step of our guide on how to draw a tennis racket, we will begin with the frame of the racket.
This has a rather simple shape to it, but it can still require a steady hand. As you draw, be sure to go slowly and follow the reference image closely!
The base of the frame is a bit thinner, but then it extends out into a curved line for the main body of the frame.
Once you have drawn this rounded frame as it appears in our example, we can move on to step 2 of the guide.
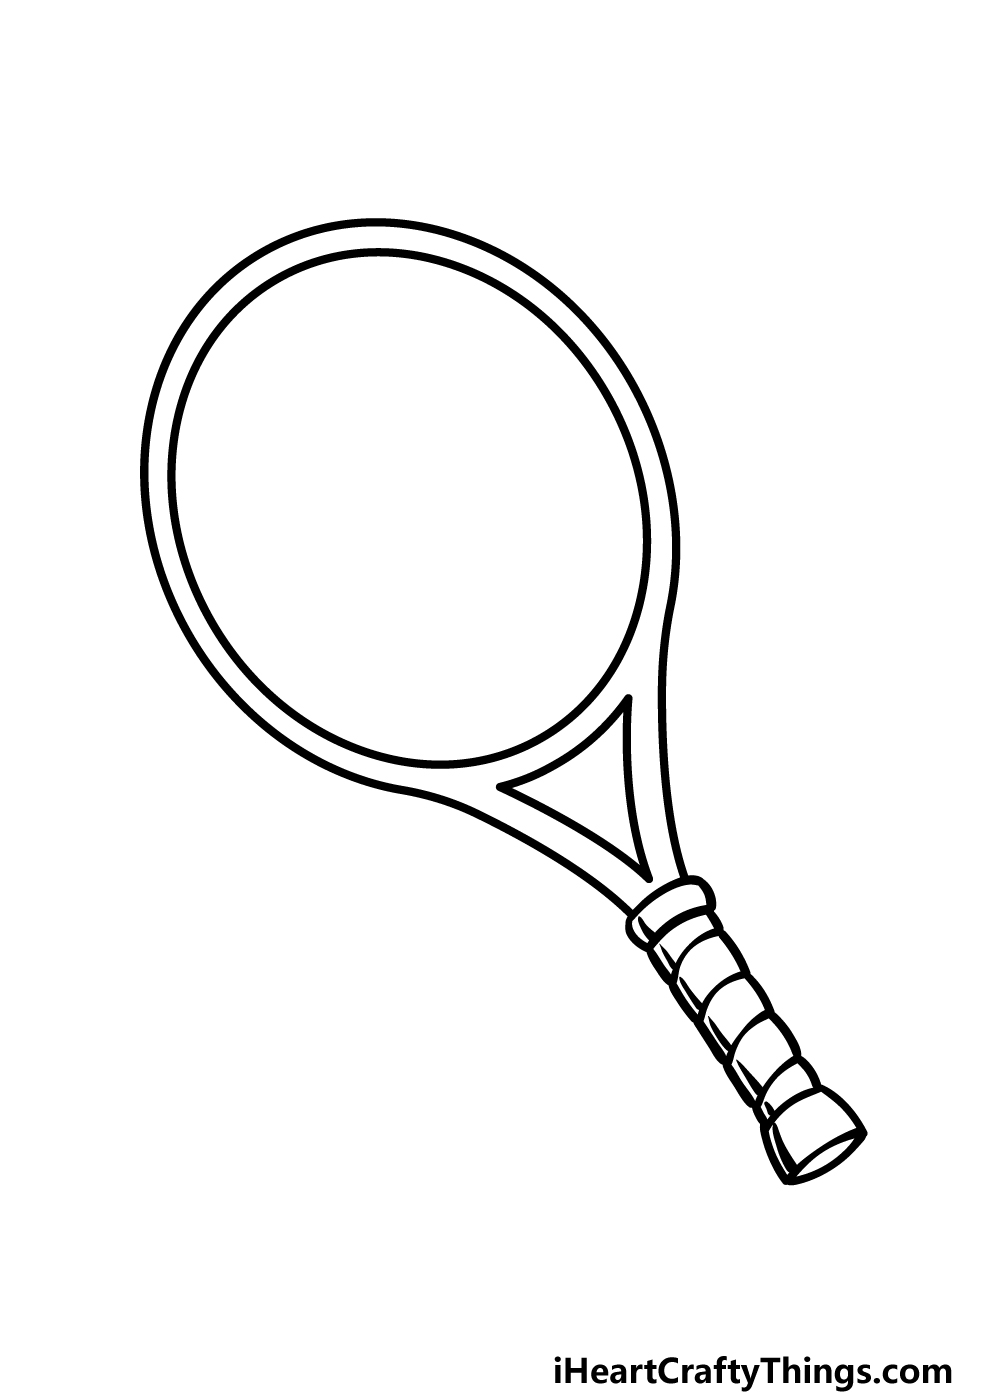
Step 2 – Now, draw the inner details of the racket
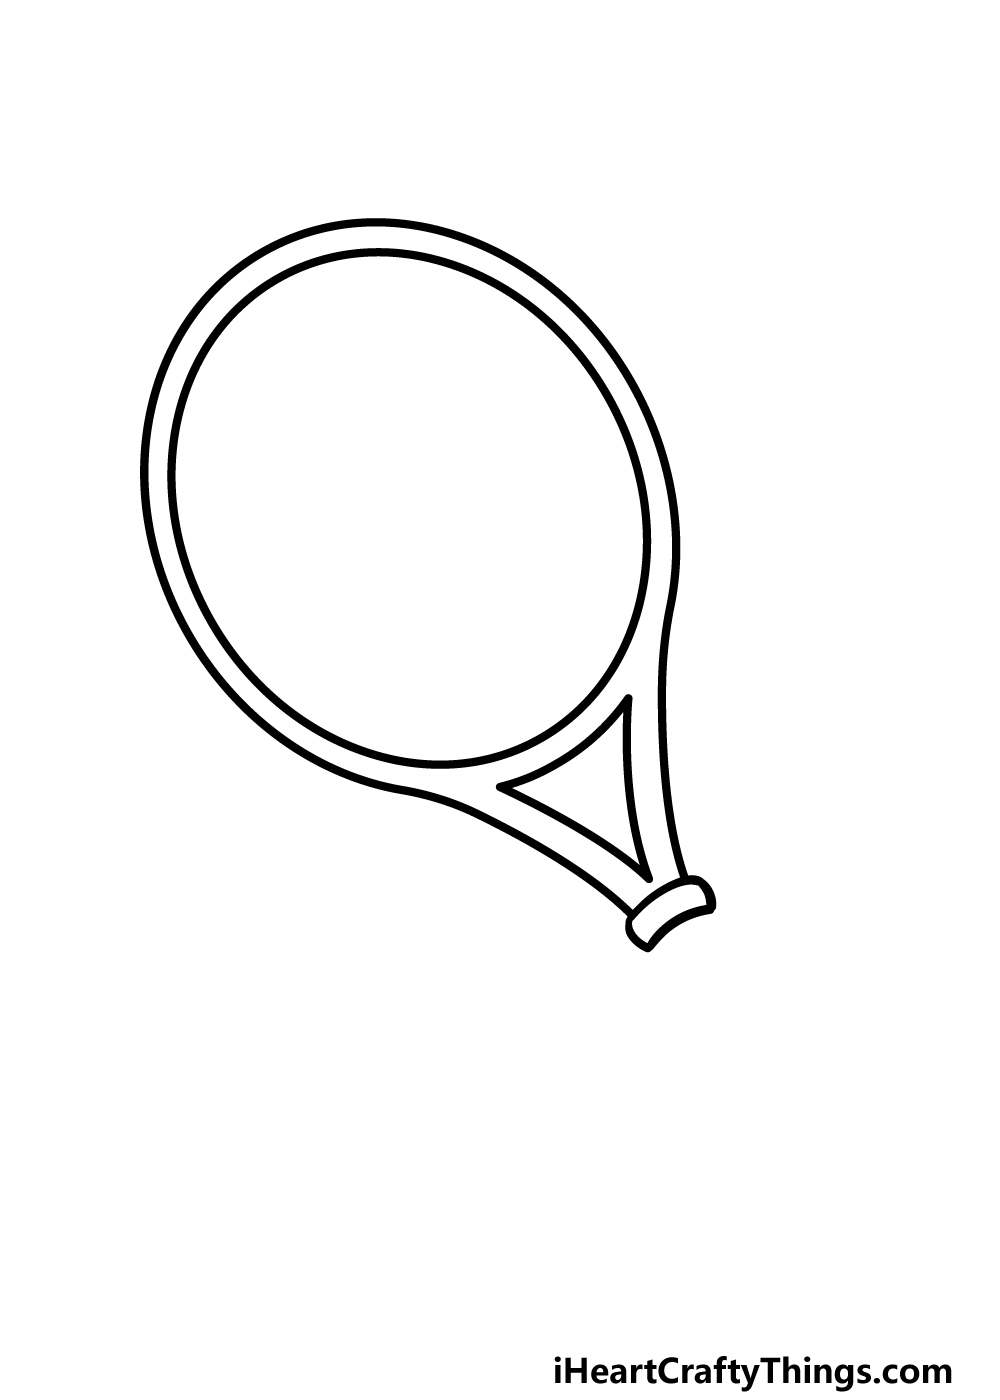
Now that you have the outline of the frame for your tennis racket drawing done, we can now start to draw the inner details of the frame.
First, draw a large oval shape along the inner perimeter of the frame. This oval shape will be where the strings of the racket will go later.
Then, below this oval we will be drawing a sharp triangular shape. This triangle will have curved edges, and the pointy end of it will extend towards the handle that we will be drawing soon.
Finish off this step by drawing a small rim for the handle, and then we can proceed.
Step 3 – Draw the handle of the tennis racket
The handle of a tennis racket will typically have a soft, leathery strap wrapped around it. This is what we will be portraying in this step of our guide on how to draw a tennis racket.
To portray this wrapped handle, we will be drawing several sections connecting to one another.
These sections will be drawn using some curved lines to create these wavy square shapes that form the handle.
Then, use some smaller curved lines coming off of the base of the sections and then draw the bottom of it to finish off the handle.
We will then be ready for step 4!
Step 4 – Next, draw the tennis ball
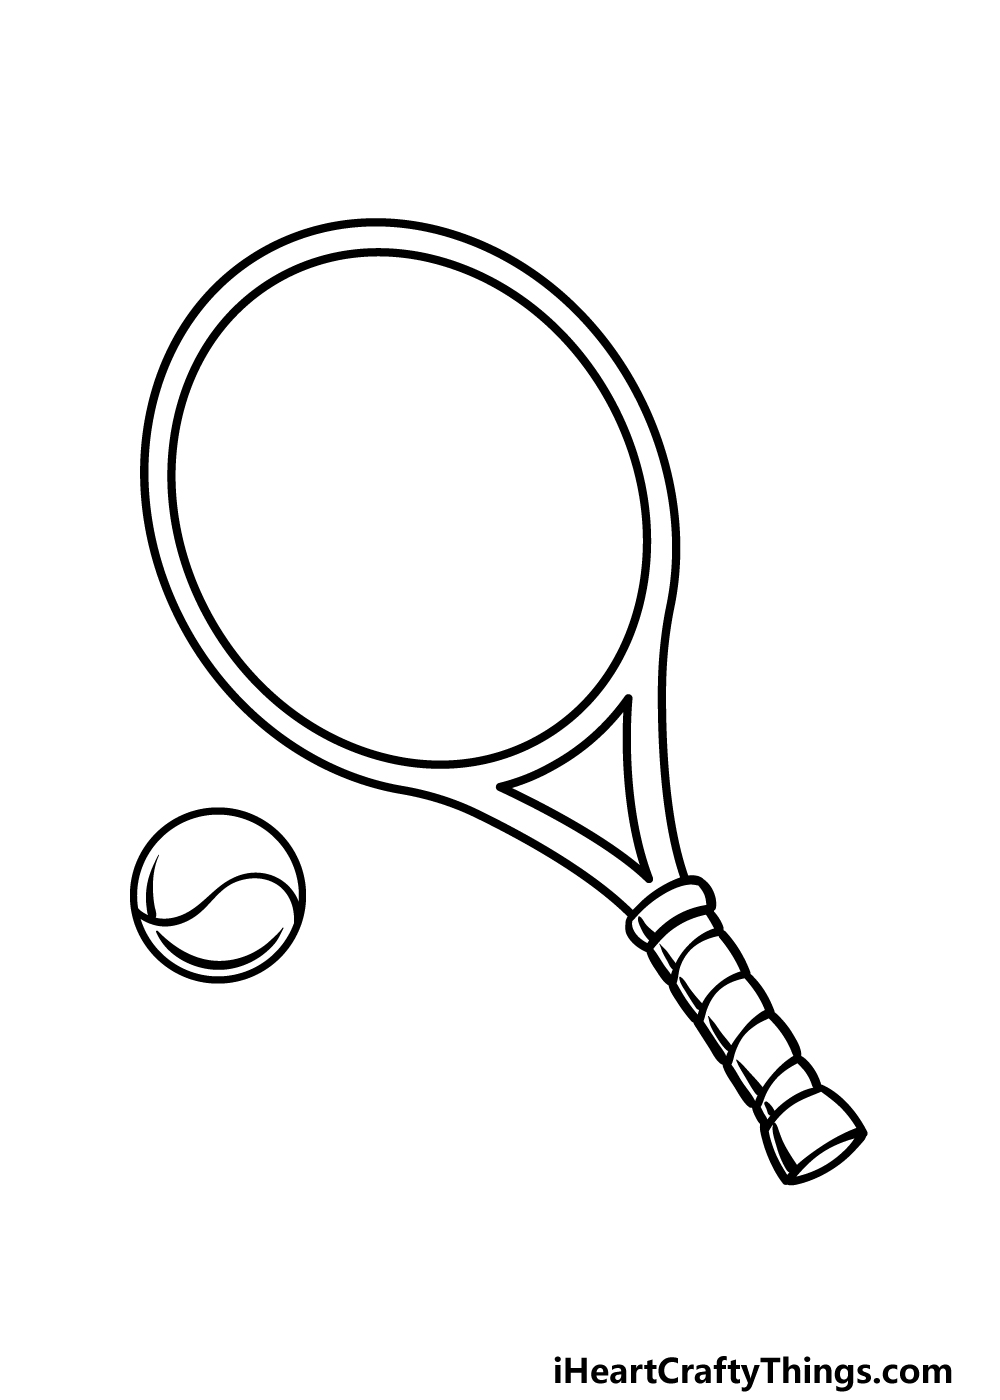
Having a tennis racket is one thing, but you will need a tennis ball if you wish to have an effective game! That’s why we shall be adding a ball in this part of your tennis racket drawing.
You can start this by drawing a circle near the racket. Try your best to get the circle as perfect as possible.
You could use a tool such as a stencil or a drawing compass if you struggle to get the circle looking perfect.
Then, draw a wavy line going across the ball and finish it off with some more curved line details. You can then move on to the final details of the drawing in the next step.
Step 5 – Add the final details to your tennis racket drawing
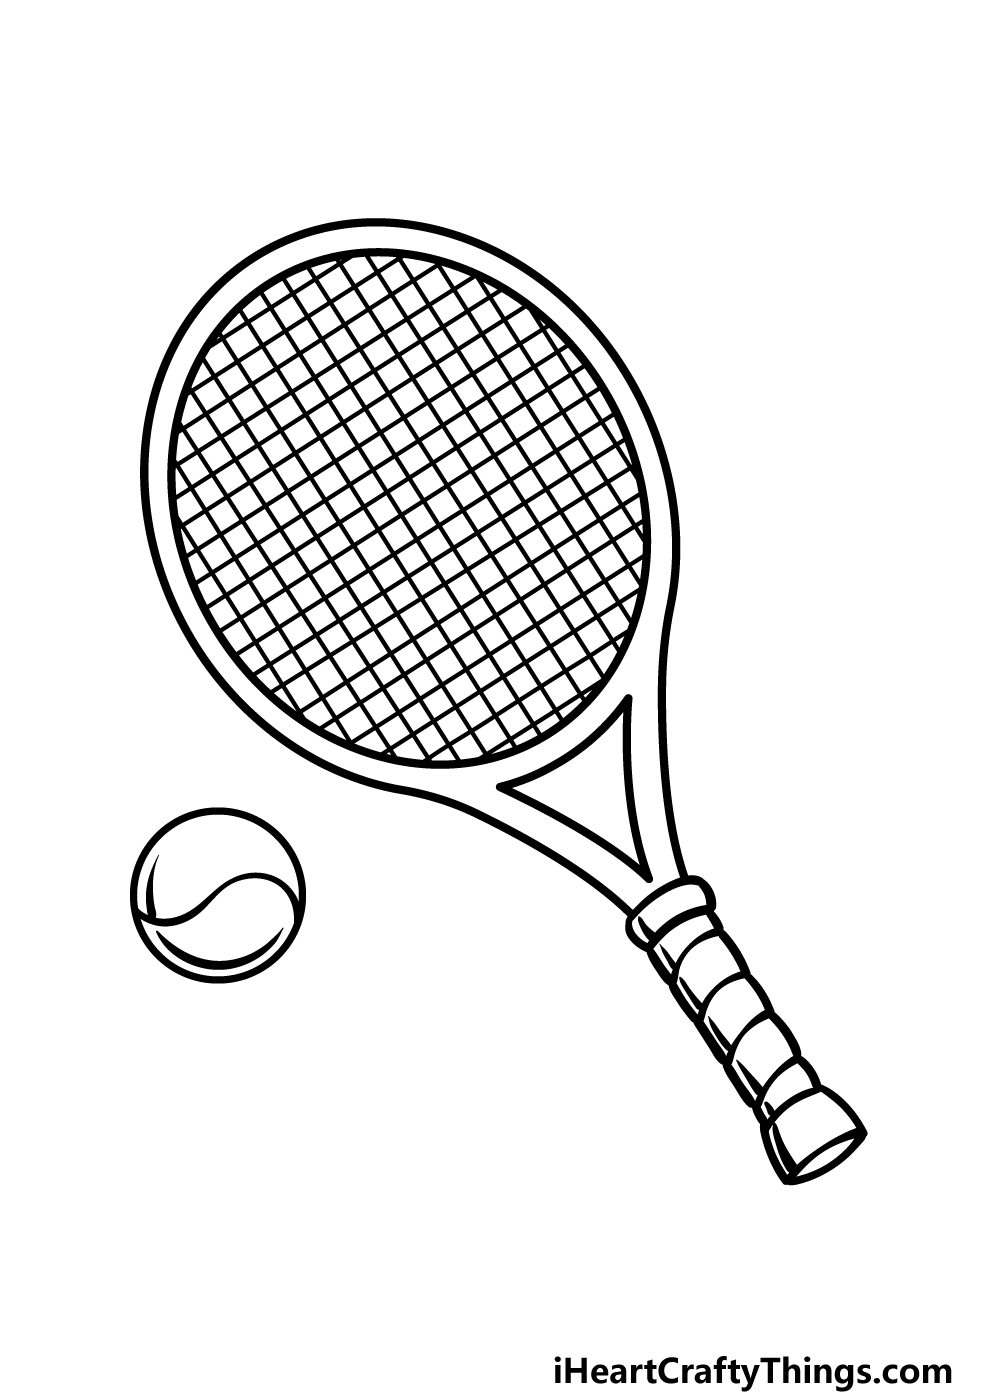
In this step of our guide on how to draw a tennis racket, we will be drawing the final element of the picture. It may be the element that requires the most patience, too!
This step will see you drawing the strings of the racket, and when drawing them you may want to use a ruler to help you out.
With your ruler, draw lots of lines going horizontally and vertically inside of the frame to form the grid pattern of the strings.
Try to keep the distance between them as even as possible and be sure to take it slowly!
When the strings are drawn, will you finish off with a background or additional details of your own?
Step 6 – Finish off your tennis racket drawing with color
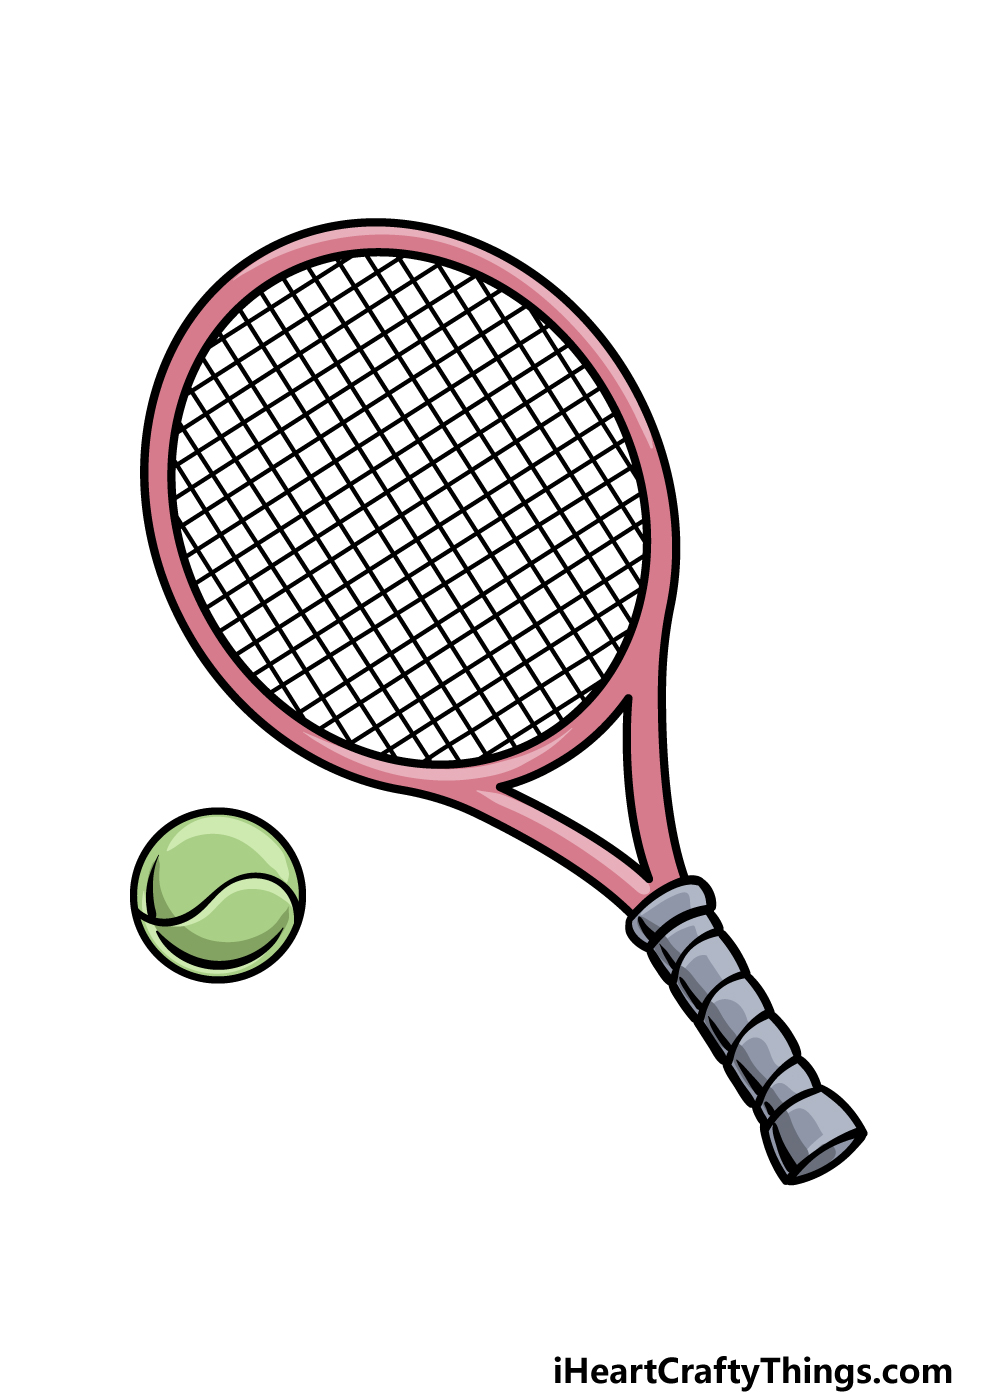
This final step of this tennis racket drawing will see you finish it off with some colors! In our reference image, we showed you just one set of colors that you could use for this image.
We used some reds for the frame of the racket, and then we used some greys for the handle.
To finish off, we used some shades of greens for the tennis ball beside it. These are the colors we chose, but how would you like this racket to look?
When coloring it in, you may want to use art tools and mediums that give you some more precision. Some examples would be some colored pencils, markers or thin-tipped brushes.
Which colors and art mediums do you think you will use for this awesome tennis racket drawing of yours?
3 More tips to make your tennis racket drawing easy!
Make this tennis racket sketch even easier with these 3 helpful tips!
The angle that this drawing of a tennis racket is portrayed in makes it a bit harder to draw, as we get a full view of the strings.
One way you could get around drawing these fiddly strings would be by using a different angle.
For instance, you could draw the tennis racket so that we see the side of it instead of the front. Or, you could have it at a bit of an angle so that we only get a small view of the strings.
That way, you would only need to draw a few rows of these strings, which should make it much easier.
You could also simplify the design of this tennis racket drawing in order to make it less frustrating to draw. You could do this by making the design a bit more cartoony.
One way of doing this would be by keeping the frame of the tennis racket as is. Then, instead of drawing all of the rows of strings, you could use a few criss-crossed lines to create the illusion of strings.
Either that, or you could just add fewer strings so that it would not be as fiddly to draw. Changing the style of the tennis racket would also potentially make it more to your own preferences!
Finally, we would suggest incorporating this tennis racket sketch into a larger design or scene. One way of doing this would be to have someone holding the tennis racket in the middle of a game.
This may sound like it would make the drawing even harder, and that would be true if you’re not comfortable drawing people. However, the person could even be drawn in a simple cartoon style.
This way, the tennis racket itself won’t be as prominent a feature of the image. That way, you won’t need to have as many fine details as you would if the tennis racket were the sole focus of the image.
Your Tennis Racket Drawing is Complete!
The classic design of the tennis racket is a simple one that also has some details that can be tricky to reproduce.
We hope that by working through the various steps of this guide on how to draw a tennis racket that you found recreating the form and details of this racket to be fun and easy to do!
Completing this guide doesn’t have to be the end of the fun, however. There are many ways to keep it going, and the first of these is by adding some of your own details and ideas to finish it off.
We mentioned a few ideas that you could try when doing this, but what else can you think of?
The other way to keep the drawing good times going would be by visiting our website. Here you can find some awesome drawing guides to enjoy, and we have many more coming out soon for you to enjoy!
We would be curious to see how your incredible tennis racket drawing came out, so please be sure to share your creation on our Facebook and Pinterest pages for us to see.