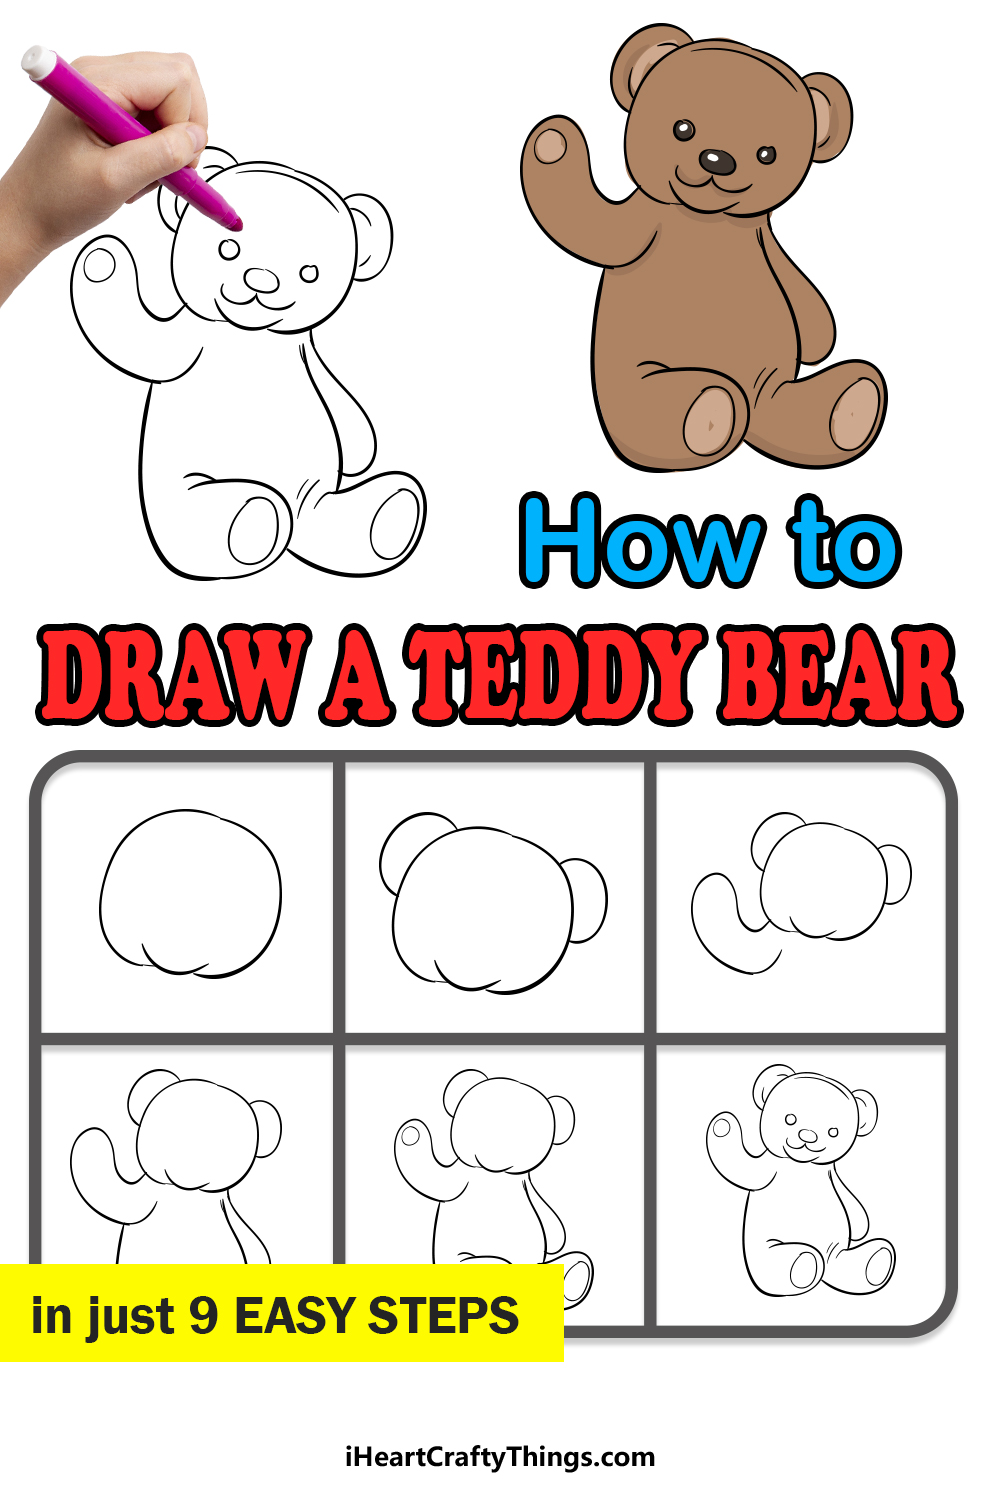
Get ready to learn how to draw a teddy bear in this fun and easy guide for kids! This step-by-step tutorial is great for artists young and old to enjoy.
A childhood teddy bear is such a personal thing, and everybody has their own unique one. This guide shows you how you can draw a cute, standard teddy bear that would be perfect to customize.
Once you have discovered all of the steps to completing this design, you could then add a few details or change some things in order to recreate a beloved toy you have or had. You could then draw a background that makes you think of childhood or add a few more toys you loved.
First, you can join me in drawing this particular design by following the steps that I have laid out for you. It will be so much fun to create this together, so let’s begin and see how it’s done!
Create A Cute Teddy Bear Drawing By Watching This Guide
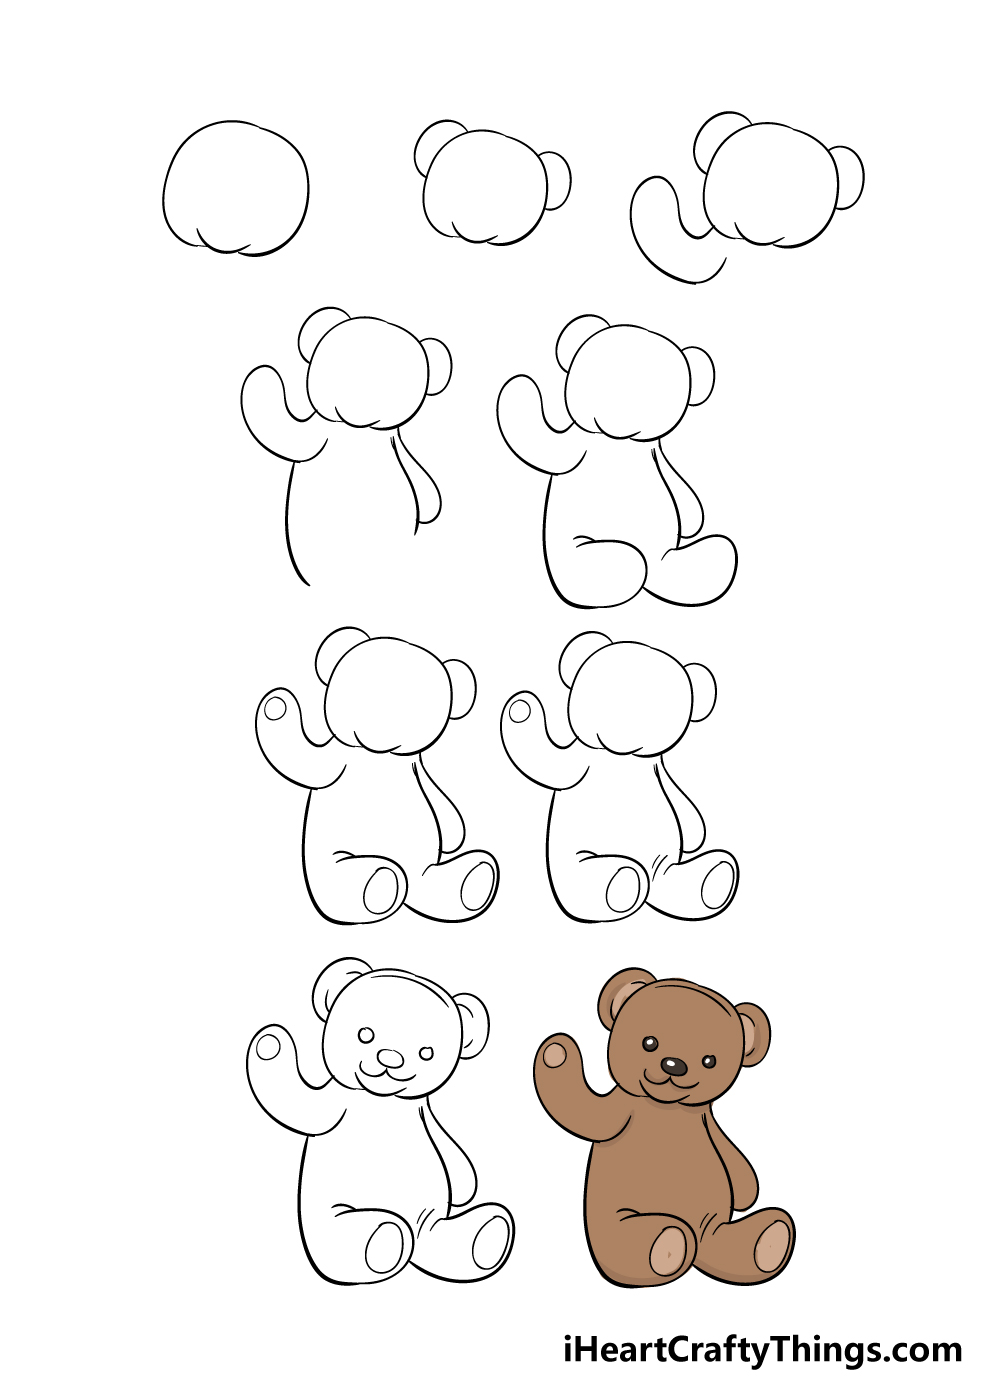
How to Draw A Teddy Bear – Let’s Get Started!
Step 1
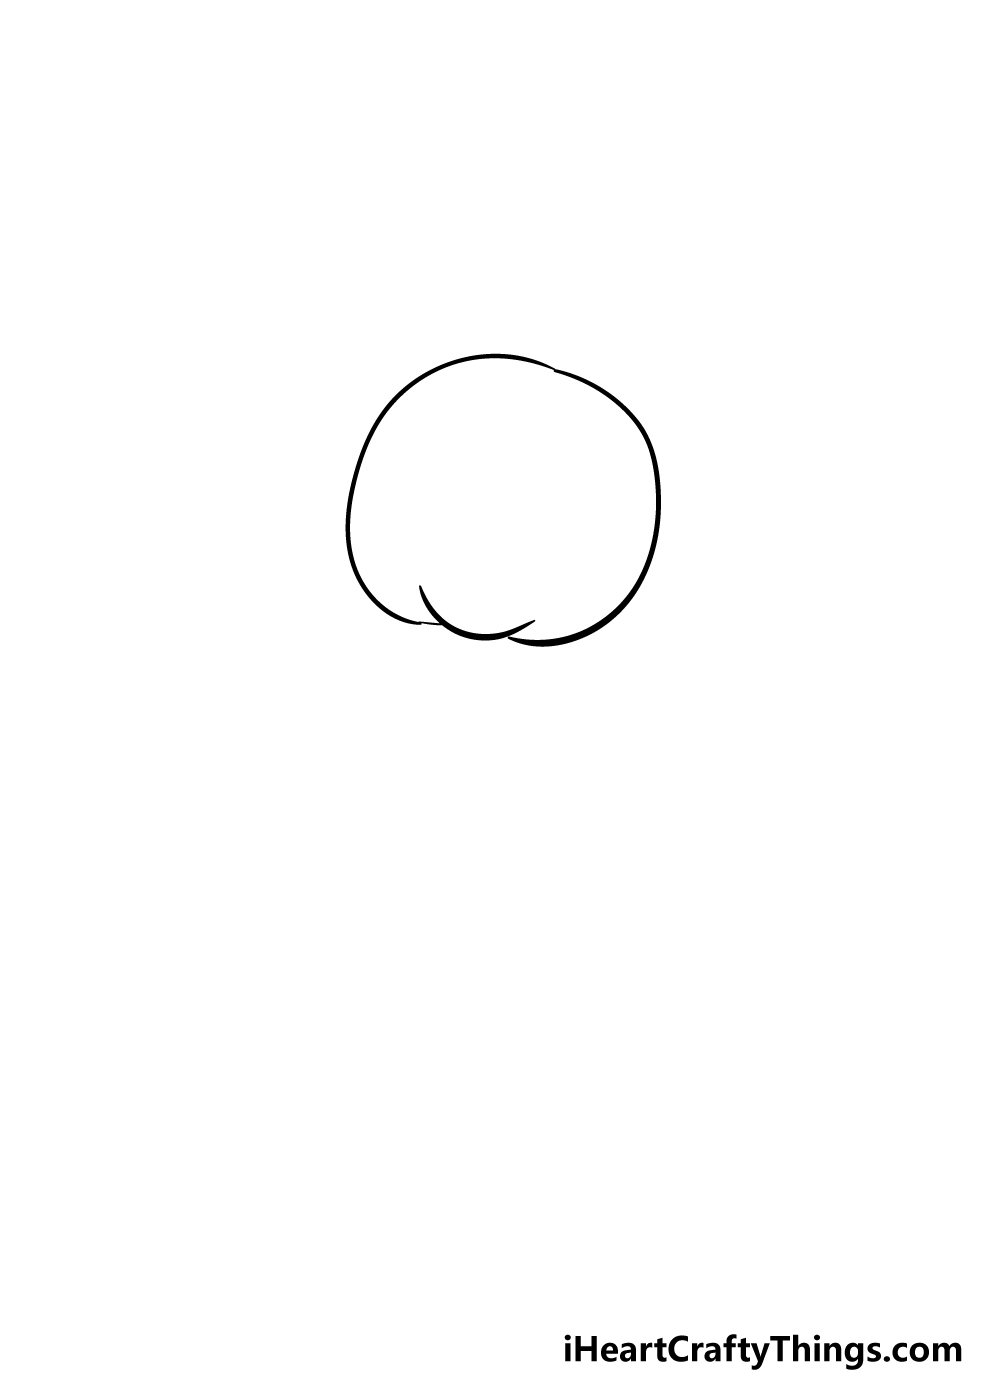
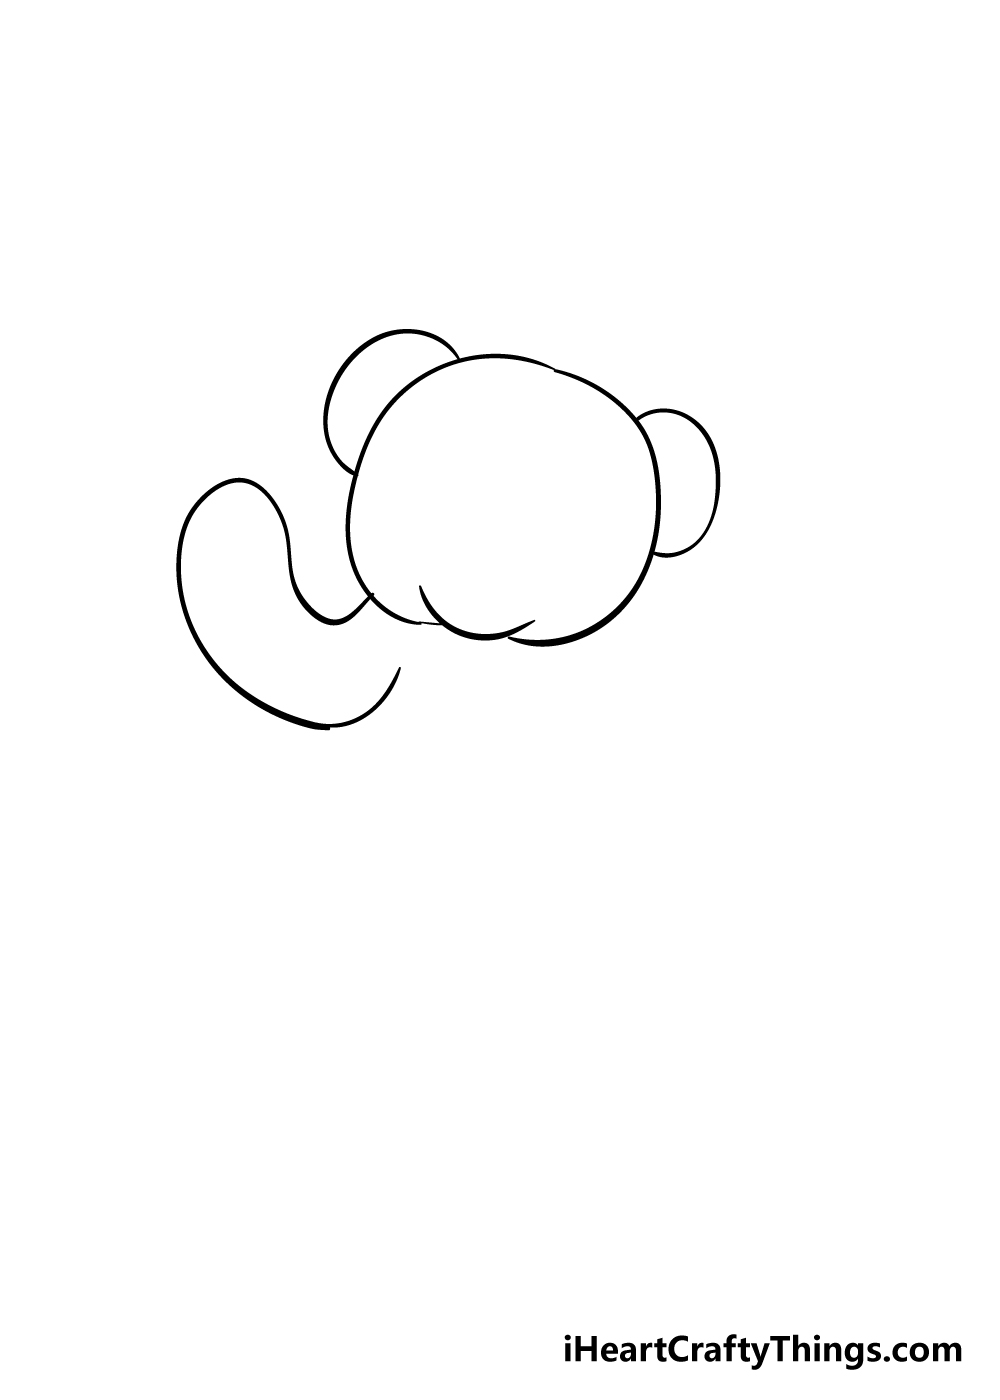
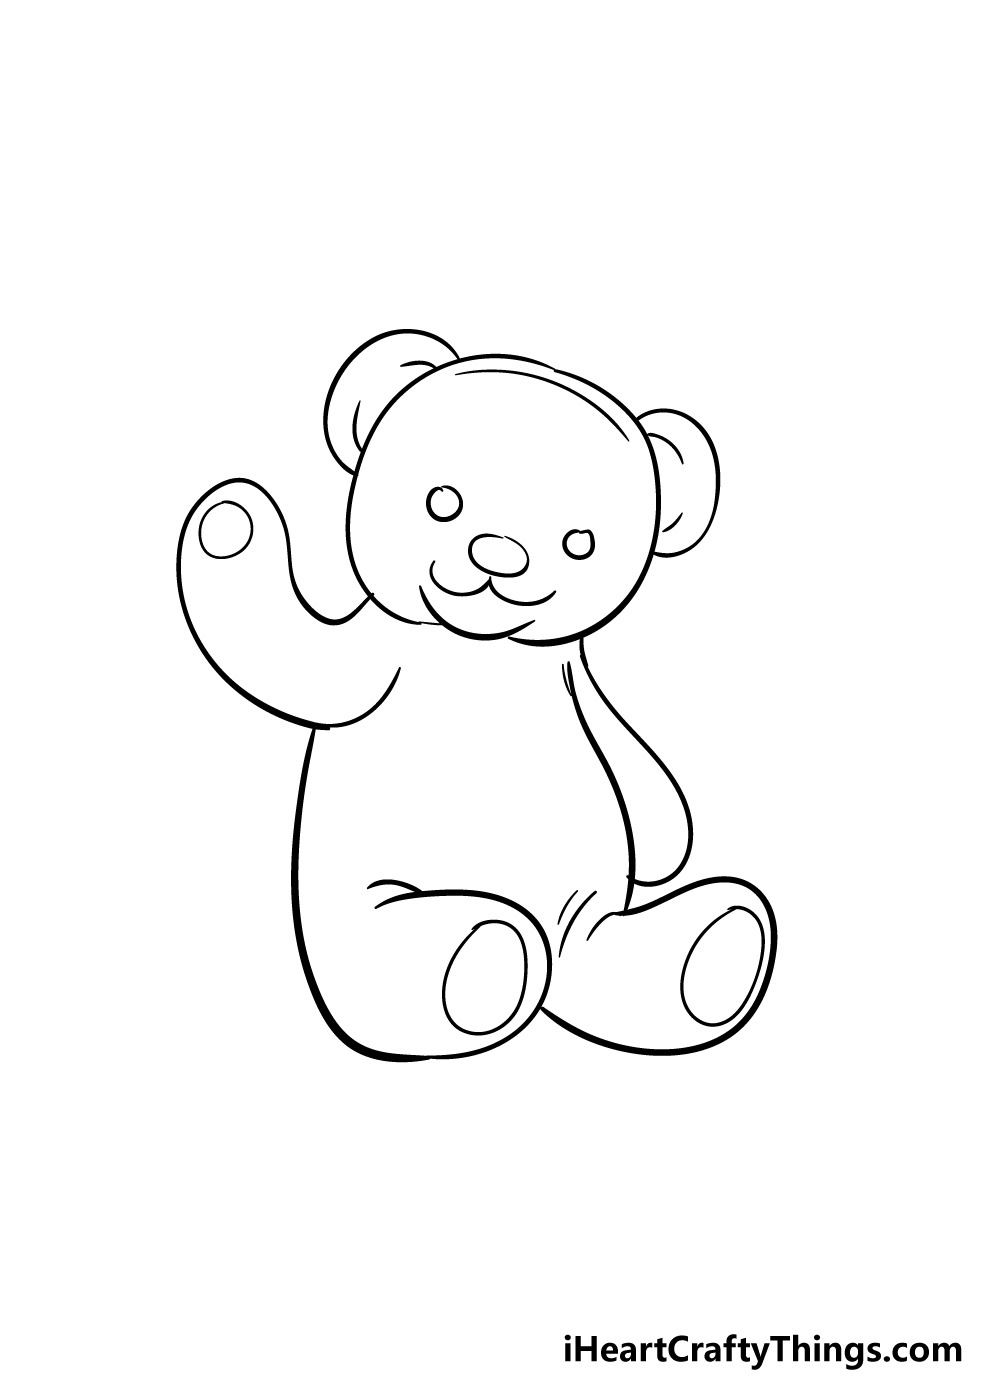
To kick off this guide on how to draw a teddy bear, we shall be starting with the head of the teddy bear.
To do this, you can use a long, curved line for the top of the head, and then use a smaller curved line at the bottom for the chin of the teddy bear.
Once you have this head outline done, we can move on to the next step!
Step 2 – Next, draw the ears of your teddy bear
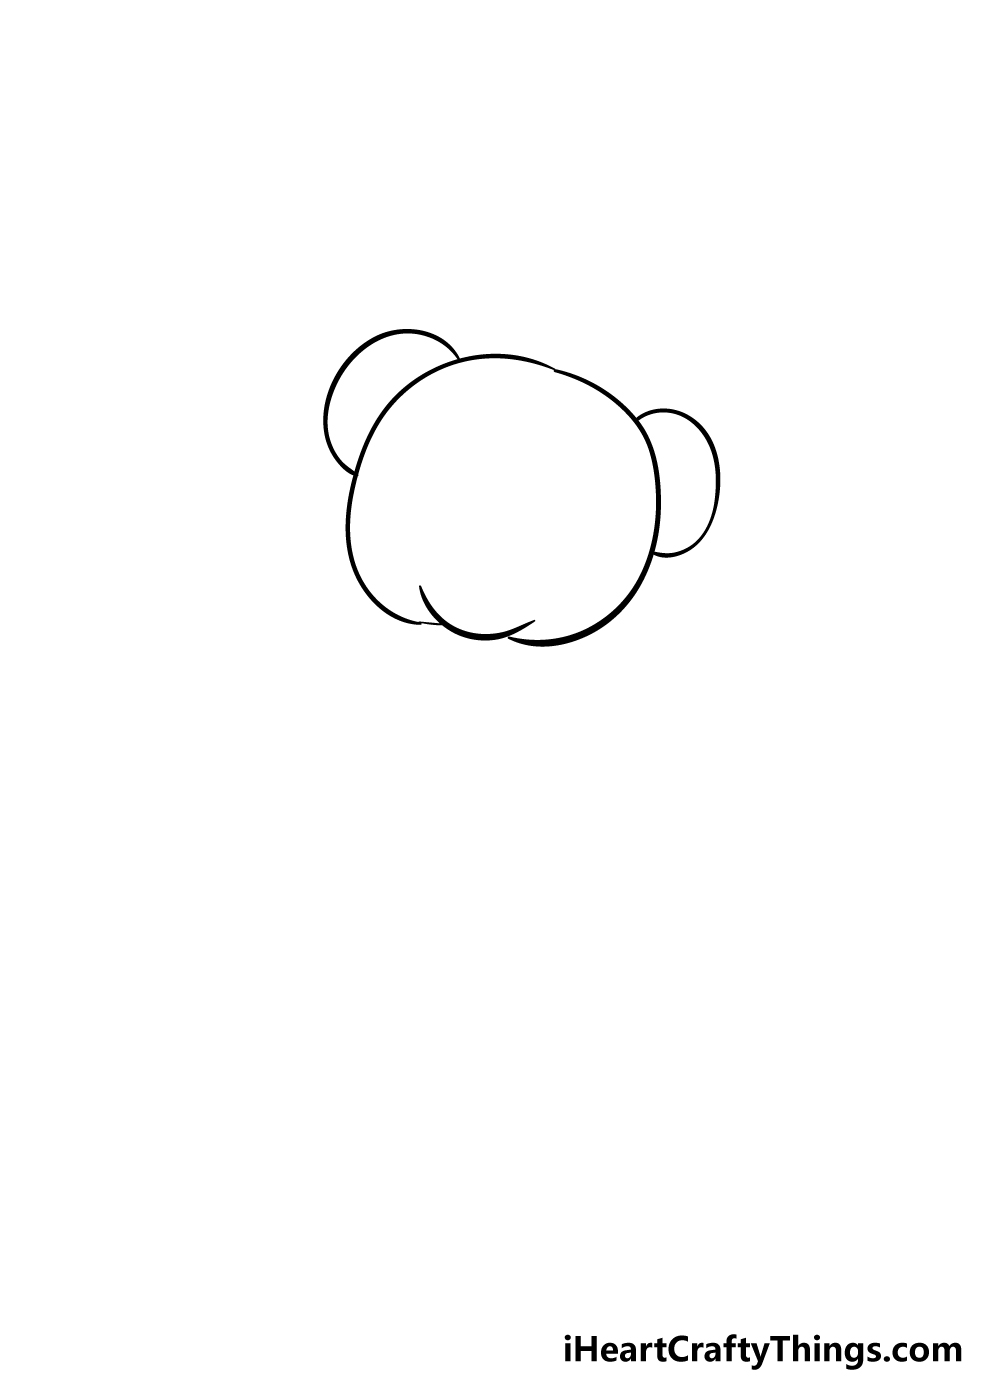
Your teddy bear drawing needs some nice round ears, so let’s add some in this step. This will be quite a simple step, as all you need to do is draw some curved, rounded lines on top of the head.
They may look simple now, but we will add some details to them later.
Step 3 – Now, draw the first arm of the bear
As you can see in our reference image showing the final product, this teddy bear will have a friendly waving hand.
For the arm, start it from the line of the head, and then curved it up and around as it appears in the reference picture.
It’s a simple shape, but it’s effective in creating a waving arm, as you’ll find when you draw it!
Step 4 – Next, draw the body and the other arm of the teddy bear
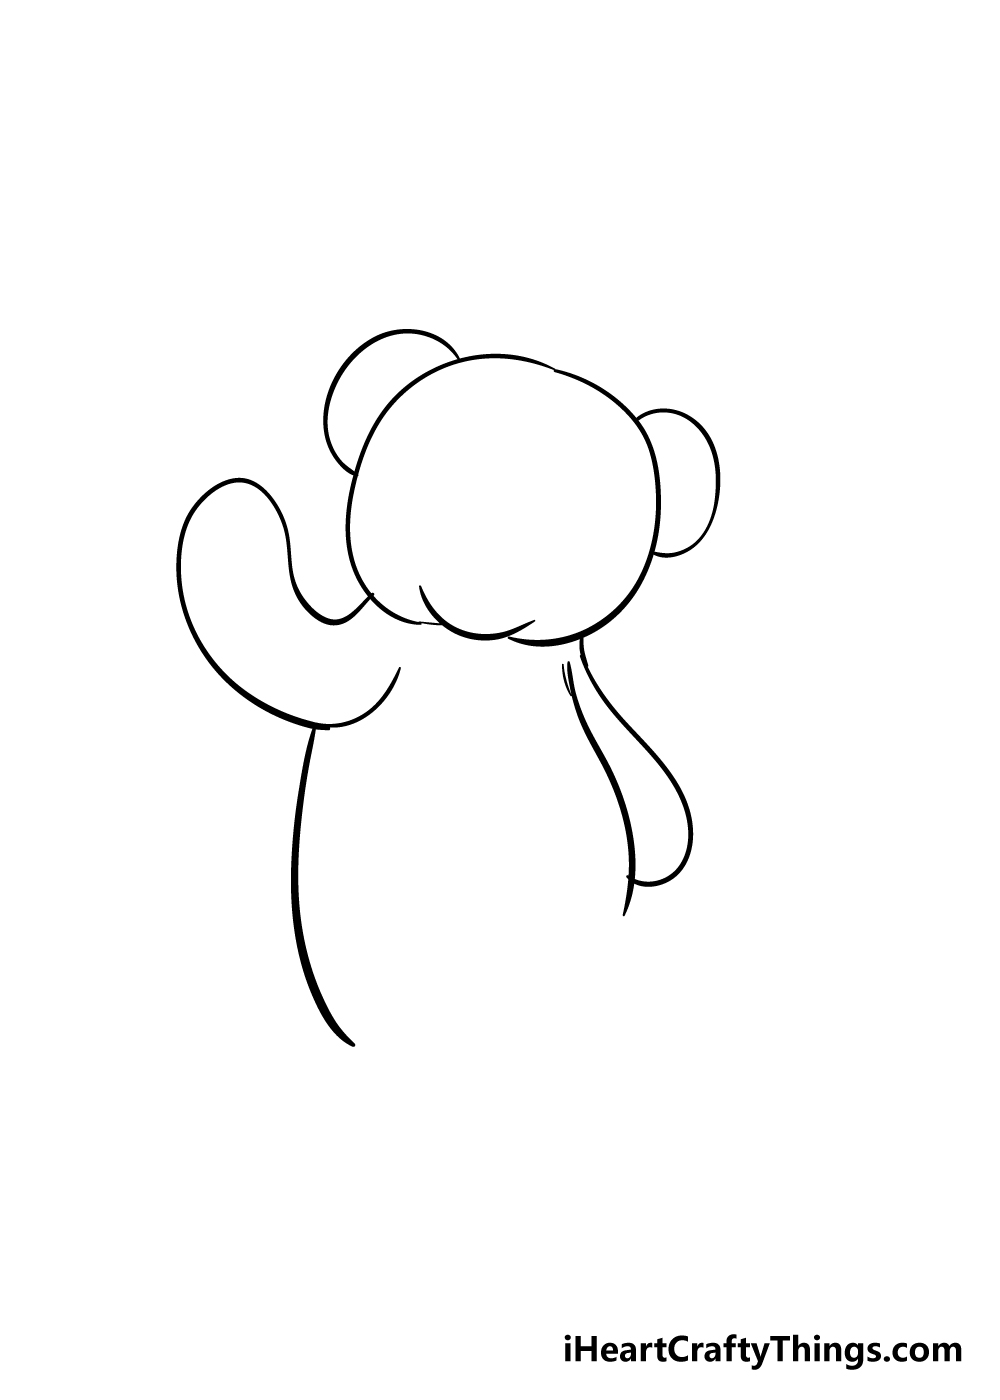
Your bear needs a body, so we shall start to draw one in this step of our guide on how to draw a teddy bear.
For the back of the bear, you can use a simple curved line coming down from the waving arm that you drew in the previous step.
Then, you can use a rounded line for the arm coming down from the right-hand side of the head, and then use another line under the arm for the belly of the teddy bear.
Step 5 – Draw the legs of your teddy bear
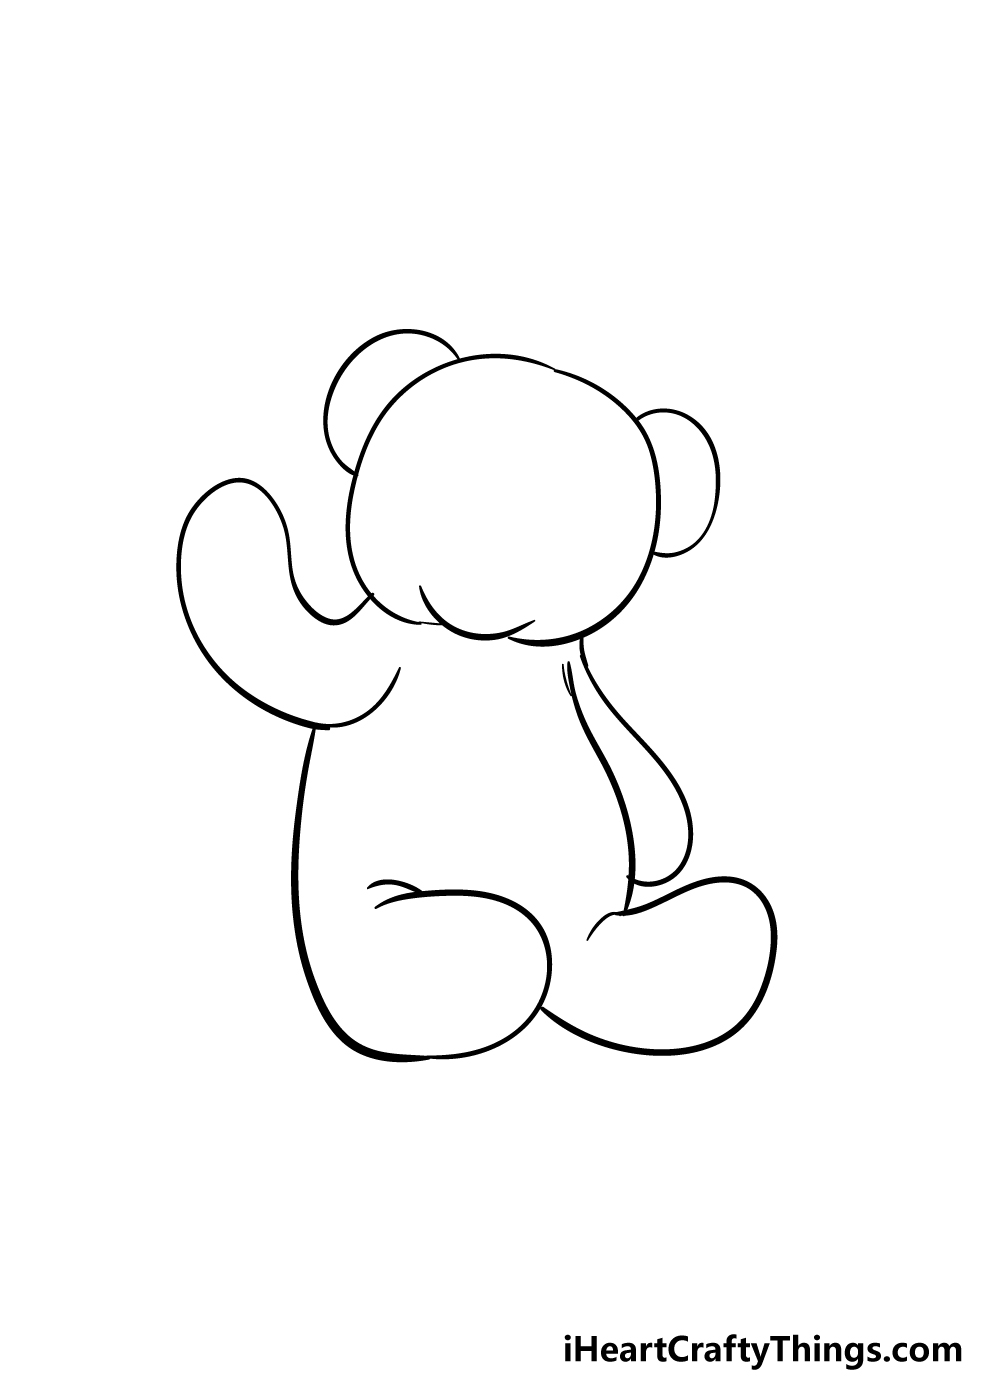
The teddy bear has some thick, rounded legs that are also quite short, so we shall draw them for your teddy bear drawing.
Simply draw some rounded lines coming out from the body of the bear and have them come out horizontally to show that the bear is sitting down. That’s all there is to it for this step!
Step 6 – Next, draw some pads on the ends of the limbs
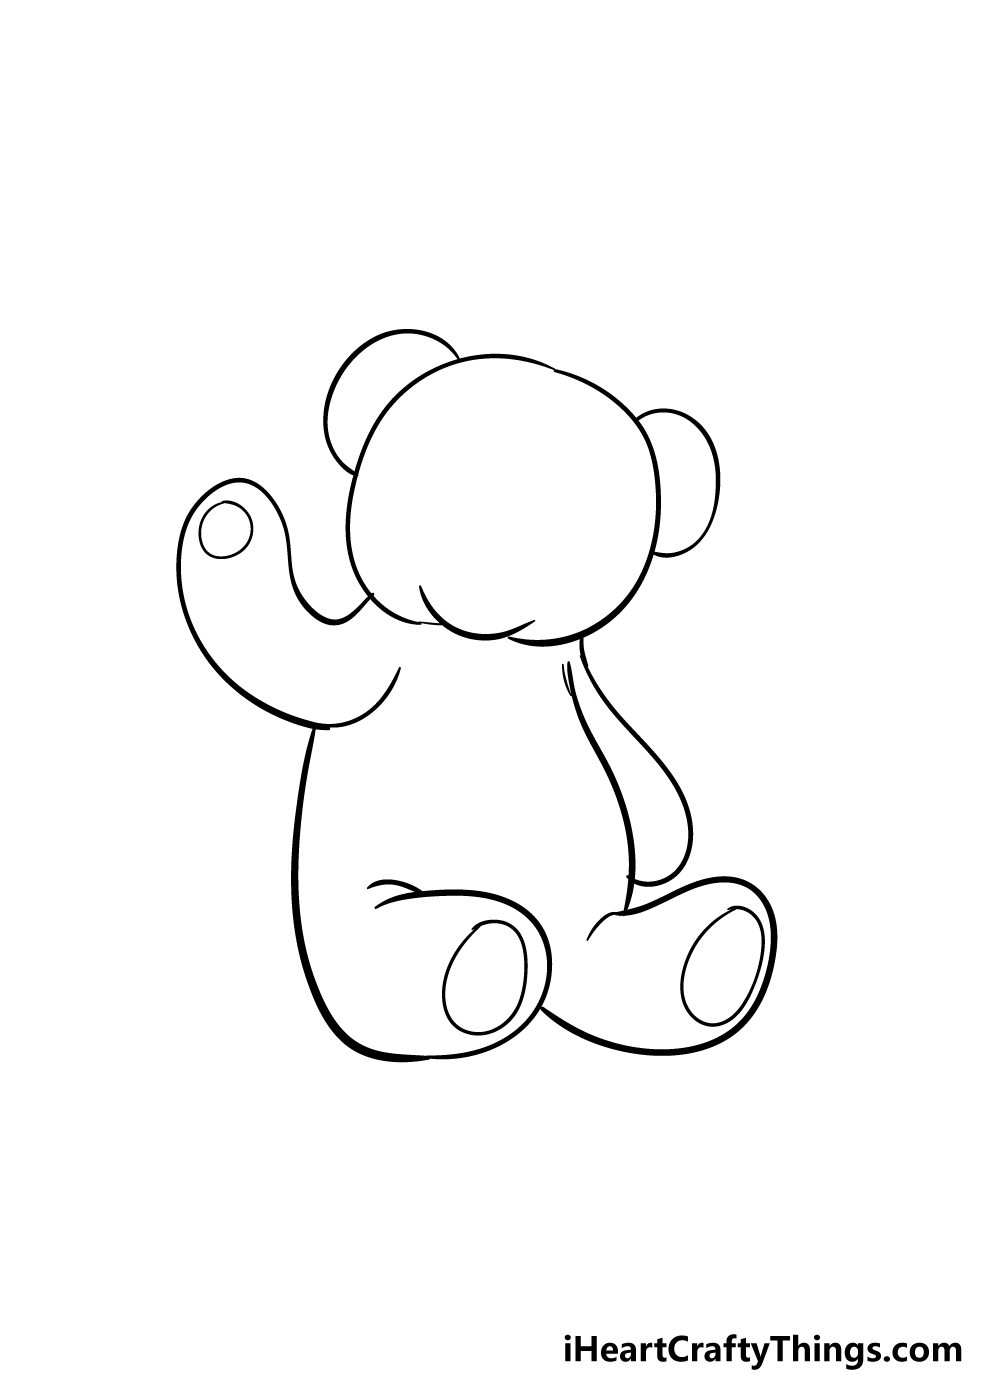
We shall be starting to add some details to your teddy bear drawing from this step onwards. For now, we shall be drawing some pads onto your teddy bear’s limbs.
To do this, simply draw some circles and ovals onto the ends of the arms and the bottom of the feet.
Step 7 – Draw some crease details

Before we draw the face of your teddy bear, we shall add some simple line details to give it some more texture.
As you can see in the reference image, we added two small lines near the leg to create the fabric creases of the teddy bear. You could also add some more lines if you would like even more detail for your bear!
Step 8 – Now, draw the face and final details
Something is missing from this teddy bear, and it should be pretty apparent what that something is!
The bear needs a face, so we shall draw one for this step of our guide on how to draw a teddy bear.
The face is quite simple to draw, as all you need are two small circles for the eyes, a small oval for the nose and some curved lines for a smiling mouth.
You can then add some final details, such as lines on the head and on the ears for more crease details
Step 9 – Finish off your teddy bear with some color
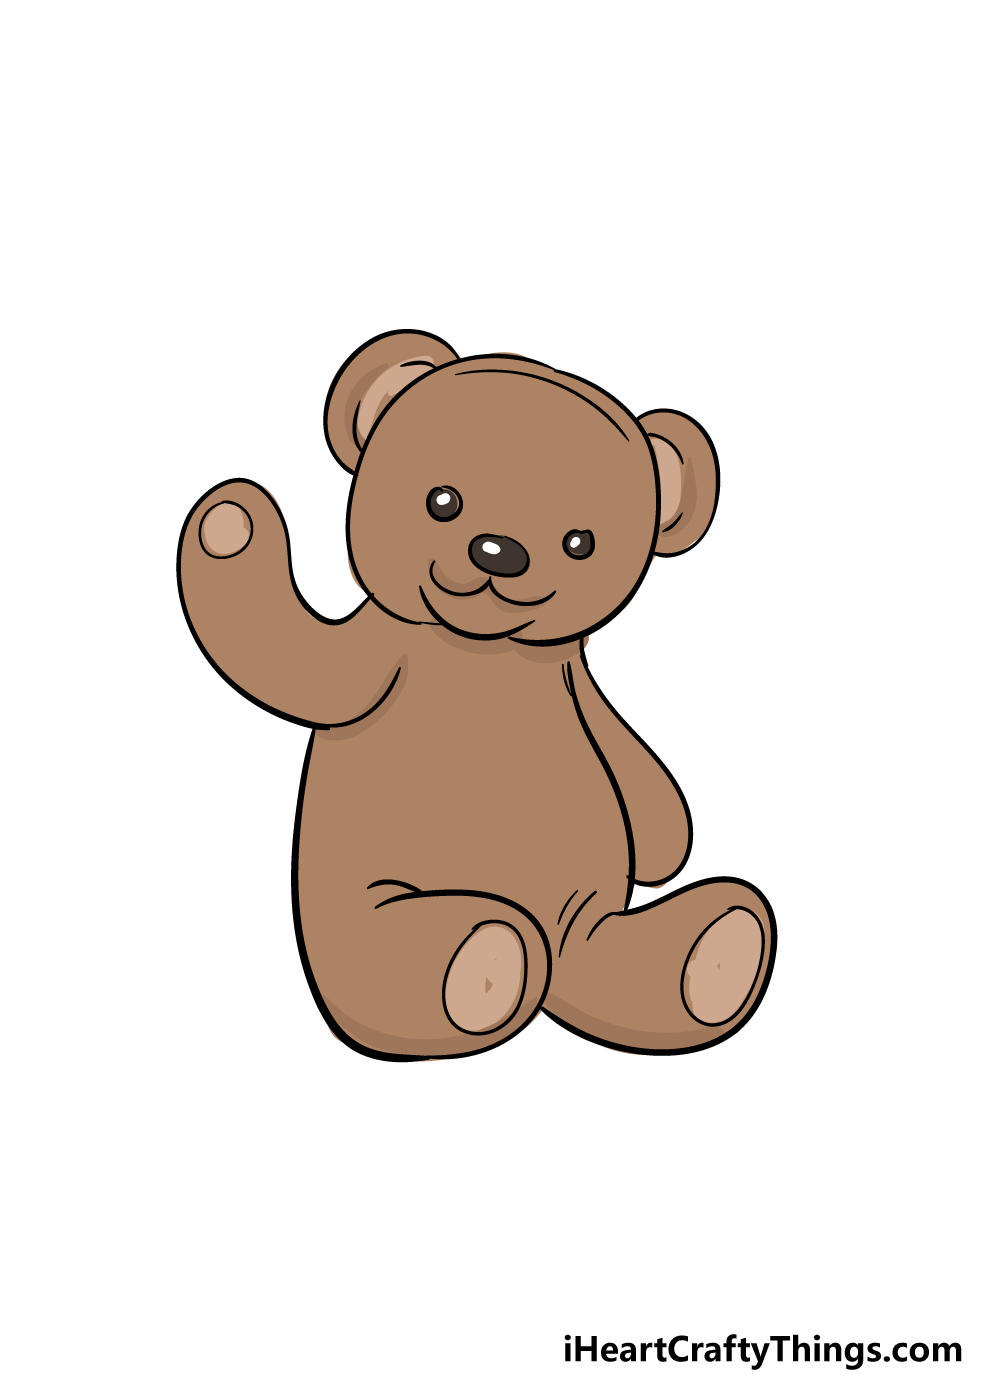
For this final step of your teddy bear drawing, it’s time to finish off with some color. This is a step where you can really show off your creativity and style!
There are many different colors, patterns and effects that you can add to your drawing using just color choices and art mediums.
If you ever had a beloved teddy bear of your own, maybe you could color this one in to look like it!
If you do represent a real teddy bear that you’ve had, it would be fun to write in and color its name for us to see below it!
Bonus: Try Out Some Creative Crafts And Art Tools For This Drawing!
You have made it through all of the steps in this guide on how to draw a teddy bear! Some of you may be fine to leave the drawing as is, but others may want to keep the fun going.
If you fall into that second category, then we have loads more fun for you to have! In this bonus section, we will cover a few ways you can use crafts for your drawing.
After that, we have a few additional ideas for how you can make your teddy bear drawing more unique. There are so many craft materials and supplies that can be used when making art.
Some of them may not immediately come to mind and you may think that you’re limited to the standard selection of coloring tools. However, using crafts can take things to new heights.
Let’s say you wanted to add a ribbon at the bear’s neck. You could draw one and color it in, and it would probably look great! Or, you could use some real ribbon to make a bow and then stick it on.
When it comes to the fur of the teddy, you may color it in and add a few texture details, or you could use some fluffy material, cut it out in the shapes of the teddy bear and then stick it over.
Real buttons could be used for the nose and the eyes as well. We’re sure you get the idea, and the point is that you can use crafts and things around your house in order to add new dimensions to this drawing!
Can you think of any other crafts and household objects that could be used to add new dimensions to this drawing?
4 More Ways To Make Your Teddy Bear Drawing Unique
Create an adorable teddy bear sketch with these 4 fun tips to try out!
We created a really classic design in this teddy bear drawing, but there are many other kinds of teddy bears. These give you some ways to personalize this picture.
For instance, you could change the design of the bear a bit to create your own unique version. Or, you could surround this bear with different teddy bears!
It would be up to you, and either approach would help you to create a really unique version of the drawing.
Even if you stick to the design we created for this drawing of a teddy bear, you could make it more unique with some smaller details.
Some examples would be to draw some stitches onto the bear to make it look well-loved.
Or, maybe you could change the eyes to look like buttons or give it a different facial expression. These are just a few ideas to try, but what else can you think of in terms of small details for this teddy bear?
Another great way to make this teddy bear drawing even better would be to add a background. One obvious idea to go for would be to add a bedroom setting.
Or, you could go for some more imaginative settings! Maybe the teddy bear could be at a picnic or a fun party.
You can really use your imagination when coming up with different ideas, so be sure to let your creativity flow!
Teddy bears are such a classic toy that many people own, but they are usually joined by other toys. With that in mind, you could add some of these toys to your teddy bear drawing.
This would go really well with the previous suggestion of adding a background, too. When it comes to the kinds of toys you add, they could range from dolls to action figures or even robots.
You can create a really fun and interesting scene, so what kinds of toys can you think of for this page?
Your Teddy Bear Drawing is Complete!
We hope that you had a marvelous time reliving some childhood memories with this guide on how to draw a teddy bear.
We created this guide to make the process of drawing one of these fluffy pals not only much easier but also a lot of fun.
Drawings are always made much easier to tackle when you have a guide breaking it down into steps, and now that you know how it’s done you can make your own variations!
You could put your own spin on some drawings by creating more toy friends for the teddy bear, drawing a background or by experimenting with colors and mediums.
Be sure to check out our website frequently, as we will be bringing out many more amazing step-by-step drawing guides for you to enjoy.
We also have dozens of great tutorials for you to enjoy, so come join the fun!
We would love to see your amazing teddy bear drawing when you have finished it, so please share your cute artwork on our Facebook and Pinterest pages for us to marvel at!
Here Is An Easy Teddy Bear Drawing To Inspire You!
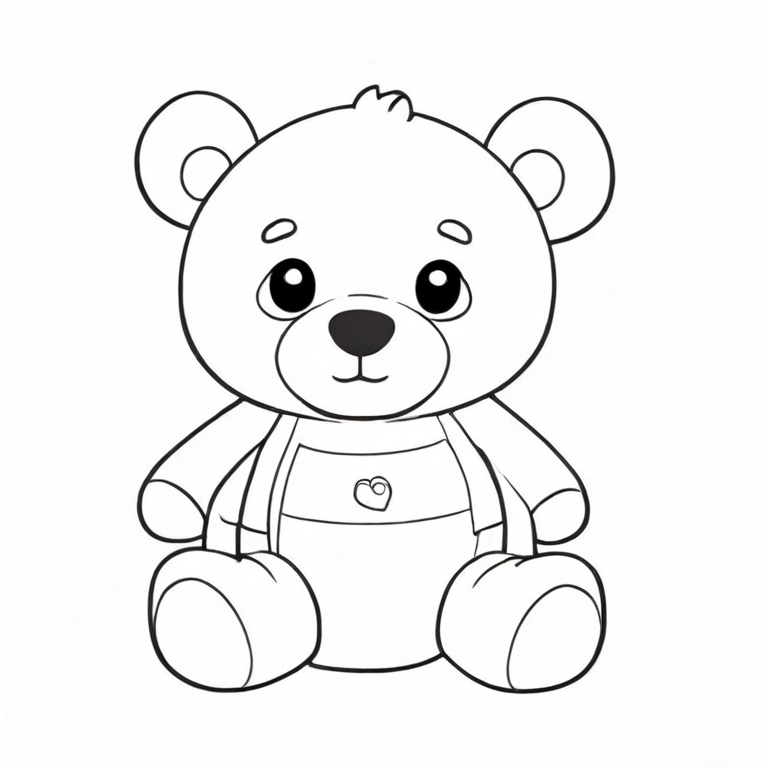
Many of us had a beloved teddy bear as children, and this easy teddy bear for kids allows you to pay tribute to that special friend! Our wonderful artist Amanda created this drawing to help you with your artwork.
She has created a really charming, classic design for a teddy bear, and now you can try to use this as inspiration. It is wearing some overalls with a little heart detail, and it’s a simple yet effective design.
If you did have a teddy bear in real life (or maybe do at this moment) you can customize this teddy bear to match that one. It could be as simple as changing a few little details or adding some clothing or accessories.
This would be a great way to make this design unique to you without having to change too much!