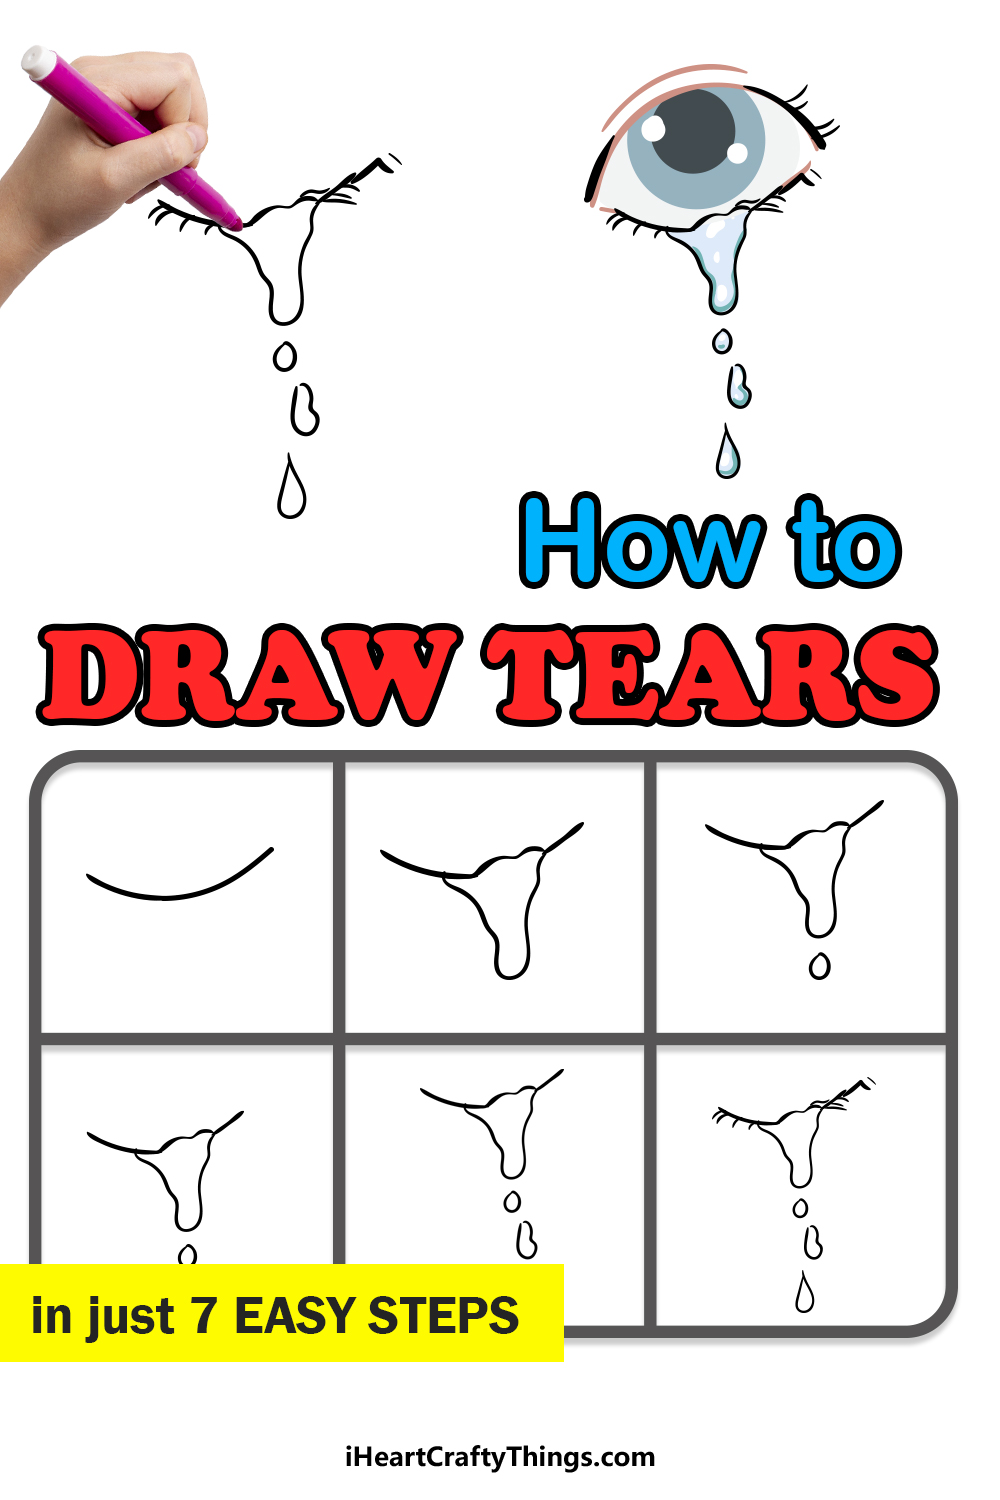
We have many different ways that we show the emotions that we are feeling. We smile or laugh when we’re happy and when we’re sad we show it by crying tears.
These emotions can be hard to depict with a drawing, making it potentially difficult to learn how to draw tears.
While it may be difficult to get right, it’s certainly very possible when you know what to do! Luckily you happen to be on a guide that will do just that.
This step-by-step guide on how to draw tears will show you how to depict this without shedding any tears of frustration!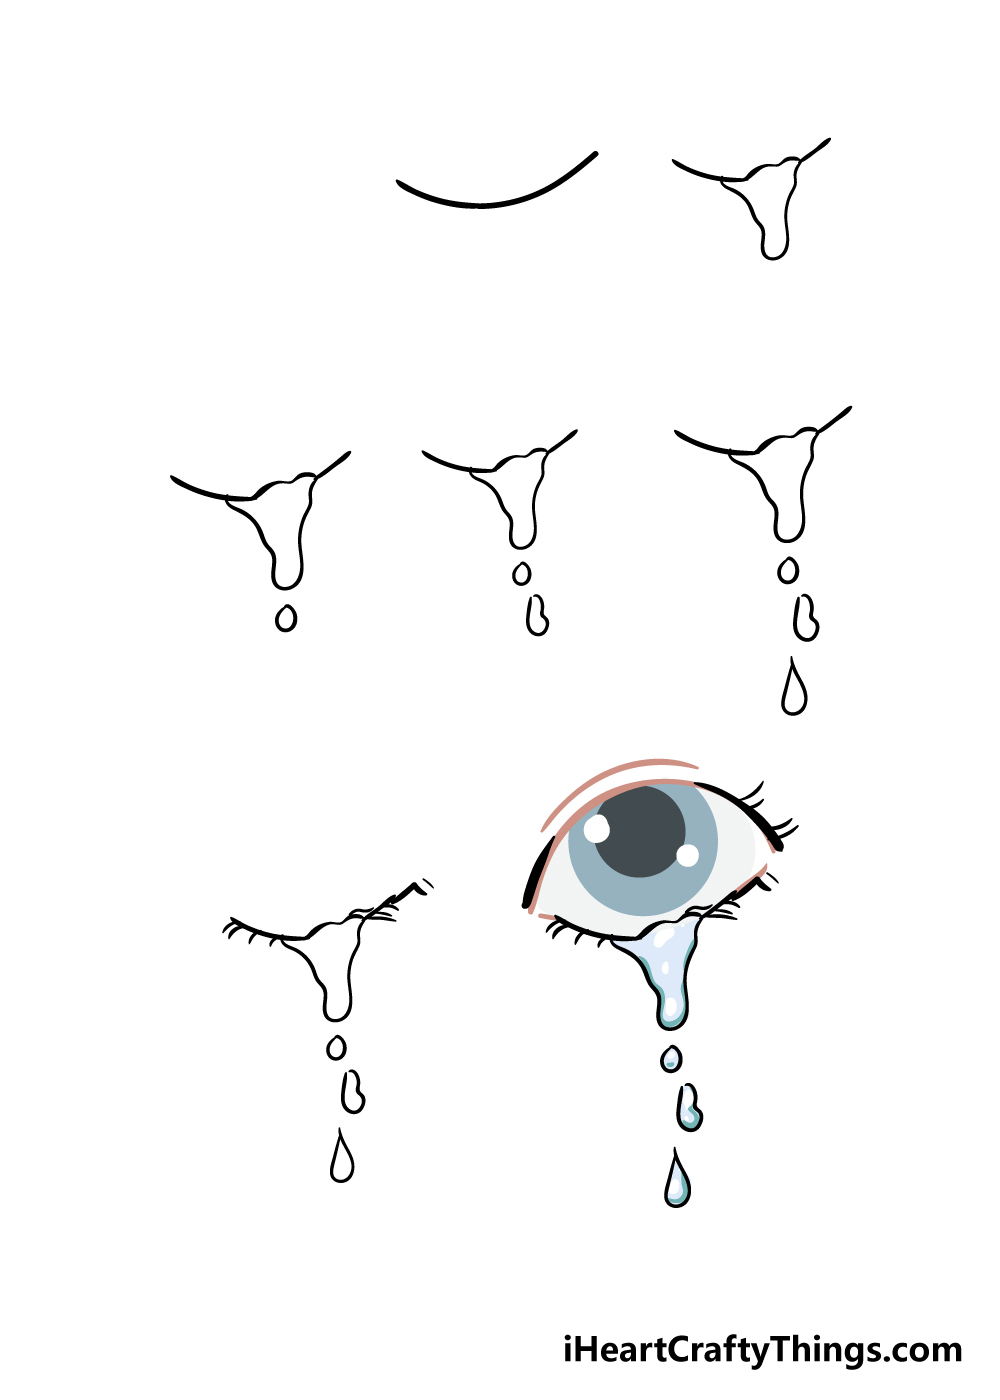
How to Draw Tears – Let’s Get Started!
Step 1

To kick off this guide on how to draw tears, you may want to start off using a pencil.
The reason for this is that this line will form the bottom of the eye and the tears you will be drawing in the next few steps will go over this line.
Using your pencil, draw a horizontal curved line like the one in our reference image. Once you have that, we’re ready for the next step!
Step 2 – Start drawing the tears
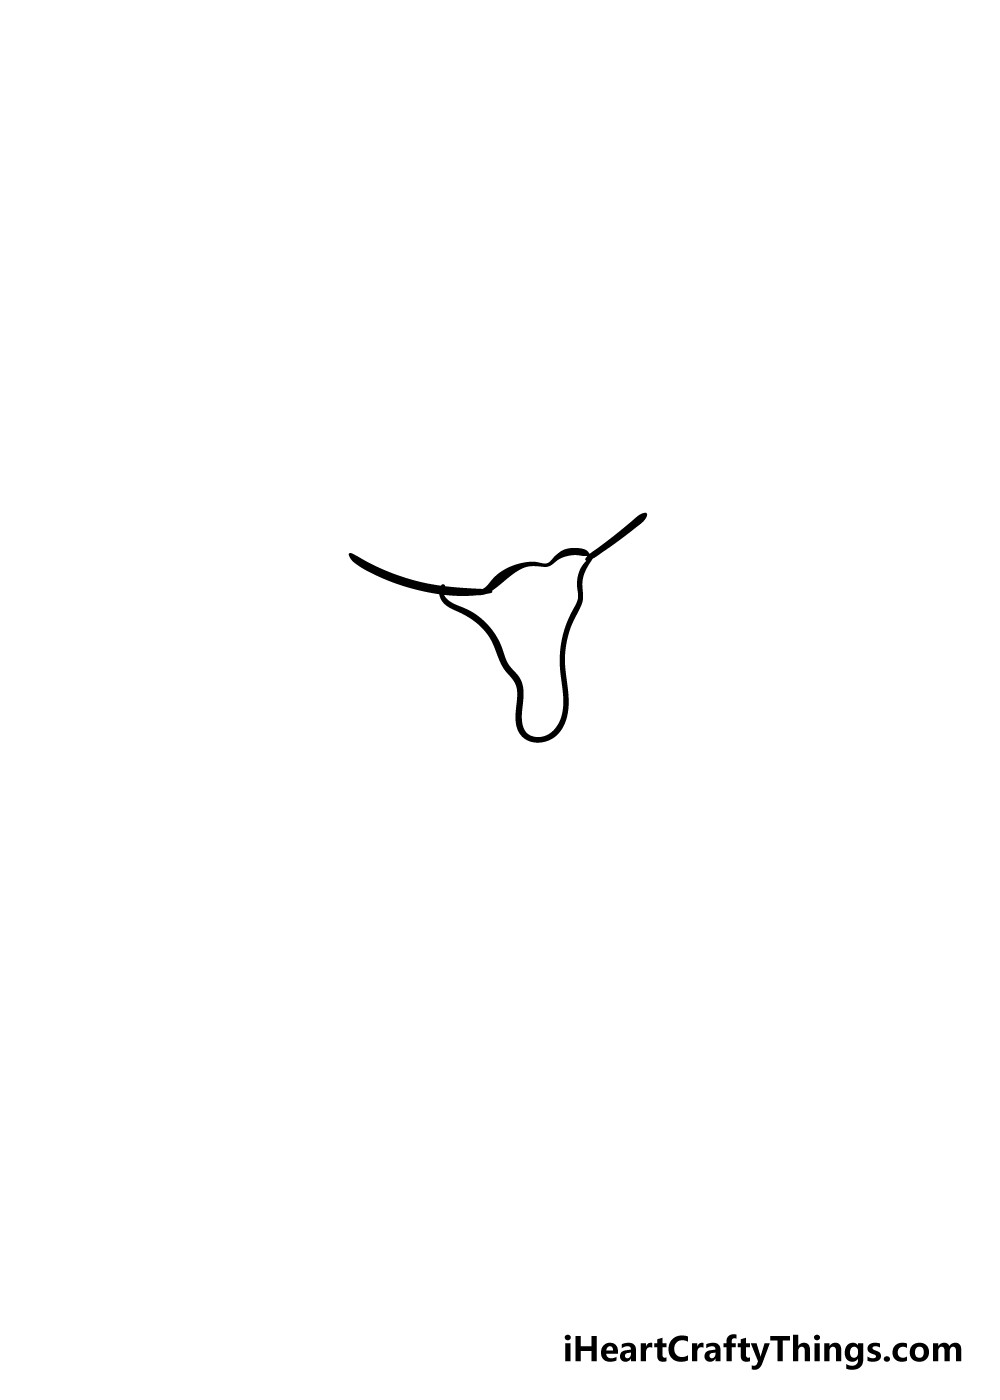
You can start drawing with your pen in this step of your tears drawing! To start showing the tears spilling out of the eye, draw some curved lines coming down from over the bottom of the eye.
Once you’re happy with how it looks, you can use your pen to go over the curved line from the first step.
Then, you can erase your pencil lines before moving on.
Step 3 – Extend the tear a bit
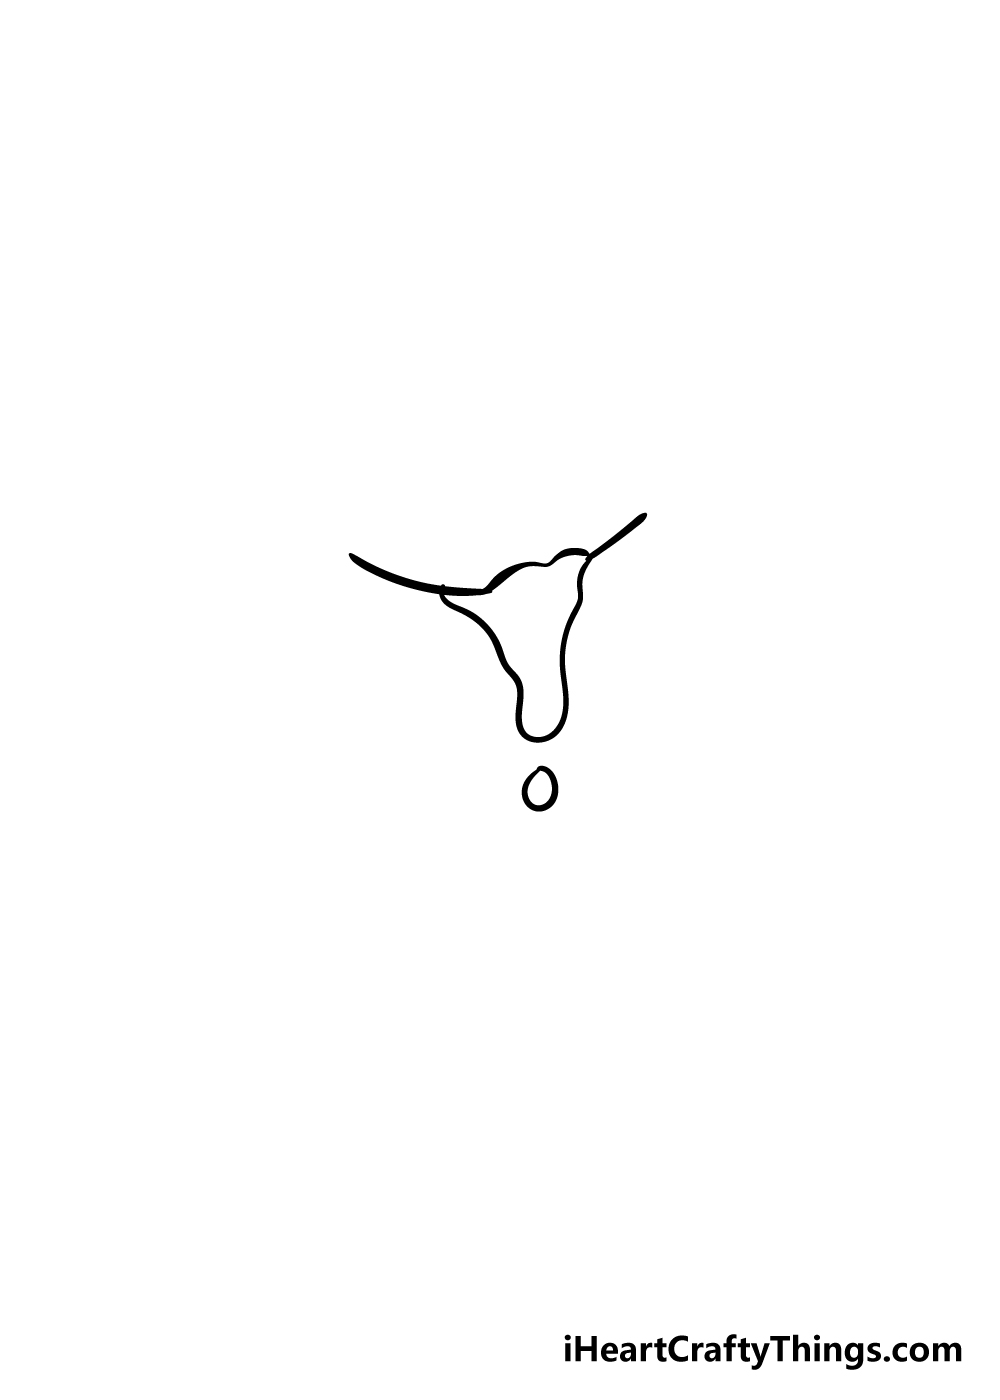
This step of our guide on how to draw tears will be quite a simple yet effective one.
All you have to do in this step is draw a small, circular shape underneath the dripping tear to show that it’s breaking into several smaller streams.
Step 4 – Now draw some more shapes underneath the tear
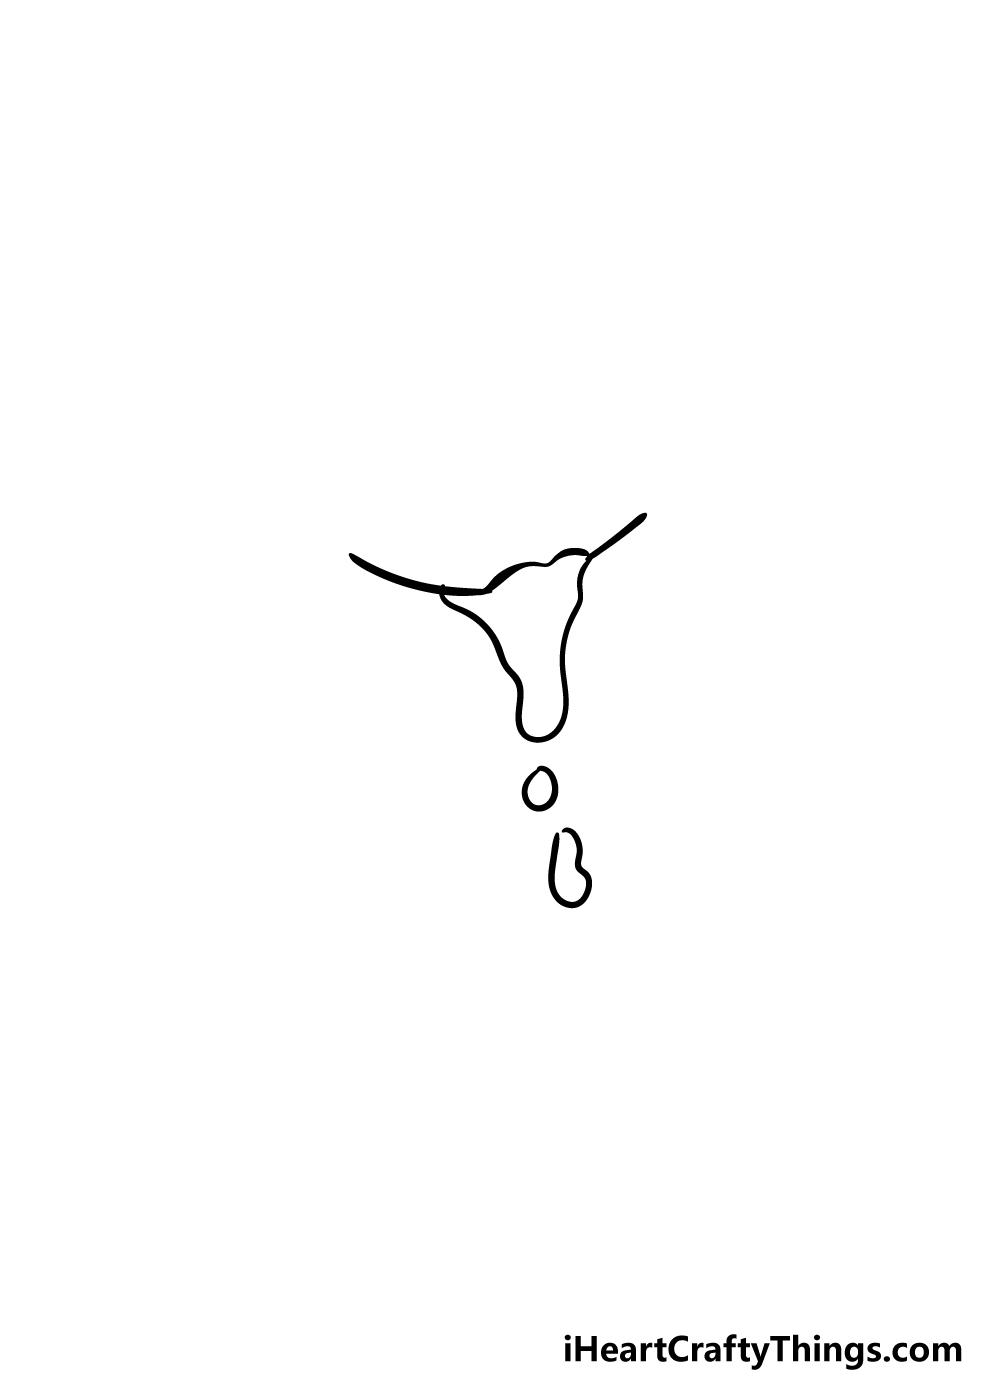
We shall keep adding to your tears drawing in this next step. The shape underneath this one will be rounded but a bit longer than the previous circular part that you drew in the previous step.
These shapes will do a lot of work when it comes to creating a realistic tear!
Once that shape is drawn, you’re ready for step 5!
Step 5 – Draw another tear shape for your drawing
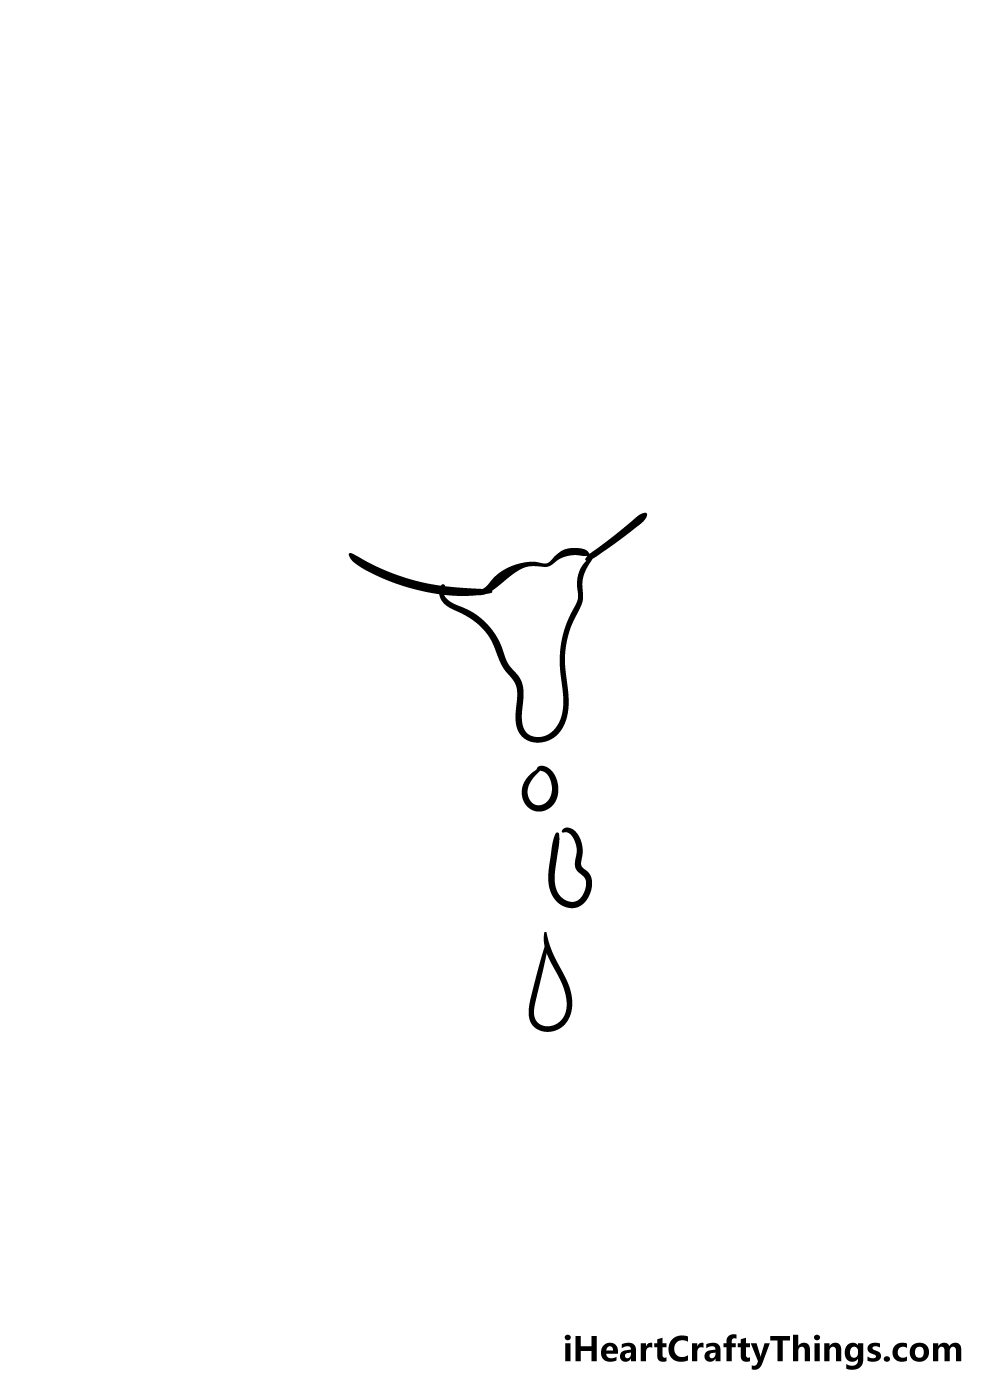
The shape that we will be drawing in this part of our guide on how to draw a tear will look like a regular tear shape.
It will be thin at the top and be rounded at the end as you can see in our reference image.
Step 6 – Next, draw some eyelashes

Before we move on to the coloring stage of your drawing, we shall add some final details to really bring it together.
To add the eyelashes, you can use some thick, short lines coming down from the eyes around the tears coming down.
Once you have the eyelashes drawn, you’re pretty much ready for the final step!
Before you carry on, be sure to add any extra details that you would like for your drawing. As you can see in the image for our next step, you could even draw an eye to go with your tears drawing.
Other things you could add would be other elements of the face such as a nose or a mouth to give the tears some context to the rest of the face.
How will you finish off your drawing before the final step?
Step 7 – Finish off your tears drawing with some color
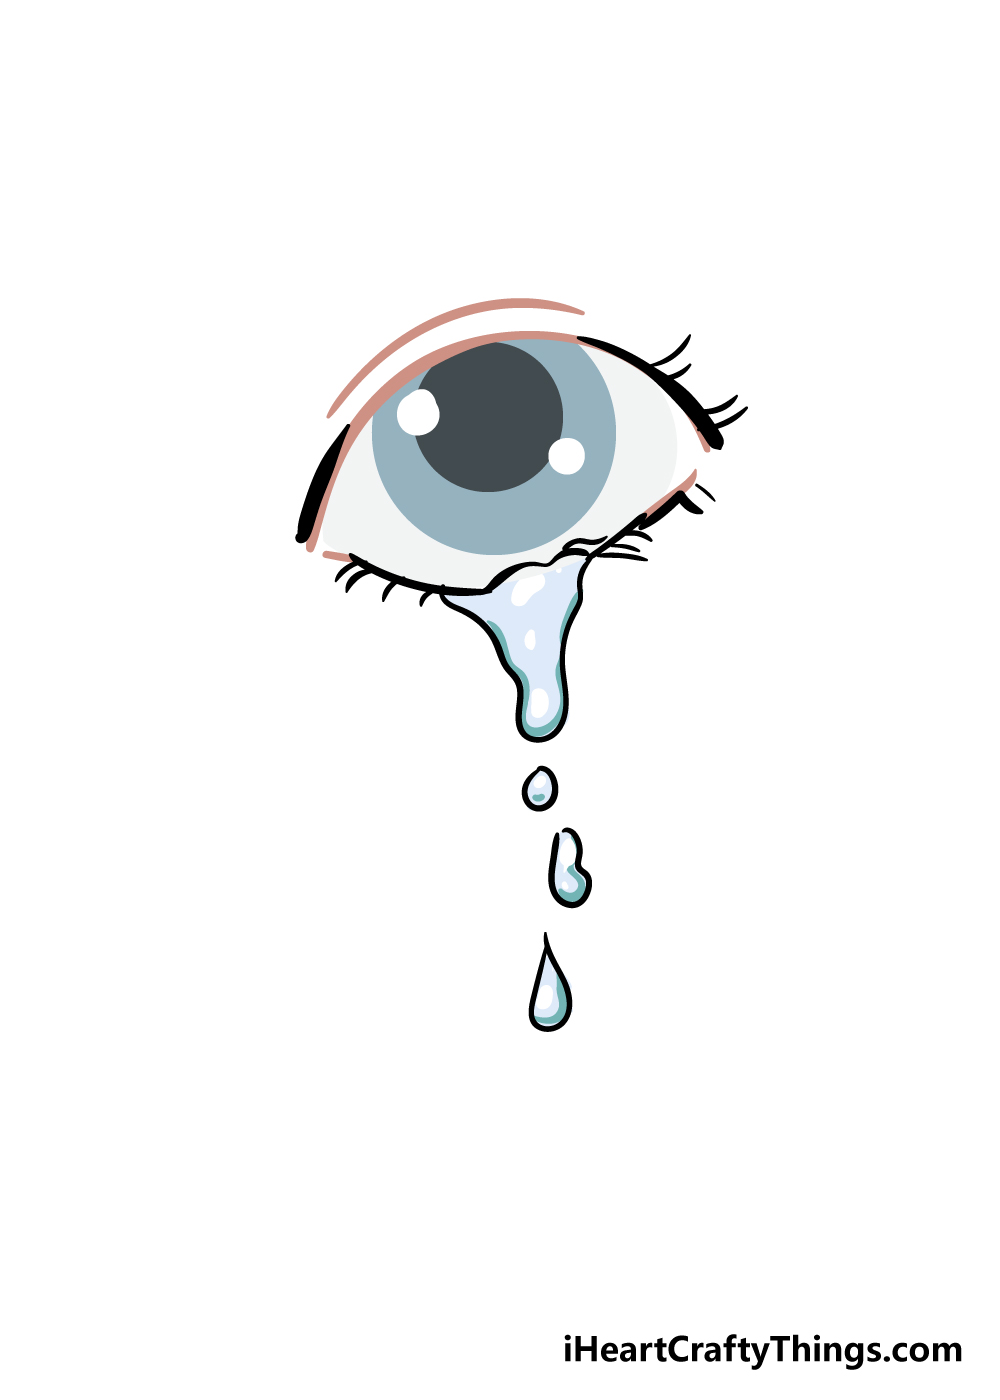
Your tears drawing is all finished now, and all it needs is some color to finish it off! There are lots of ways that you could go about it.
As we mentioned earlier, we added an eye above the tears, and you could use this as a guide for how you could draw one over your own drawing.
That would give you a good opportunity to have another element to color in, and you could even color it in to look like your own eye!
As for the tear itself, we used a nice light blue for it to give it a soft, watery look. You could also make it more stylistic and use some of your favorite bright colors to really make it pop!
Once you know what kind of color scheme you will go for, you can have some fun incorporating some great art mediums
Different mediums can give off a different look, so if you would like a brighter, more vibrant color scheme then you could use something like acrylic paints or colored pens.
Alternatively, if you would prefer a more muted, subtle look then you could use something like colored pencils or watercolors.
The choice is up to you, so how will you color in your tears drawing?
Do this to take your tears drawing to the next level
There is no need to cry as we show you some tips and tricks for your tears sketch.
As we all know, eyes can come in many different variations. We went for a big blue eye for the tears drawing we created with you, but you could create many different variations.
The pupils and iris could be smaller or they could be looking in a different direction for a few ideas.
There are lots of ways that you can make the eye more unique!
What are some ways you could personalize the design of the eye a bit?
Even if you stick to how the eye looks in this drawing of tears, you could customize it with subtler details. These small details can be small yet effective!
You could maybe add some small veins to the eyes or make the eyelids slightly more closed. Or, you may want to draw some reflection details on the surface of the eye.
These are just a small sample of details you could add, but what other details can you think of?
Another great way to really take this tears sketch to new heights would be by drawing more of the face. There are a few ways you can make this easier for yourself!
For one, you could stick to a smaller portion of the face so that the focus will still be on the eye. Or, you could get a friend to pose for you or use a mirror so that you have a real-life model.
This is a great way to make this picture even more impactful.
Finally, it would also be fun to finish off this tears drawing with some colors and background details. As we mentioned before, this eye is a pretty blue, but you could use any other colors you like.
Then, if you drew some more of the face around the eye, you could fill in any remaining space with a background setting. You could create all kinds of scenes by doing this!
What background setting would you like to create?
Your Tears Drawing is Complete!
That brings us to the end of this step-by-step guide on how to draw tears!
You should be very proud of reaching the end of this guide and completing your drawing, and we hope you had a lot of fun doing it!
We created this guide to be not only helpful but also really enjoyable for you to use, so hopefully we achieved both of those goals for you!
Drawing something new can be a challenge, but when you have some steps to follow it can be much easier.
Now that you have finished this drawing, you can keep the fun going by adding some of your own touches!
Whether you add some of your own details, draw more of the face this eye is on or get experimental with colors, we know you’ll do an amazing job!
If you enjoyed this drawing guide, then we have good news for you! We have plenty more drawing guides just like this one on our website.
These range from different foods to famous characters, so there’s something to fit all interests. We also upload new guides constantly, so be sure to check in as often as you can to never miss out!
Once you have finished your tears drawing, we would love to see how you finished it! Please be sure to share it on our Facebook and Pinterest pages for us to admire!