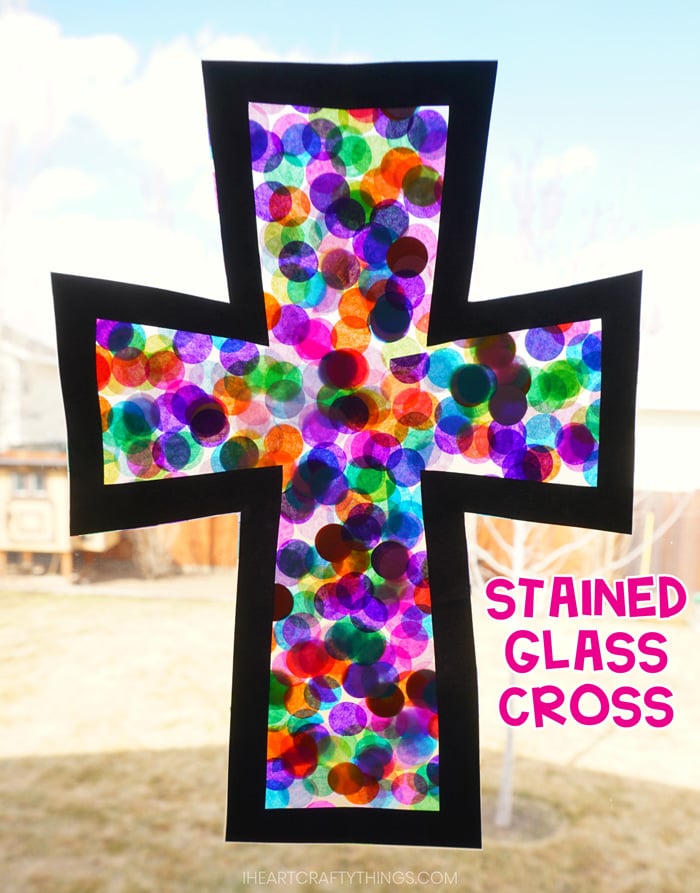
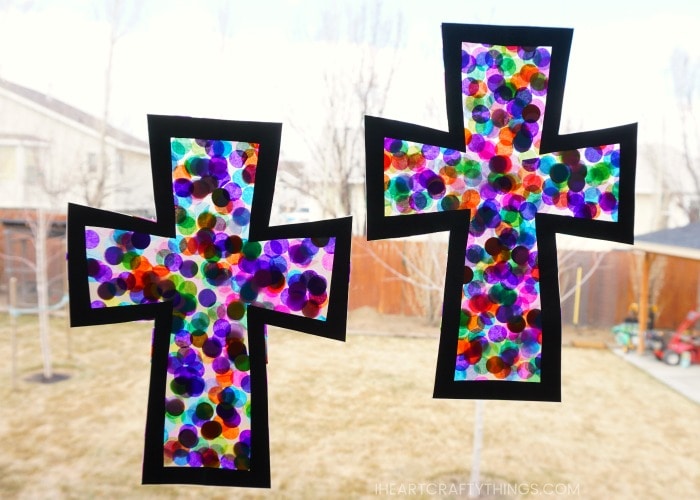
This stained glass cross craft is a beautiful and simple way for kids to decorate at home, school or church for the Easter holiday.
Every time I see a stained glass window I am absolutely enthralled by it’s beauty. This is the reason I love creating stained glass crafts with children. They are super easy to make with only a few supplies, and the end result is always a gorgeous piece of art to hang in the window for everyone to enjoy.
This stained glass Easter craft is no exception. The tissue paper circle confetti adds extra fun color and dimension to the craft. Your kids are going to love making it!
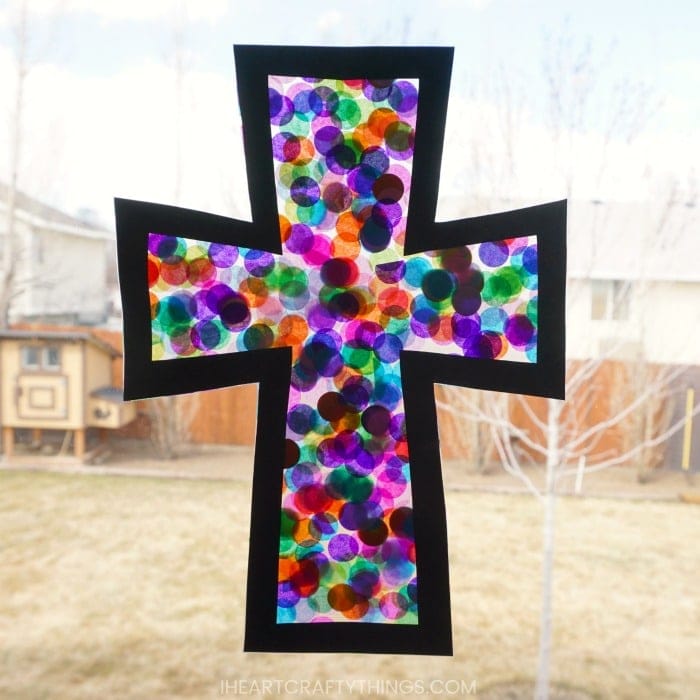
Imagine how beautiful a collection of these stained glass crosses would look up on display in a window at a Christian or Catholic school or church for Easter. They are just as gorgeous hung up in a window at home too!
Read our simple how-to instructions below for making this easy stained glass cross, and make sure to watch our full video tutorial inside this post before you get started.
Supplies needed for your stained glass craft
This post contains affiliate links to the products mentioned. Read our disclosure policy for more information.
- Cross Template <—– Get the Printable Template HERE
- black cardstock paper
- tissue paper confetti
- clear contact paper
- pencil for tracing
- scissors
Instructions for making your Cross Craft
1. Cut out cross template and trace it onto paper
Download and print out our printable cross template. Cut out the template and then use a pencil to trace it onto a piece of black construction paper or cardstock paper.
2. Fold cross in half and draw cross shape inside the outside edge
After cutting out the black paper cross, fold it in half. Then use your pencil to draw and outline the cross shape about 1/2-inch inside the outside edge of the cross.
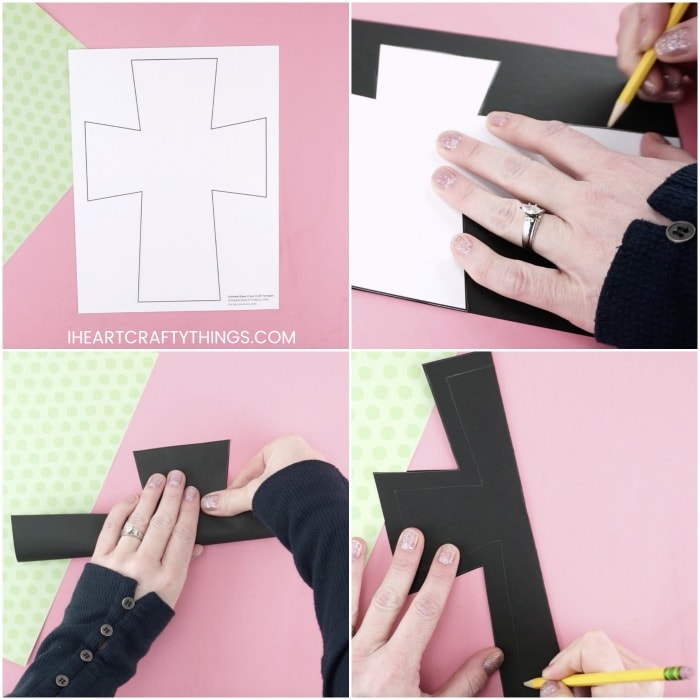
3. Cut out inside section of the cross
Cut out the inside section of your cross along the pencil line you drew to make your window for your stained glass.
4. Place black cross window onto sticky contact paper
Roll out a section of clear contact paper and cut out two rectangle sections that will completely cover the stained glass craft. Remove the backing from one piece of contact paper and place it sticky side up on your table. Then place your black cross window onto the sticky contact paper.
Press down gently with your fingers around the perimeter of the cross to ensure it is secure on the contact paper.
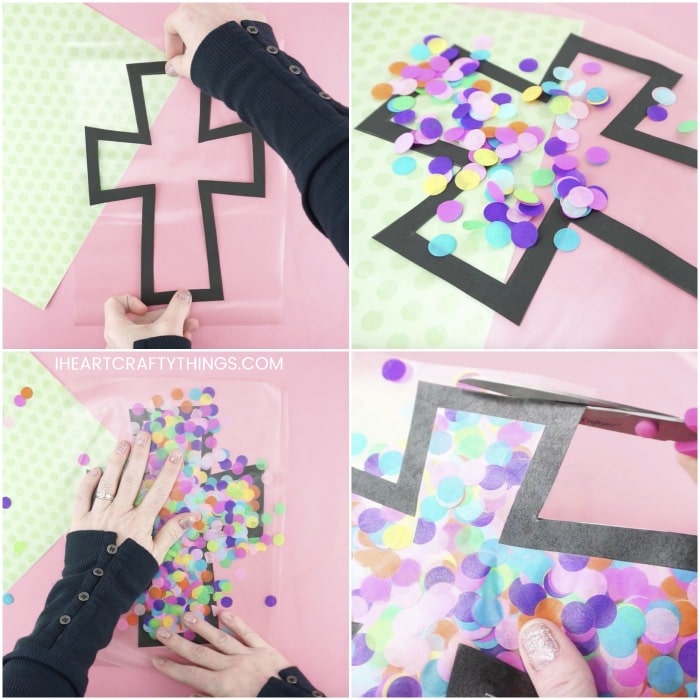
5. Sprinkle confetti on the inside of the cross until it is completely covered
Grab a small handful of your colorful tissue paper confetti and sprinkle it on the inside of the cross on the sticky contact paper. Continue adding the tissue paper around the cross, covering the inside of it completely. Press down on the confetti with your hands on the cross to help it stick to the contact paper.
6. Place second piece of sticky contact paper on the first one
Remove the backing from your second piece of contact paper and place it sticky side down on top of the first piece of contact paper. Use your hands to press the two pieces of contact paper together tightly to help secure them together.
7. Cut out cross
Use scissors to carefully cut out around the edge of the cross.
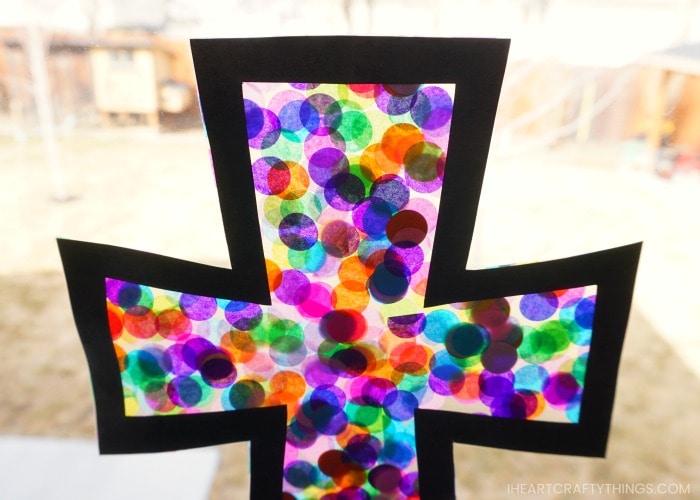
Hang your stained glass cross craft up in a window with a piece of clear tape. Watch as the beautiful colors of the tissue paper shine through as the the sunlight comes in the window.