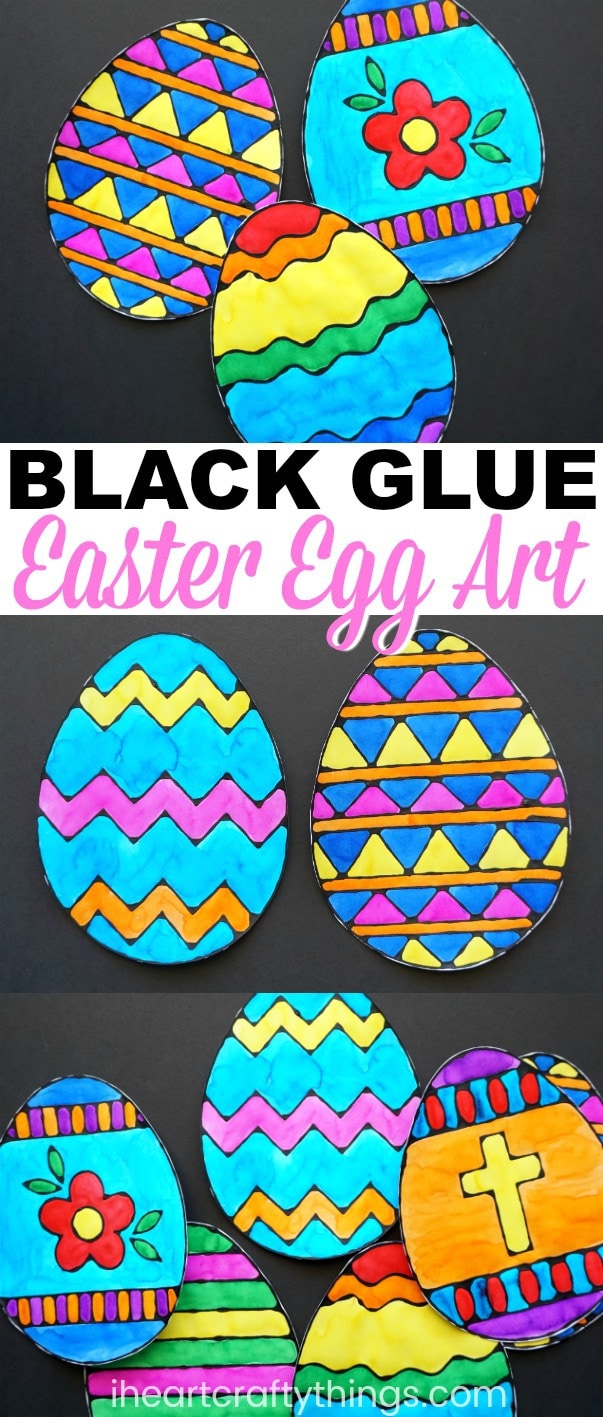
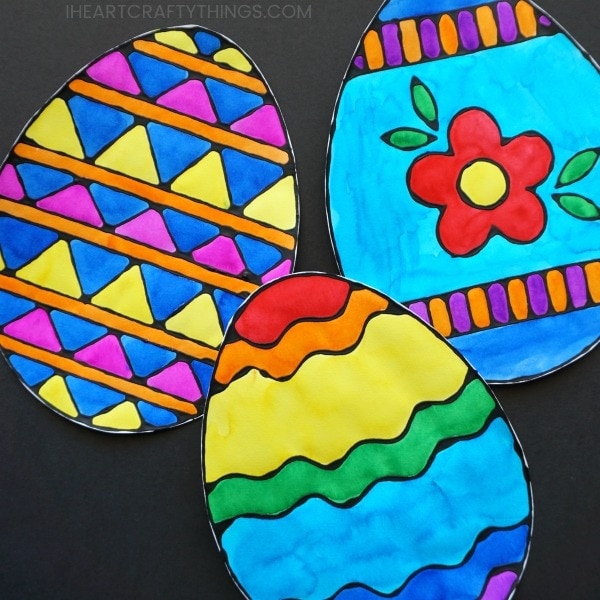
Last year we shared a simple way to get creative with black glue on a blank Easter egg. It was a favorite project we created last Easter so this year we’ve upped our game with these beautiful templates for creating an Easter egg black glue art project. There are a dozen templates in all including a blank egg template for those who want to create their own design, or for preschoolers who might have a difficult time tracing the lines of the template.
This post contains affiliate links to the products mentioned. I Heart Crafty Things is a participant in the Amazon Services LLC Associates Program, an affiliate advertising program designed to provide a means for sites to earn advertising fees by advertising and linking to amazon.com.
Supplies needed:
- Get the black glue Easter egg templates in my shop
- mixed media paper
- School Glue
- black acrylic paint
- stirring stick
- watercolors
- scissors
Instructions:
1. Make black glue
Start by mixing together your black glue. To do this, squeeze a generous amount of black acrylic paint into a bottle of Elmer’s School Glue. Use a wooden skewer or the end of a paintbrush to stir and mix the black paint into the school glue until it is thoroughly incorporated and the glue is black.
2. Trace the lines
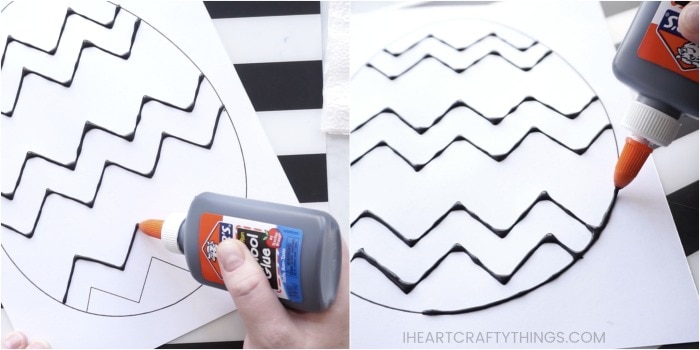
After purchasing the Easter Egg templates print off one or several of the templates on mixed media paper. Before you begin tracing the Easter egg with your black glue, test out the glue first on a napkin or separate piece of paper. Create some lines to experiment with the flow and spread of glue. Once you’re happy with the way the glue flows, use a steady hand to trace the lines of your Easter Egg template with your black glue.
3. Let it dry
Leave the black glue to dry overnight. This step is a MUST because if you paint your picture prior to the black glue drying your watercolors will mix with the black paint leaving you with a mess.
4. Paint with watercolors
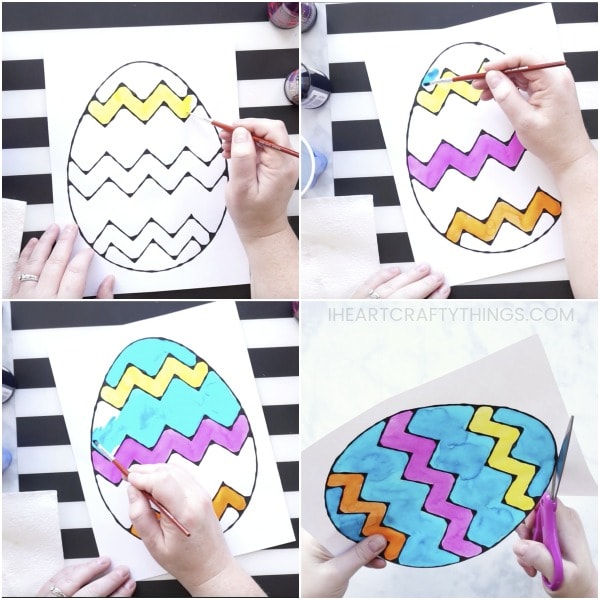
Once the black glue is completely dry, paint your Easter Egg black glue art project with your watercolors. We love using liquid watercolors to paint our black glue art projects. The colors are incredibly vibrant.
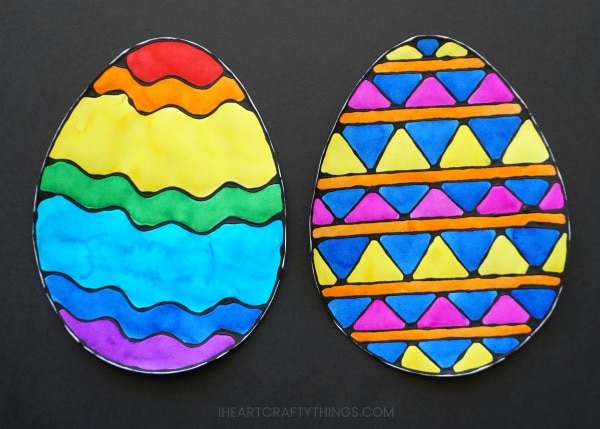
Your Easter Egg Black Glue Art Project is complete!
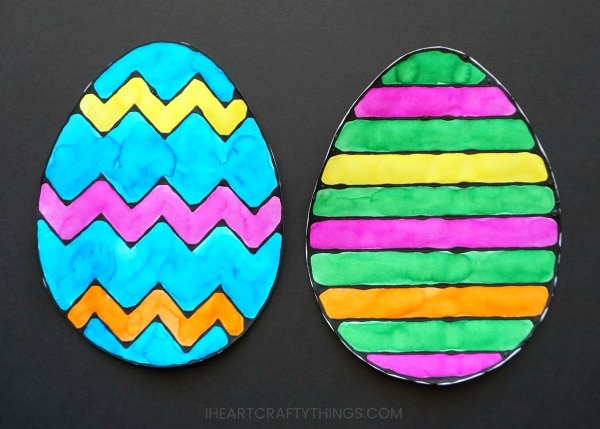
Once the watercolors have finished drying use scissors to cut out your colorful Easter egg. For some festive Easter decor, create several black glue Easter eggs and string them together to make a vibrant Easter egg banner to hang in your home.
Watch the video below to be guided through each step of our easy bunny greeting card.
Find more Easter crafts and easy arts and crafts ideas by browsing the categories at the top menu bar of our website.
