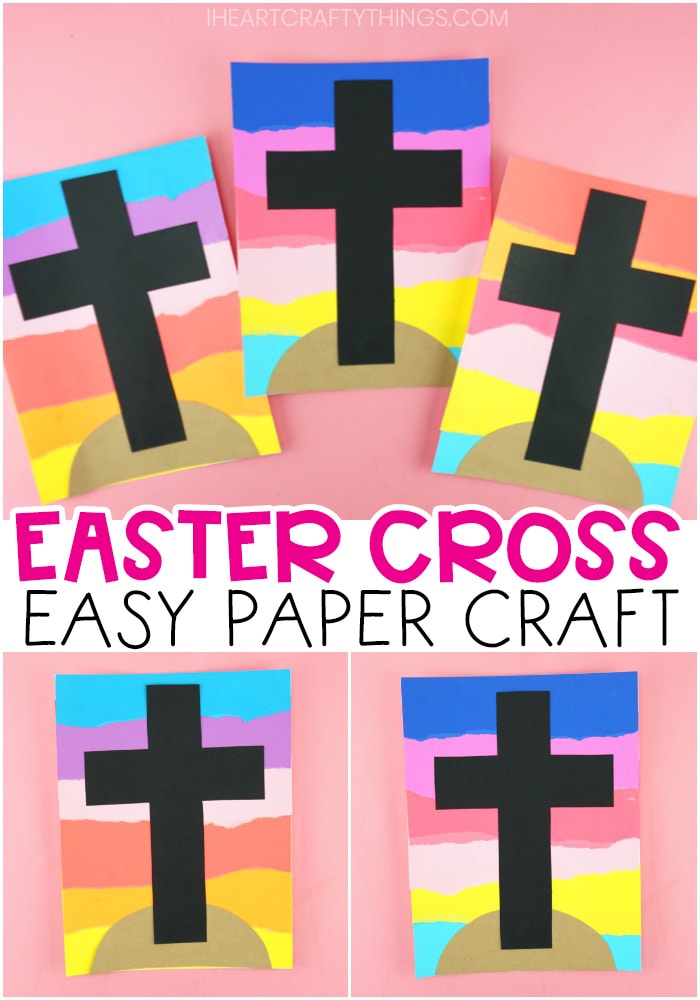
This simple Easter cross craft is packed full of color and fun for kids of all ages.
Whether you are looking for a fun Easter craft for Sunday school, or to make at home with your children to celebrate the Easter holiday, kids are sure to love making this easy paper cross craft!
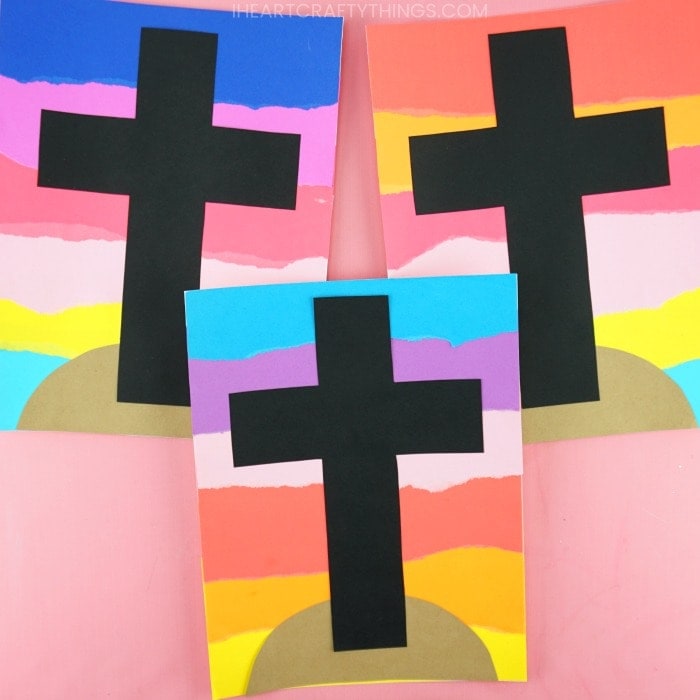
My family loves celebrating our faith for Easter every year. While it’s fun for kids to enjoy a visit from the Easter bunny, making a craft that pays tribute to the purpose behind Easter makes the holiday extra special and meaningful for children.
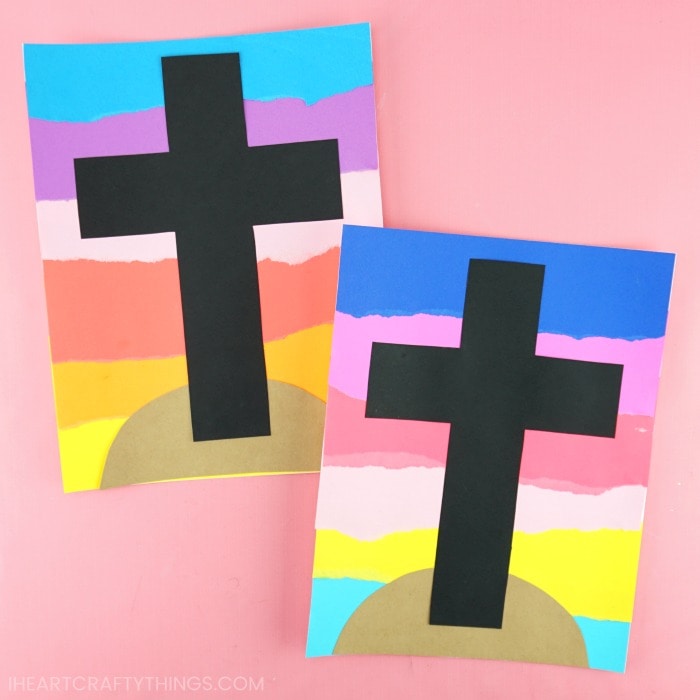
The cross is a bittersweet and beautiful reminder of what Jesus has done for us so that we can return to live with him in heaven one day.
This sweet and simple cross craft we are sharing today is a meaningful craft to make with children for Easter. The finished cross crafts will look gorgeous up on display for an Easter decoration at home or church too.
Read our easy step-by-step instructions below for making the Easter cross. You’ll also want to watch our full video tutorial inside this post before you get started.
Supplies needed to make this Easter Craft
This post contains affiliate links to the products mentioned. Read our disclosure policy for more information.
- Easter cross printables <—– Get the template HERE
- white, black, brown and colorful cardstock paper
- pencil for tracing
- glue stick
- scissors
Instructions for creating your Paper Cross Craft
1. Trace cross and hill templates, cut them out
Download and print out the cross template. Cut out both of the pieces of the template. Then, using a pencil, trace the cross on black cardstock and the hill on brown cardstock. Cut out both of the pieces.
2. Tear five or six colored strips
Gather together five or six brightly colored pieces of paper to create your sunset background. Tear a strip from the top of each paper that is about 2-3 inches in width.
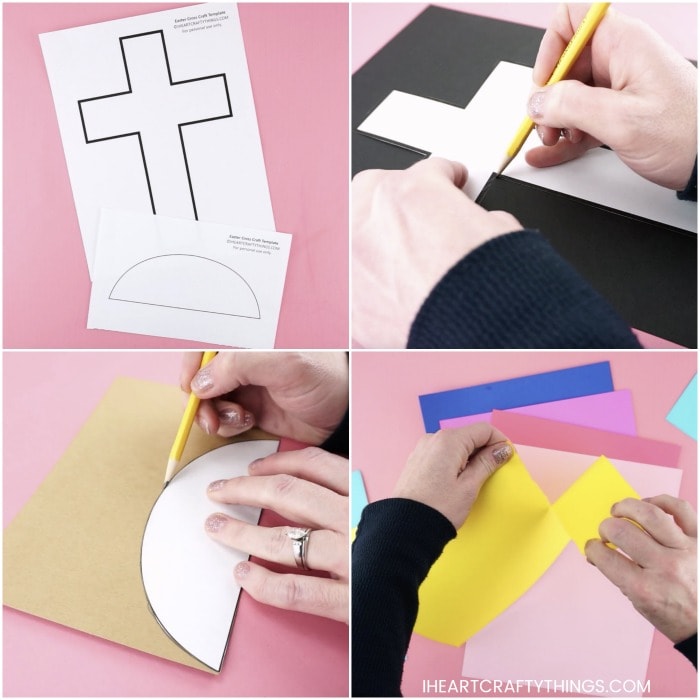
Don’t fret about making each of the torn pieces the same size or making sure they have a smooth tear line. The jagged lines and different sizes of paper strips will add extra texture to your sunset sky background.
3. Create sunset sky by layering colored paper strips
Choose which order you want to layer your colored paper strips for your sunset background. Using a glue stick, add glue on the back of the bottom piece of your sunset and glue it onto the bottom of a white piece of cardstock paper.
Continue adding glue to each colored paper strip of your sky, and glue them in overlapping layers, covering your white background completely.
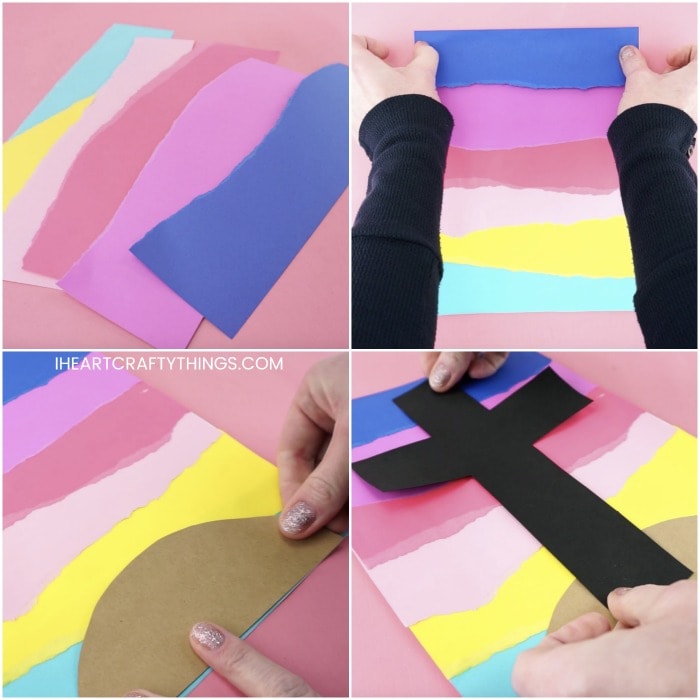
4. Glue hill and cross
Add glue to the back of the brown hill and place it at the bottom of your sunset background. Then glue the black cross in the center of the hill.
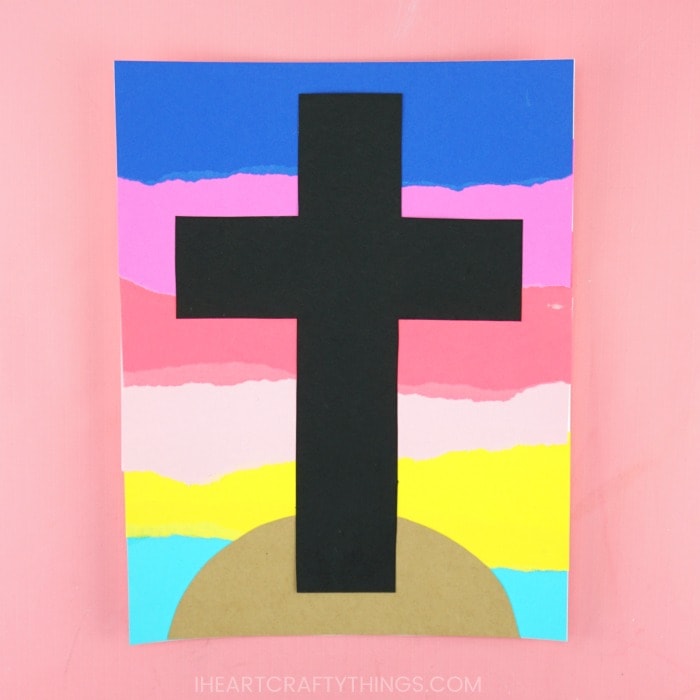
The contrast of the colorful sunset sky background with the black cross front and center is absolutely gorgeous, don’t you think?!
I love how each child’s colorful background is guaranteed to be unique with the colors chosen for the sky and with the different torn edges of each paper strip. A group of these beautiful Easter crafts will look beautiful hung on display together.
