There are many different kinds of snakes in nature, and while there is a great variety of venomous and harmless snakes, it’s generally a good idea not to mess with any snake.
This is especially true of the rattlesnake, as you certainly would not want to get bitten by one of these guys.
They do at least extend the courtesy of using their tail rattles as a warning, and this rattle makes them visually distinct. It can also make it fun to learn how to draw a rattlesnake!
Drawing animals isn’t always easy, but this tutorial is here to help.
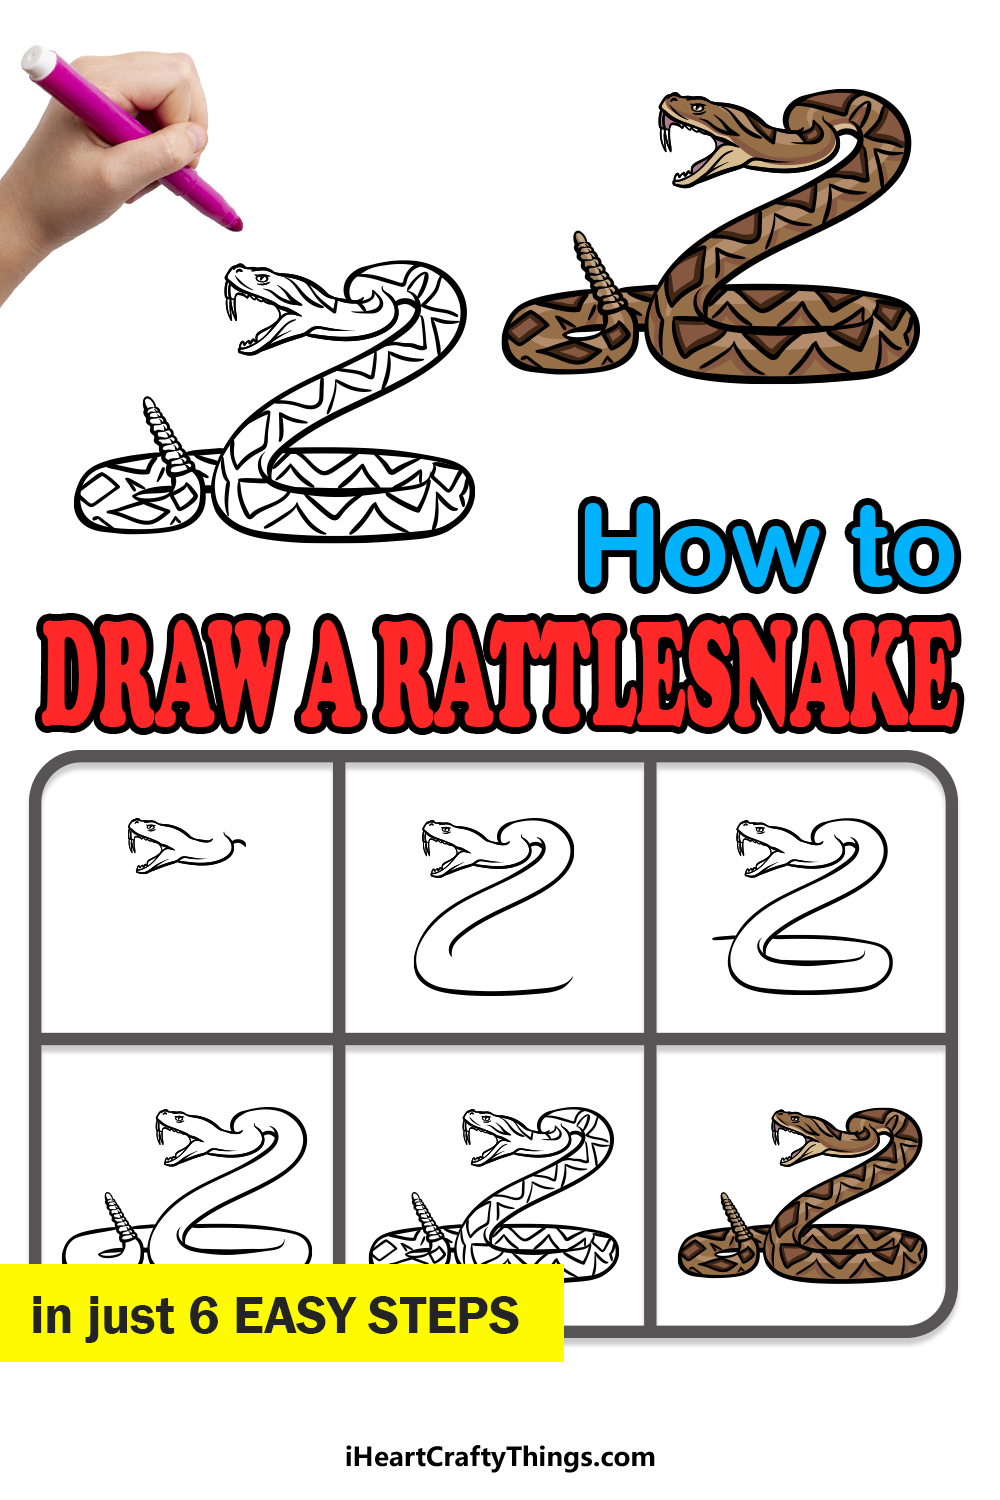
Our step-by-step guide on how to draw a rattlesnake will show you how you can recreate this dangerous yet beautiful creature.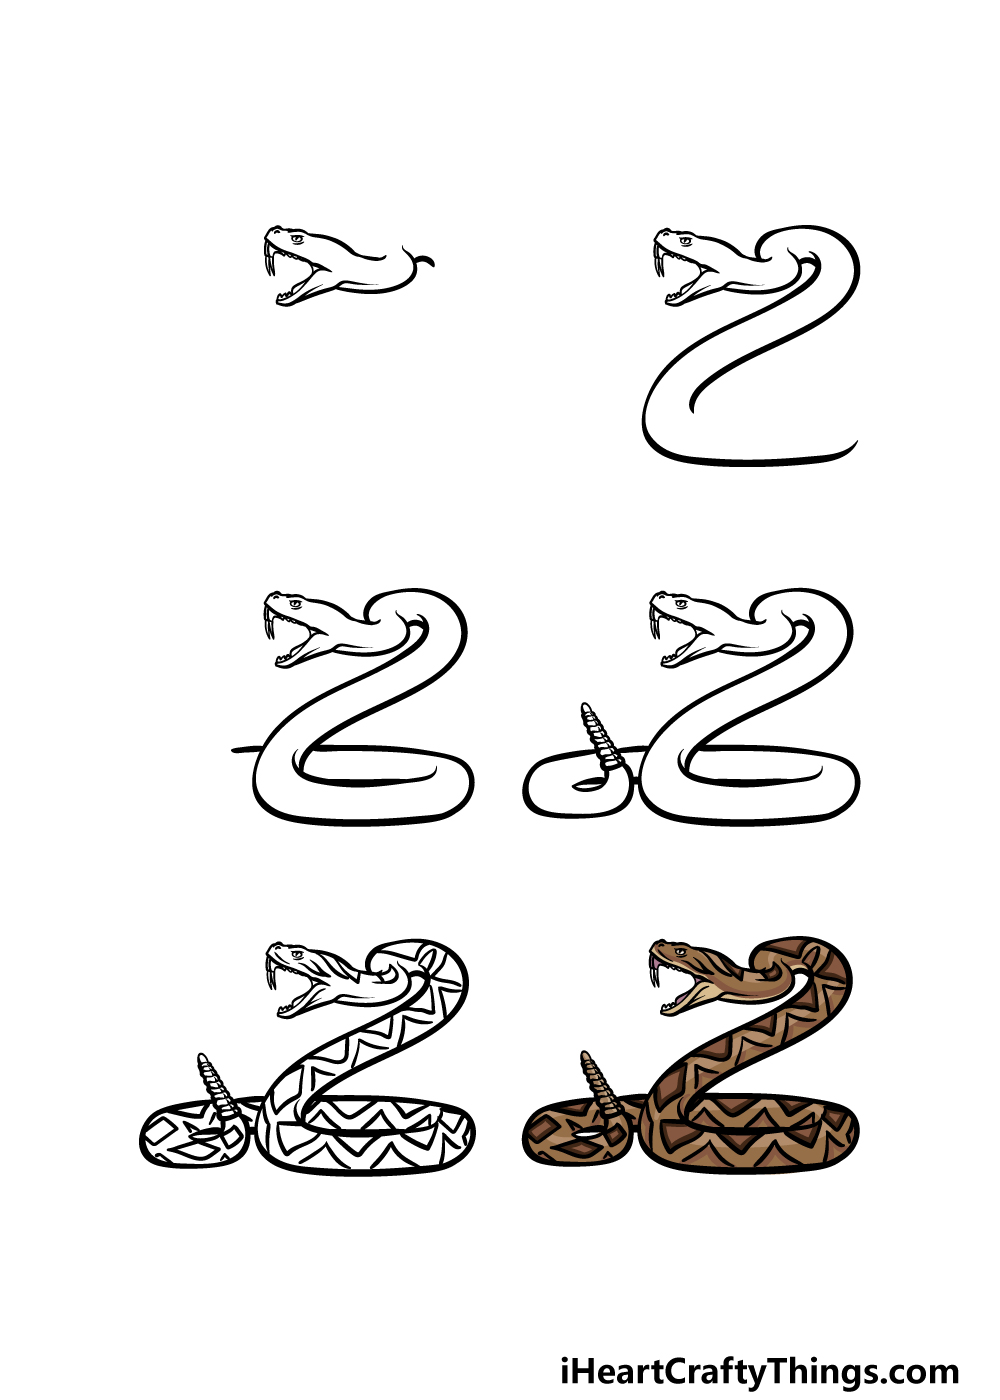
How to Draw A Rattlesnake – Let’s Get Started!
Step 1
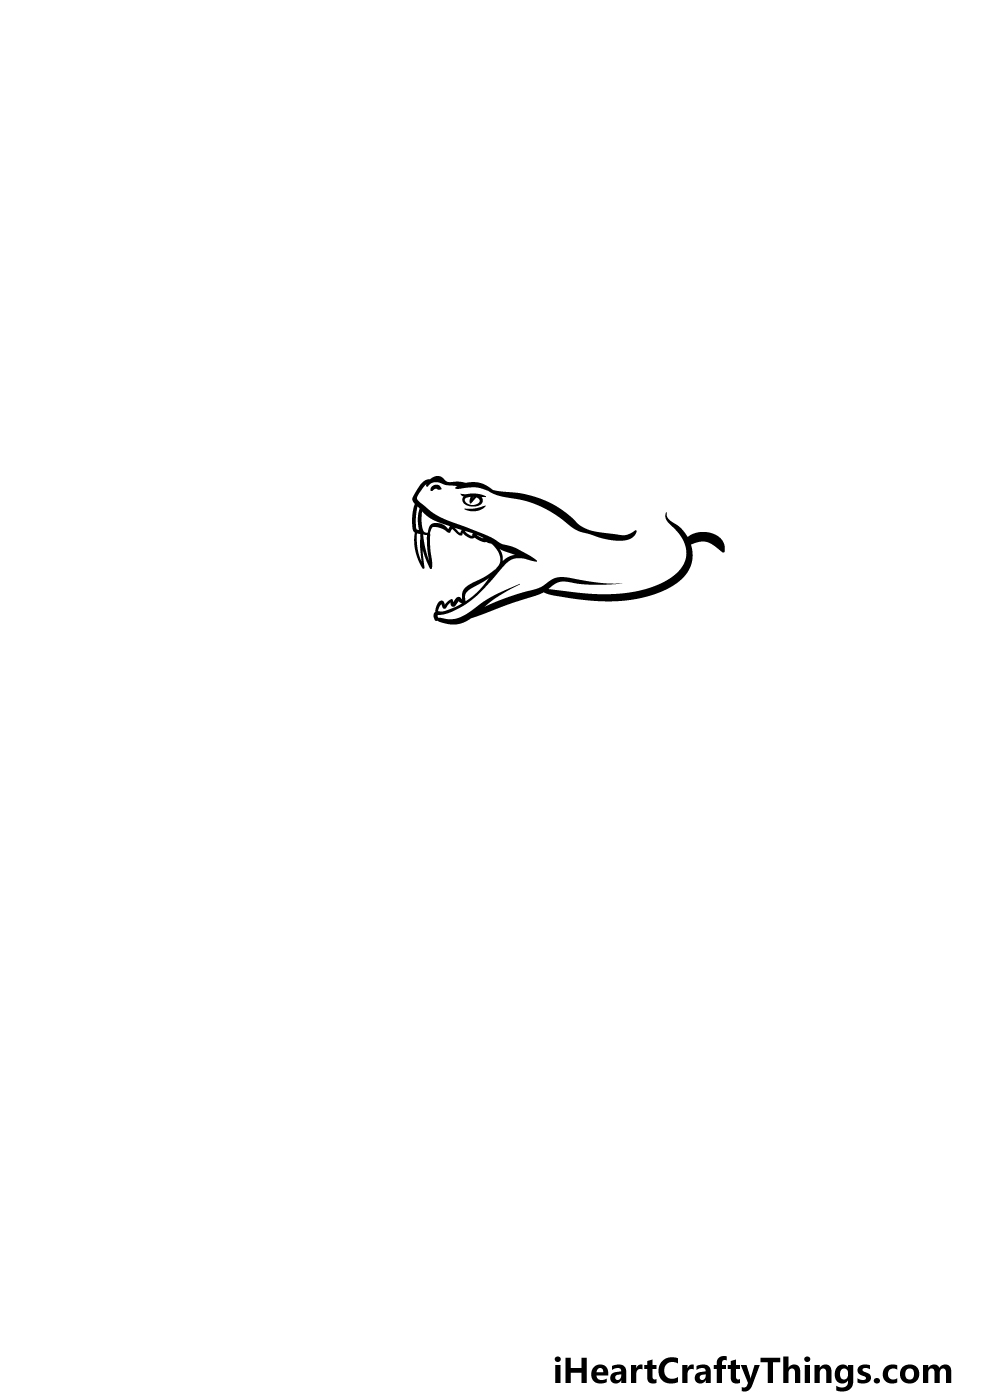
To get this guide on how to draw a rattlesnake started, we will begin with the part of the snake you would least want to encounter in real life; the head.
This depiction of a rattlesnake that we are working on is fairly detailed and realistic, so while this can make it harder to draw it will certainly be worth it. We will also be taking it slowly to make sure you don’t get lost!
The head of the rattlesnake will be drawn with some slightly curved lines, and its mouth will be wide open to show off those fearsome, venom-filled teeth.
We will also be using some curved lines for the start of the snake’s body, which we will draw more of as we move through this guide.
Once you have drawn the head and added details such as the eyes and fangs, you will be ready for the next step.
Step 2 – Next, draw some more of the snake’s body
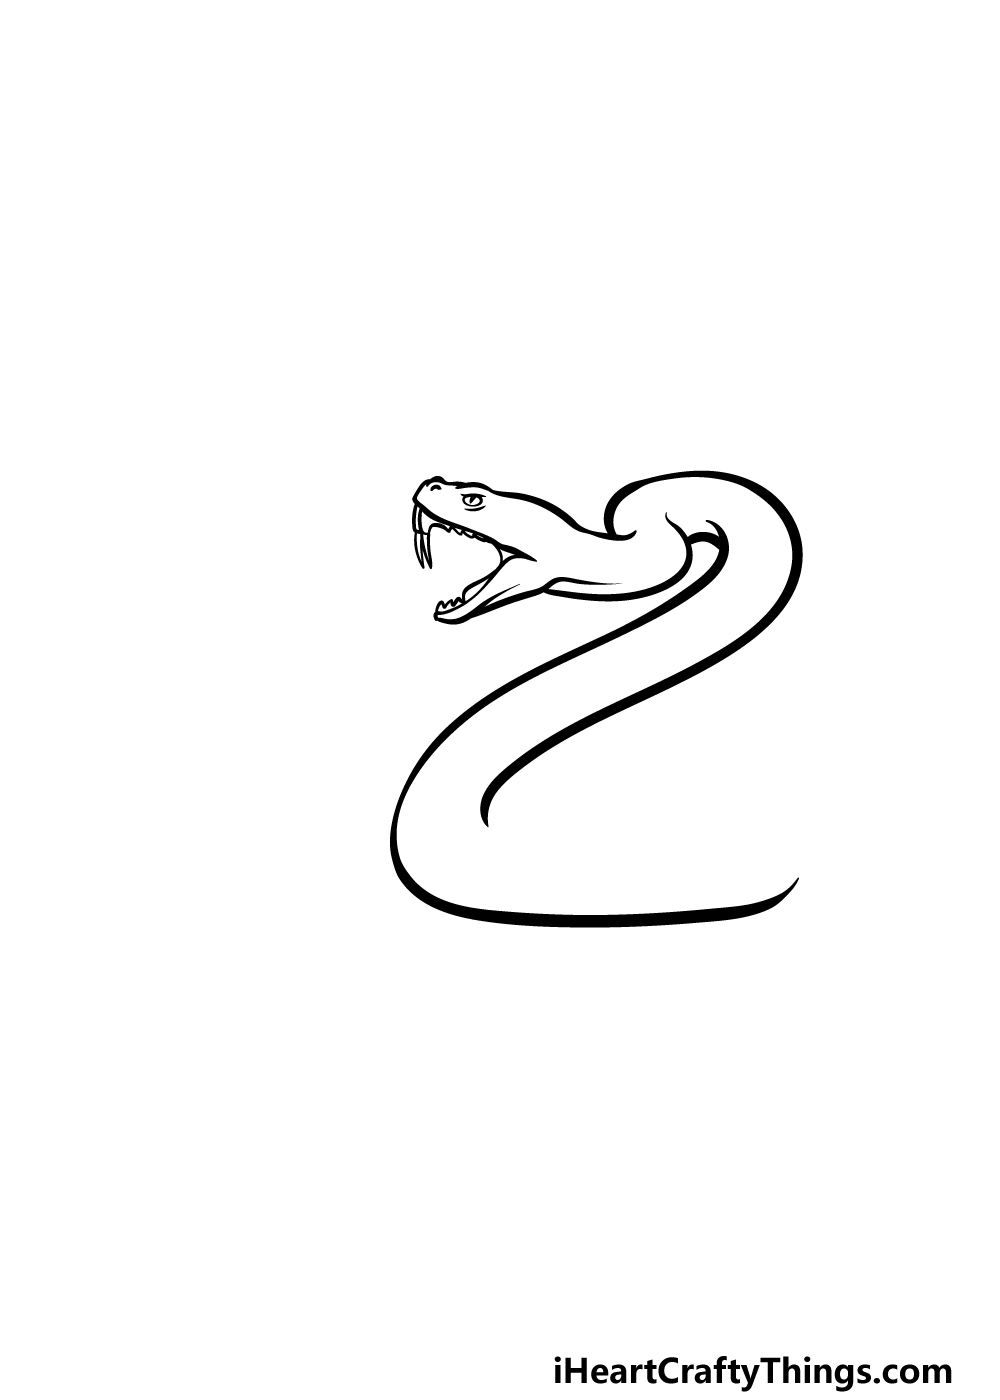
In this second step of your rattlesnake drawing, we will be drawing some more of the long body for the snake.
To do this, we will be extending some more curved lines from the neck of the snake that you started in the first part.
The body will curve over, extend at a diagonal angle down and then curve to the right quite sharply, as shown in the reference image.
That’s all there is to it for this step, so let’s proceed to the next part when you’re ready!
Step 3 – Draw the next section of the rattlesnake’s body

For this third step of our guide on how to draw a rattlesnake, we will be drawing some more of the long, twisty body.
In this step, we will be using two more curved lines for this next section, and these lines will work together to have the body curve towards the left-hand side of the page.
Once you have drawn this section of the snake, we can then draw the iconic rattle and rest of the outline in the next step.
Step 4 – Now, draw the rest of the body outline
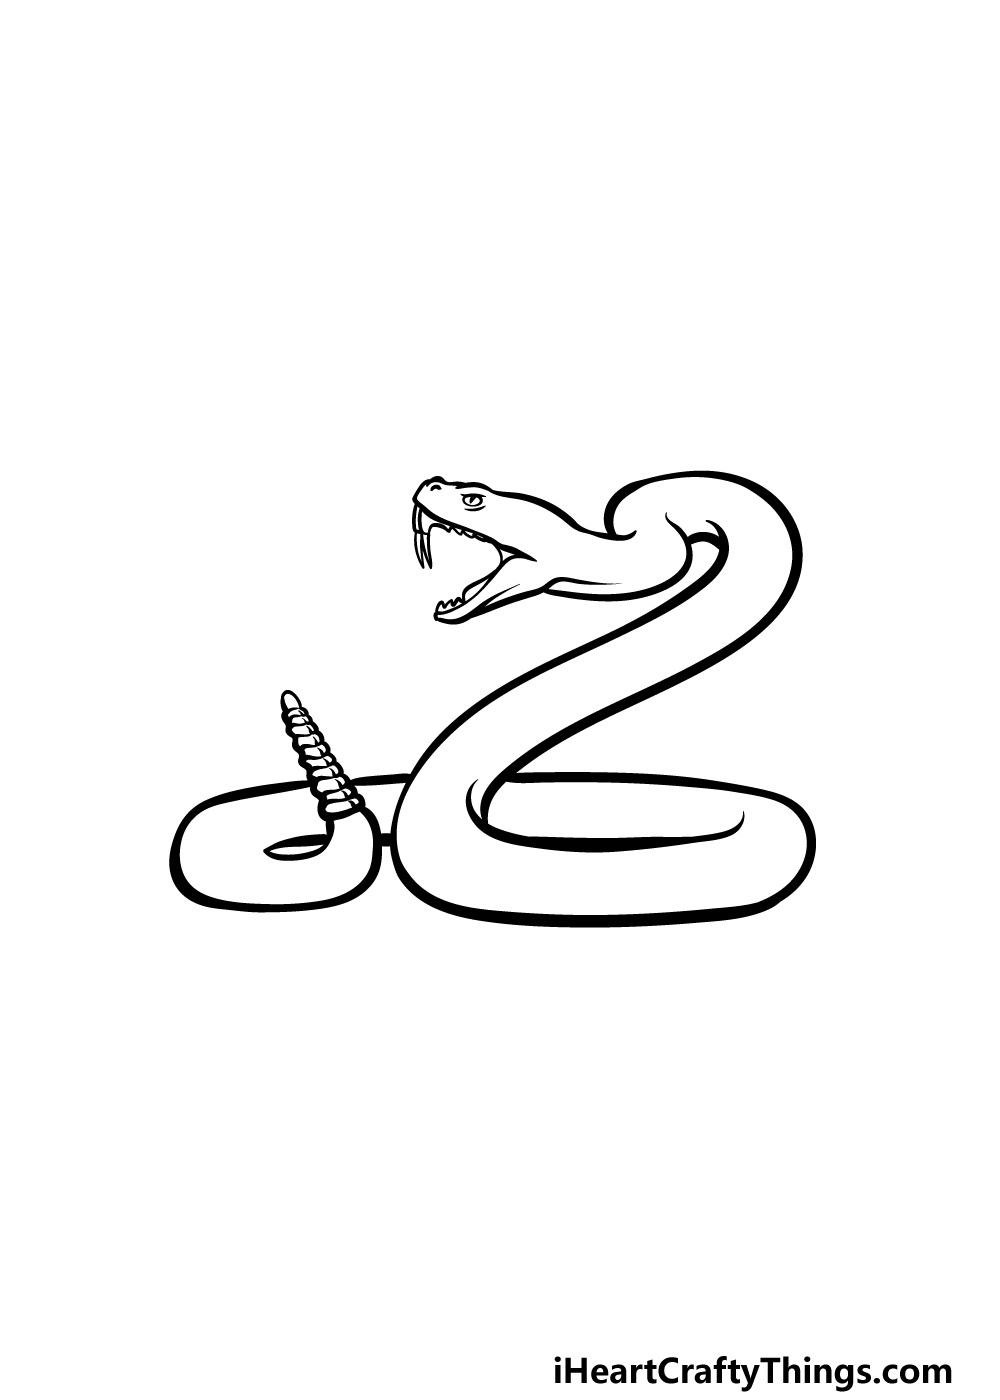
As we mentioned in the previous part of your rattlesnake drawing, this will be where we draw the rattle that gives this serpent its name!
First, we will use some more curved lines to show the tail of the snake curling over itself. Once that section of the tail is drawn, we will then draw that famous rattle.
The rattle will be drawn as layers of small, thin flat shapes on top of one another. Each section of the tip will get slightly thinner as you move up, and this will make the rattle thinner in general.
The final little segment of the rattle can be drawn as a small, rounded shape.
Step 5 – Finish off your rattlesnake drawing
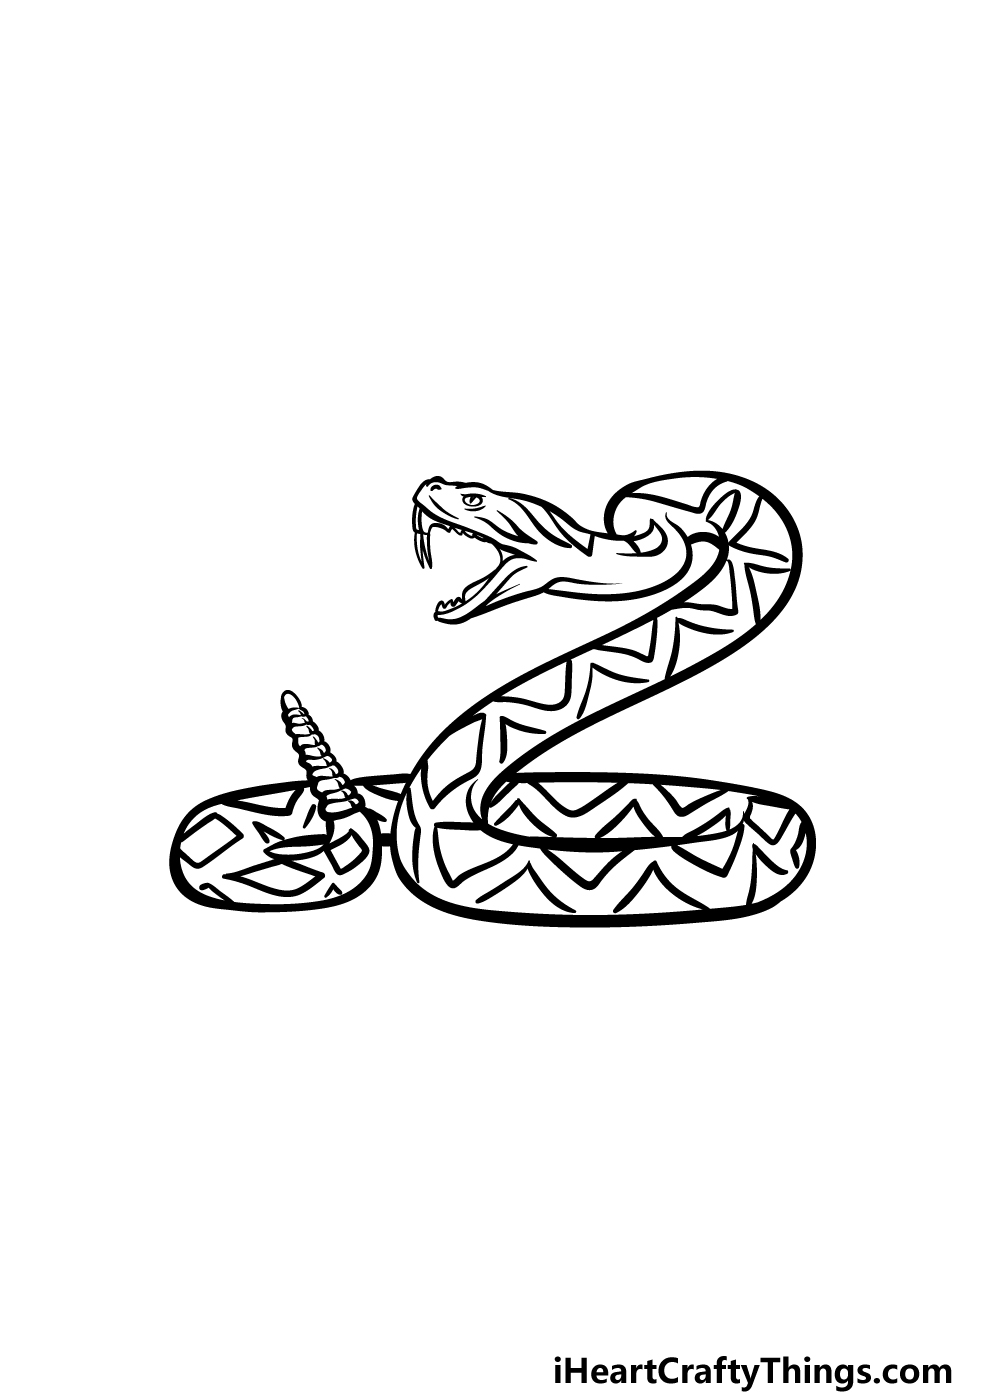
You have completed the outline of the snake, and in this step of our guide on how to draw a rattlesnake we will finish off with some detailing on the body of the snake.
To do this, we created some patterns on the body of the snake by drawing some more angular lines than we have been using for the rest of the picture. This creates a sort of diamond pattern throughout the body of the rattlesnake.
Once you have drawn these details, you can also add some of your own before moving on! One great way to take this drawing even further would be to add some kind of background.
This is a great way to show what kind of environment this snake is in, and you could also draw some more animals and plants to make an even more dynamic image.
How will you finish off this picture with your own touches?
Step 6 – Finish off your rattlesnake drawing with some color
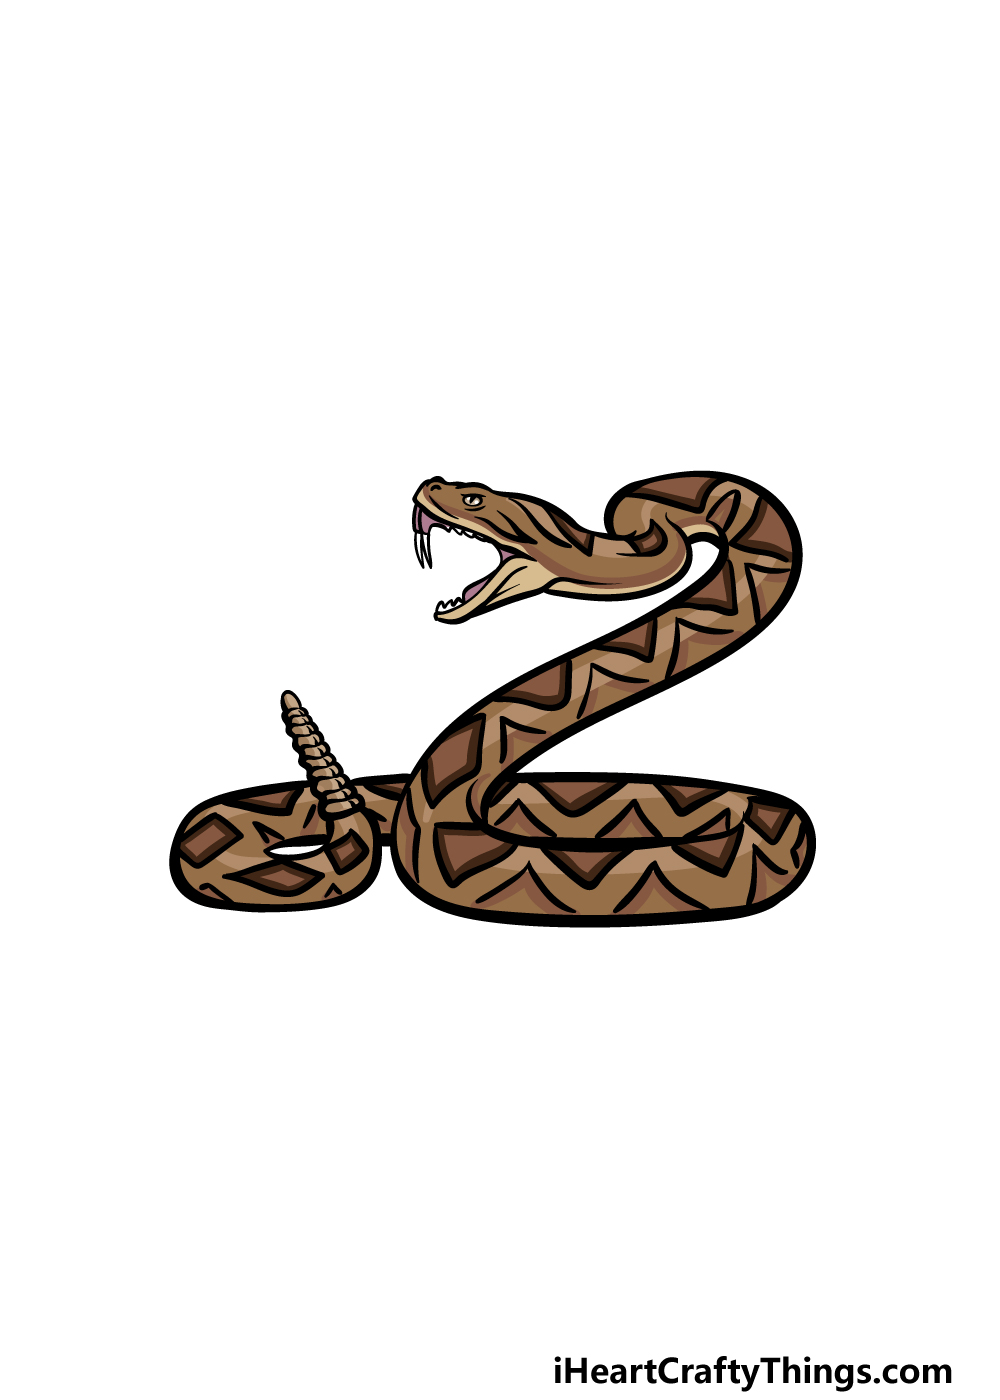
This is the final step of your rattlesnake drawing, and in this one we shall finish it off nicely with some great colors.
Rattlesnakes aren’t typically brightly colored, so in our reference image we kept things more realistic by keeping the colors more subdued.
To do this, we used some darker shades of brown for the body and detailing of the snake. Even for the mouth, we ent with a dark pink coloring for the gums of the snake.
These are the colors we chose, so you could replicate them if you would like a similar look for your own image.
On the other hand, you should also feel free to use any colors of your own that you may like! You could even go for a more stylistic image by using some brighter colors and art mediums.
What will you use to bring this image to colorful life?
4 More Ways To Make Your Rattlesnake Drawing Unique
This incredible rattlesnake sketch can be even better with the help of these tips!
The rattlesnake is one of the most unique and recognizable snake species we have. It looks great in this rattlesnake drawing, but you could potentially change the pose that it is in.
For example, it would make this image a lot more dramatic if the rattlesnake were facing us, about to strike. You could look up some photos of rattlesnakes to help you create this pose.
That’s one idea, but what other poses can you think of for this rattlesnake?
Whether you keep the pose as we designed it or make your own one, it could also be fun to create a background. There are many settings you could create for this drawing of a rattlesnake!
For instance, you could go for a desert setting that could have a cactus and maybe a tumbleweed. That is just one example of the kind of scene you could use for this, but you could even make a whole scene out of it.
What kinds of scenes can you think of for this image?
Next, you could have a bit of a comparison by adding some more snakes to your rattlesnake sketch. There are so many different snakes you could choose from!
There are cobras, mambas and maybe even a mighty anaconda. These are just a tiny selection of different snakes, but you could add any of your favorites.
This is another tip where you may want to look up some extra pictures to make it easier to draw these different snakes. What are some you would like to add?
Finally, you can finish off this rattlesnake drawing by using some fun colors and art mediums. In our example, we kept things more realistic by making the colors darker and more muted.
You can stick with this approach, but you may also like to make the colors a bit brighter instead. The snake is quite thin, so using art tools and mediums that allow for more precision would be best, but what will you use?
Your Rattlesnake Drawing is Complete!
Rattlesnakes may be a bit scary and intimidating in real life, but in this guide on how to draw a rattlesnake we aimed to make sure that drawing one doesn’t have to be scary!
We hope that by working through this guide that this image was made easy and fun for you to replicate.
Now you can show off your own creativity as you add your own details, additions and color choices! We will be very curious to see how you finish off this image.
If you’re sad that this guide is over, worry not as we have many more guides like this one for you to enjoy on our website! We have more on the way for you to enjoy as well.
We always love to see your finished artwork, so please be sure to share your rattlesnake drawing on our Facebook and Pinterest pages.